Here it is loyal (and imaginary) followers! the finale! the only thing we have left to do is paint the shins, attach them to the boots and thighs, then wire up the helmet so the eyes glow. let's get to work!


SHINY AND CHROME
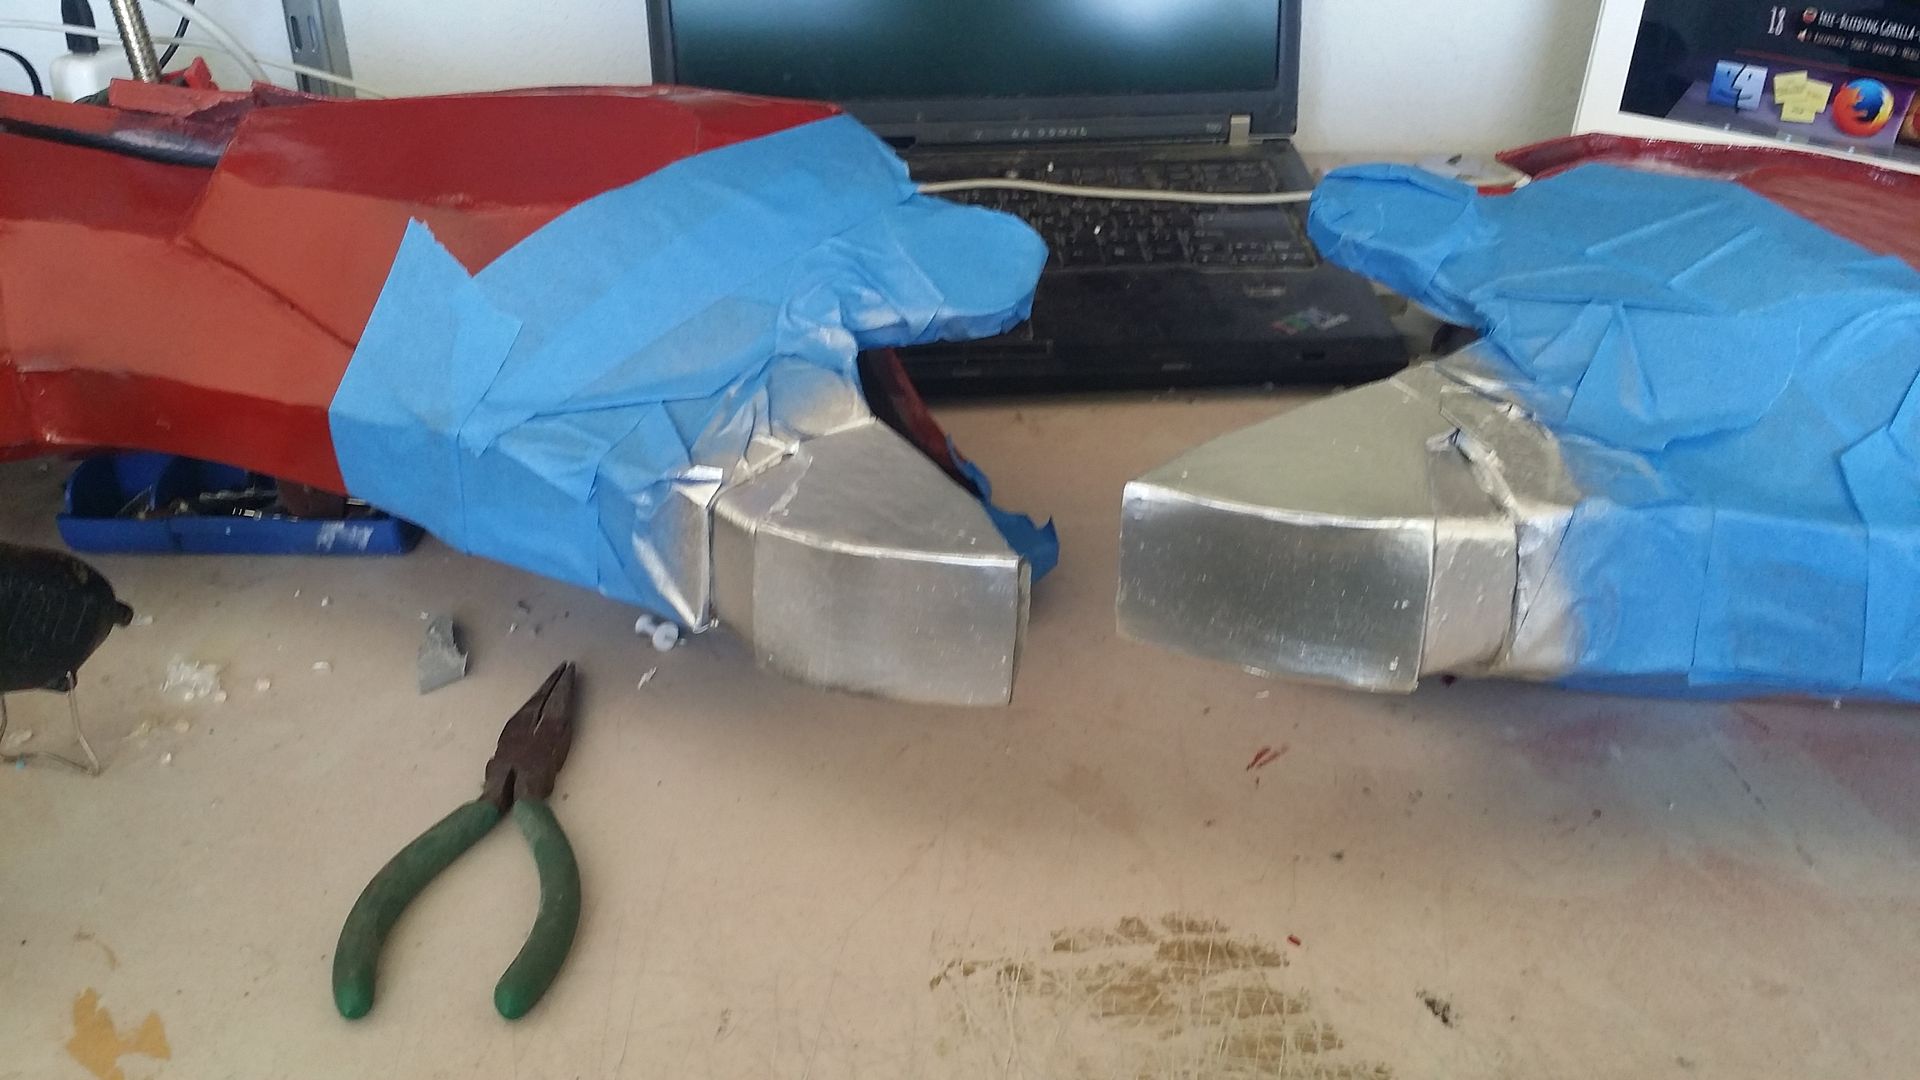
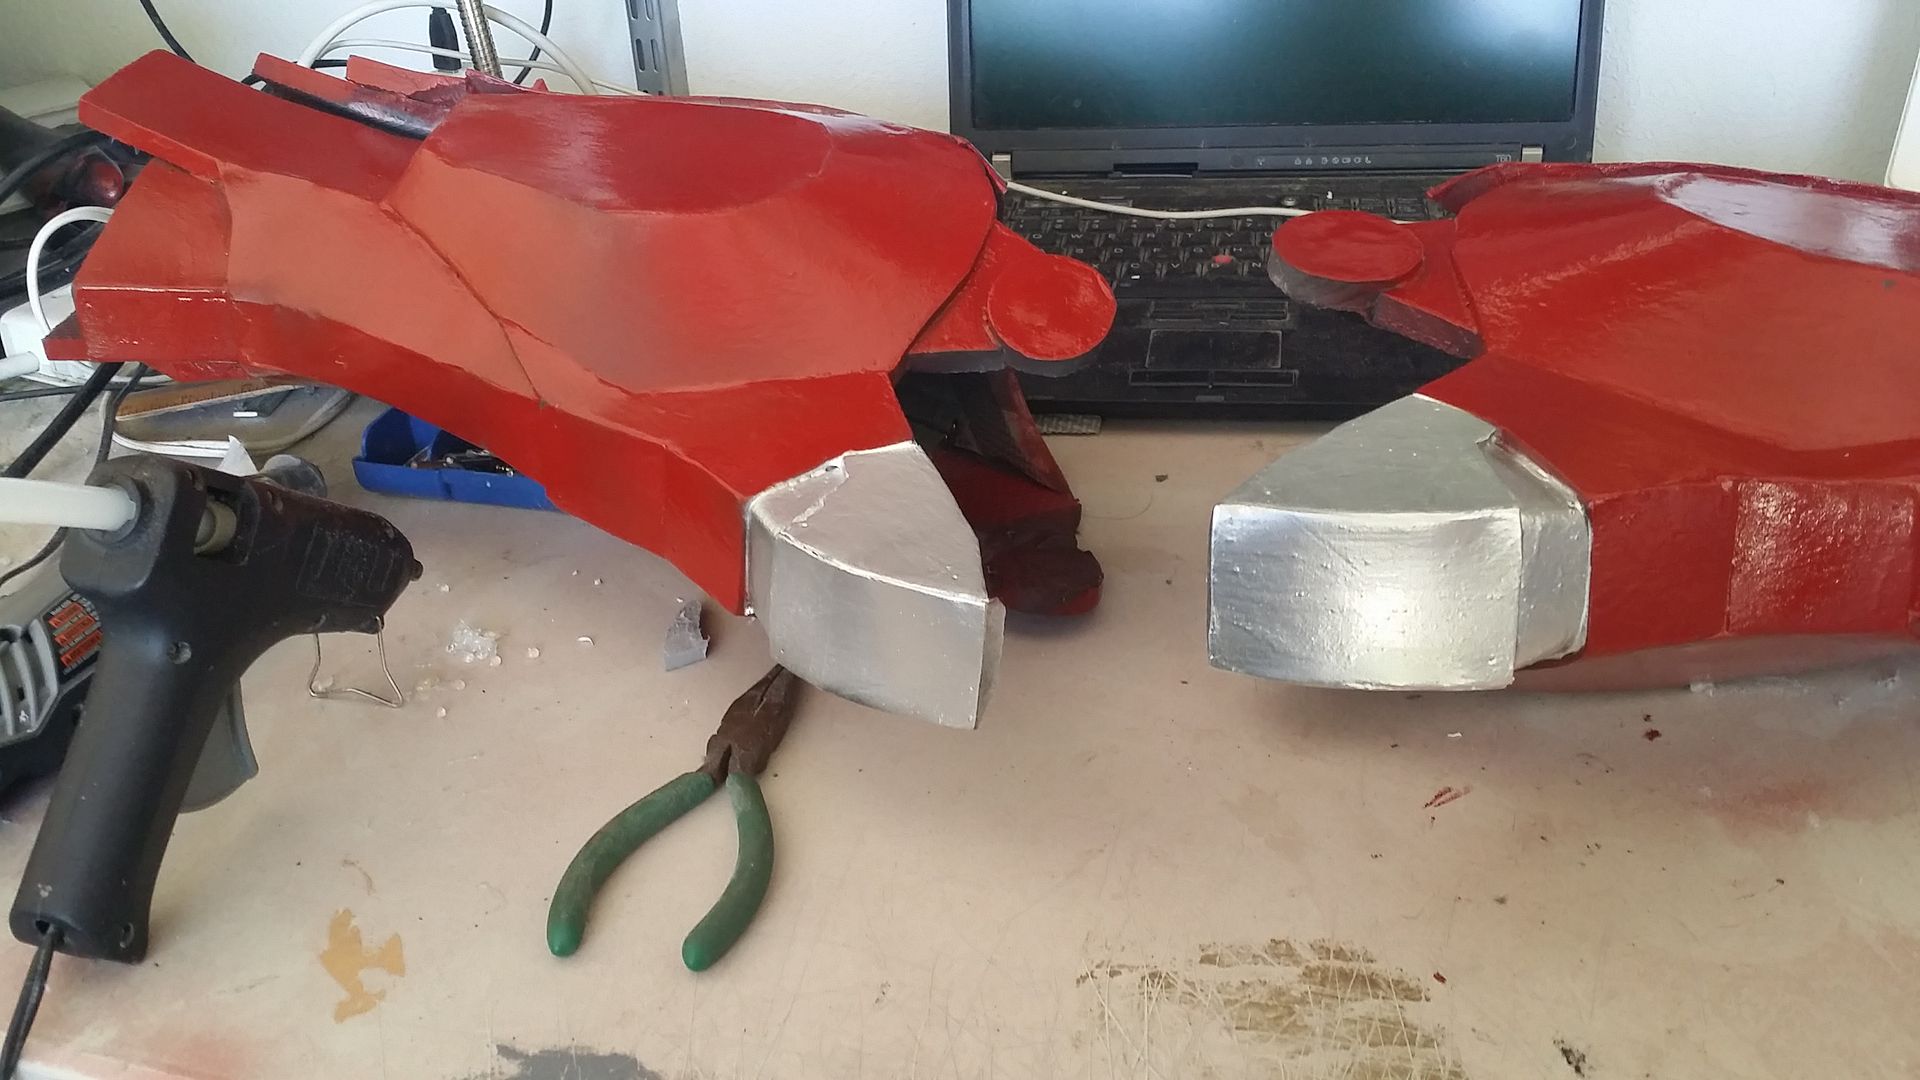
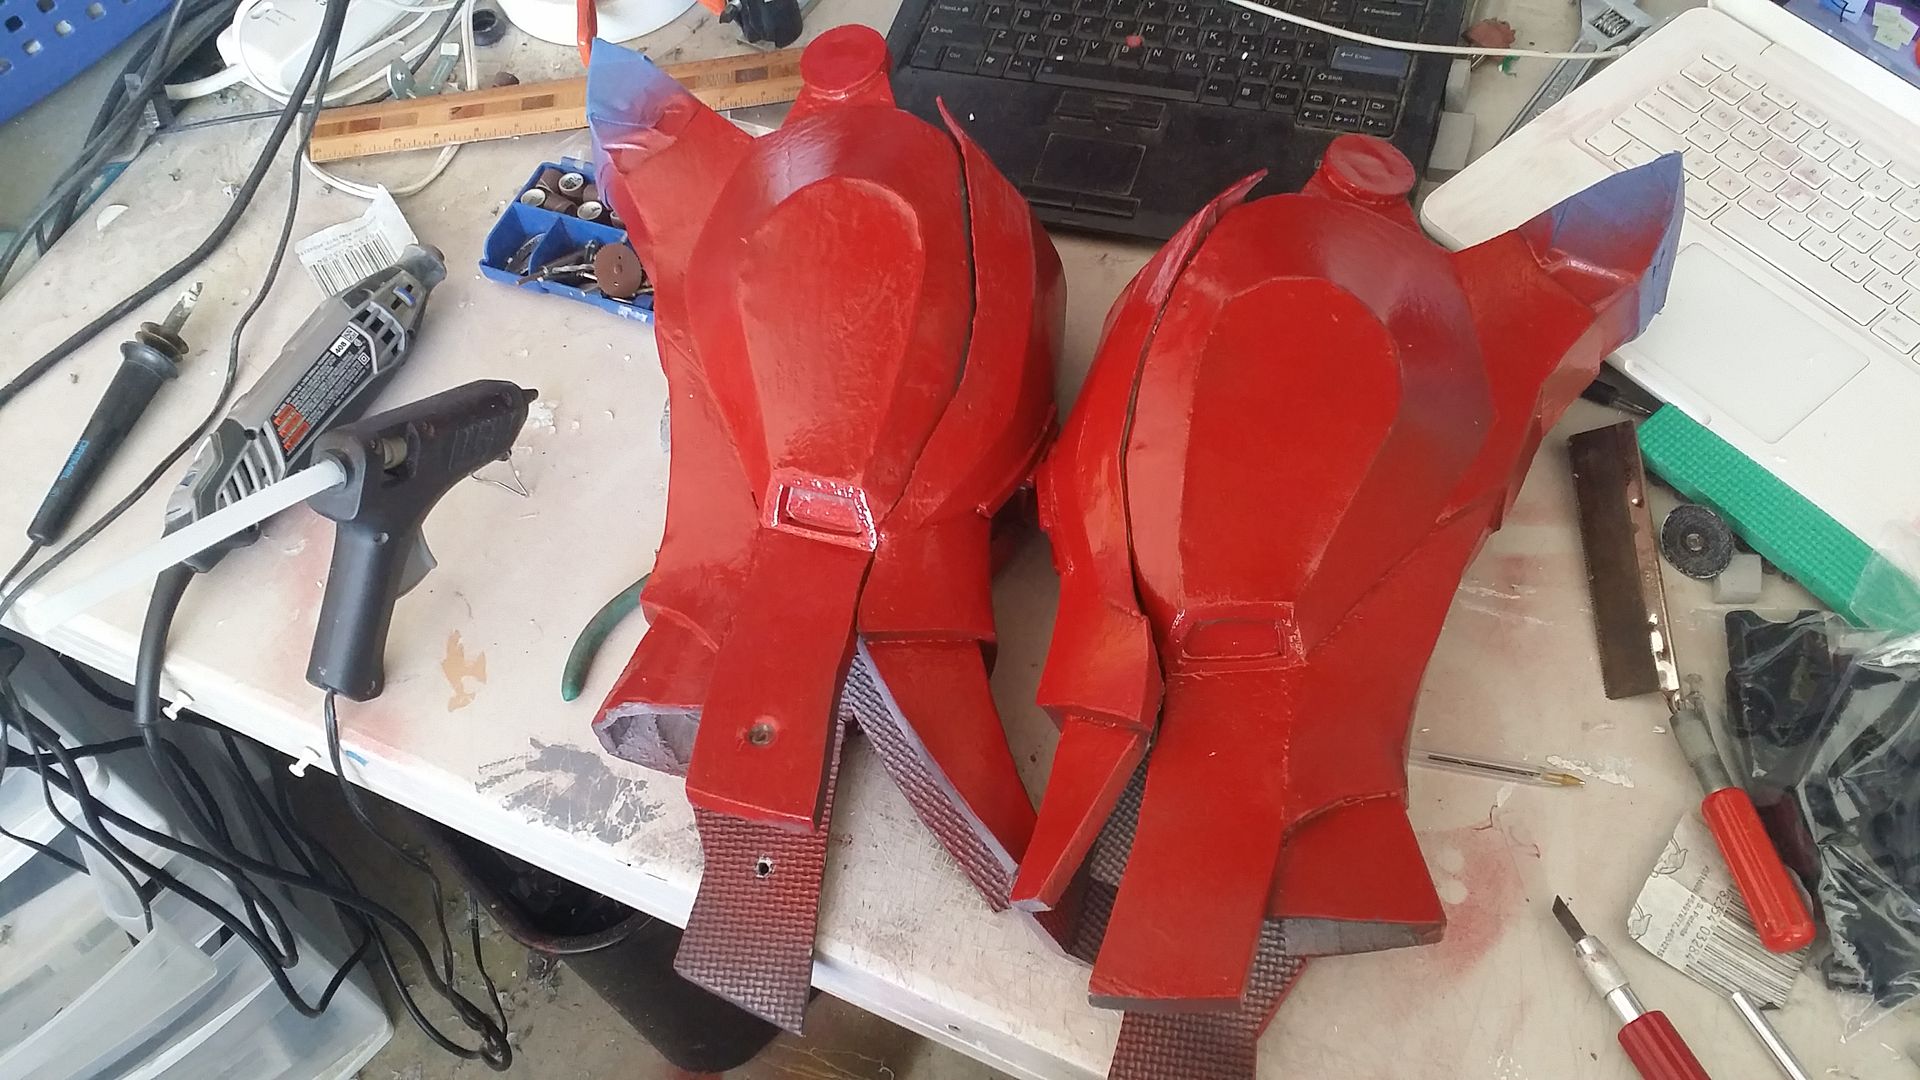
the magnets are performing flawlessly:
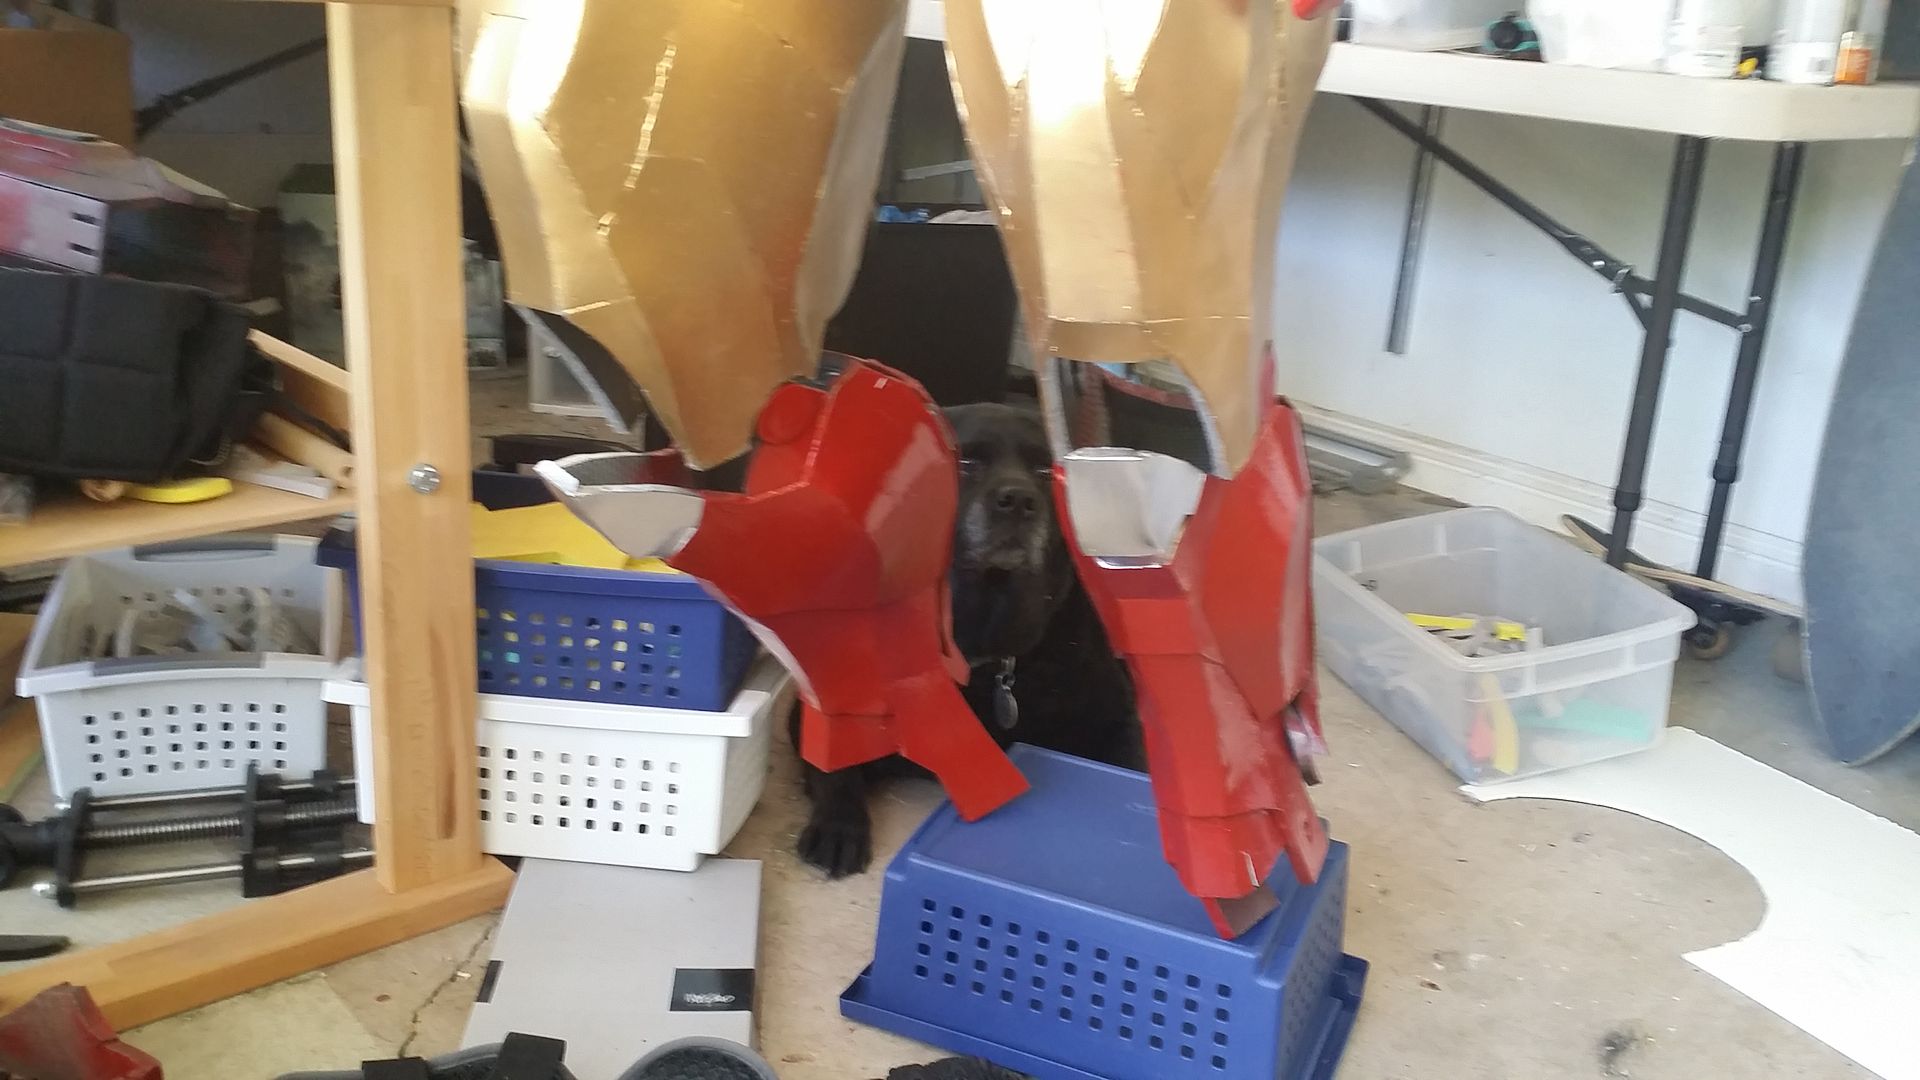
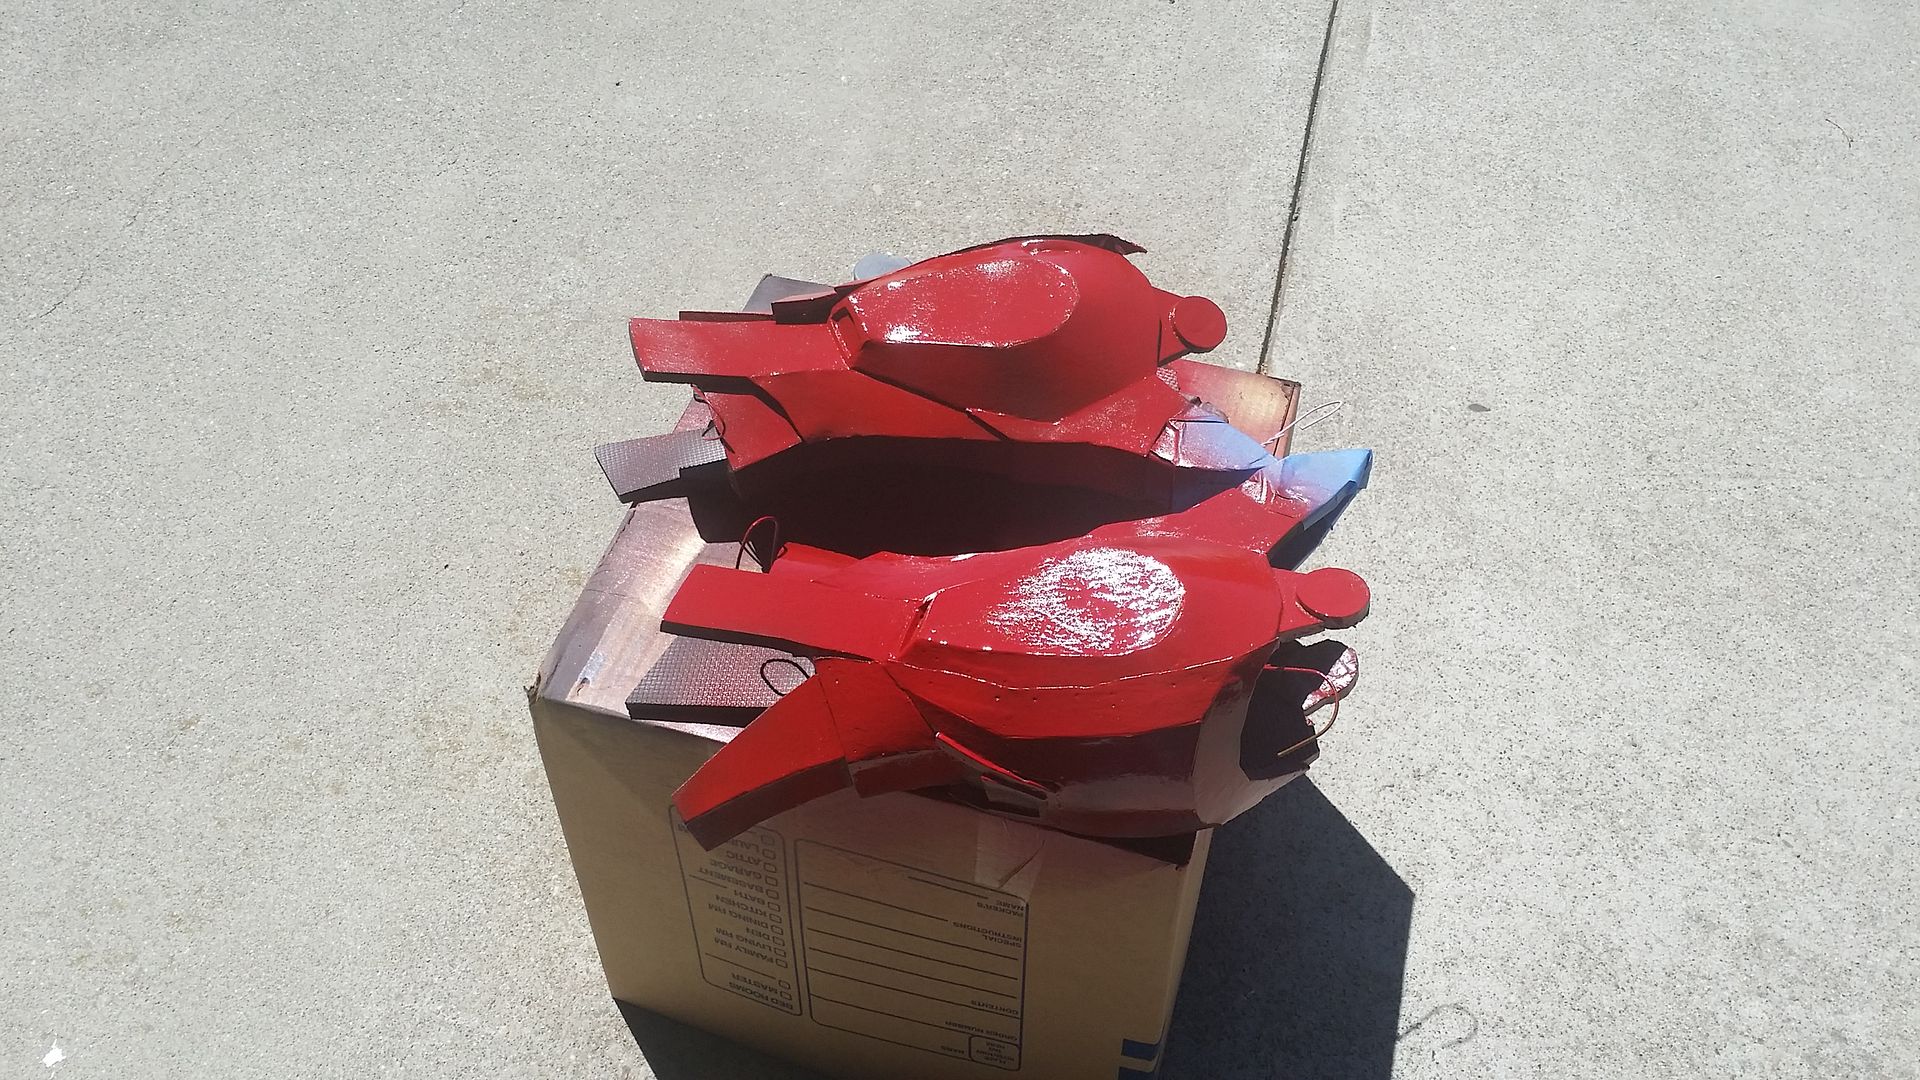
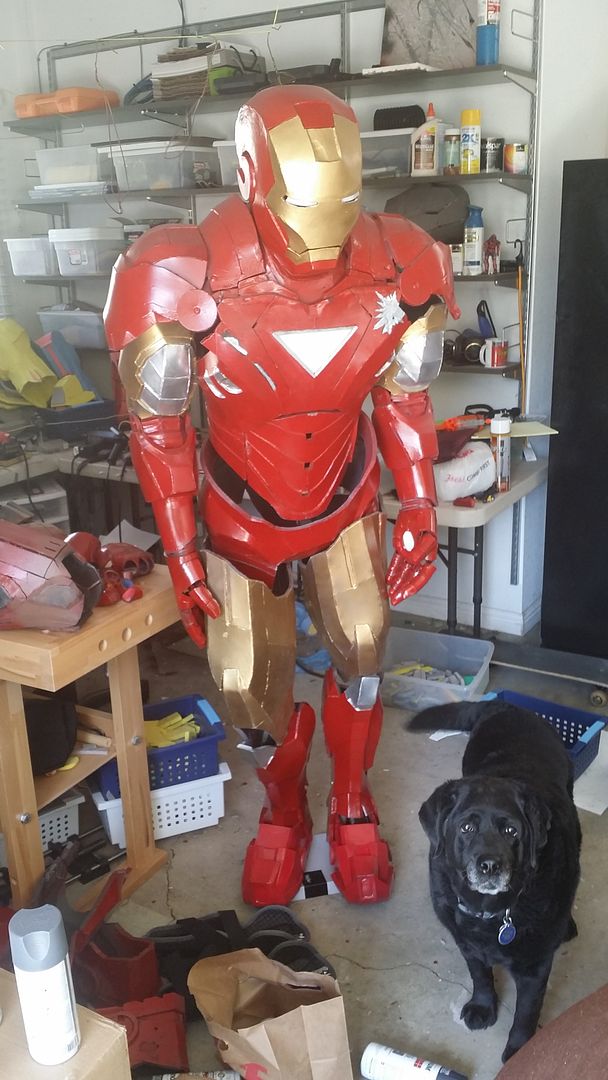
full progress pic (sans boots)
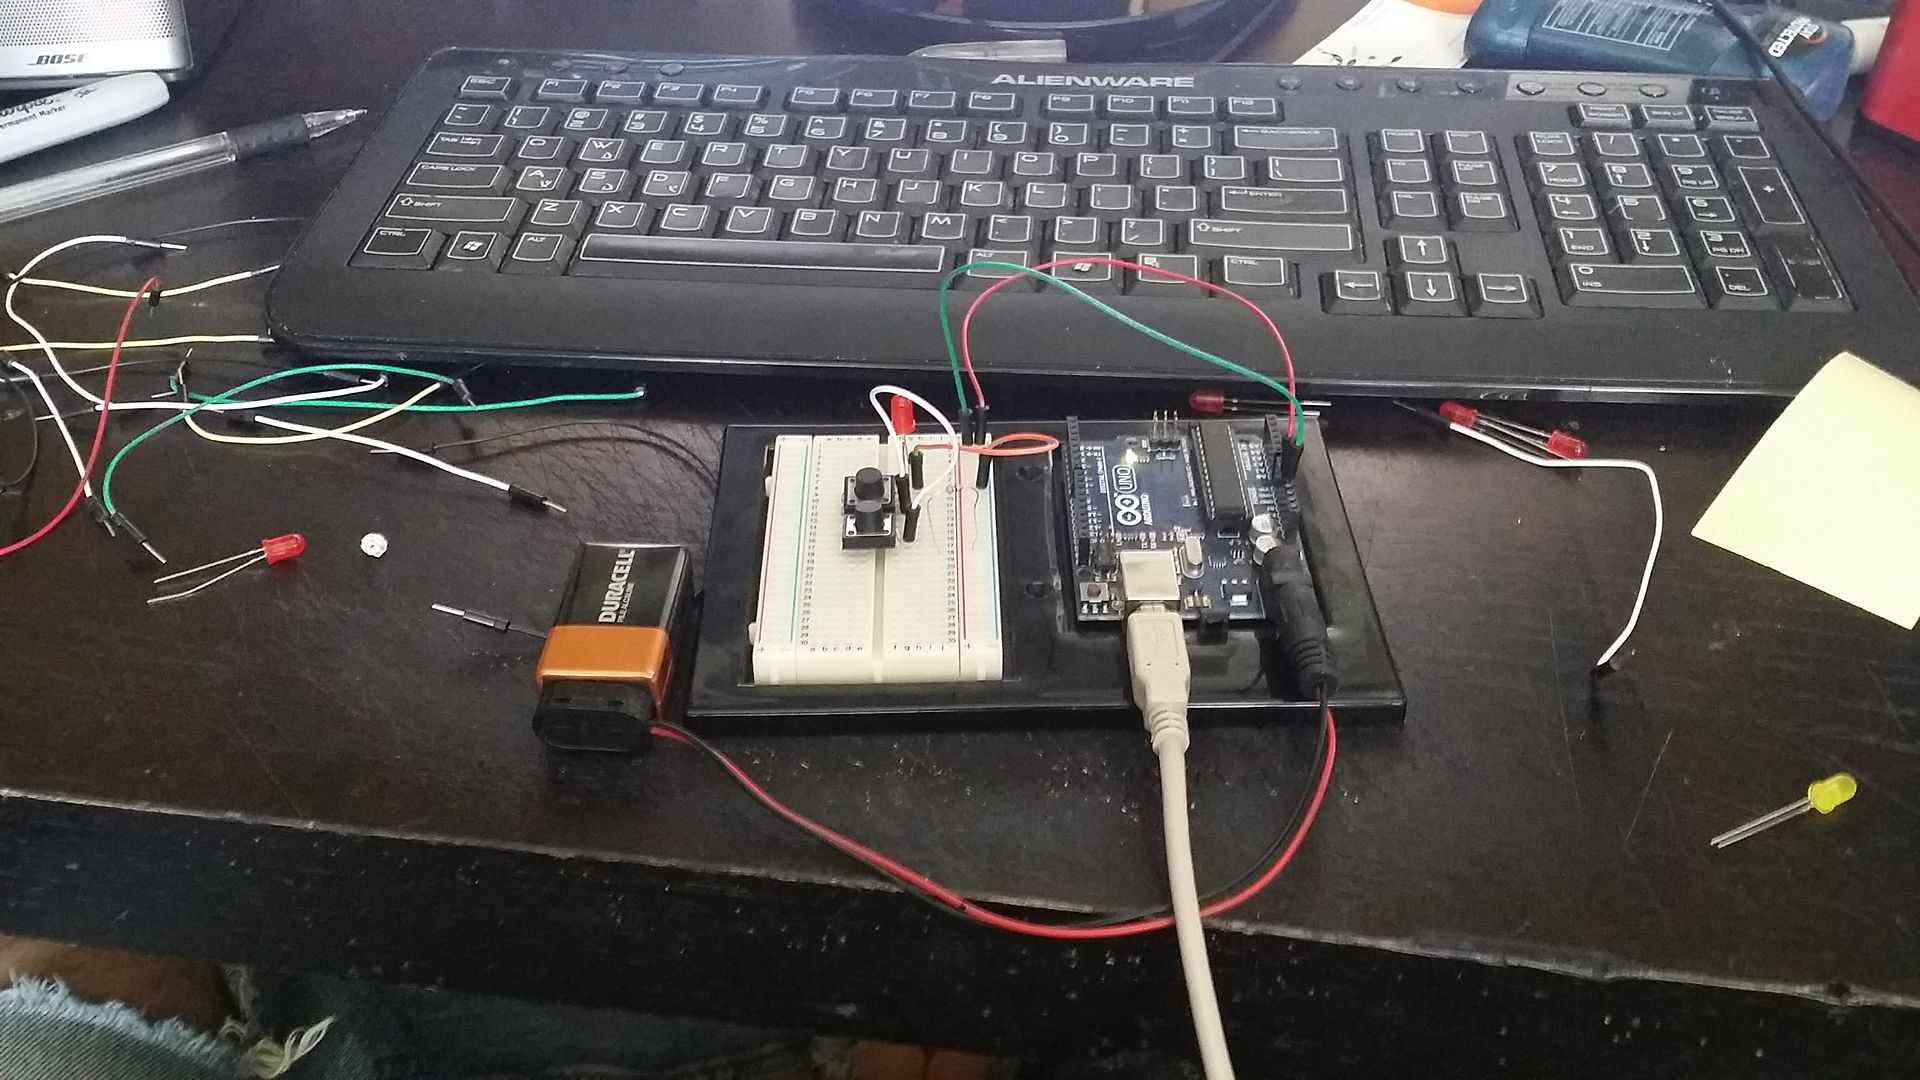
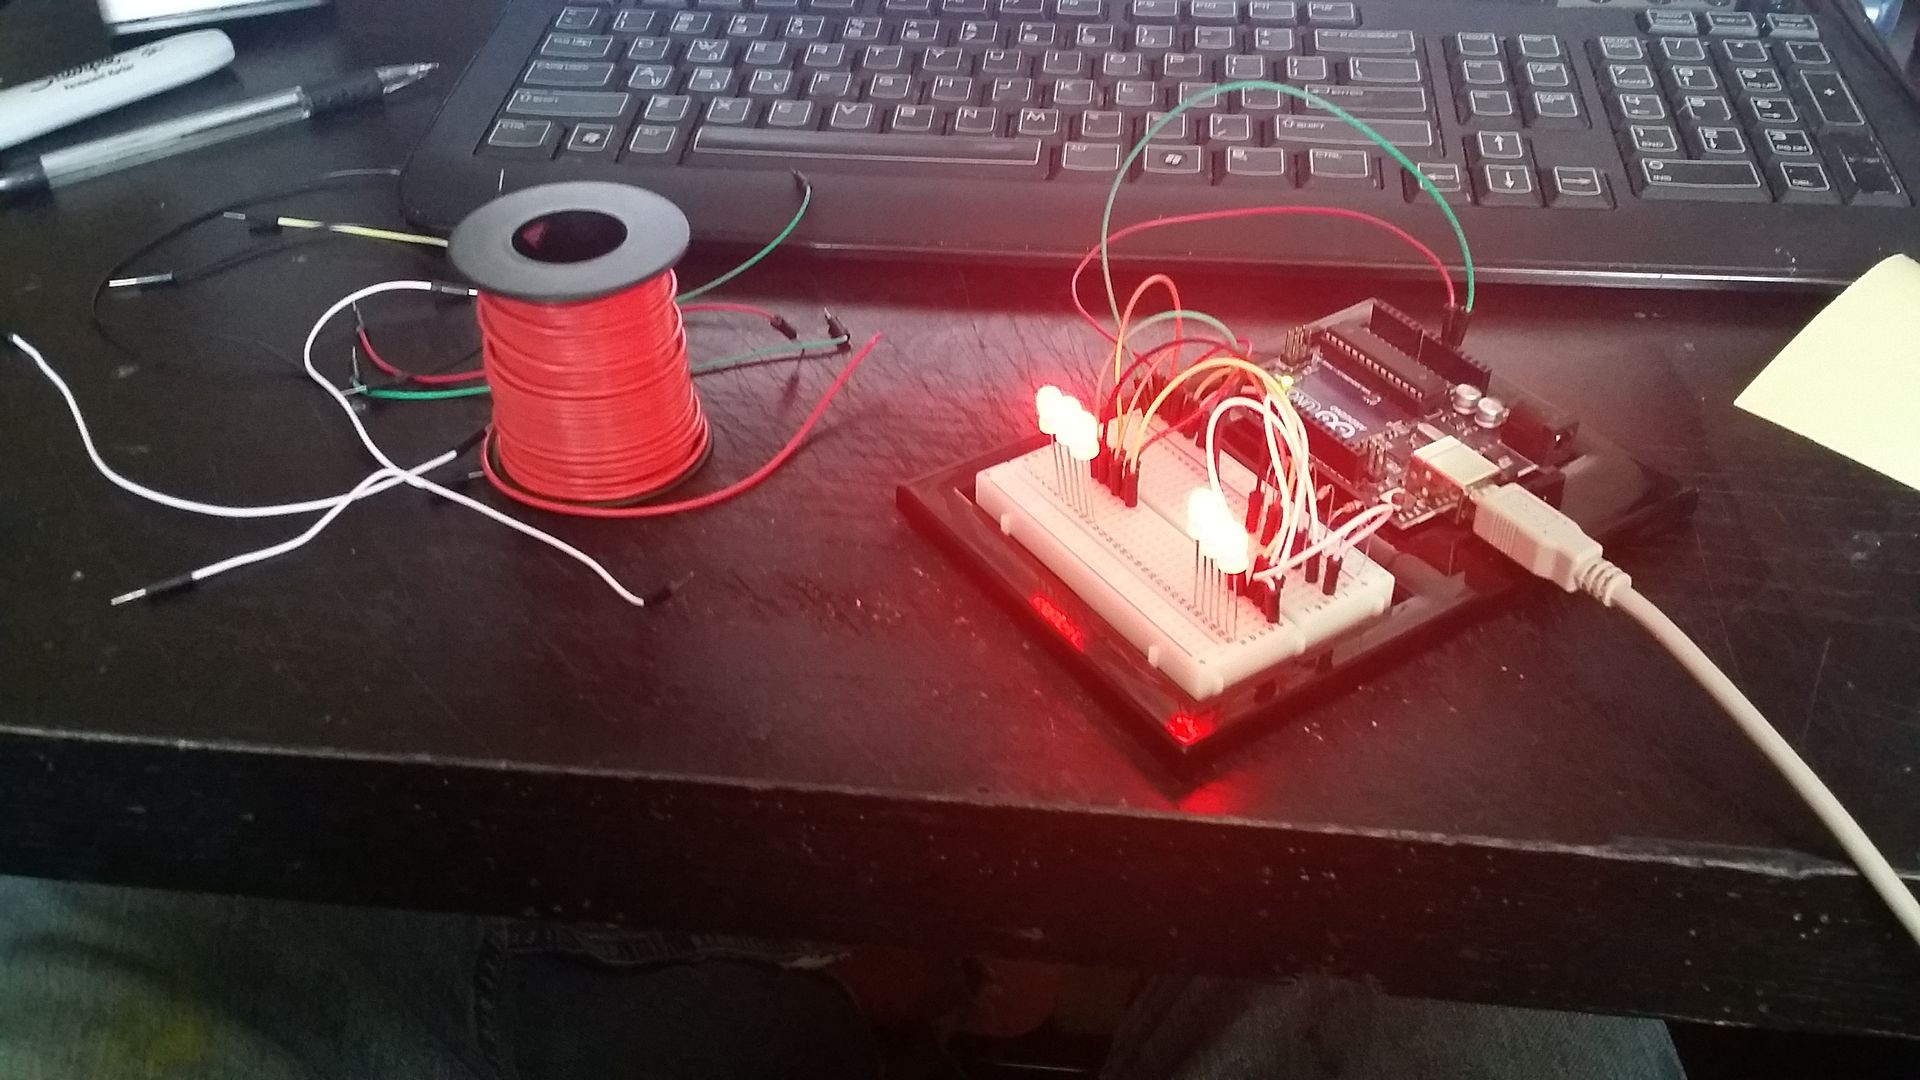
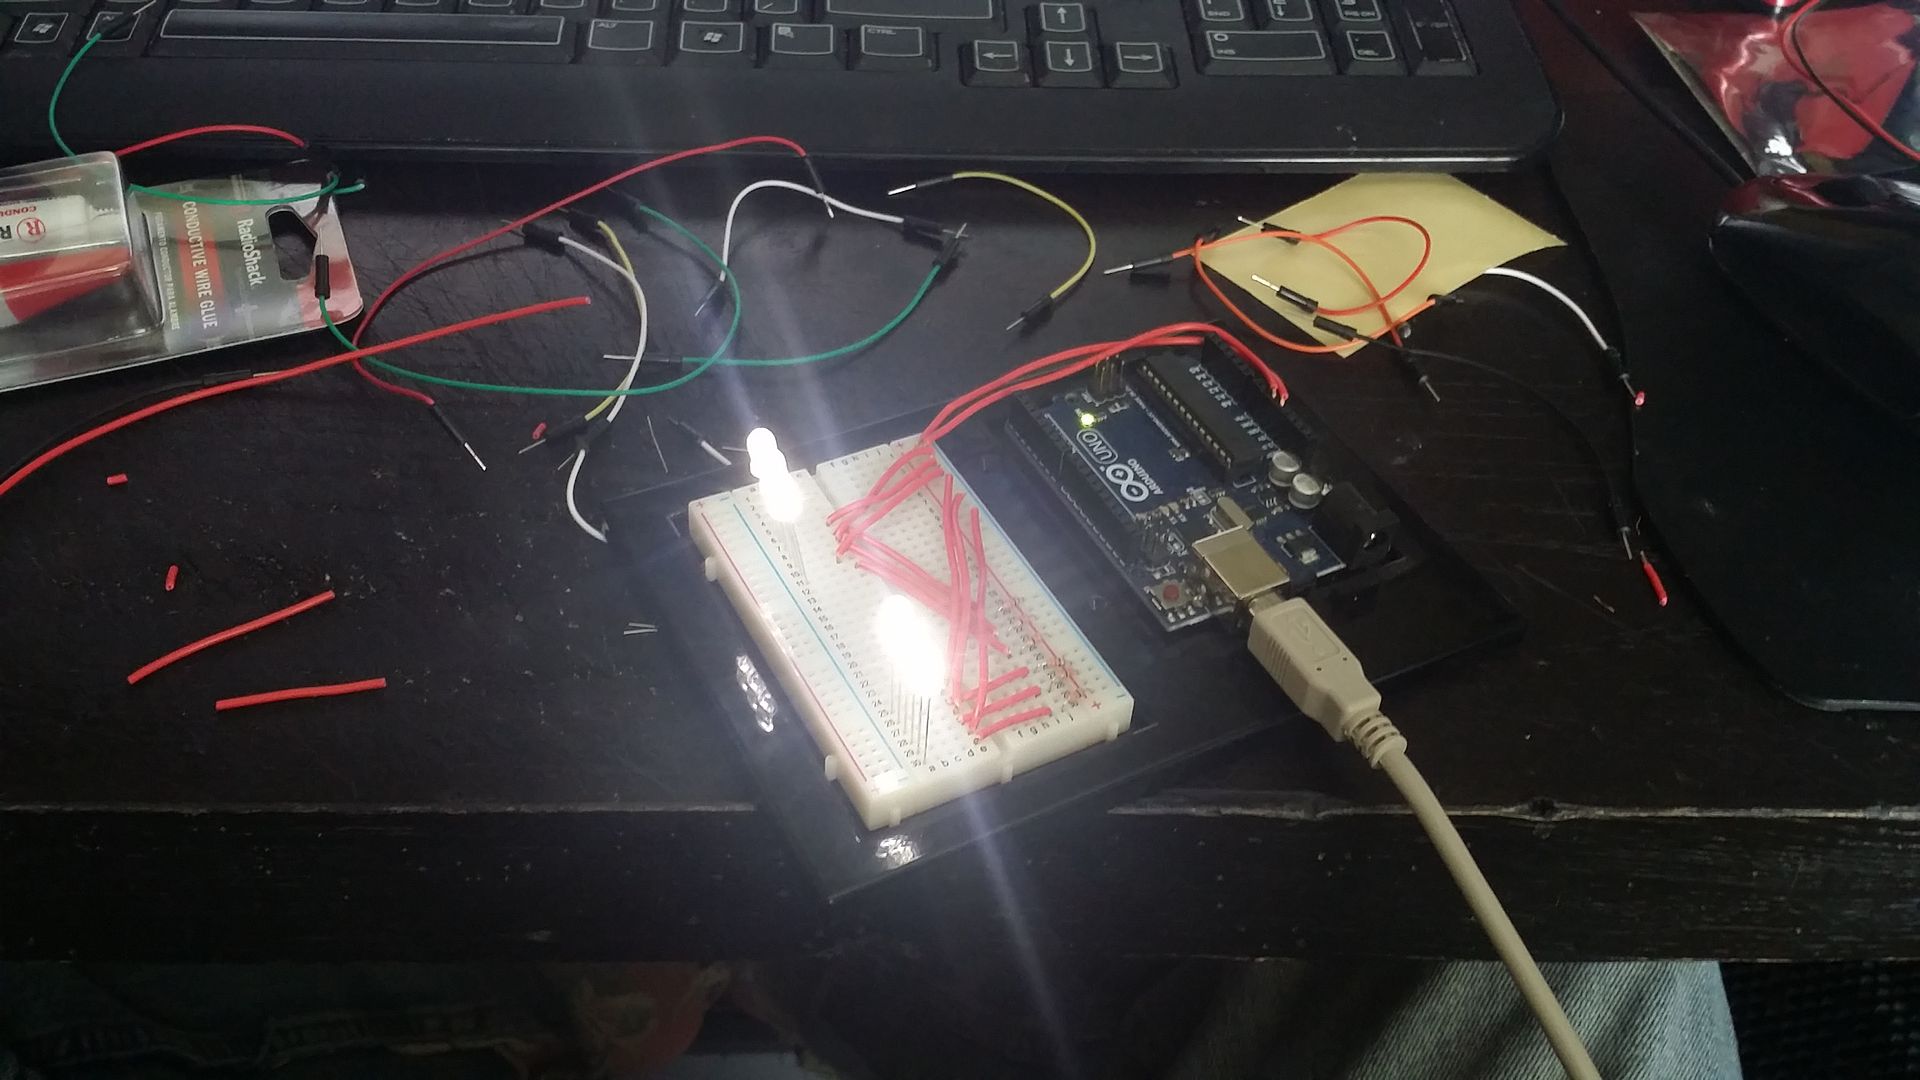
next up, the wiring for the helmet. doing a few LEDs are super simple, but i wanted to experiment with a few ideas first, so it was time to break out the arduino:
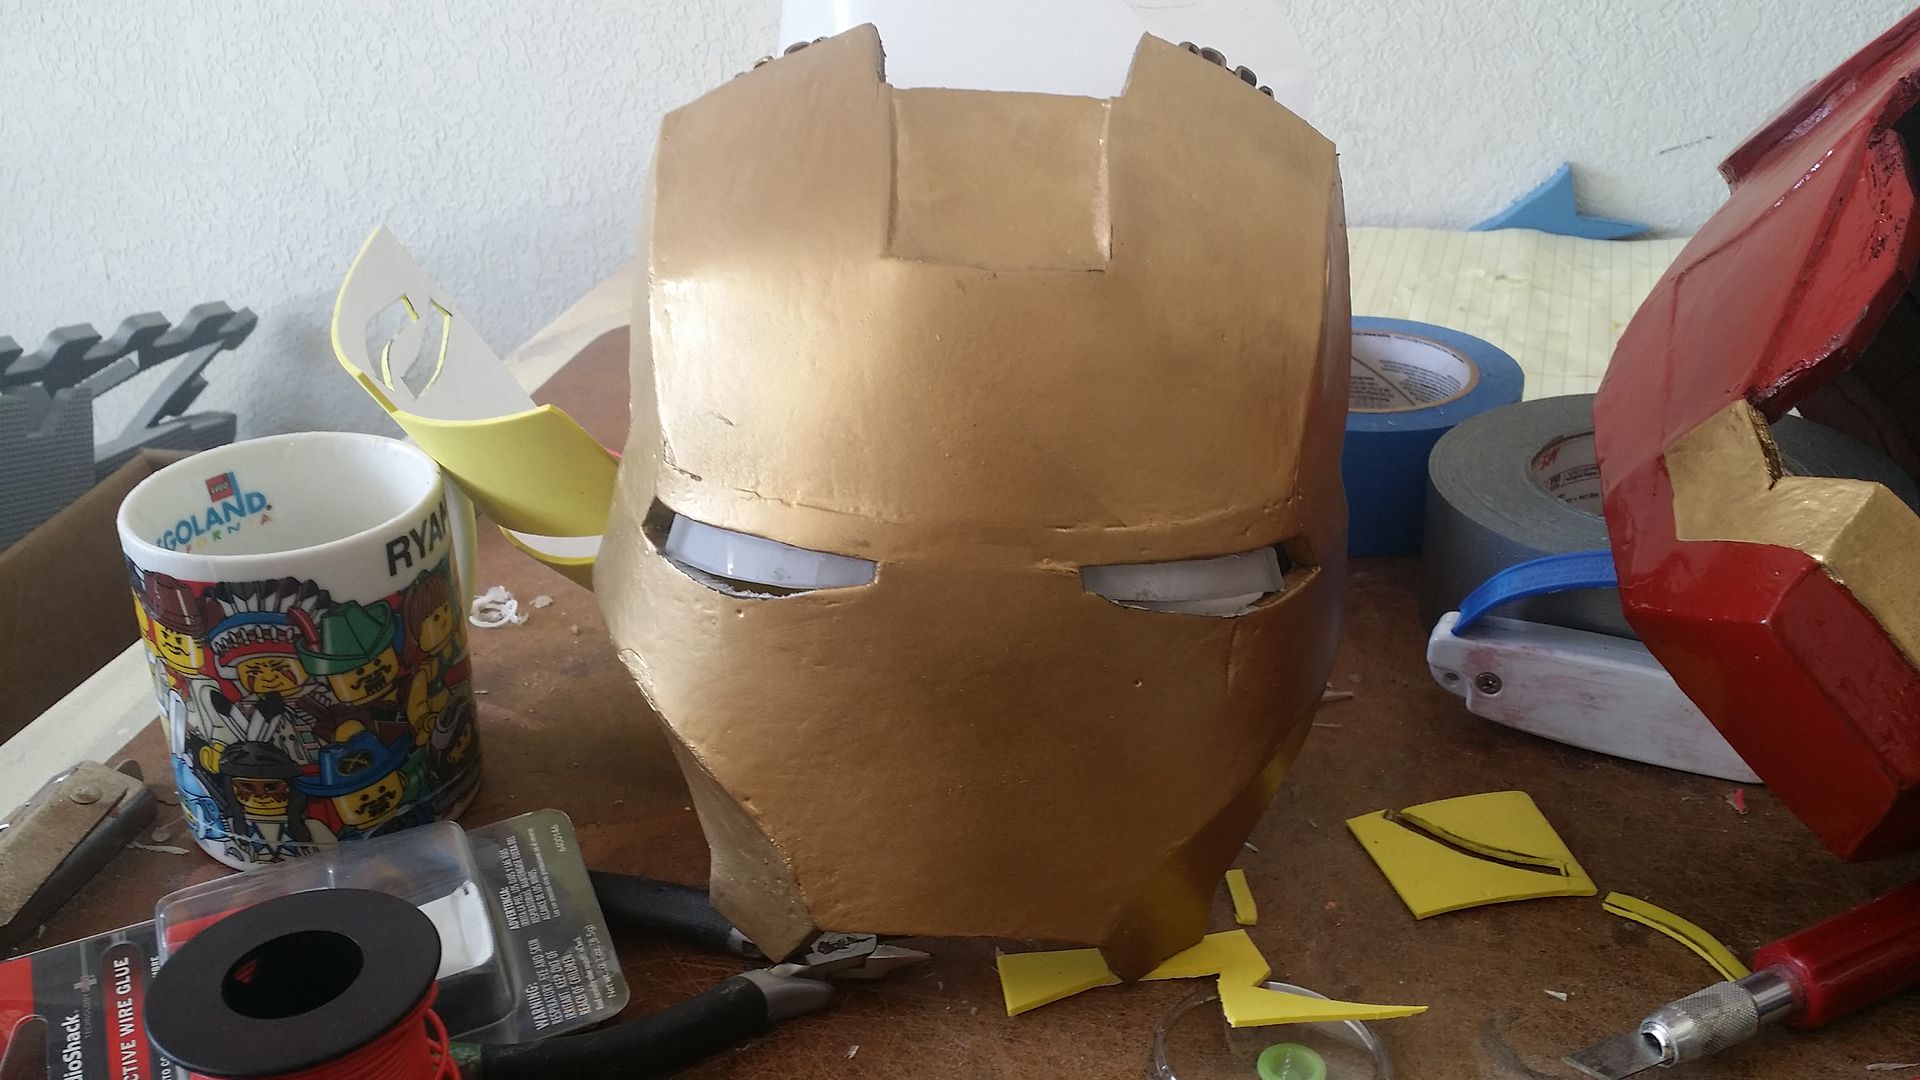
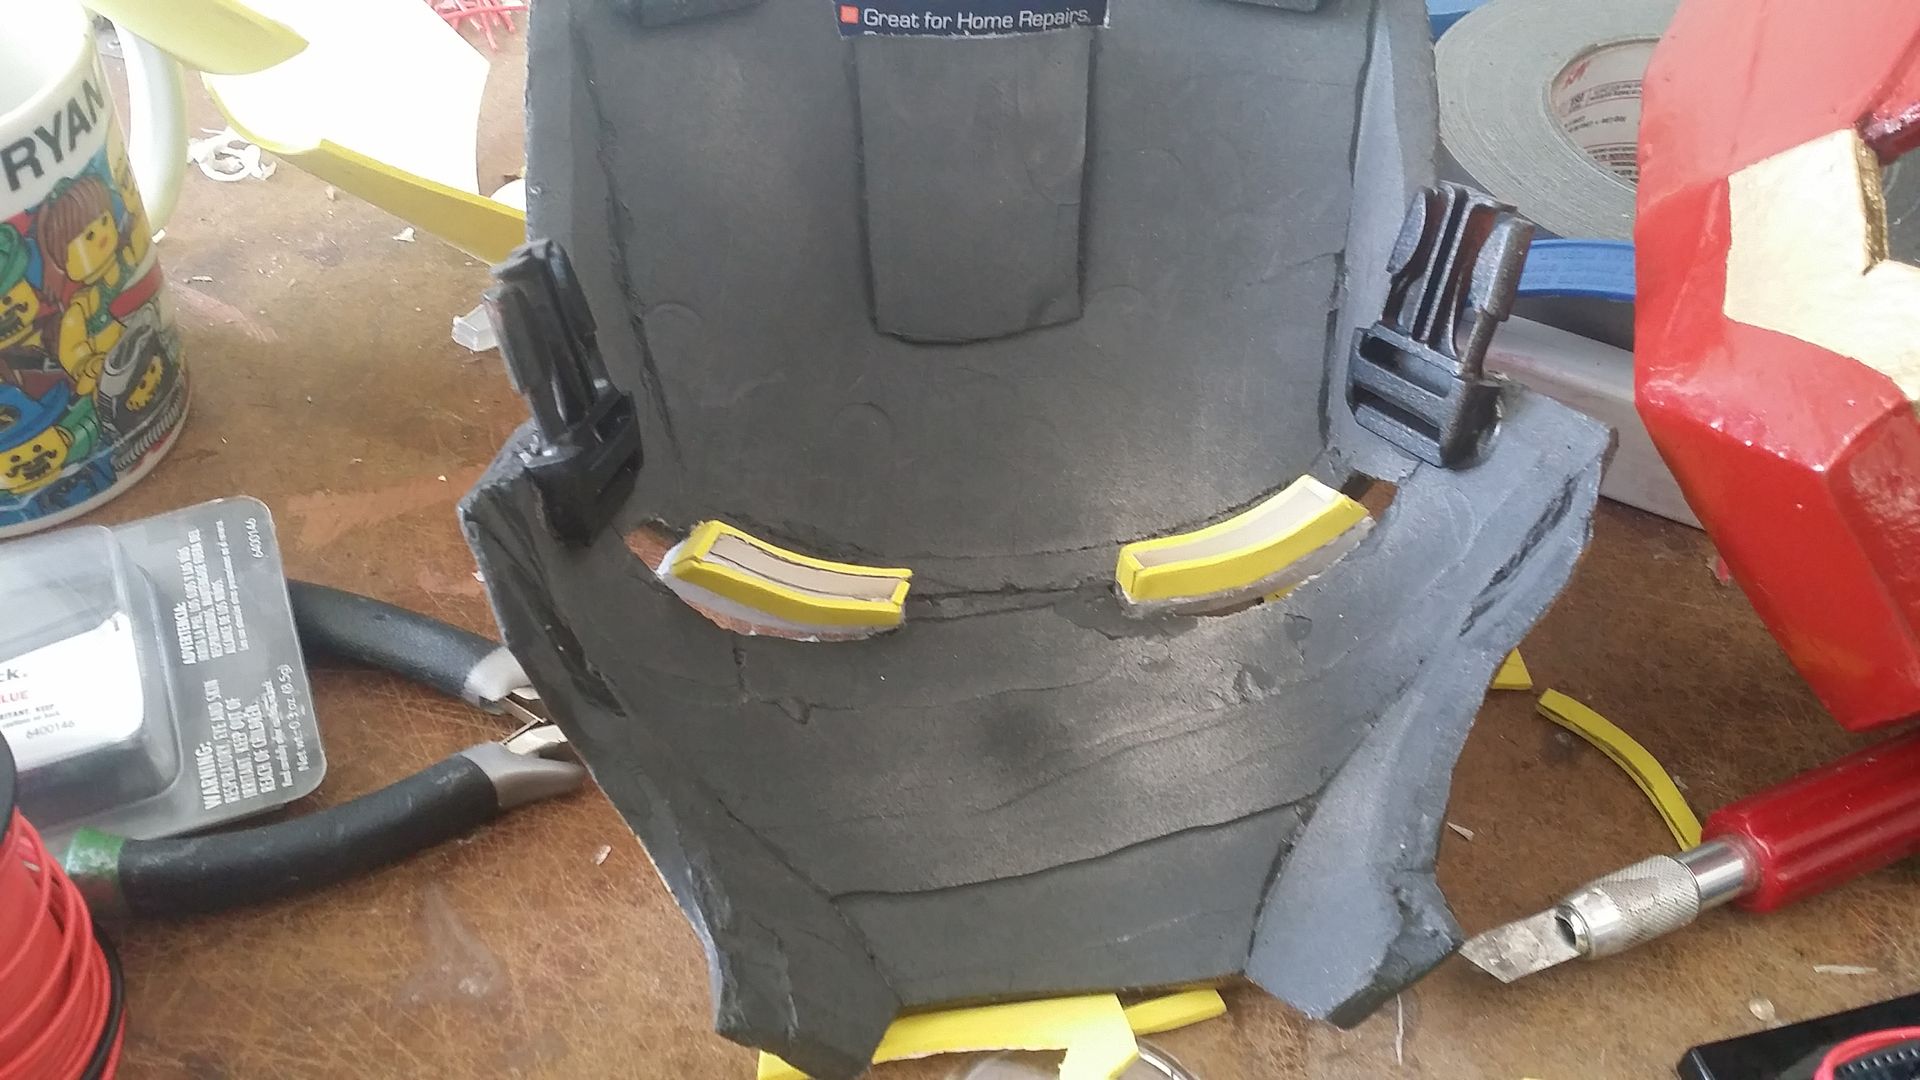
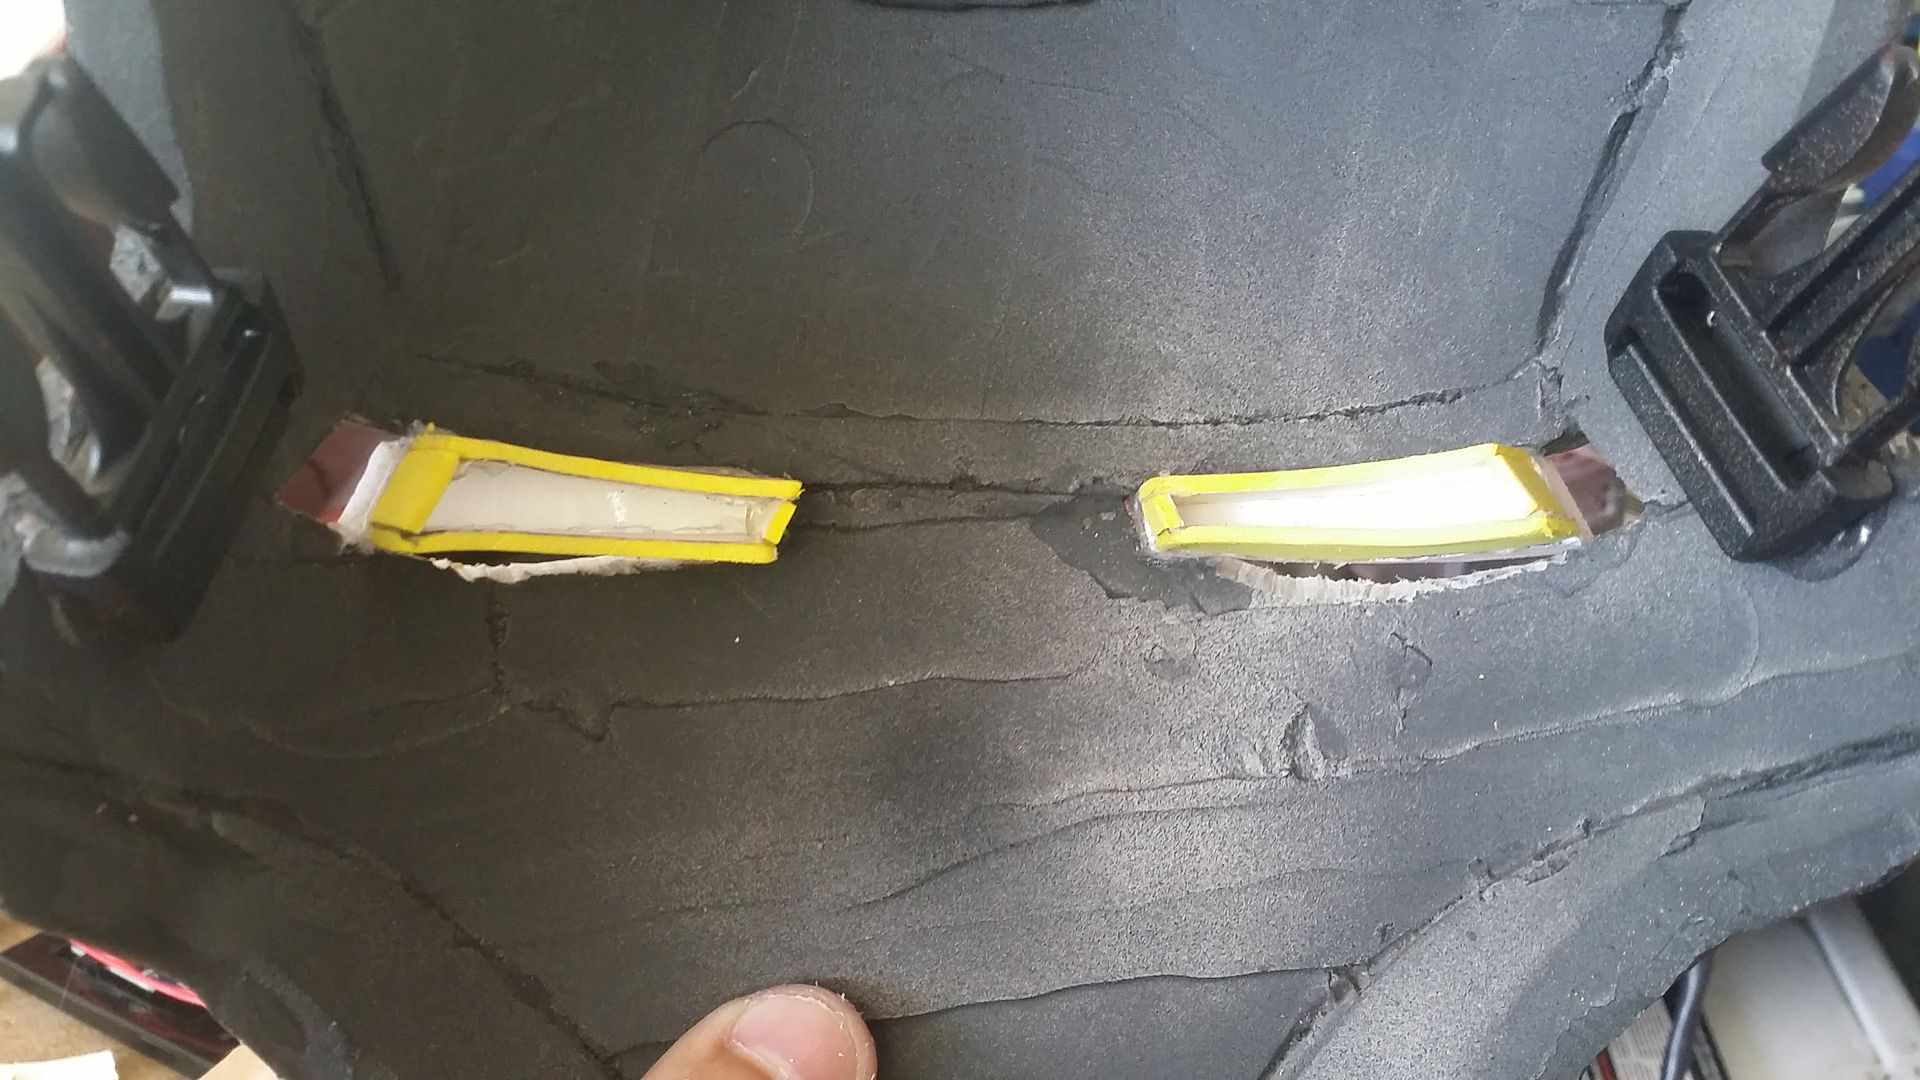
some thick plastic and a rather intense heat gunning, and we got some snazzy looking eye lenses:
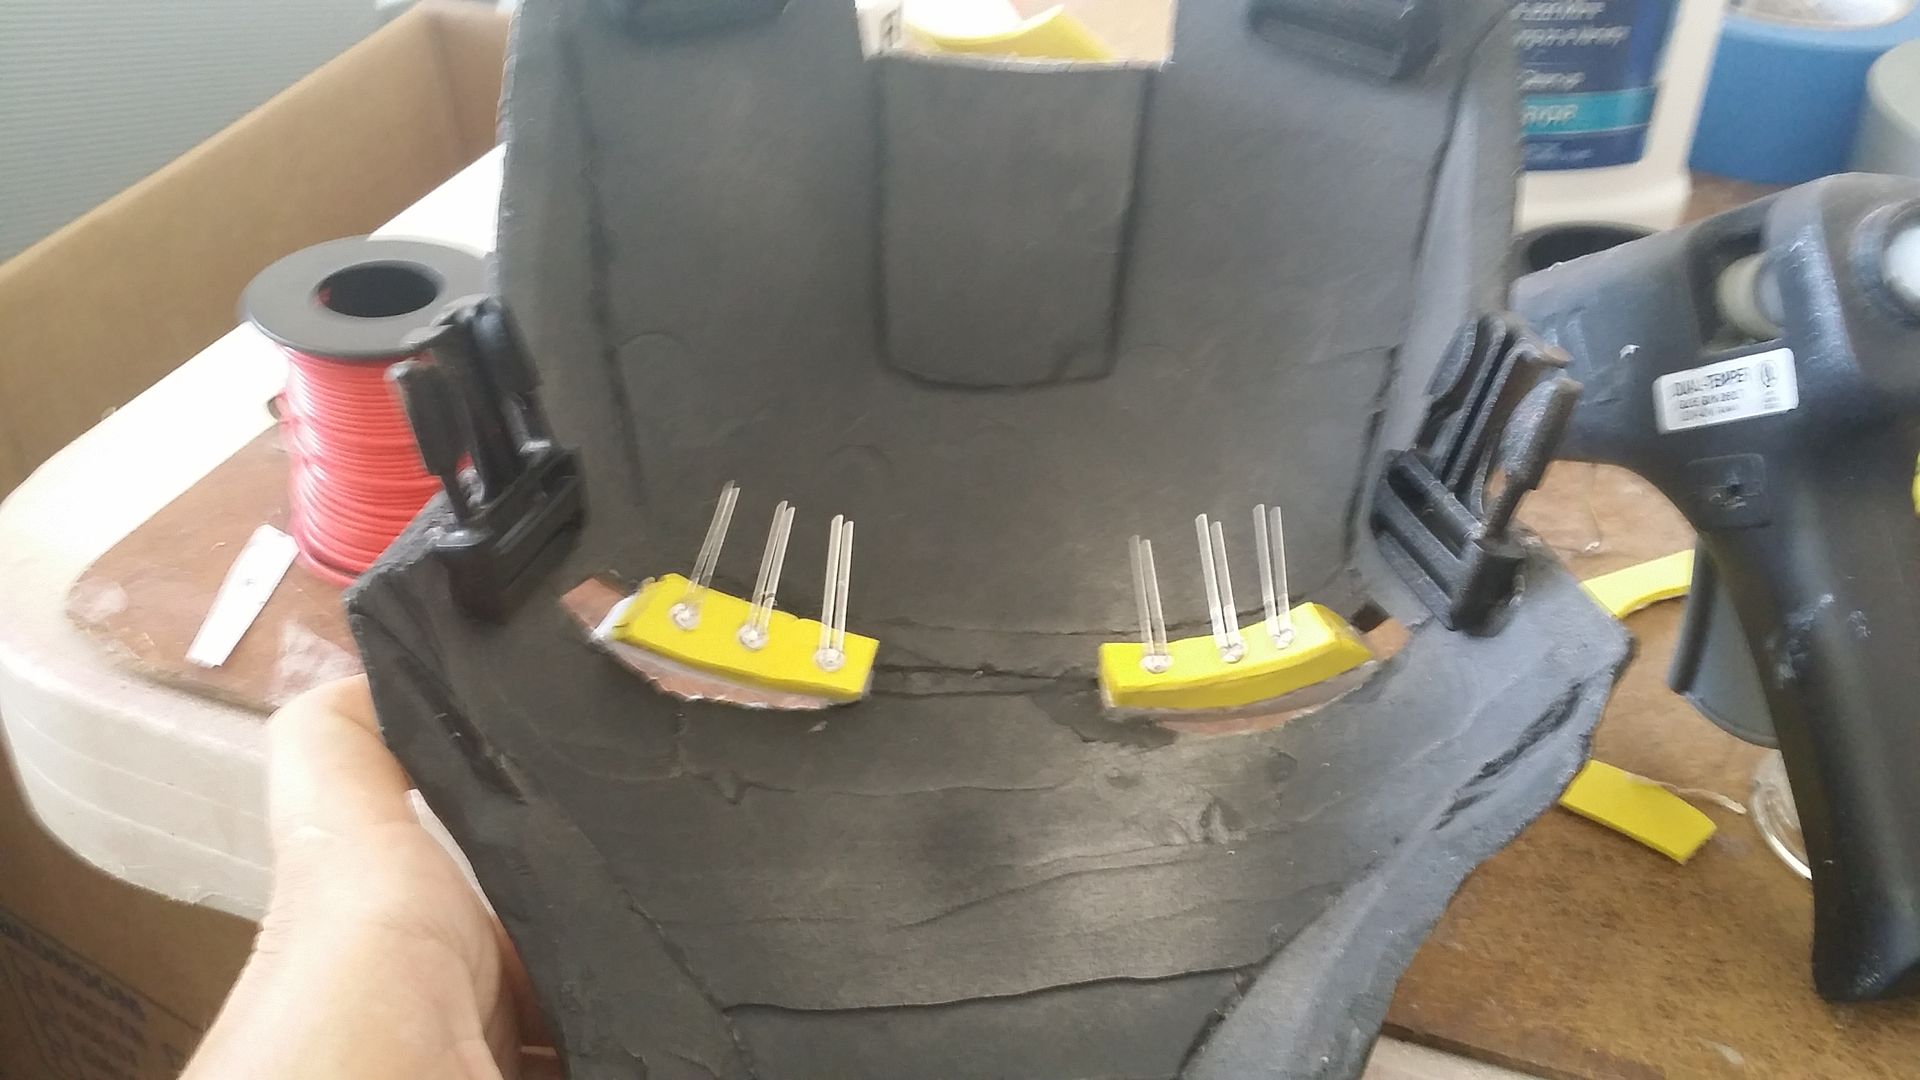
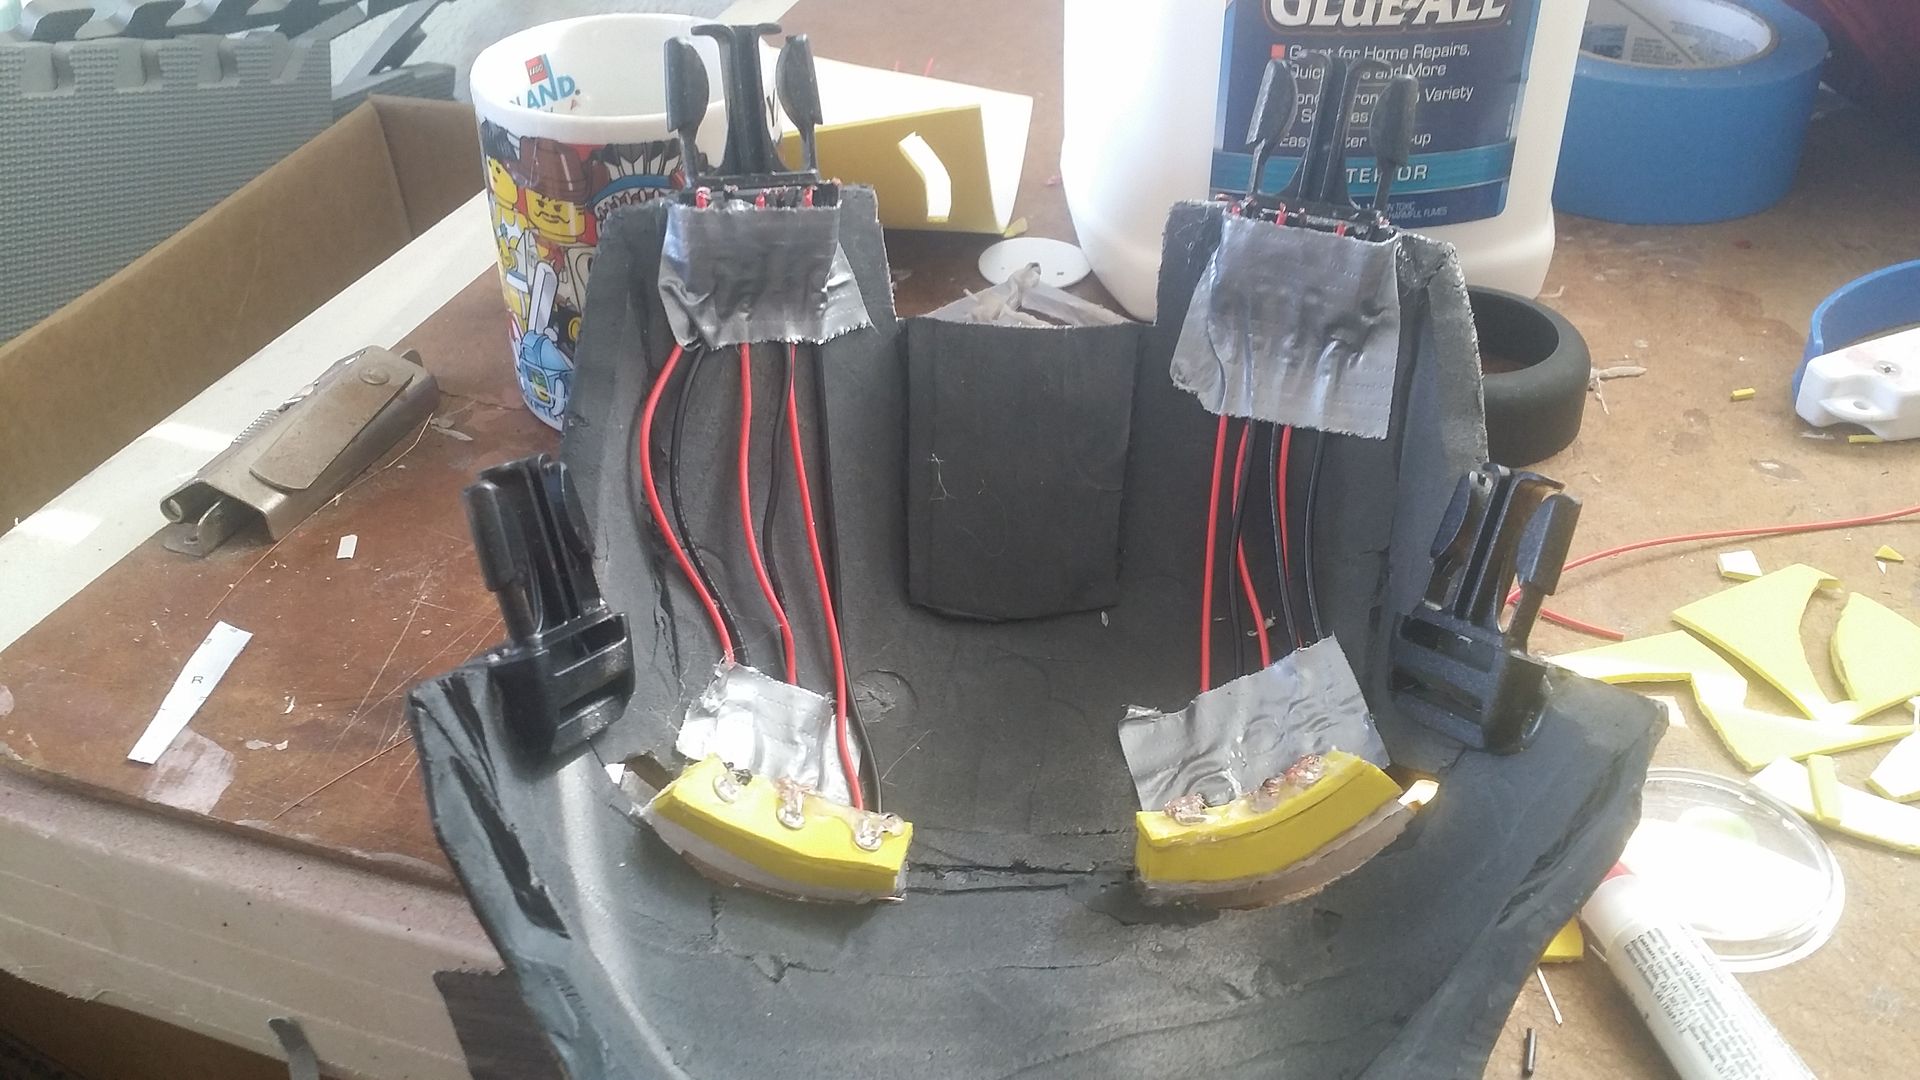
next, we need to make a small "compartment" that will hold the LEDs behind the lenses. time to break out the foamies:
Backing with the LEDs in:
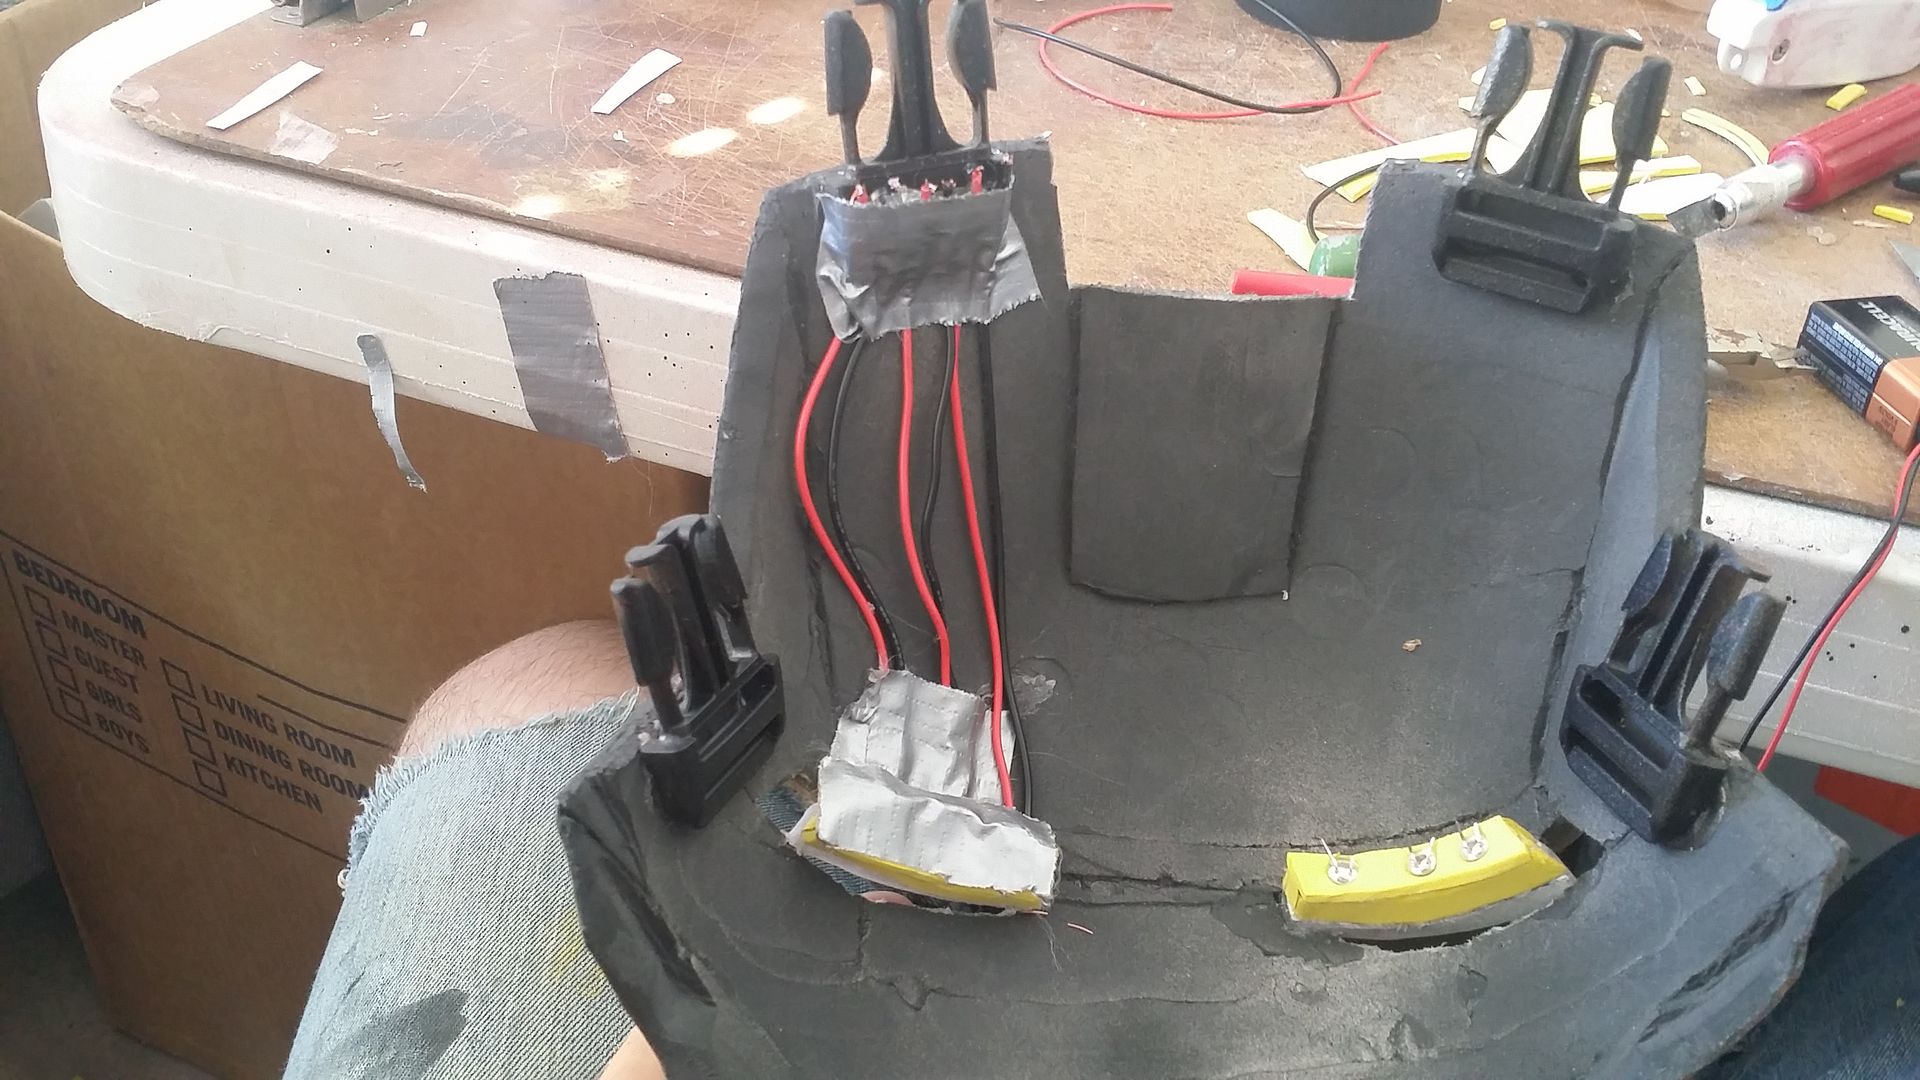
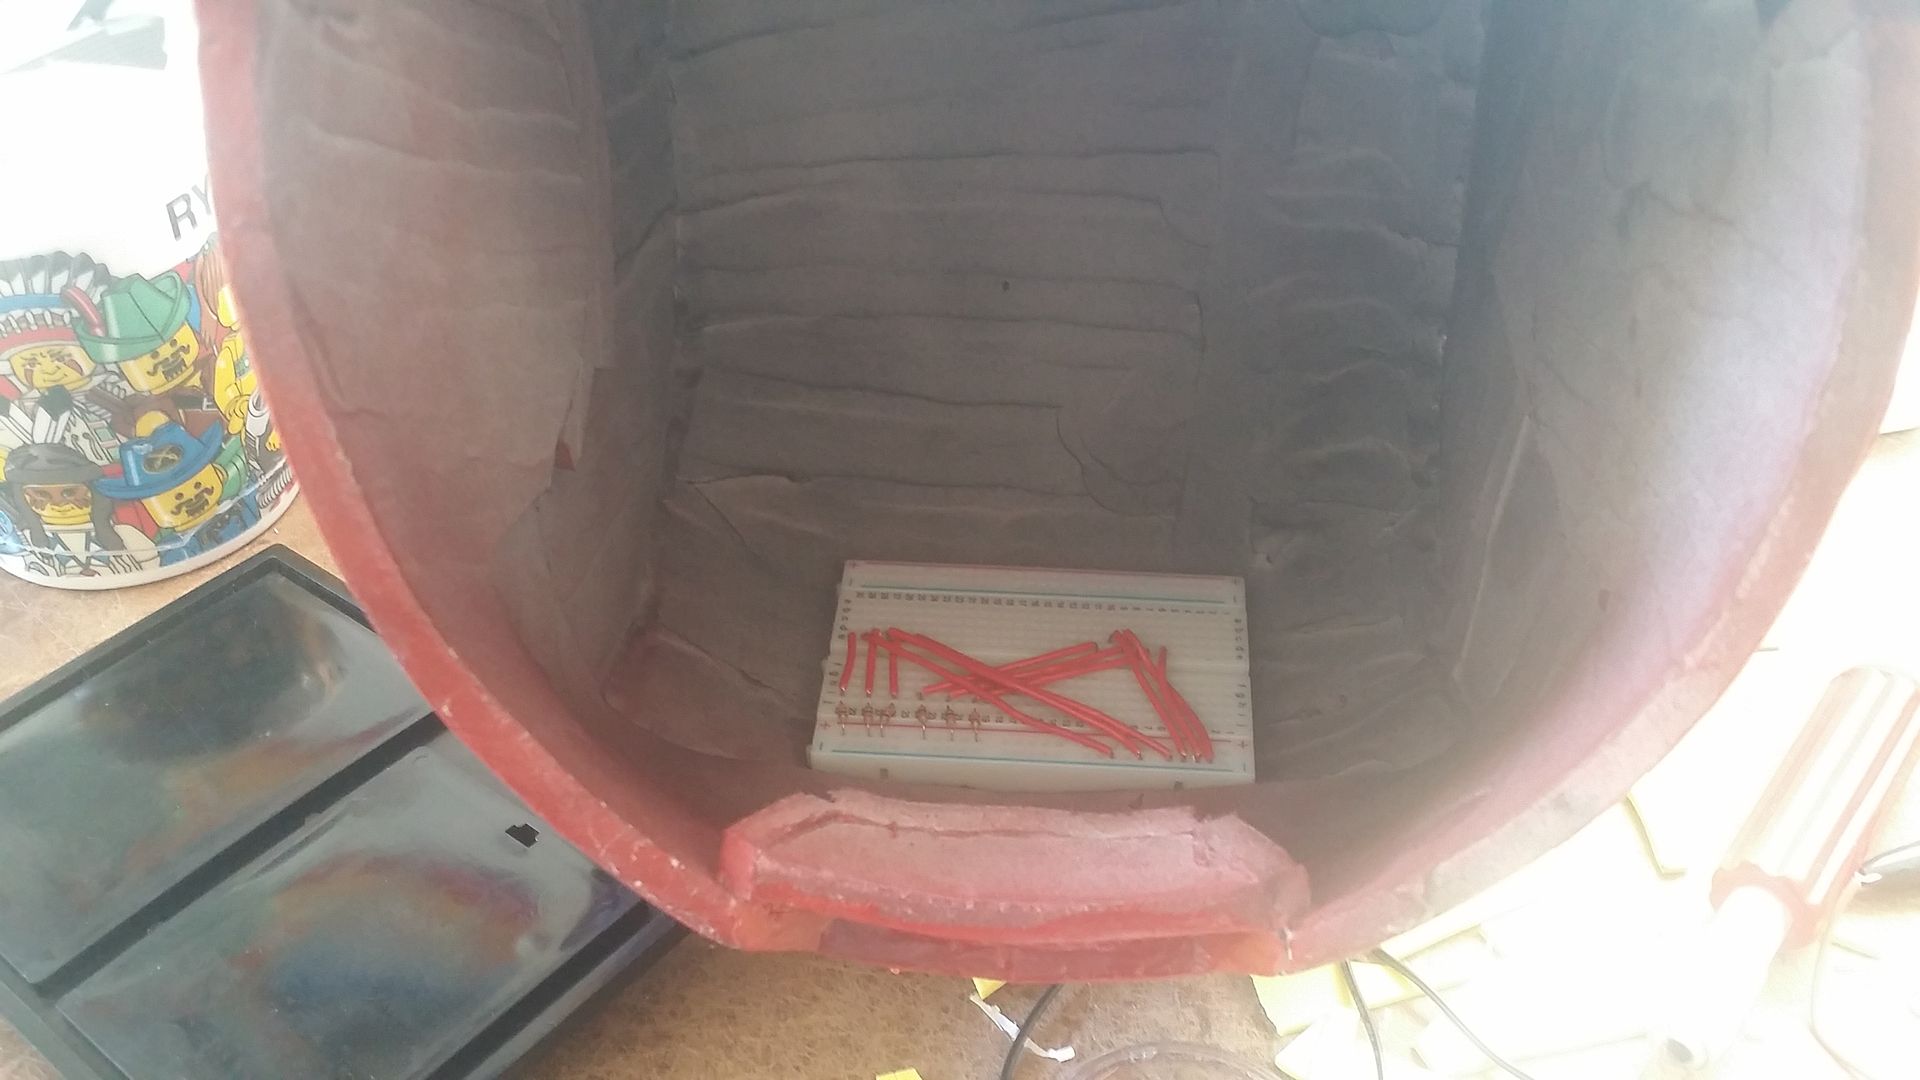
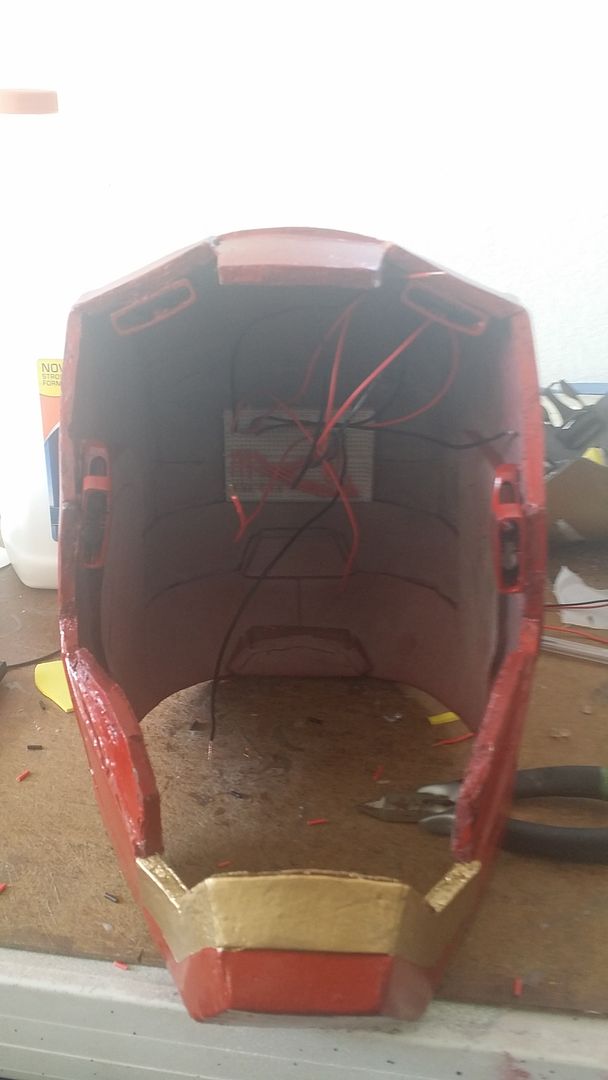
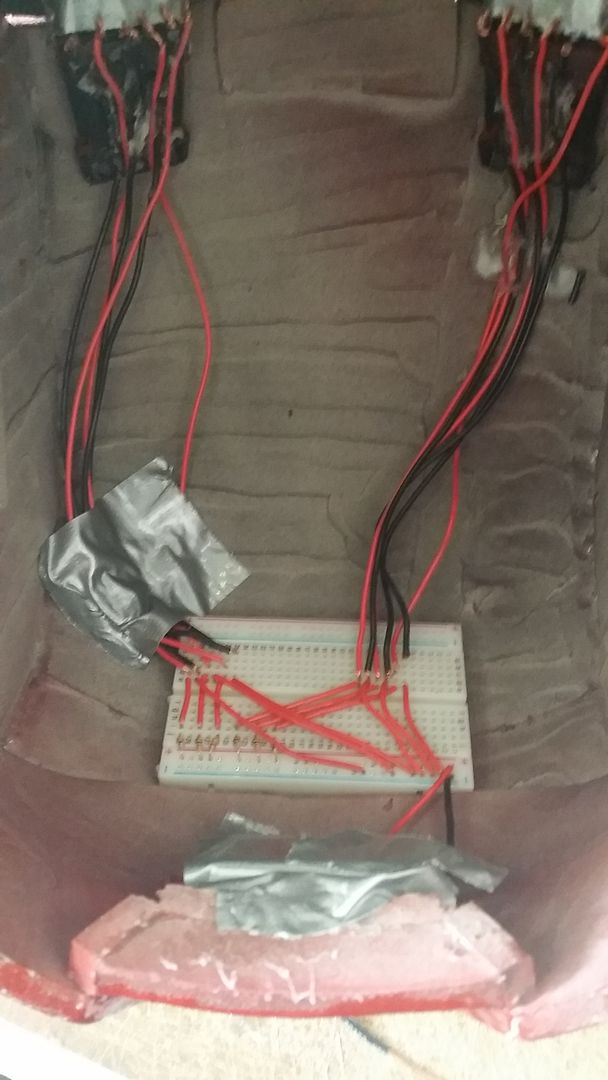
with the compartment made and the LEDs in, wiring was up next. the wires needed to go up the faceplate, connect at the top seam, them go over the top of the inside of the helmet, where they connect with the breadboard glued into the back:

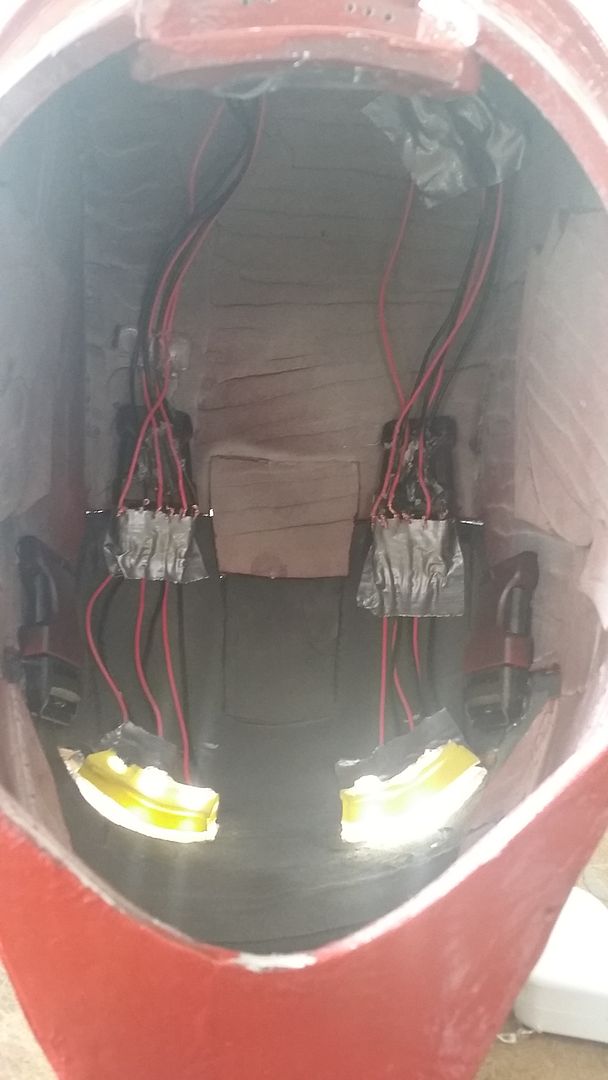
finally lit up
the breadboard all glued and taped in with the wires (the 9V battery is under the duct tape underneath it)
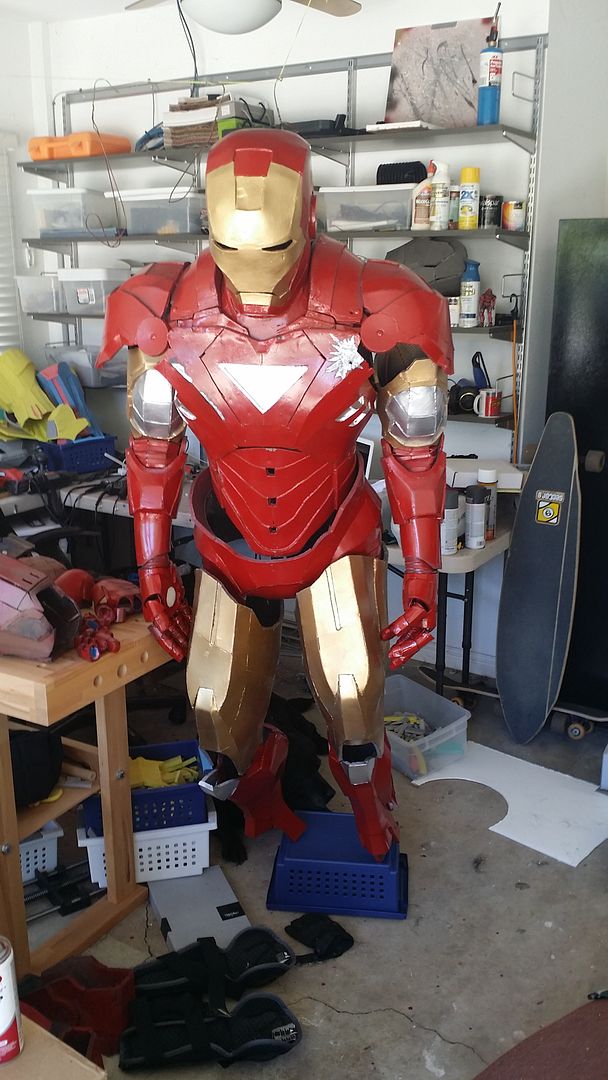
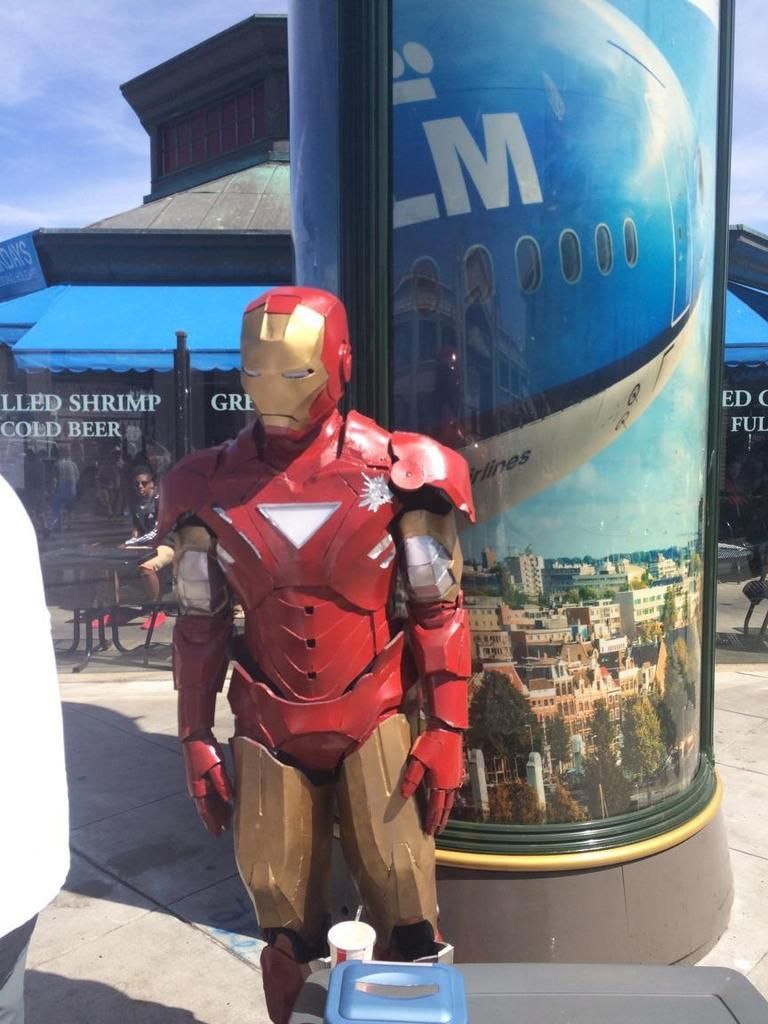
and... that's it. it's done. i present to you....
Mister Chief's Iron Man Mark 6
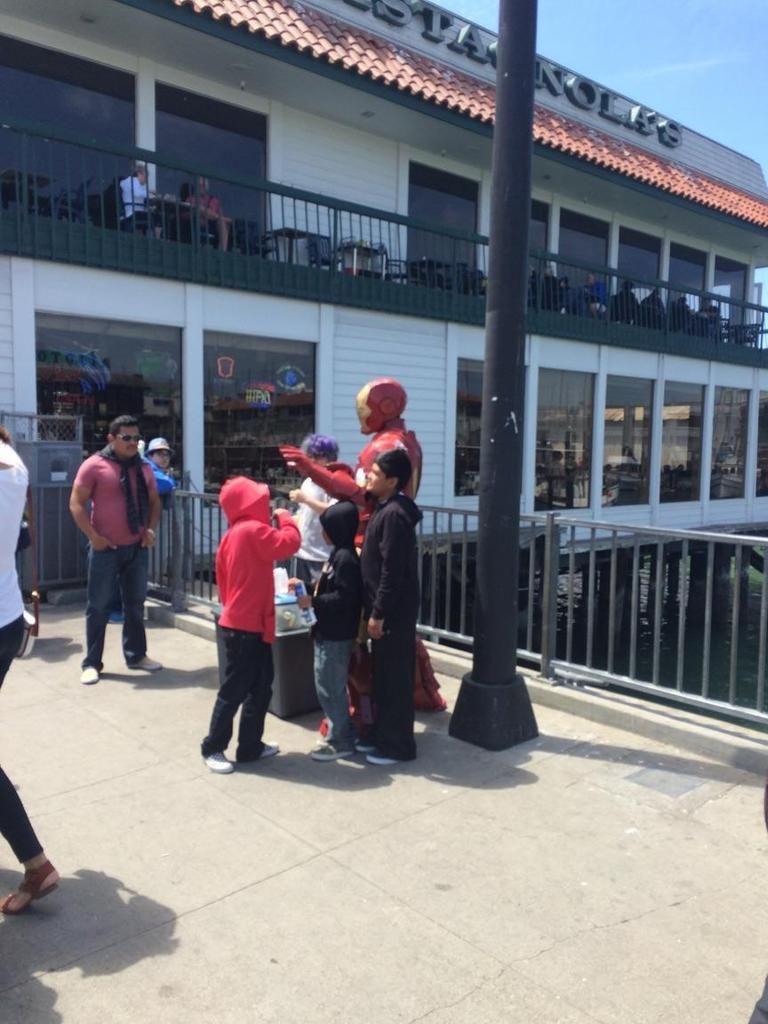
But this isn't the last you'll see of the mark 6 on here. i got some plans for him...
stay tuned!
No comments:
Post a Comment