Welcome back! it's been a while hasn't it? well, at the time of writing, it's a few days post-RTX 2015, which was an absolute blast and a half. continuing the tradition, I made a costume just for the occasion (well, edited a current costume if we're here to pick nits). and, not wanting to skip right to the juicy climax, i thought i'd start from the beginning. and by beginning i mean middle.
...it'll make sense later.
Those of you that have been following me from the start (so, my mom and that one guy in south korea that keeps showing up on the stats page for whatever reason) may have seen/heard hints at some semi-mythical iron man build. turns out, it's not mythical, it was just done back when i used a digital camera to take pictures, and my sister took it for a month-long summer vacation while i was building the suit. so... no pictures.
"but mister chief! why are you posting this is you don't have any pictures?"
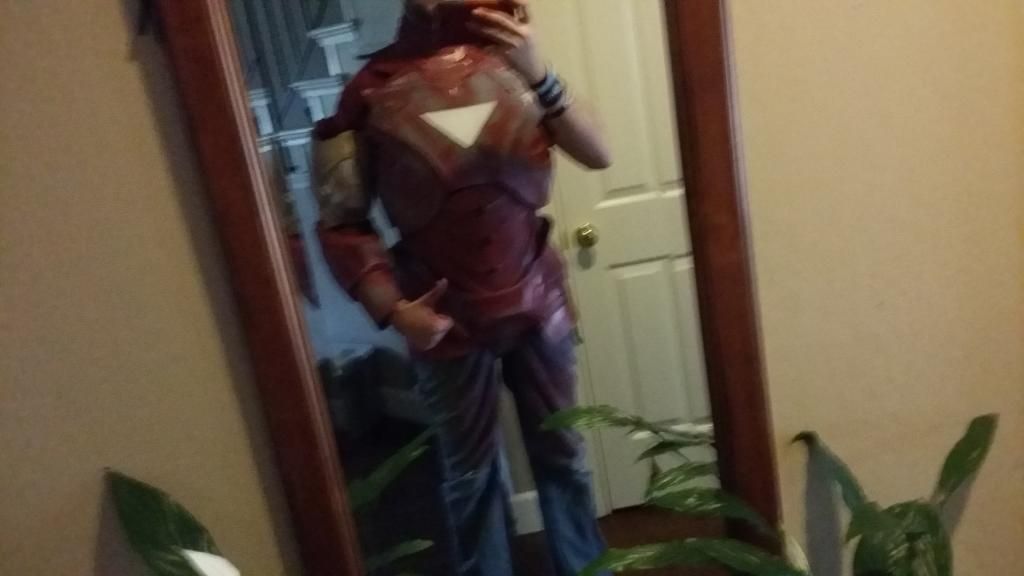
Well that's a very good question korean guy! the thing is, the Iron man suit was a big mad rush to finish in time for halloween. and because of that, a lot went wrong. we'll go further into that later, but for now, take a look at the poor bastard a few months after halloween:
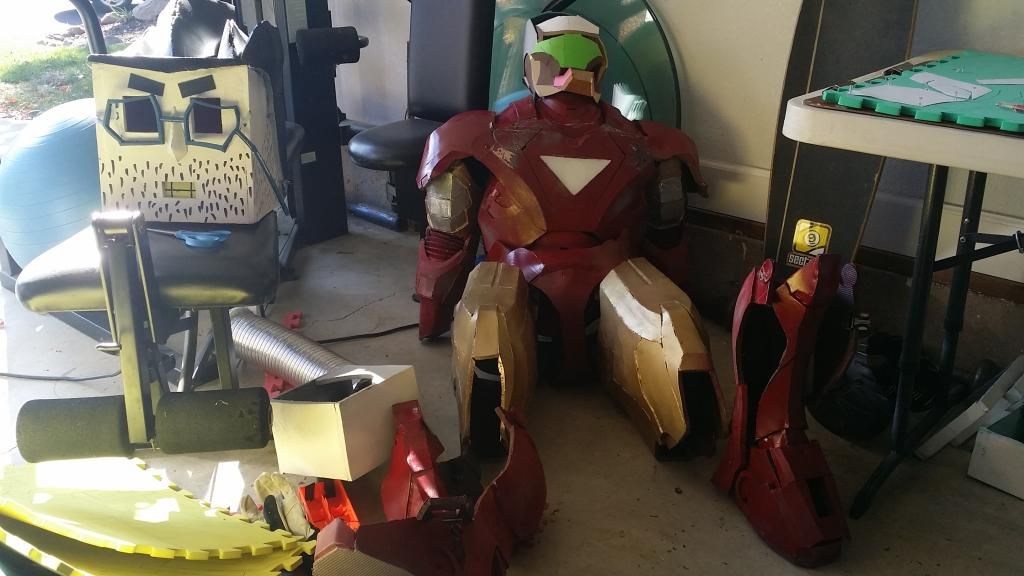
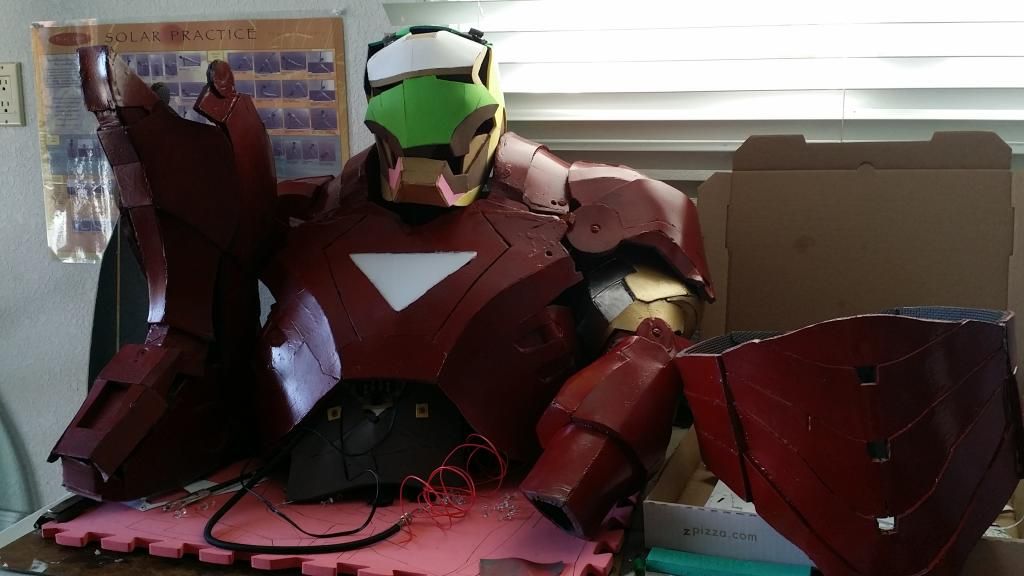 I half-assed a helmet out of two-layered foamies stuck together, but for whatever reason the faceplate came out smaller than the rest of the helmet, so I just kinda keep it around since it looks funny. the other glaring issues are the plastic coating, which was done by hand instead of the usual Plasti-dip spray. however, it was done at the end, about four days before halloween, so i did absolutely no sanding in between, which meant lots and lots of pumps, imperfections, and drip lines. no bueno. and the shins and boots... oh dear the shins and boots...
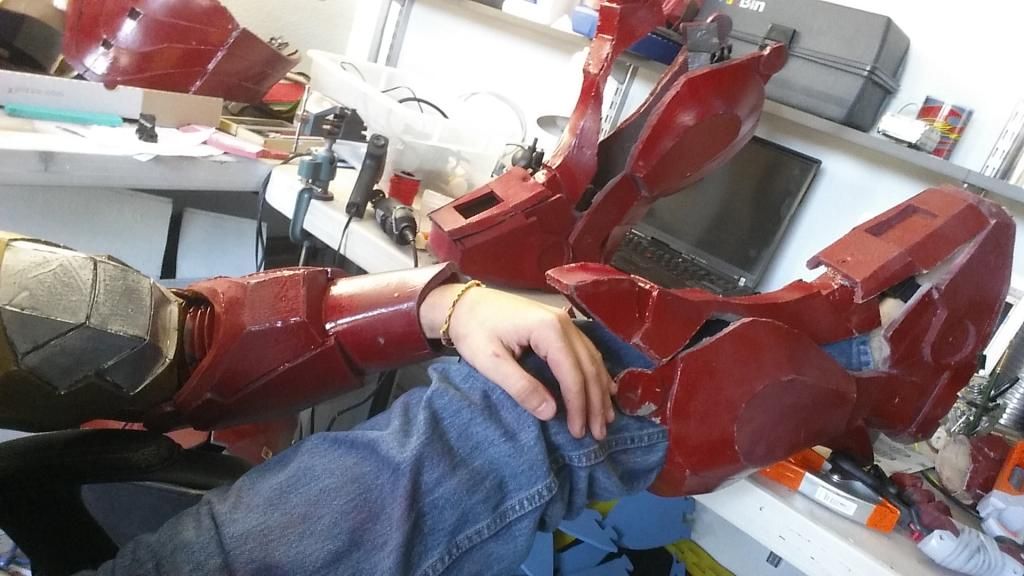
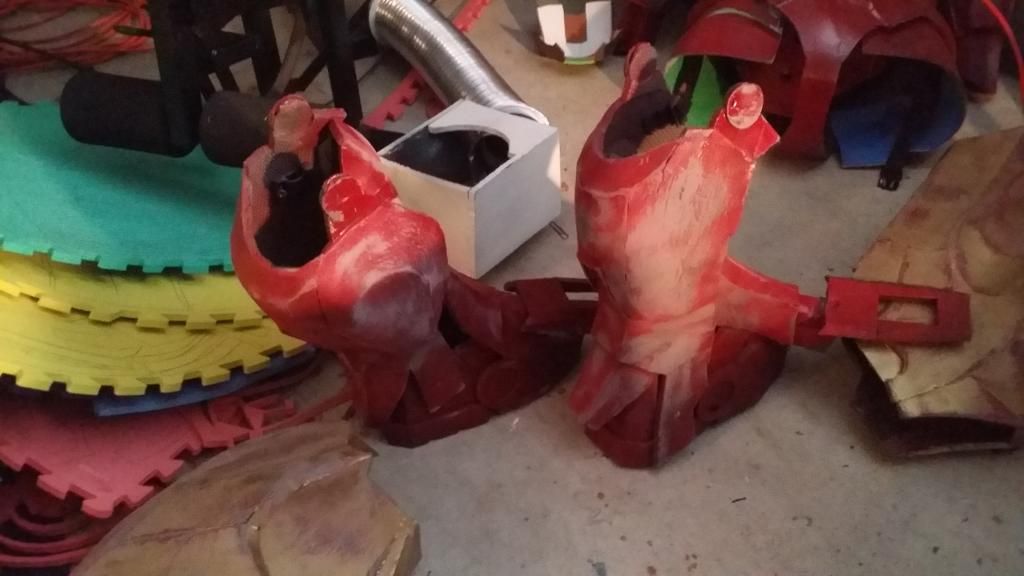
where do i even start... the shin pieces were too narrow to stuff my leg into, so i tried to make them separate in half like the movie. only problem is in the movie they seperate from the back calf section, not the front. they're also not made out of foam... and since it was so snug in there i couldn't put any clips in, because i had no way of reaching in to unclip them. the boots were even worse! to start, the pepakura model was missing the entire front toe section, as well as all of the treads, so it just looked half-finished. on top of that, it was so late in the build that i was in "ah fuck it" more and was just trying to get it done as soon as possible, which meant there was nothing inside but a strap and buckle. not comfortable OR easy to walk in!
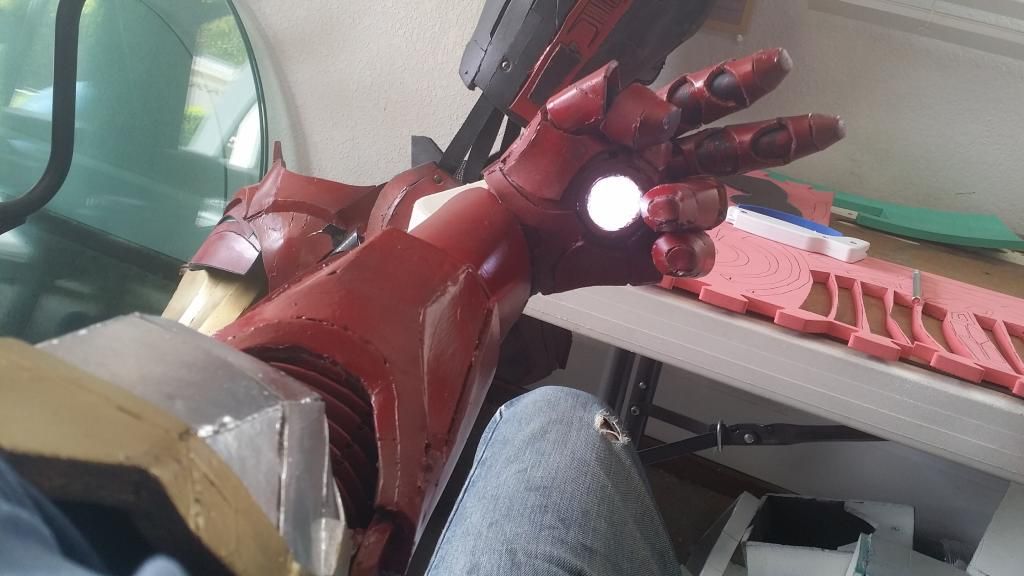
and finally, the gloves. another "ah fuck it" mode piece, made from the same double stacked foamies sheets with (slightly) more success. none of the finger pieces are held together, or labeled, and they're all subtly different in shape and size. and there's three of them per finger. and they're just put over a rubber glove that WAS spray painted red, but, being a rubber glove, the paint just cracked and flaked off with every little movement...
So, to make a very long story short, things were not looking good for iron man. however, i'm too stubborn to give off that easily (and too poor to write off THAT much foam, plastic sealant, paint, and electronics) so i got to work on repairs.
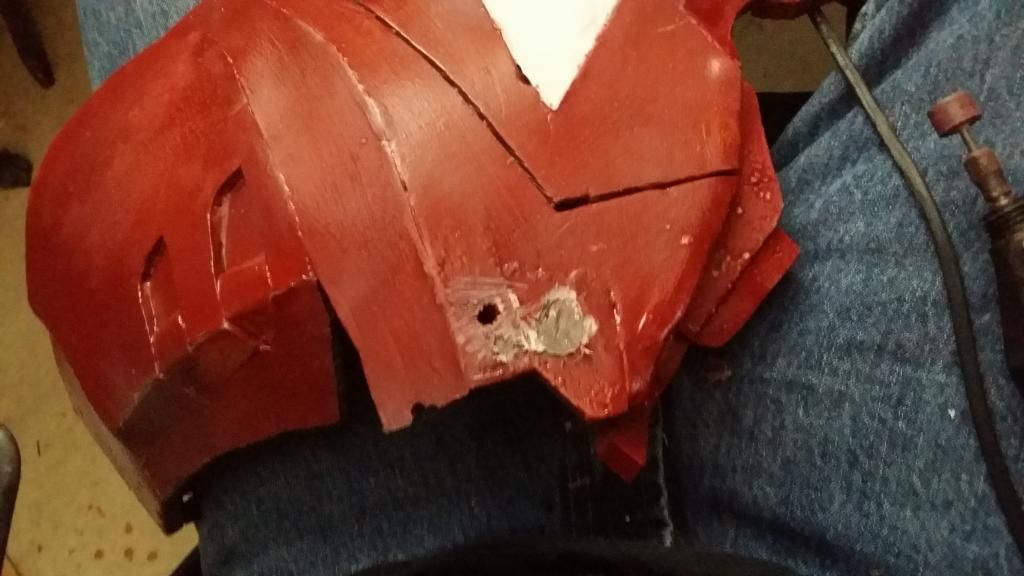
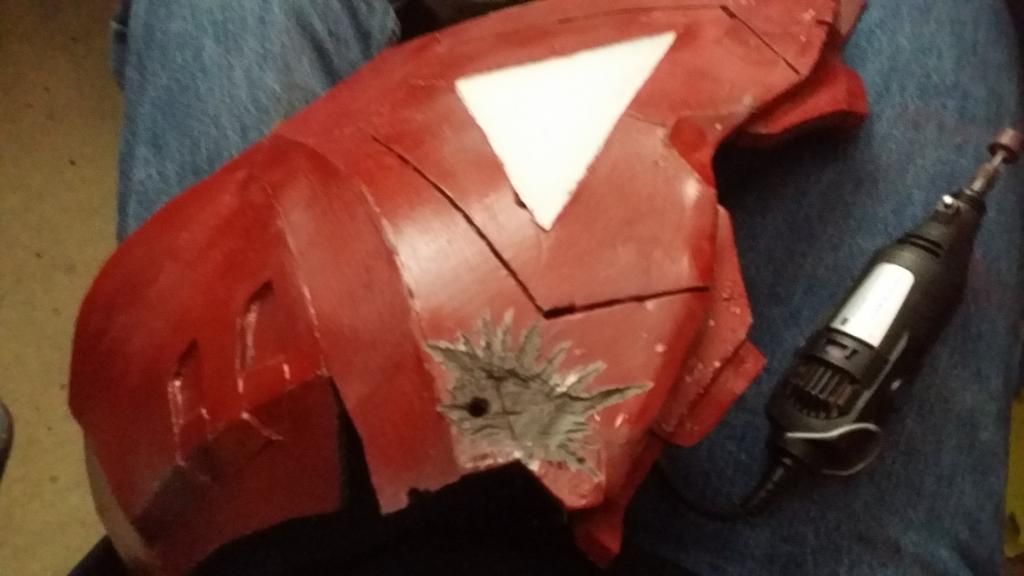
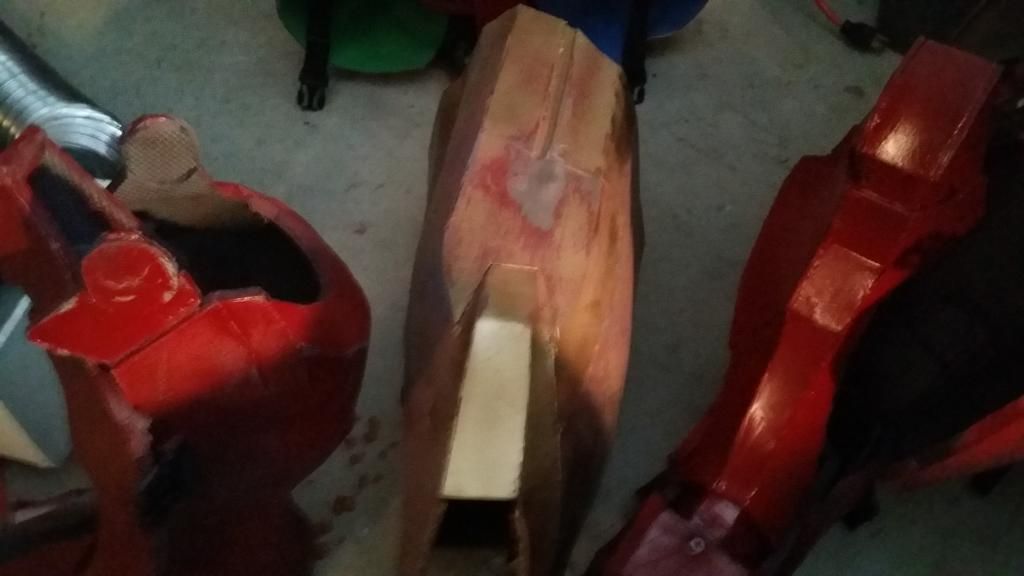
The first thing on the list was fixing the lumpy bondo mistakes and air bubbles that had been formed under the sealant. now, standard procedure would be to cut around the affected area and scrape it back down to bare foam, then reseal and repaint. but where's the fun in that? So, instead, i turned it into BATTLE DAMAGE!
The failed bondo job and big nasty hole that really seemed to come out of nowhere got turned into an explosive impact:
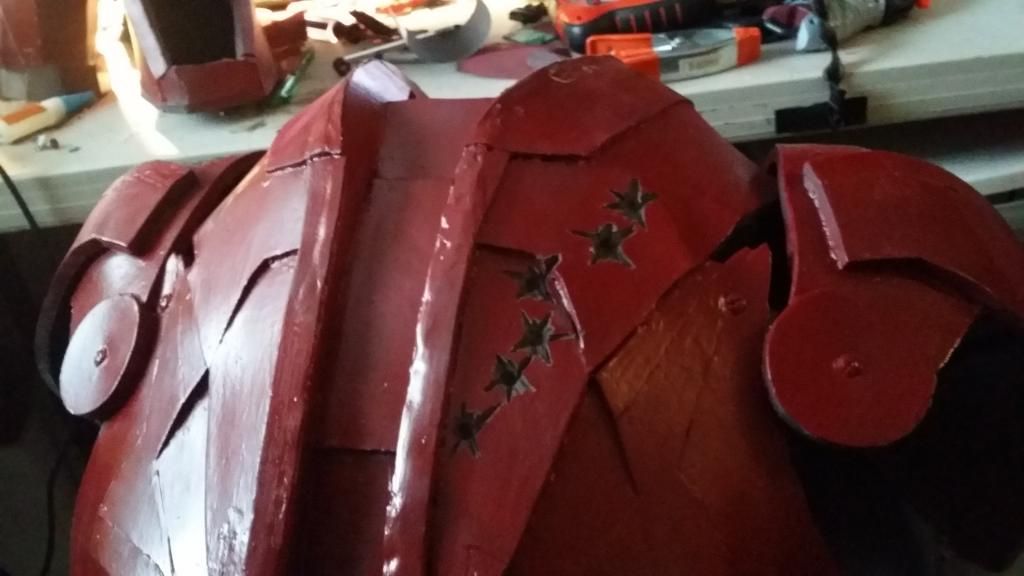
And a series of air bubbles and drip lines on the back got turned into a sweet line of automatic-fire bullet holes:
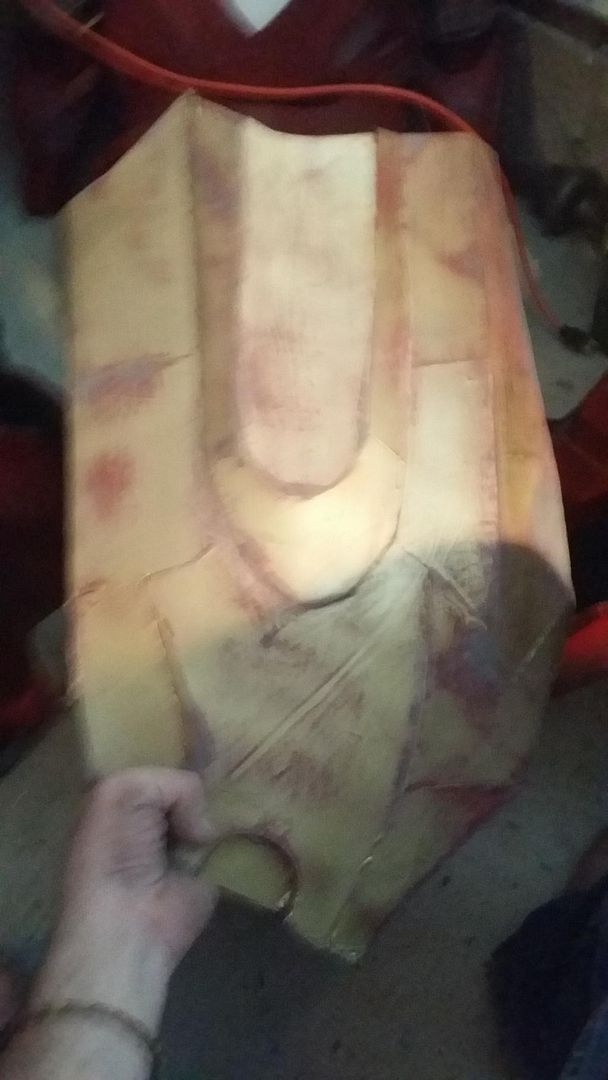
Alright, with that fun little detail stuff done, next was the biggest item on the list: sanding absolutely EVERYTHING:
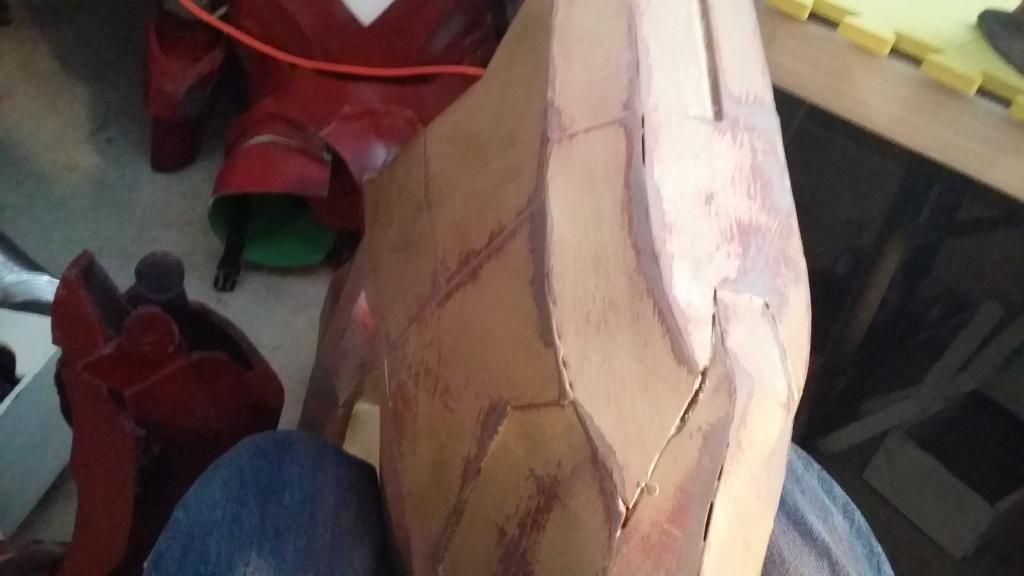

knocked out the chest, back, one arm, and partially got the abs and codpiece done. seems like a good start for this VERY long project, so, until next time. Stay tuned!
No comments:
Post a Comment