And we're back at it again! last update, we had the hands all but finished, with snazzy lookin flexible bits, and to finish this part of the build off (at least for now), we gotta stick the lenses in. this one's more of an "if it ain't broke, don't fix it" type deal, so that means we'll be doing the same as last time, with plastic sheeting with the semi-opaque protective film still on:

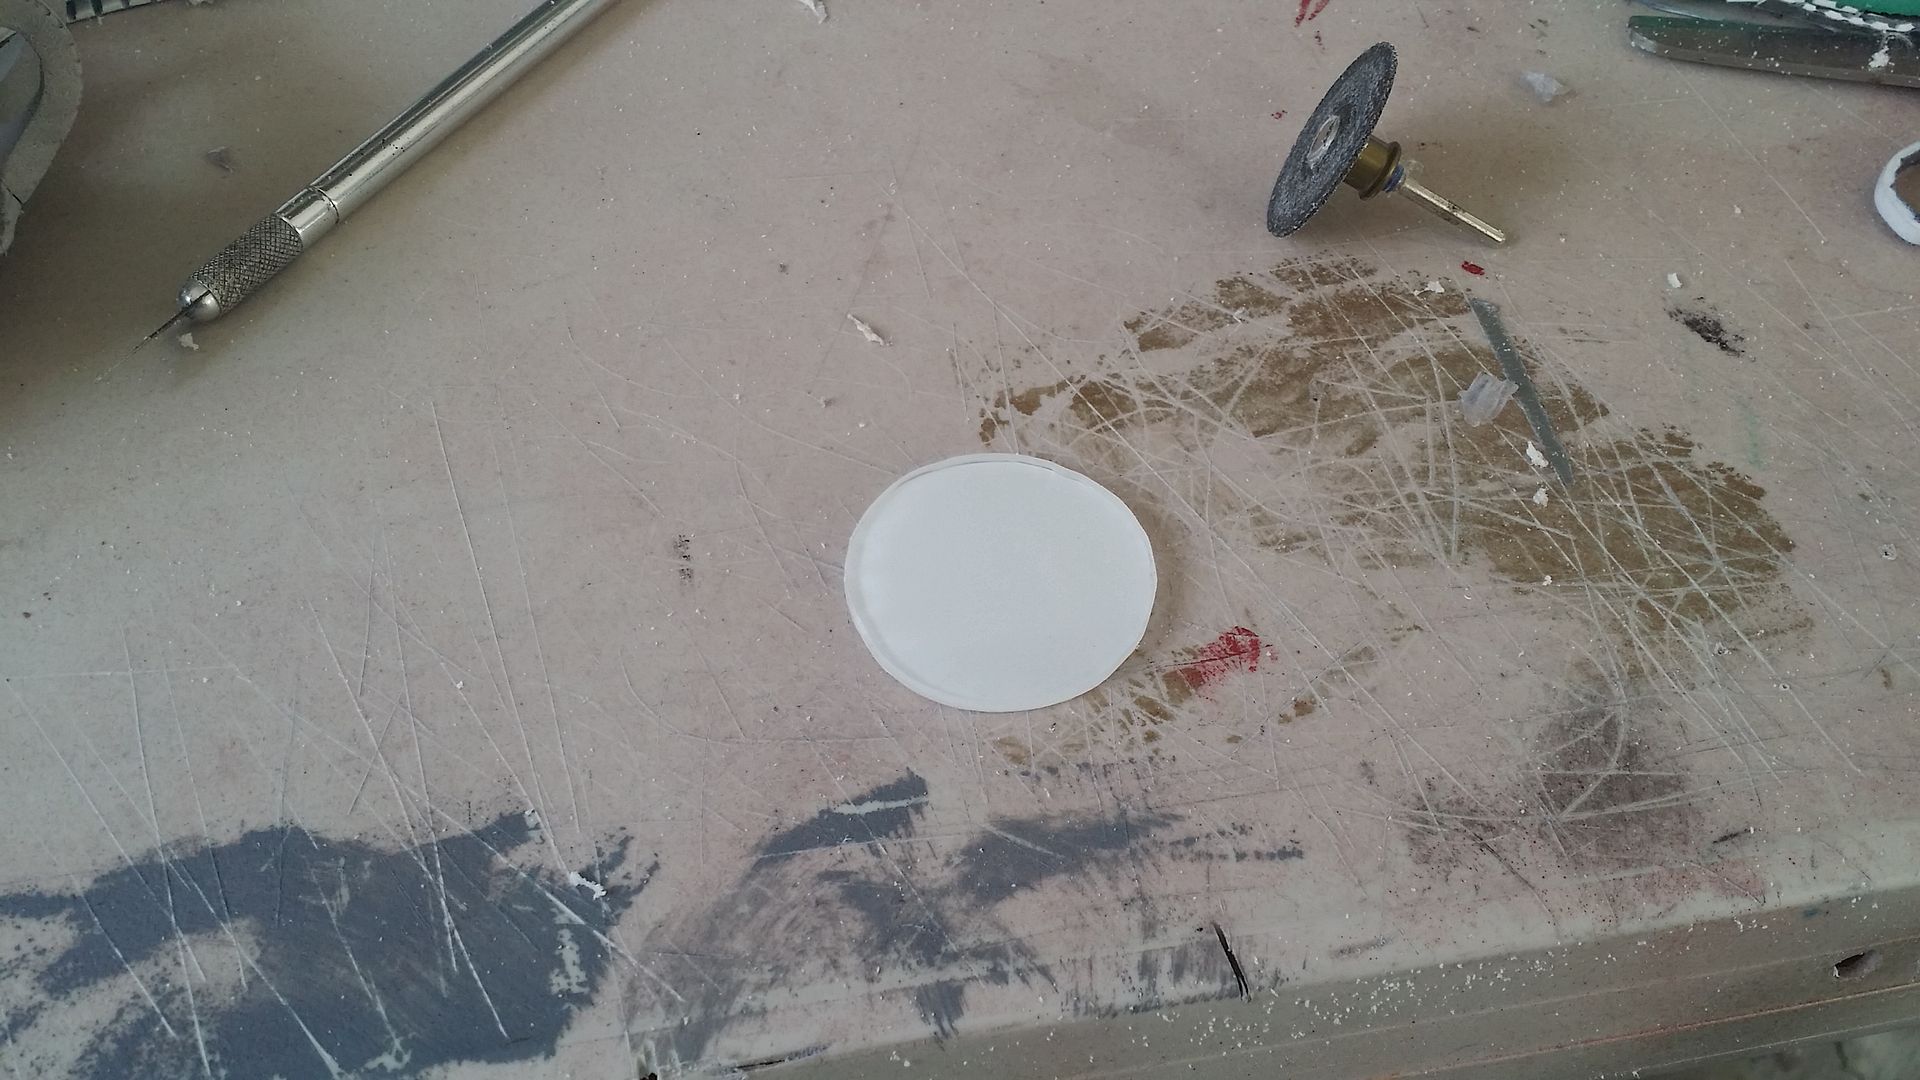

quick and easy. just the way i like it. With the hands mostly finished, we can put em aside and focus on something a little more fun:
MAGNETS!!!

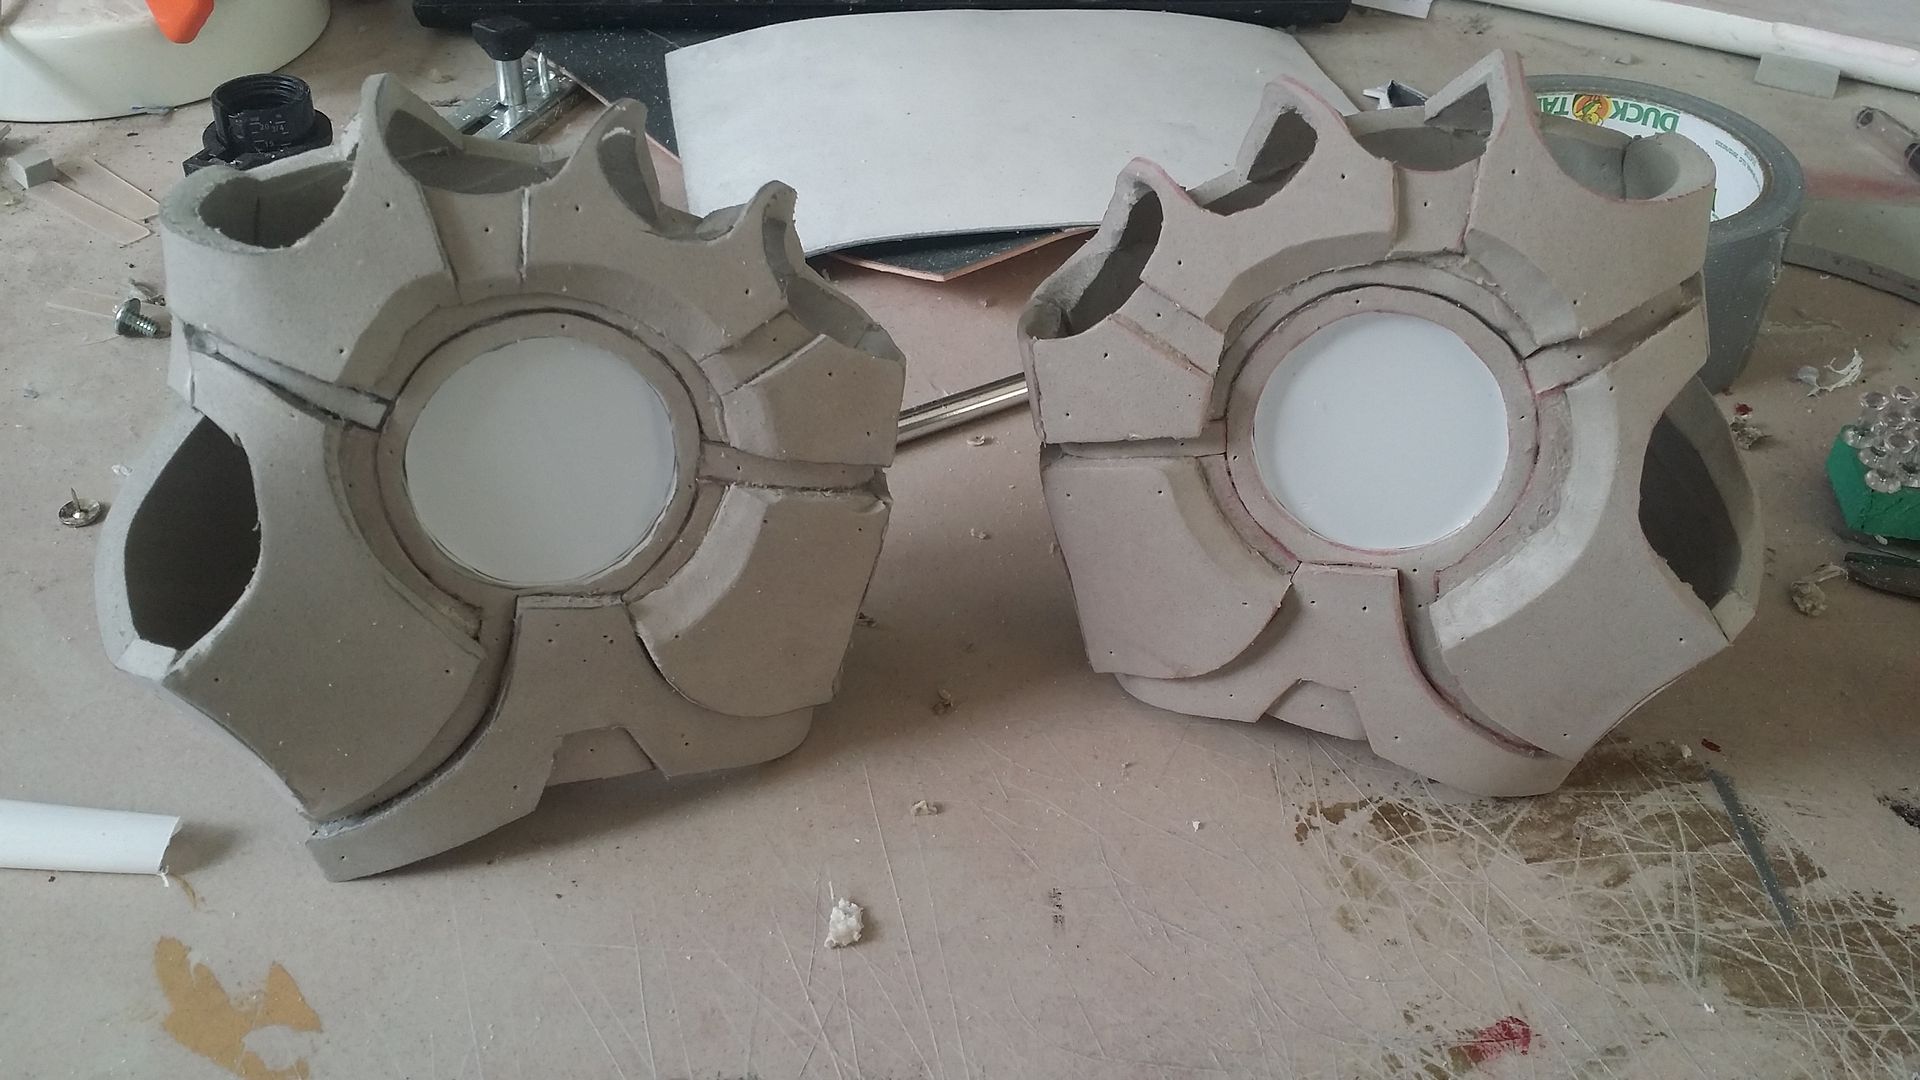
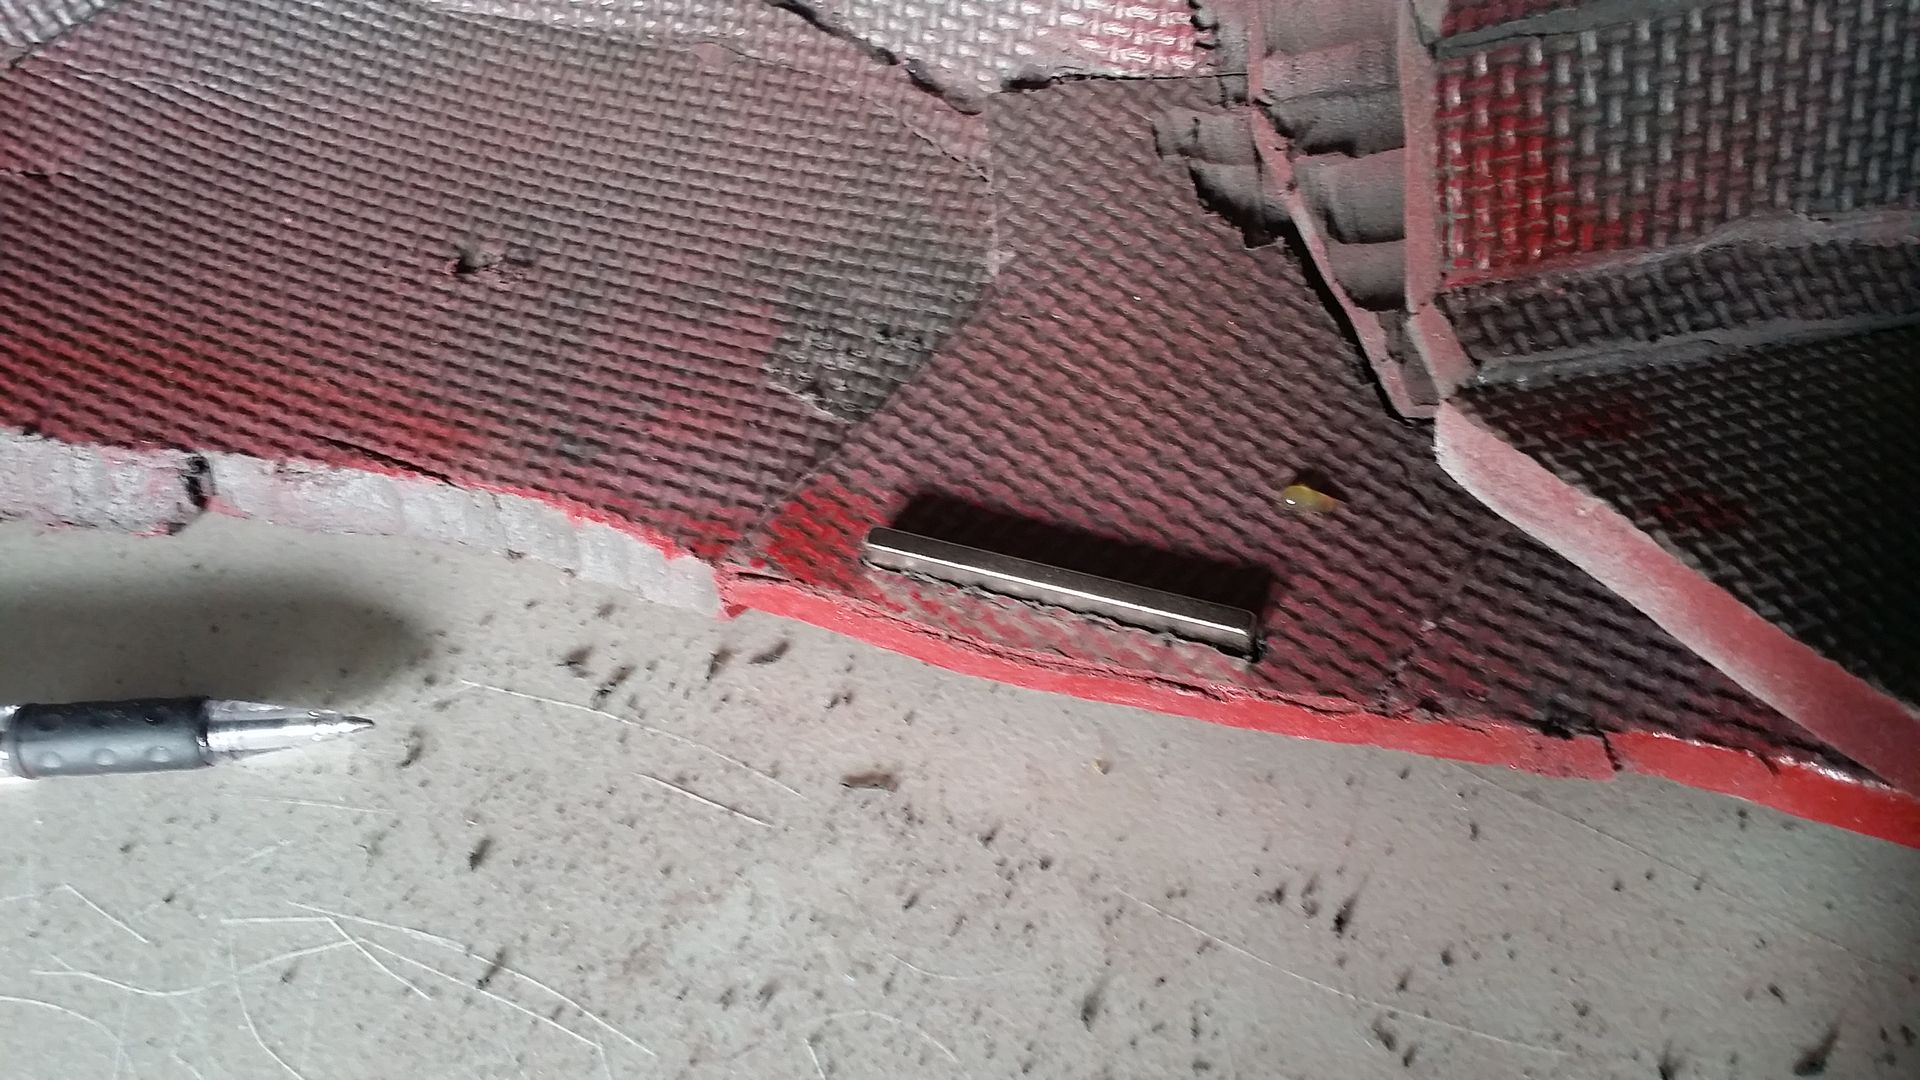
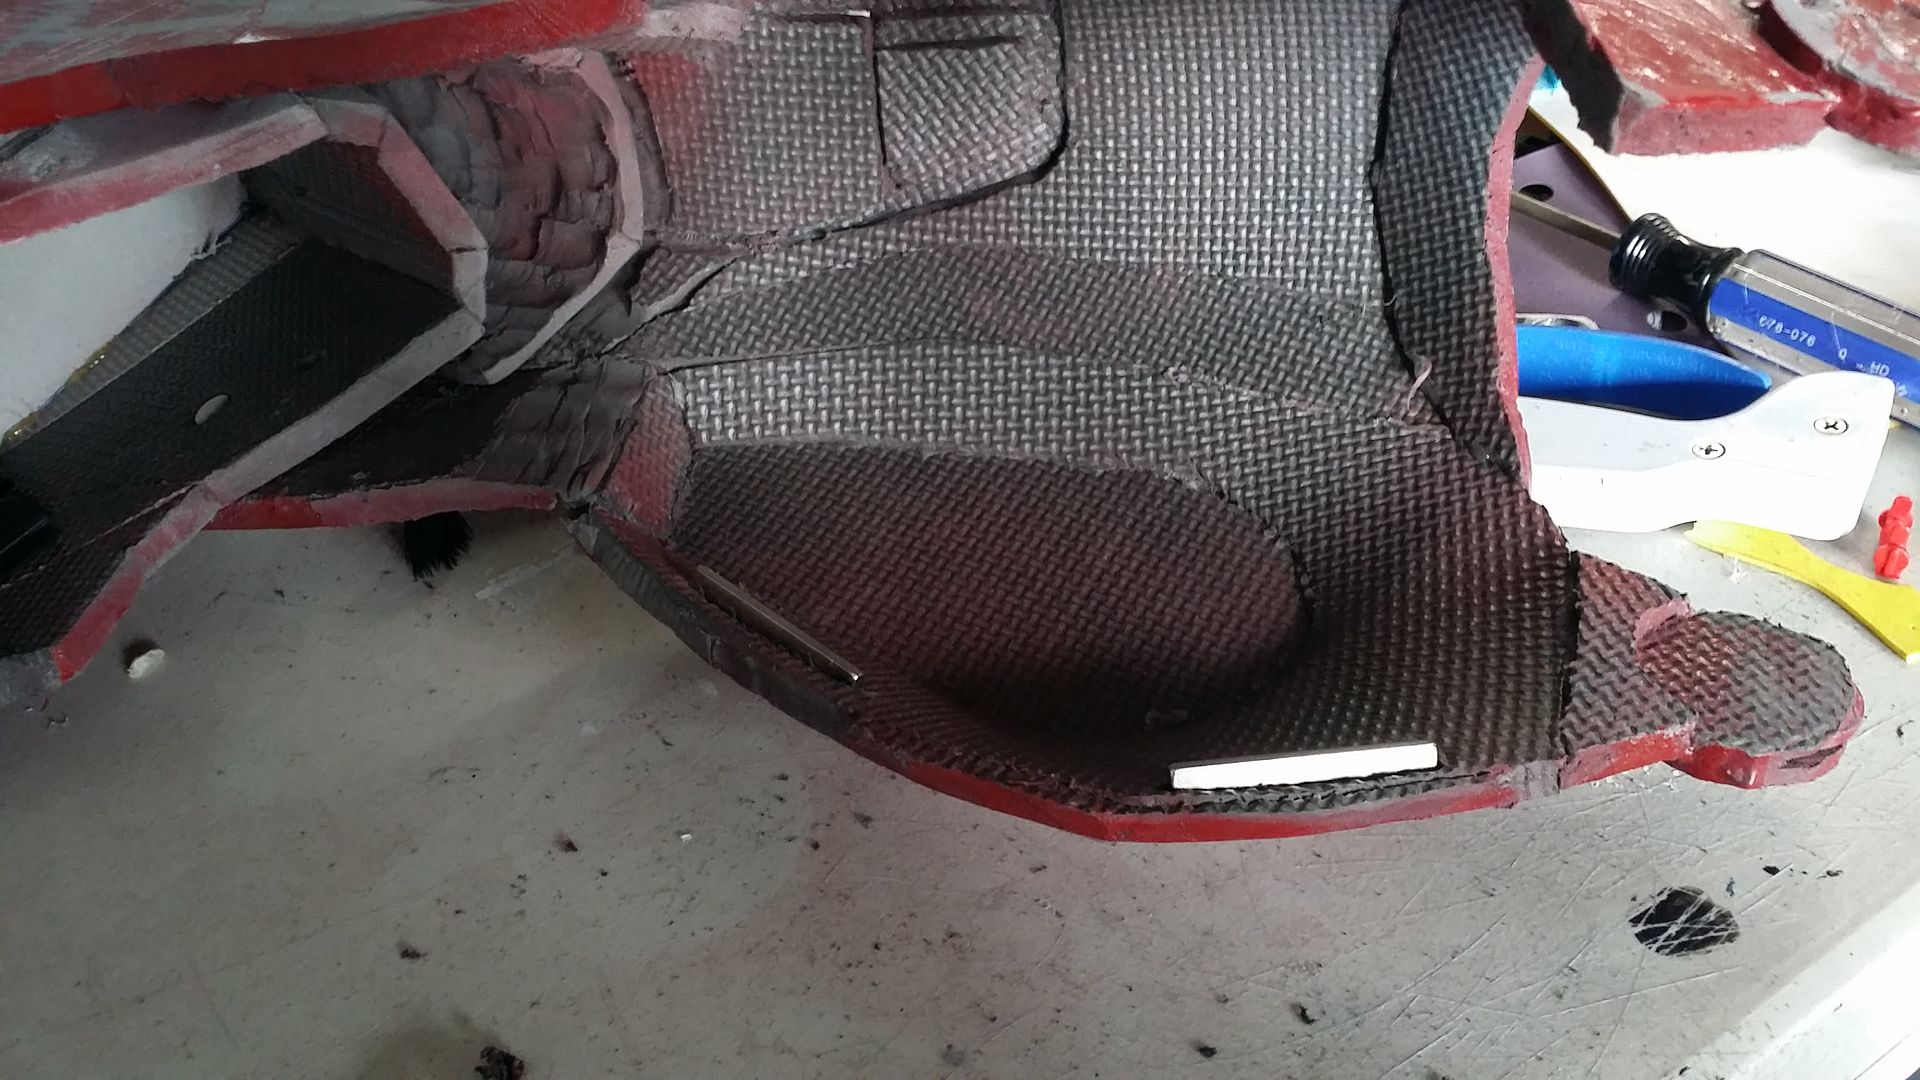
Neodynium magnets to be precise. VERY strong, kinda fragile, and exactly what i need for the shins. as recalled from a previous update, the shin and calf pieces were built in a way that mimicked the actual iron man suit, where the front shin piece, and the back calf piece would be separate, and join in the middle. thanks to a frantic last minute rush, they came out, well, kinda crap. and i had to put normal clips on the inside, which were nearly impossible to reach. so, let's see if we can salvage this with magnets. the engineering is simple, cut slots near the edge of the calf piece going down to the boot, glue the magnets in, then line them up with the same slots running down the edge of the shin piece and see if it holds up. let's get to it:
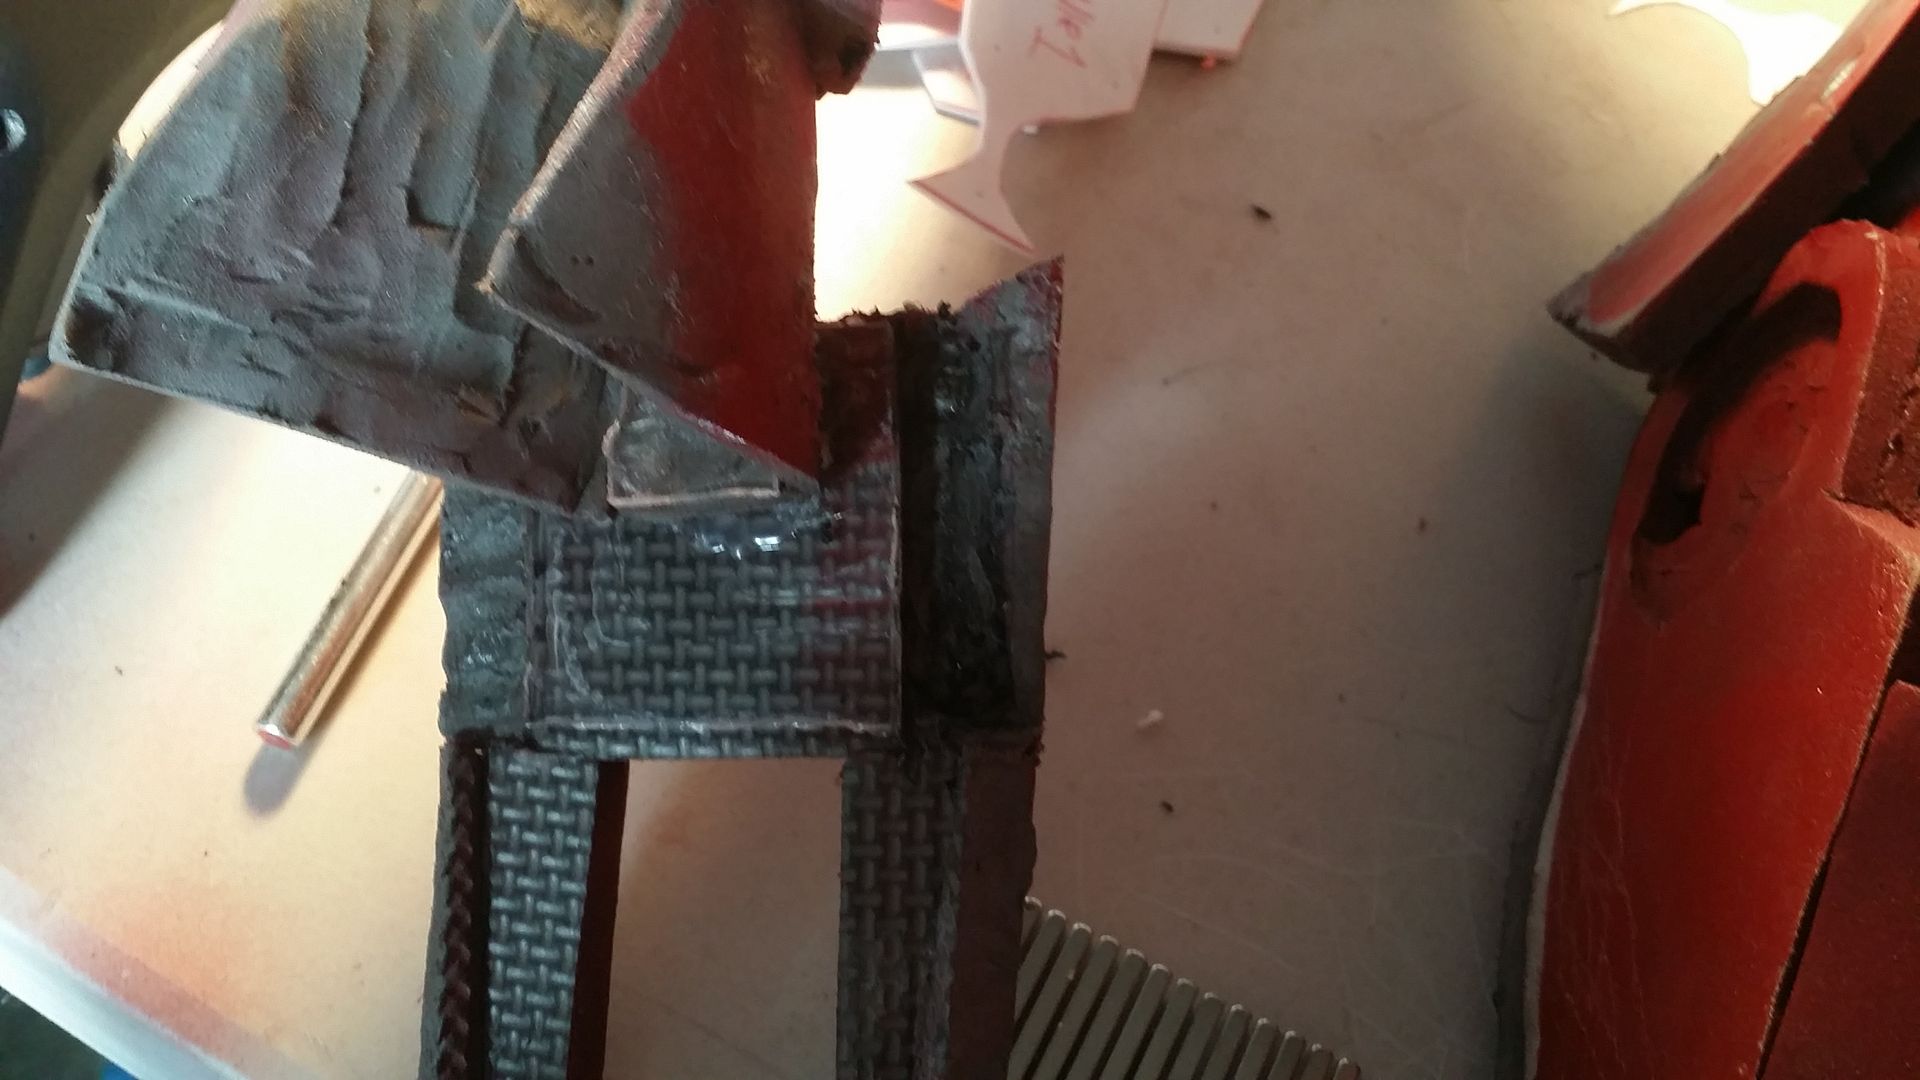
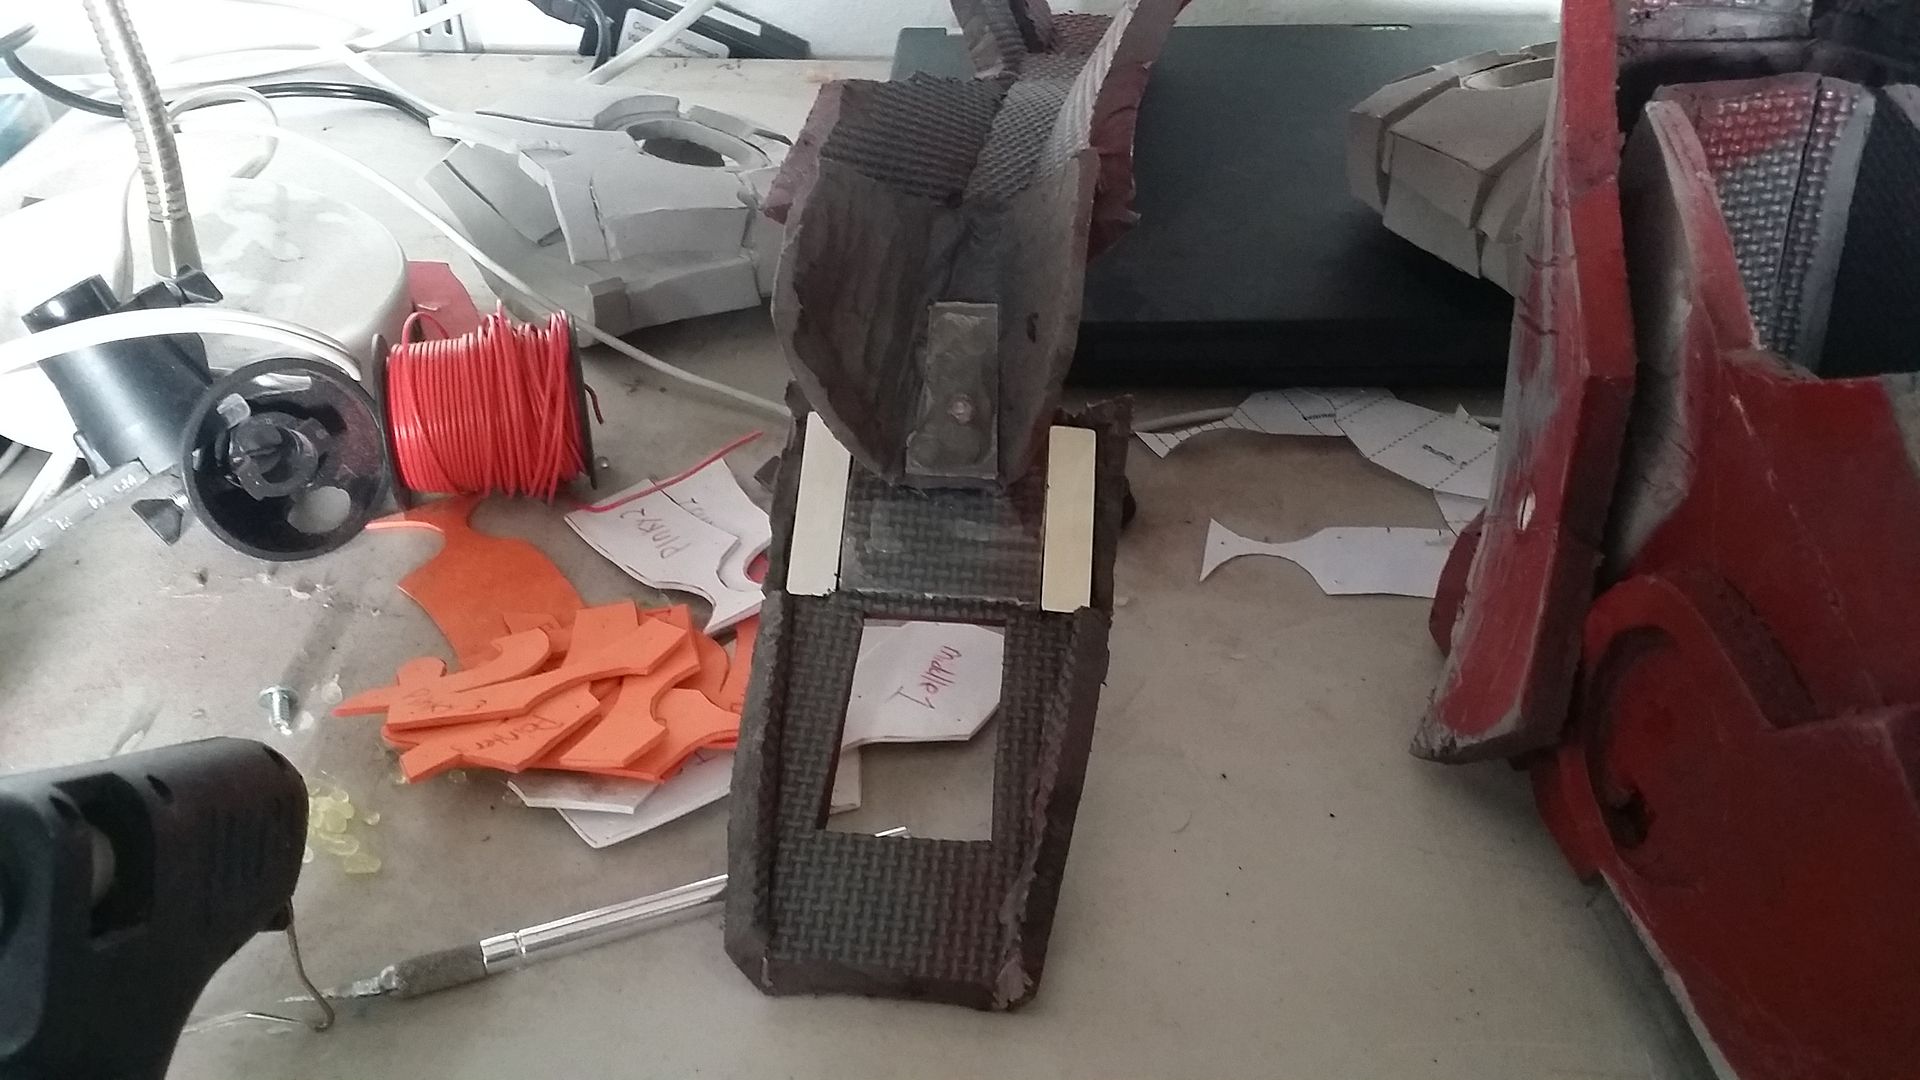
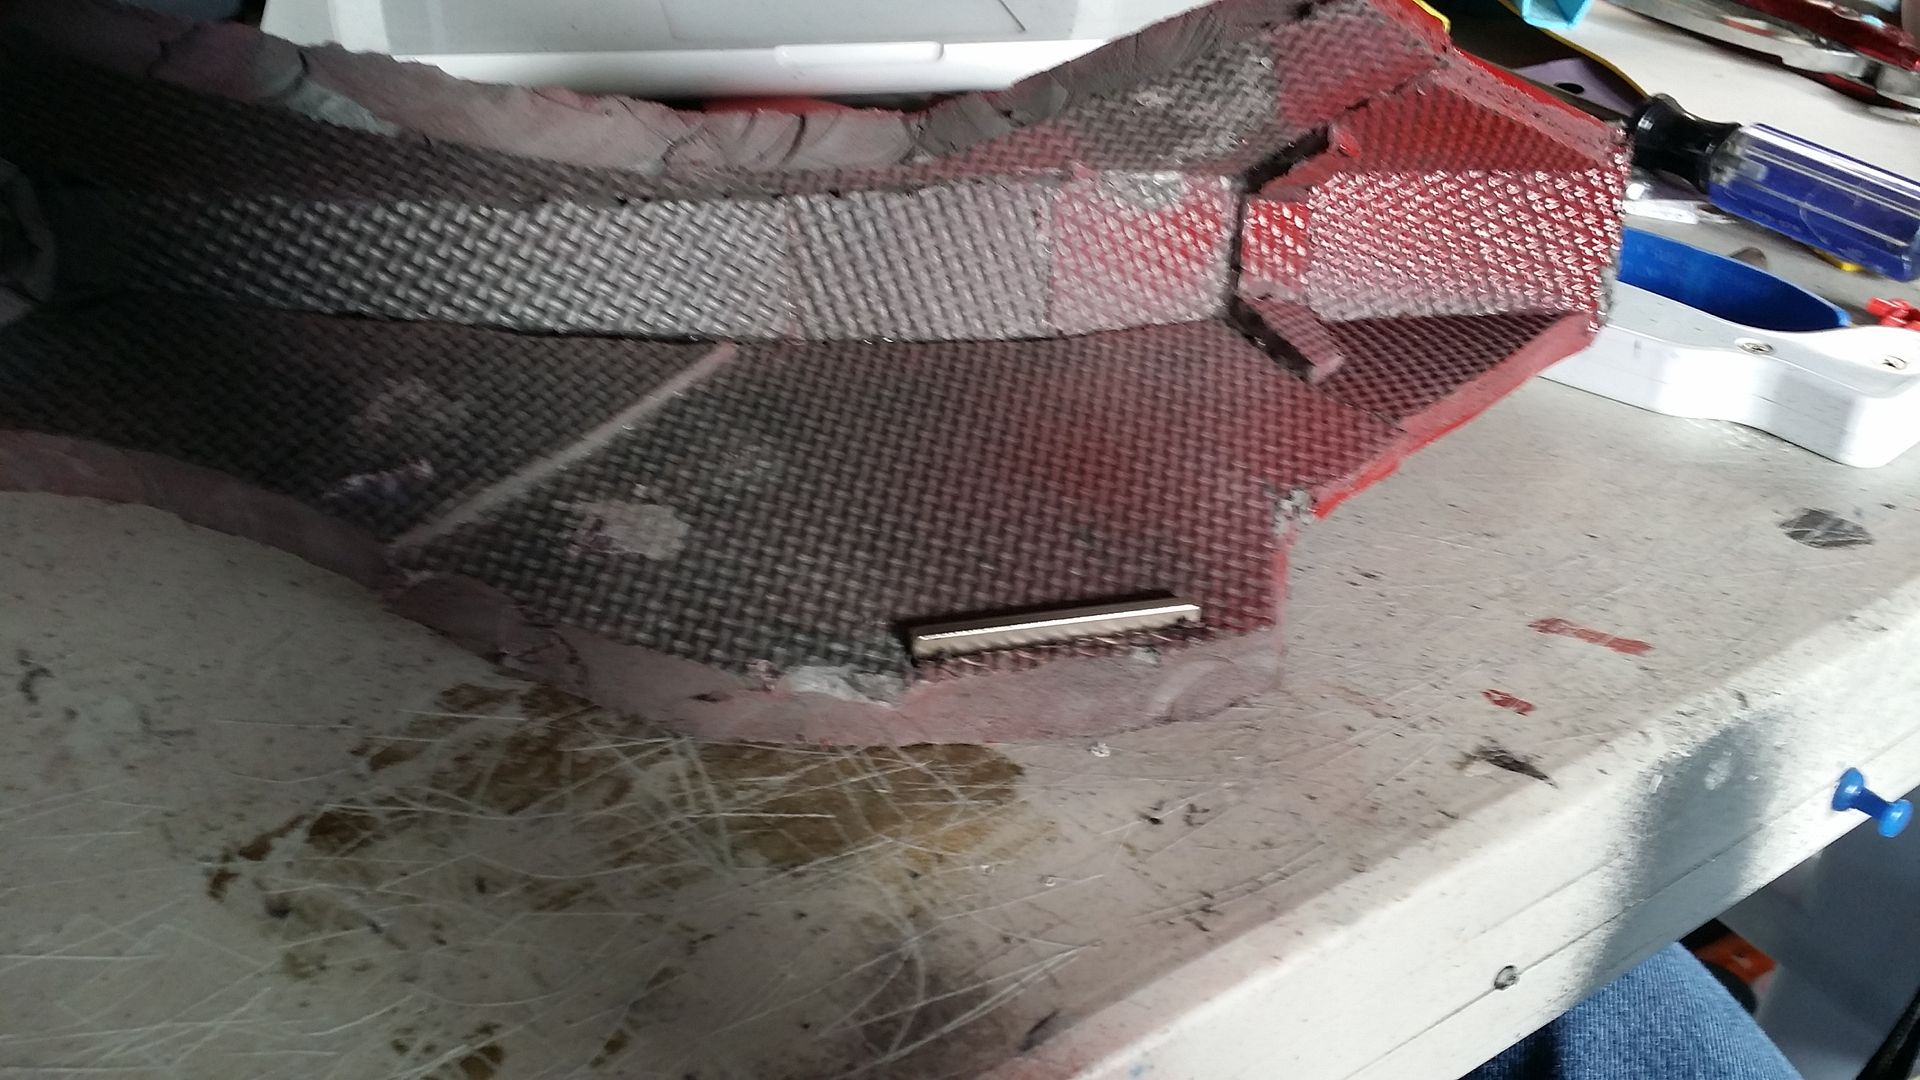
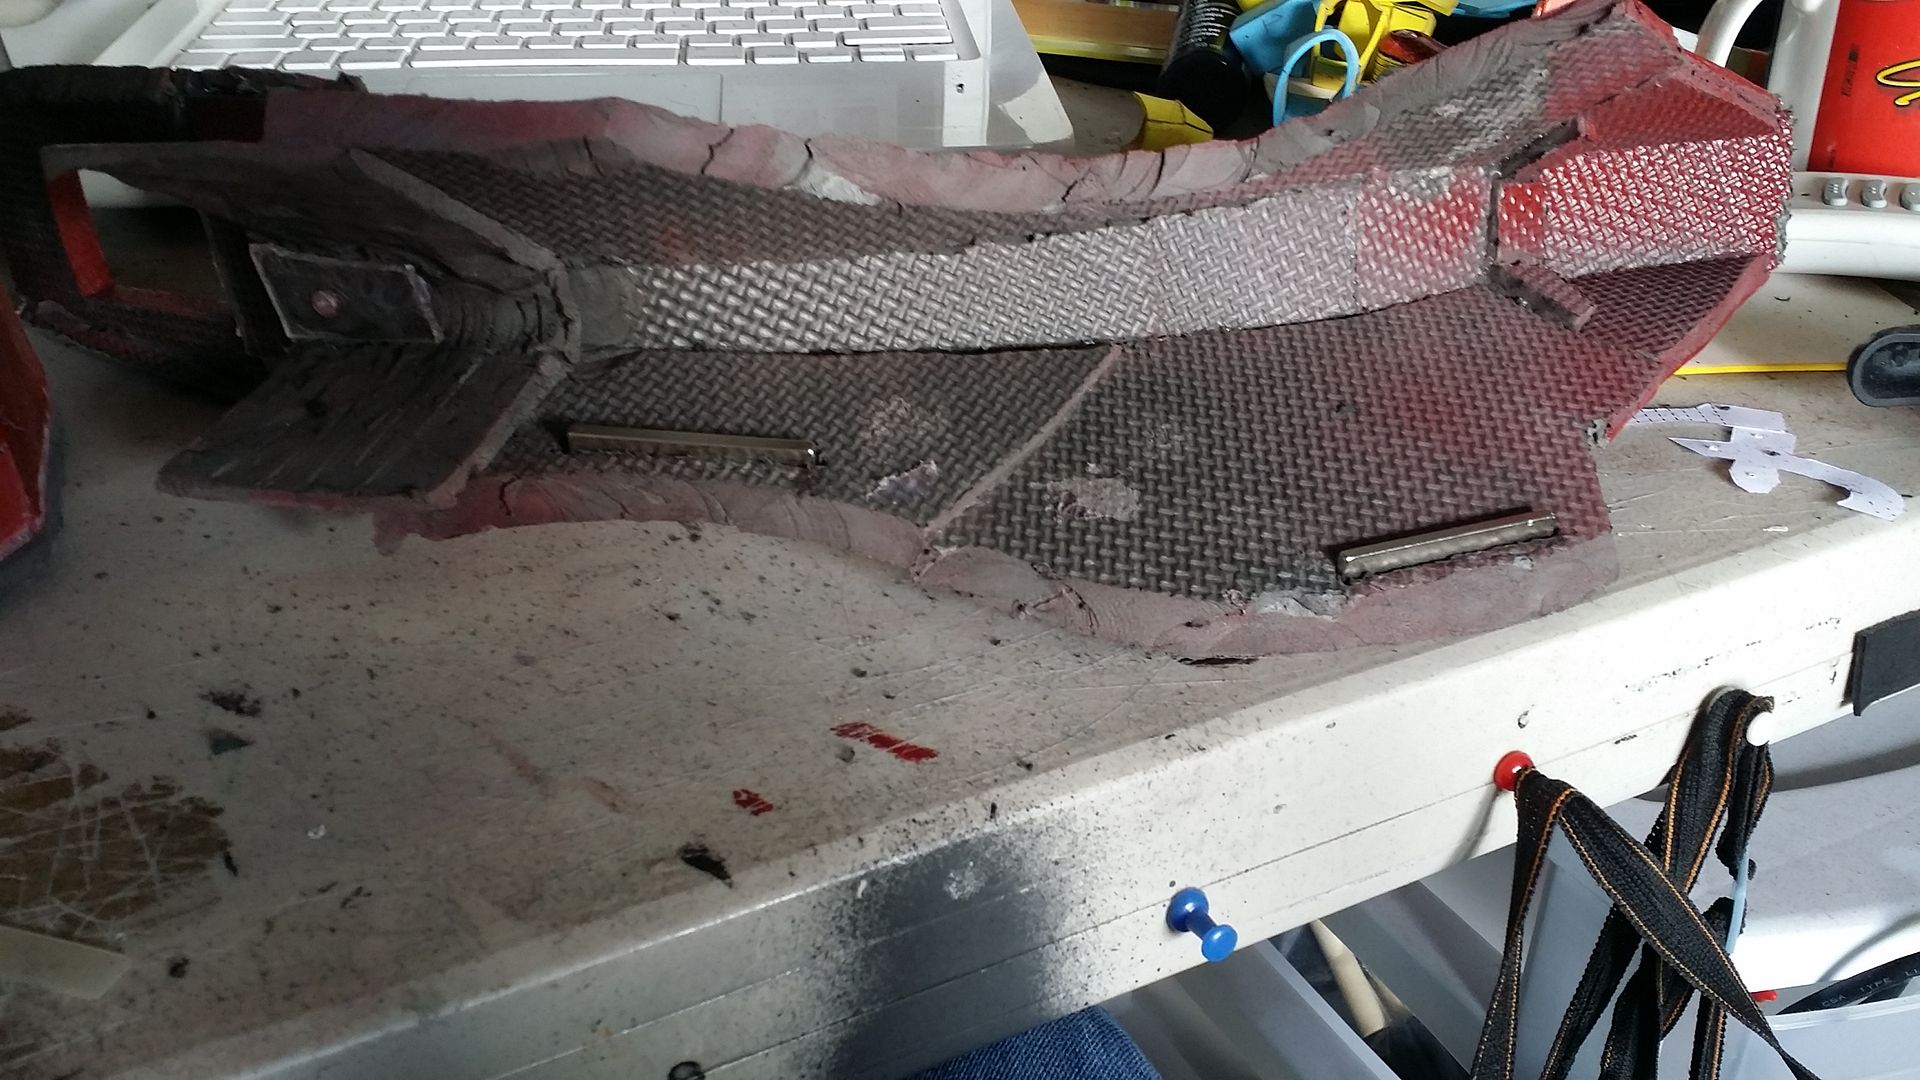
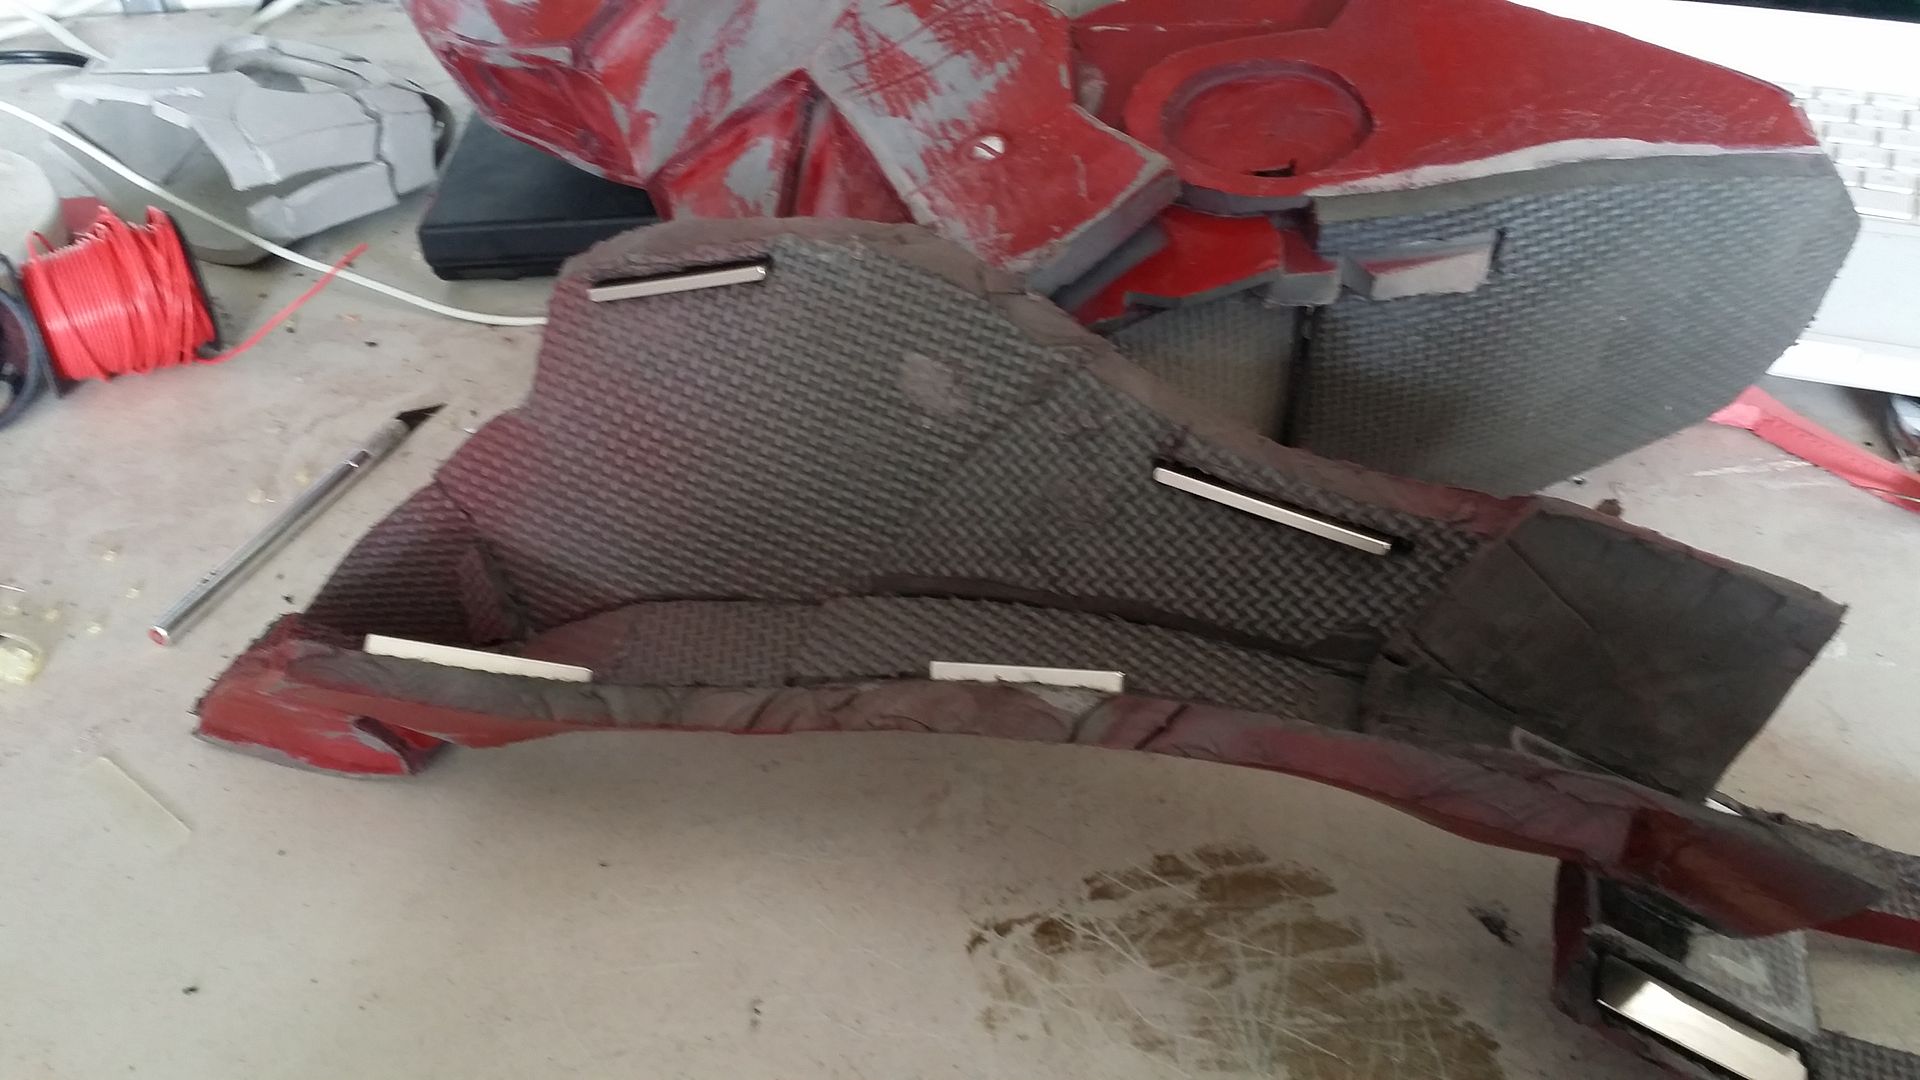
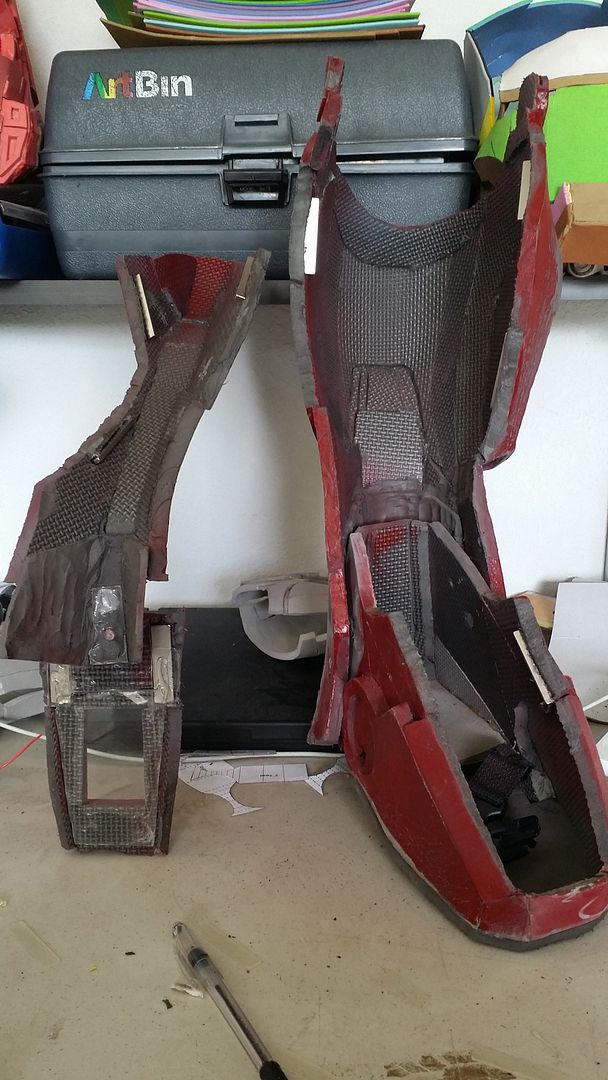

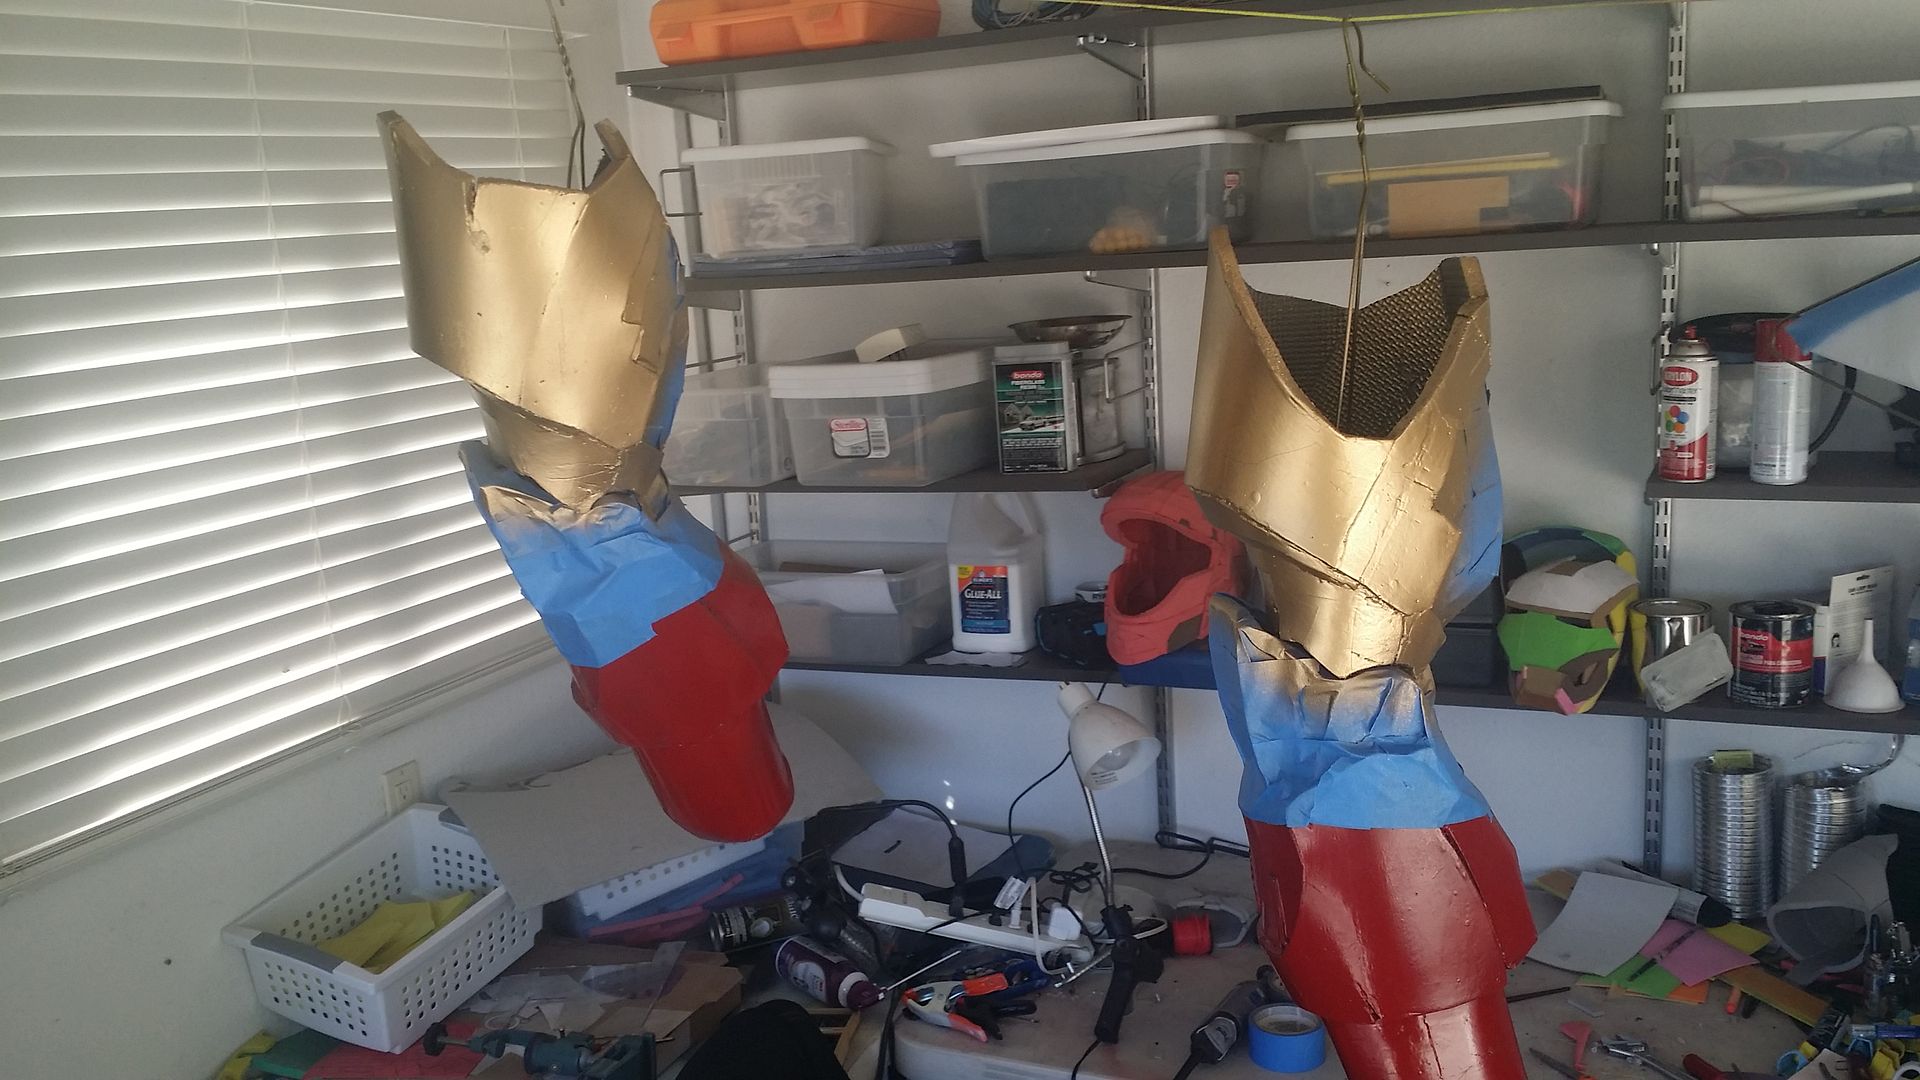
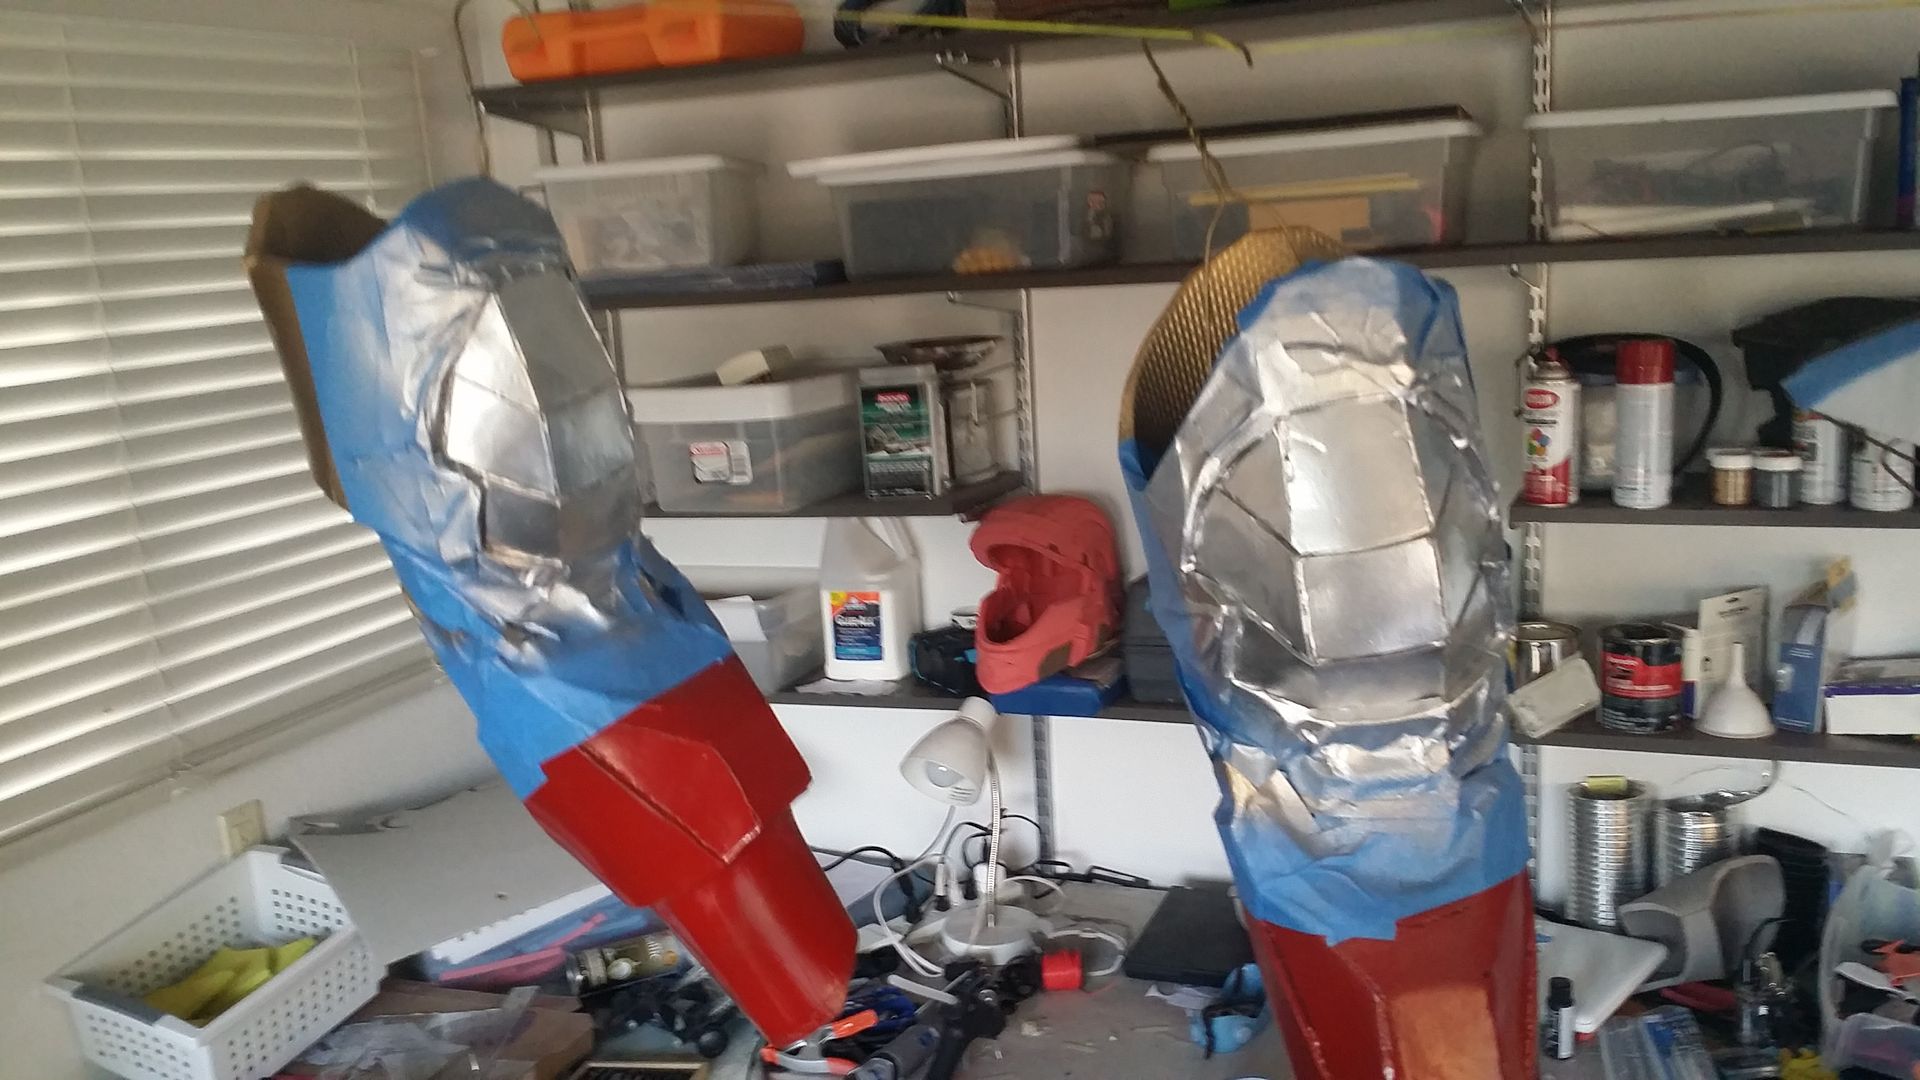
well, the magnets worked great, unfortunately the seam was too ragged from a bad cut, the split between the shin piece and calf piece was too poorly placed, and overall the whole thing wasn't up to snuff, so I decided to scrap it and start from scratch. But, along with the magnets, i was also able to get my hands on another can of gold paint! one that was a lot more like color in the movies, compared to the weird "rustic patio furniture" gold i had been using. so, that meant the arms could finally be finished!
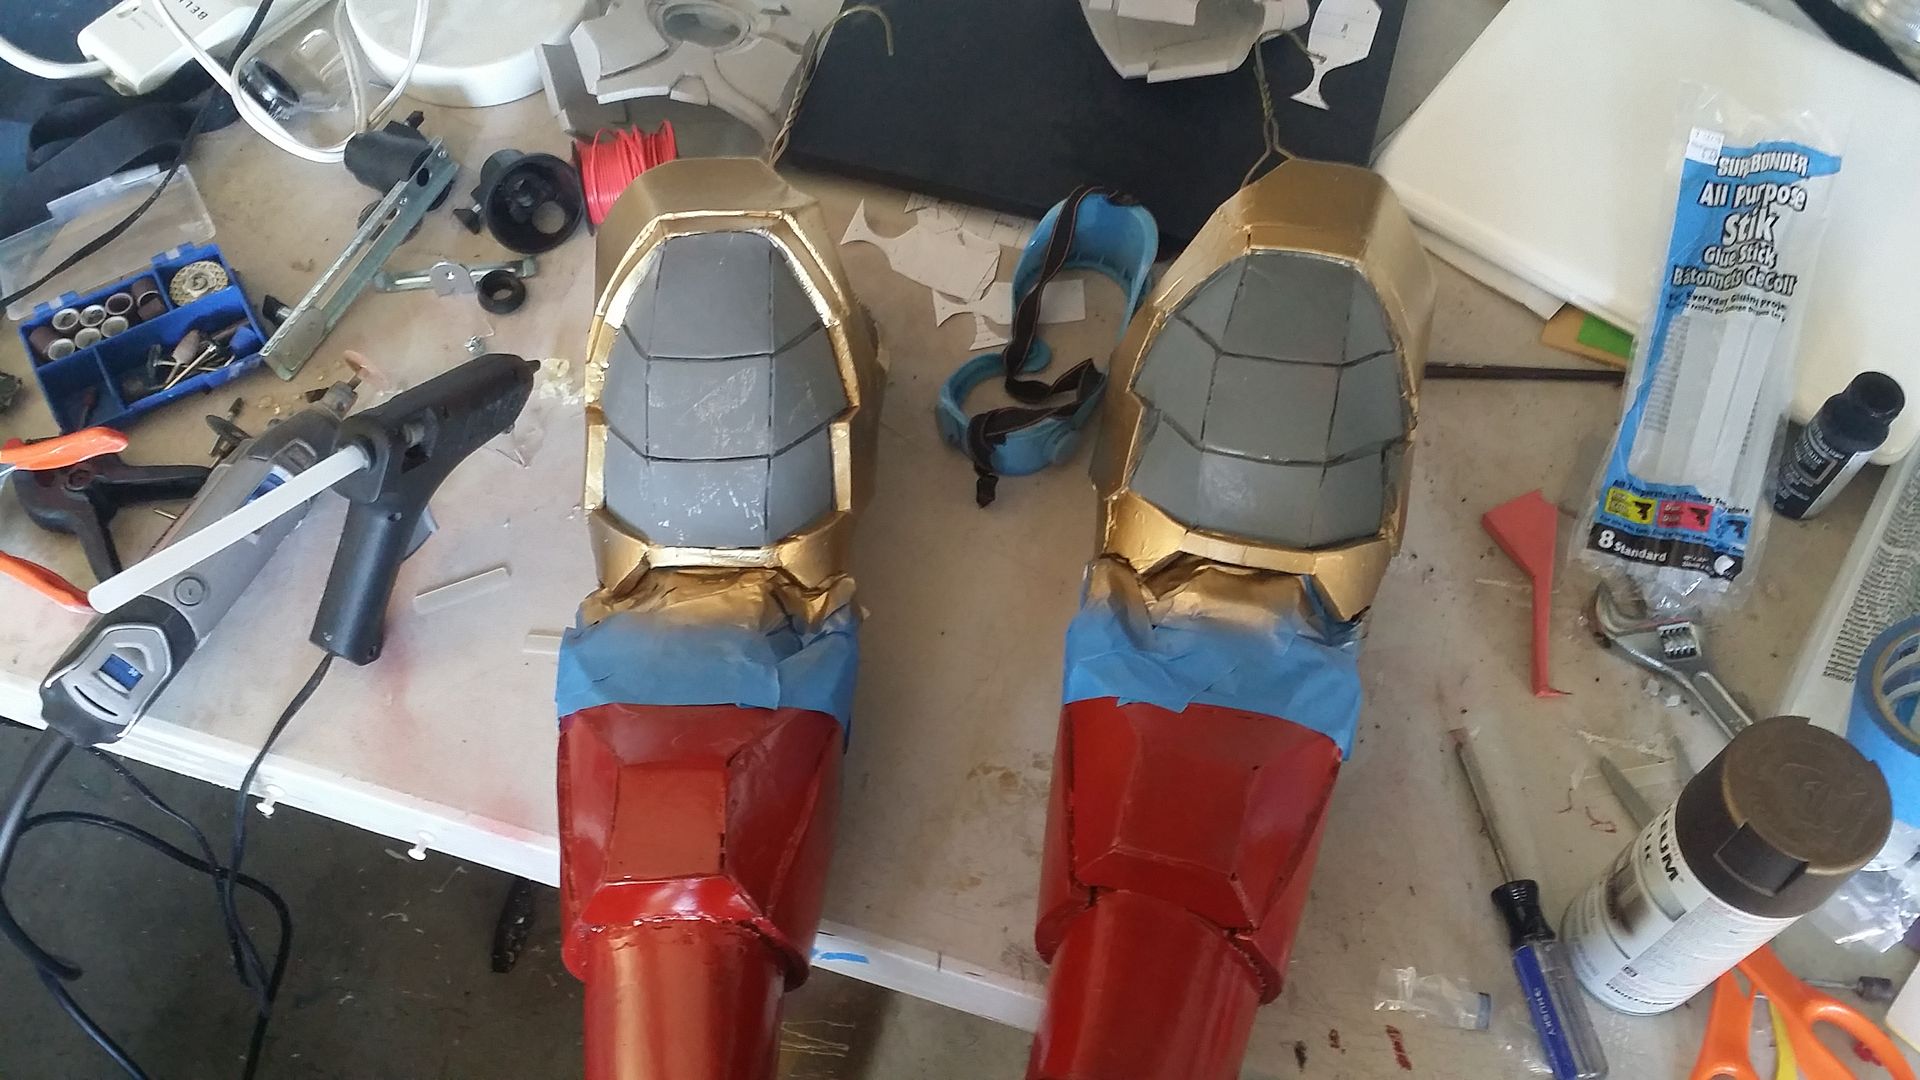
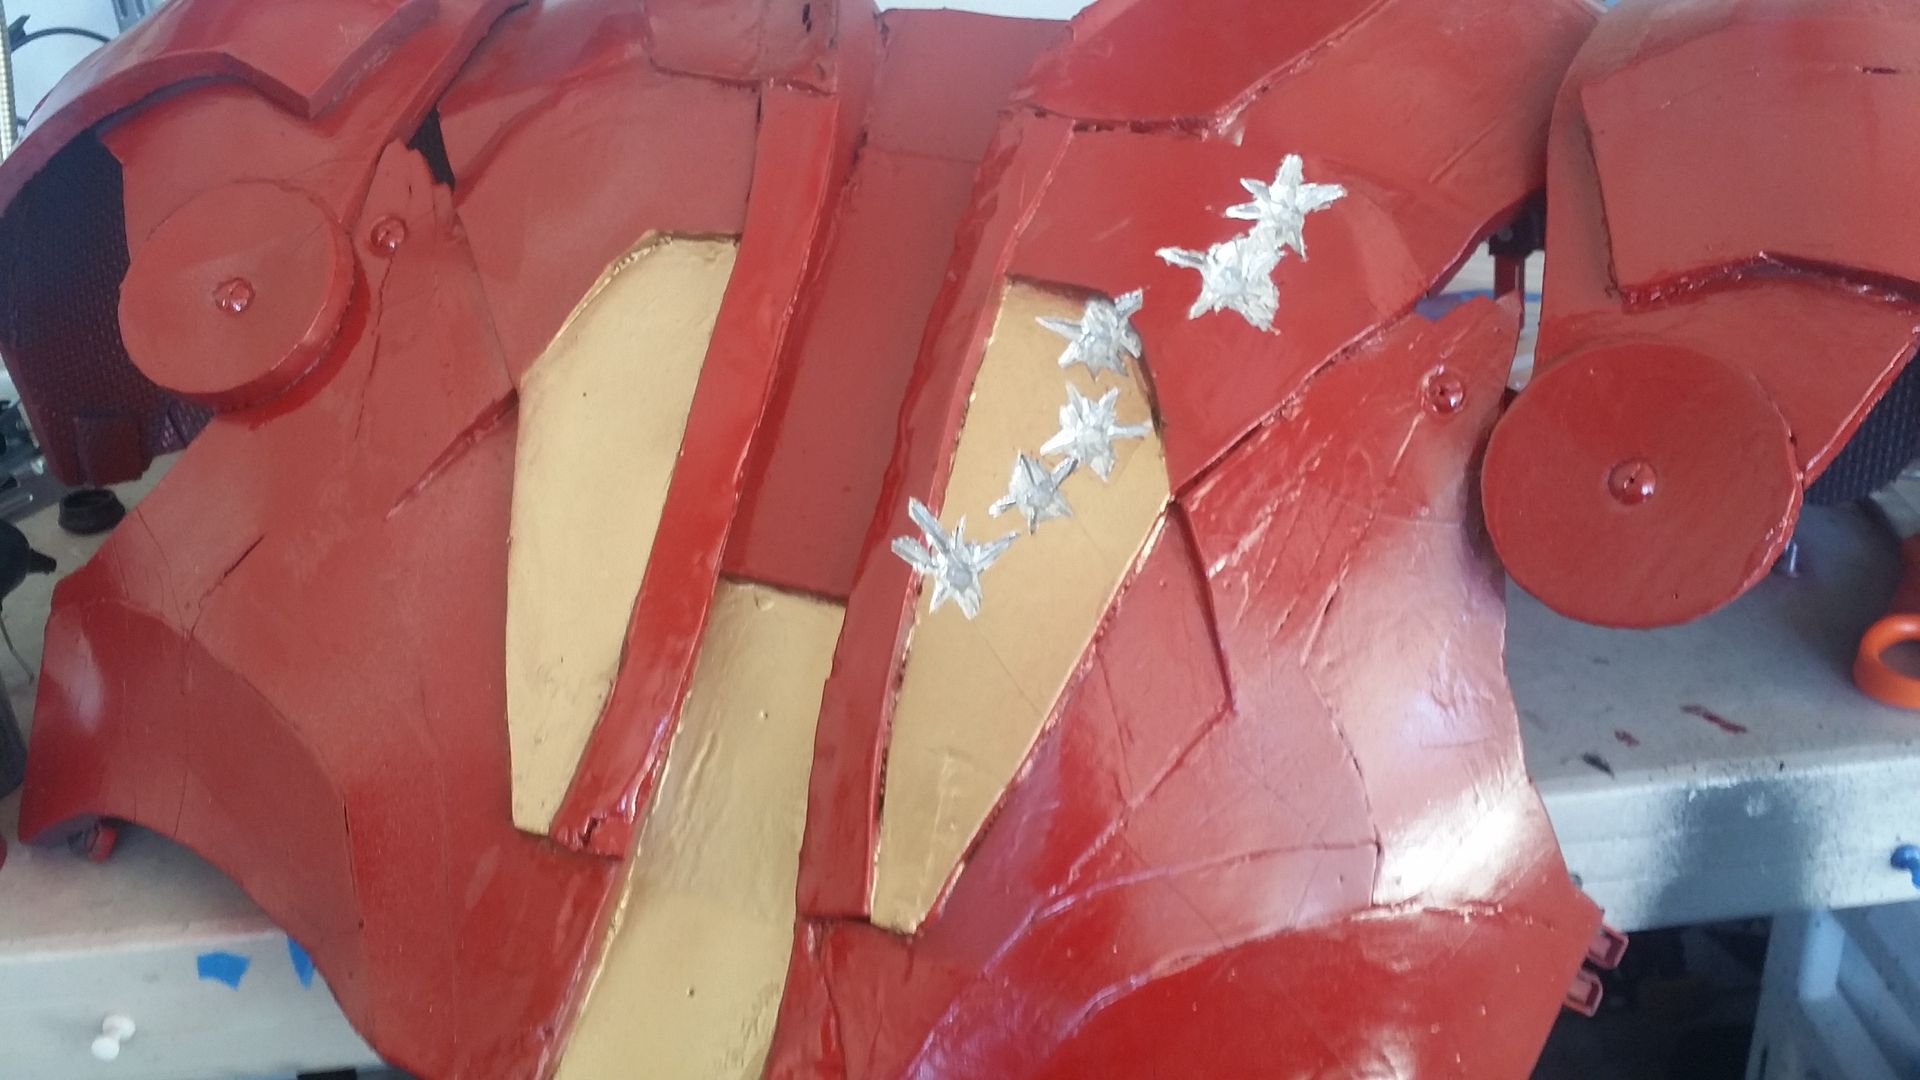
after that, the silver detail was next:
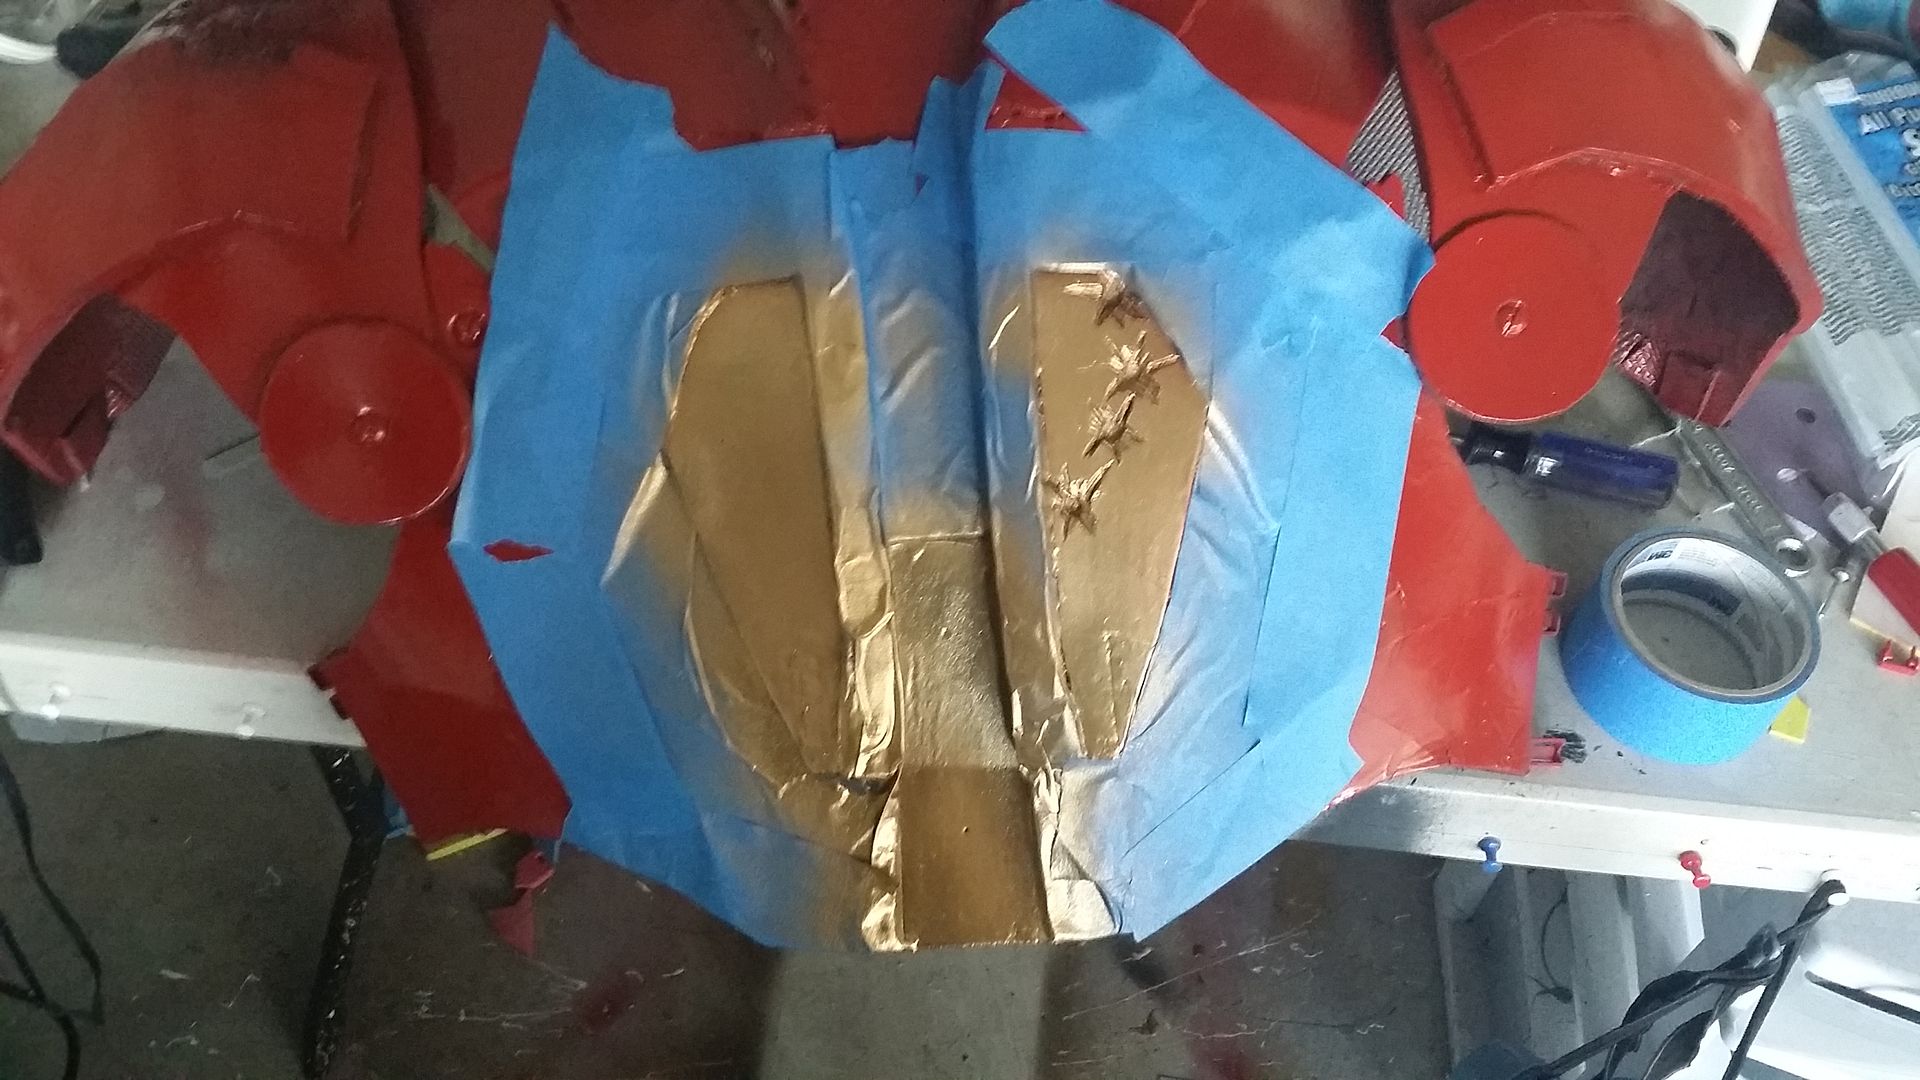
and while that was drying, i decided to tough up more detail on the back, and replace the old gold with some new gold:
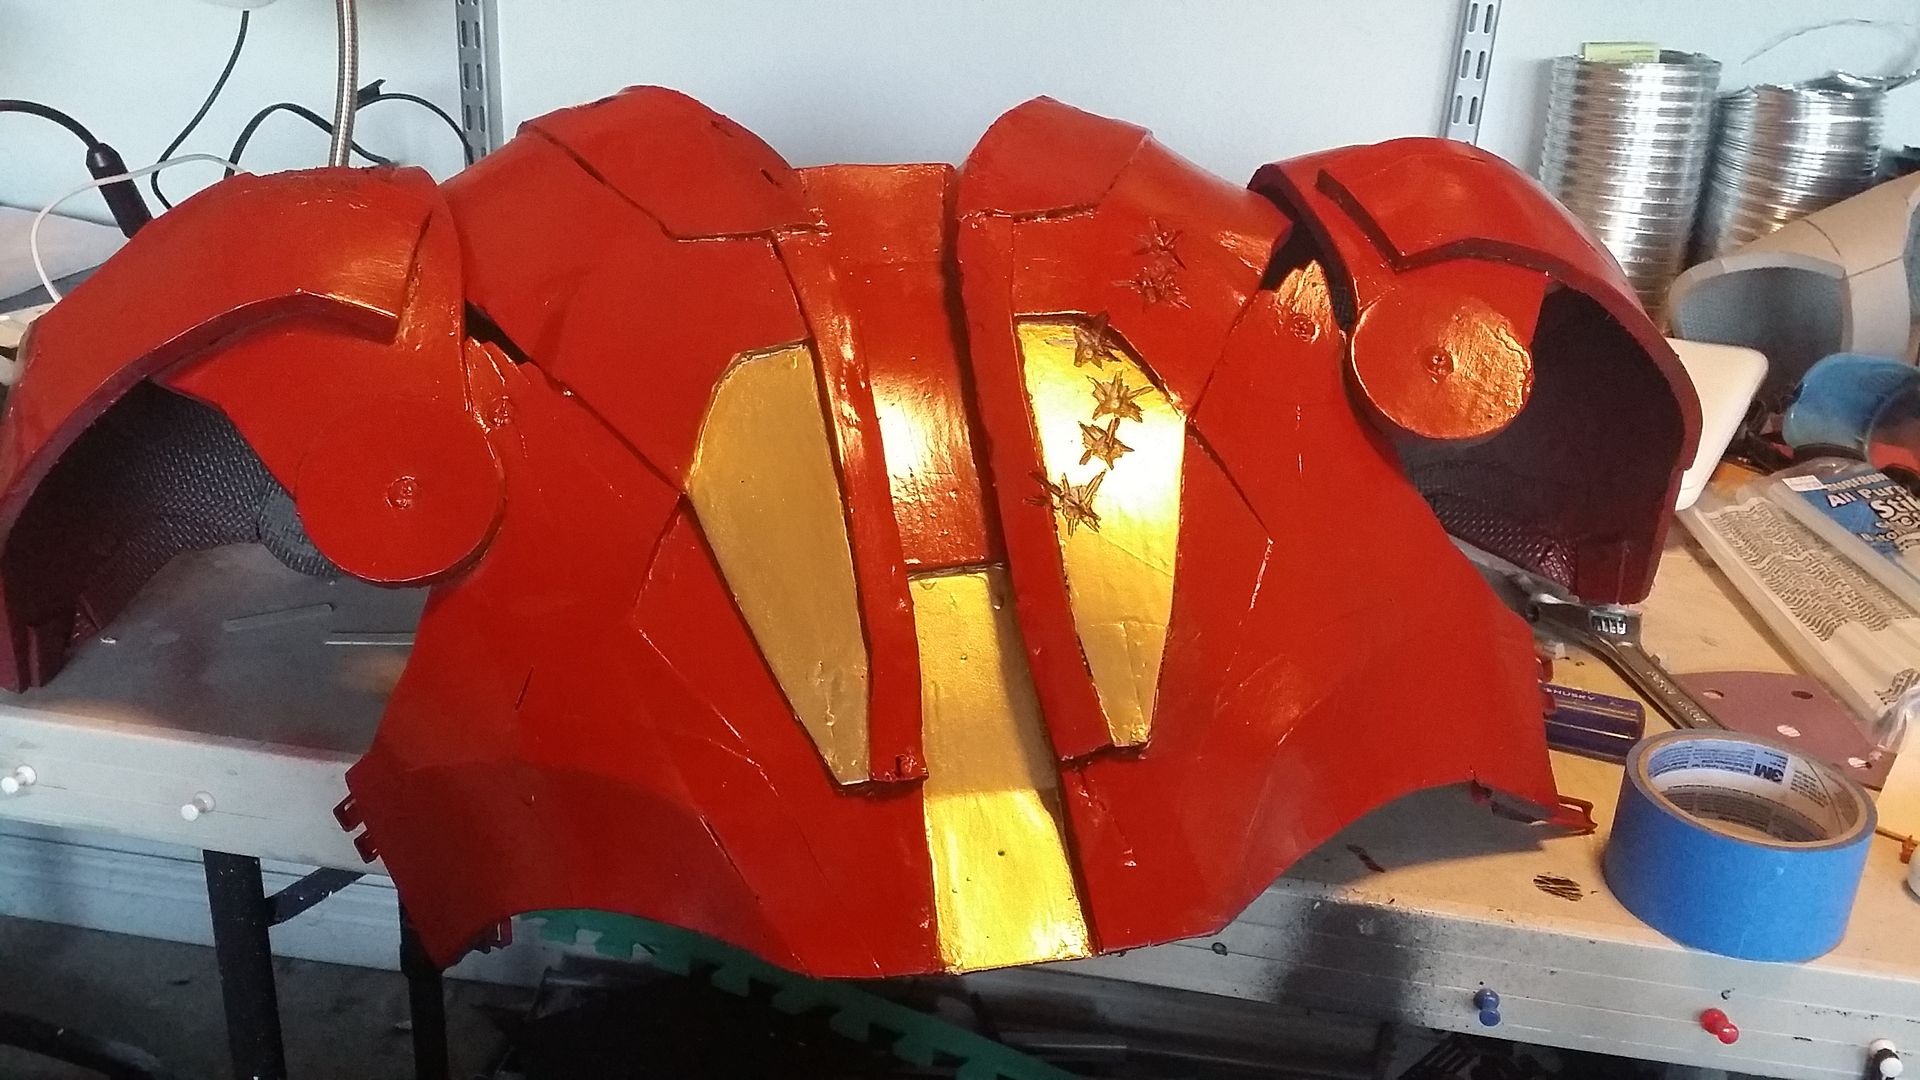
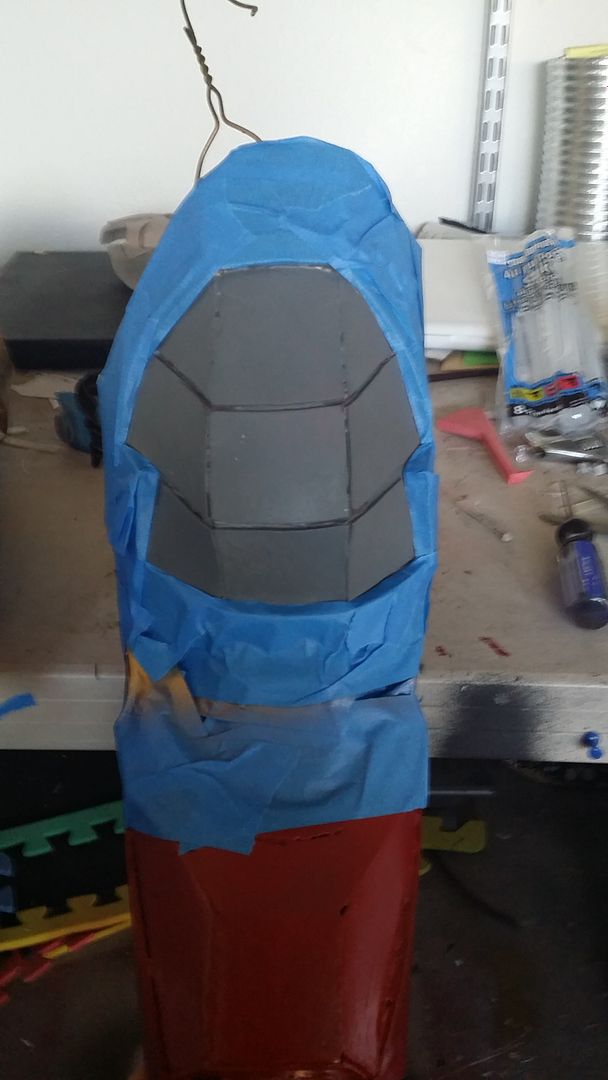
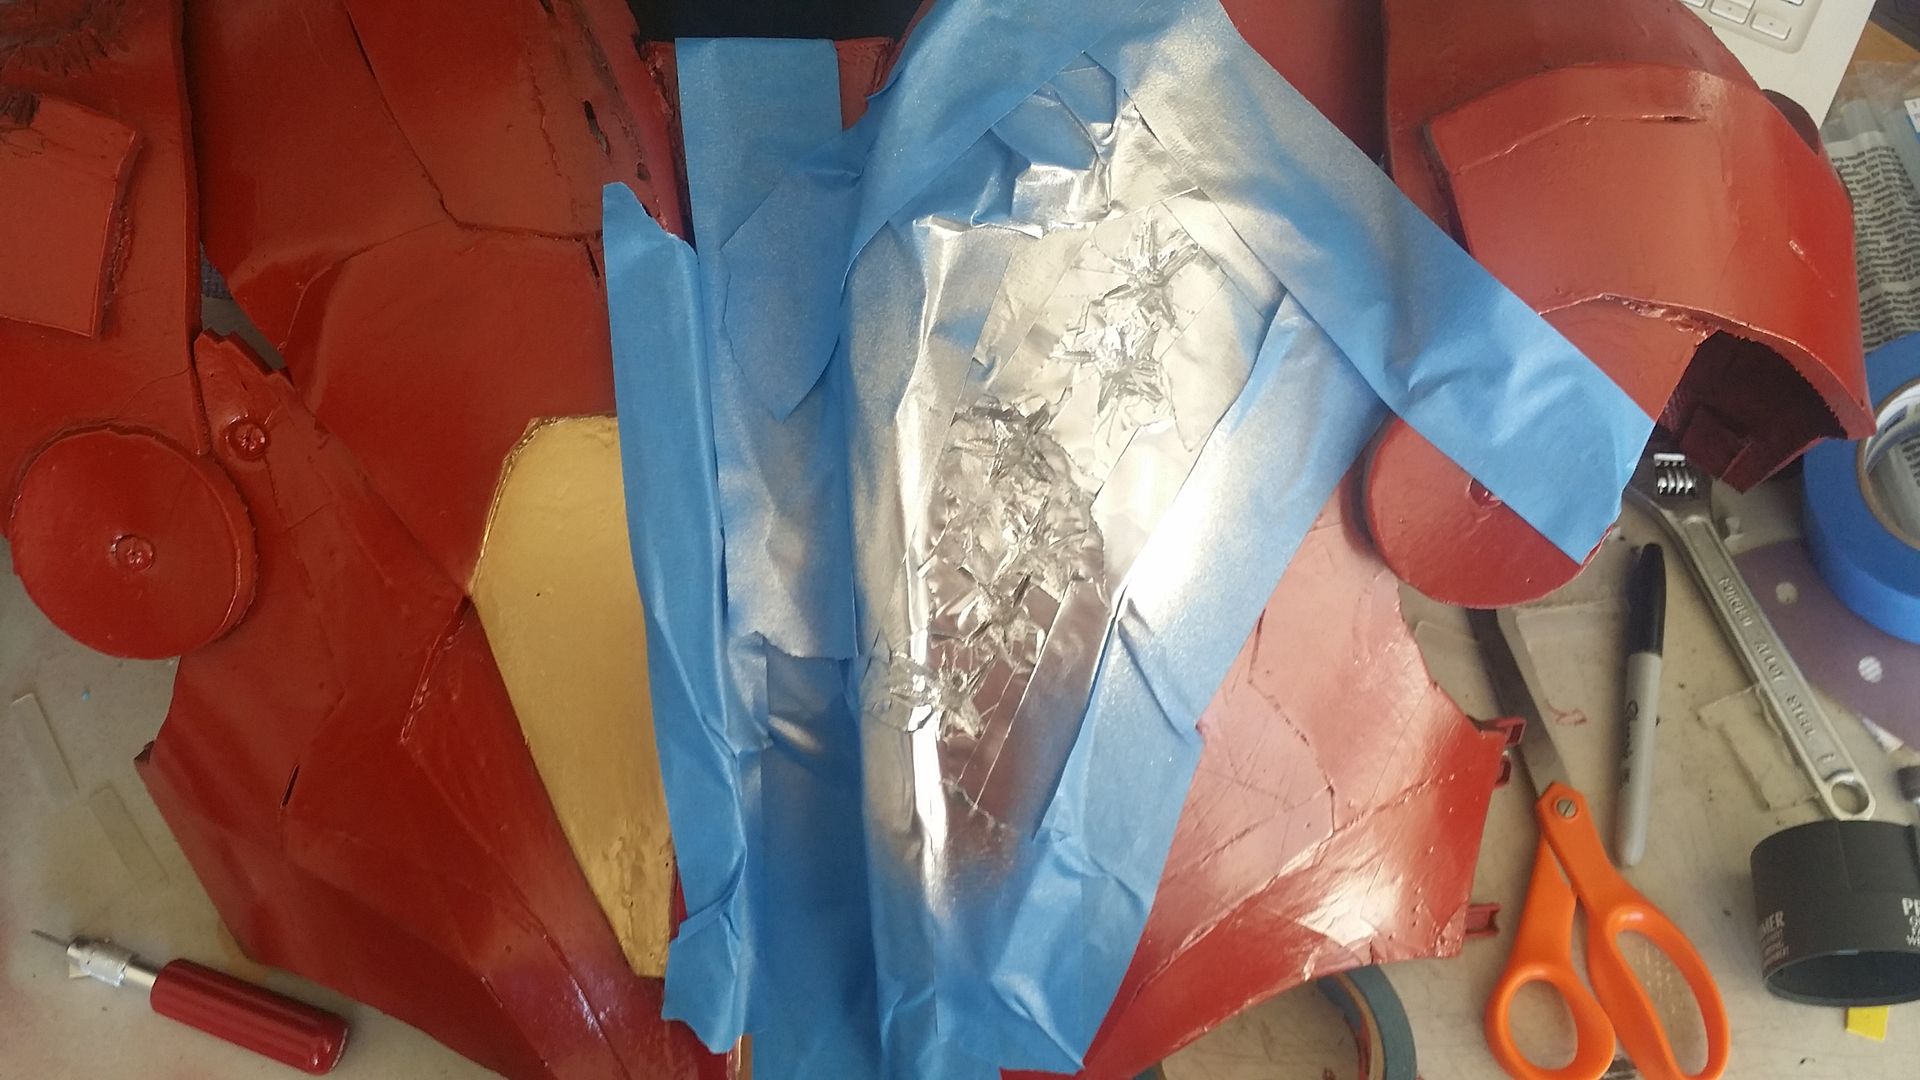
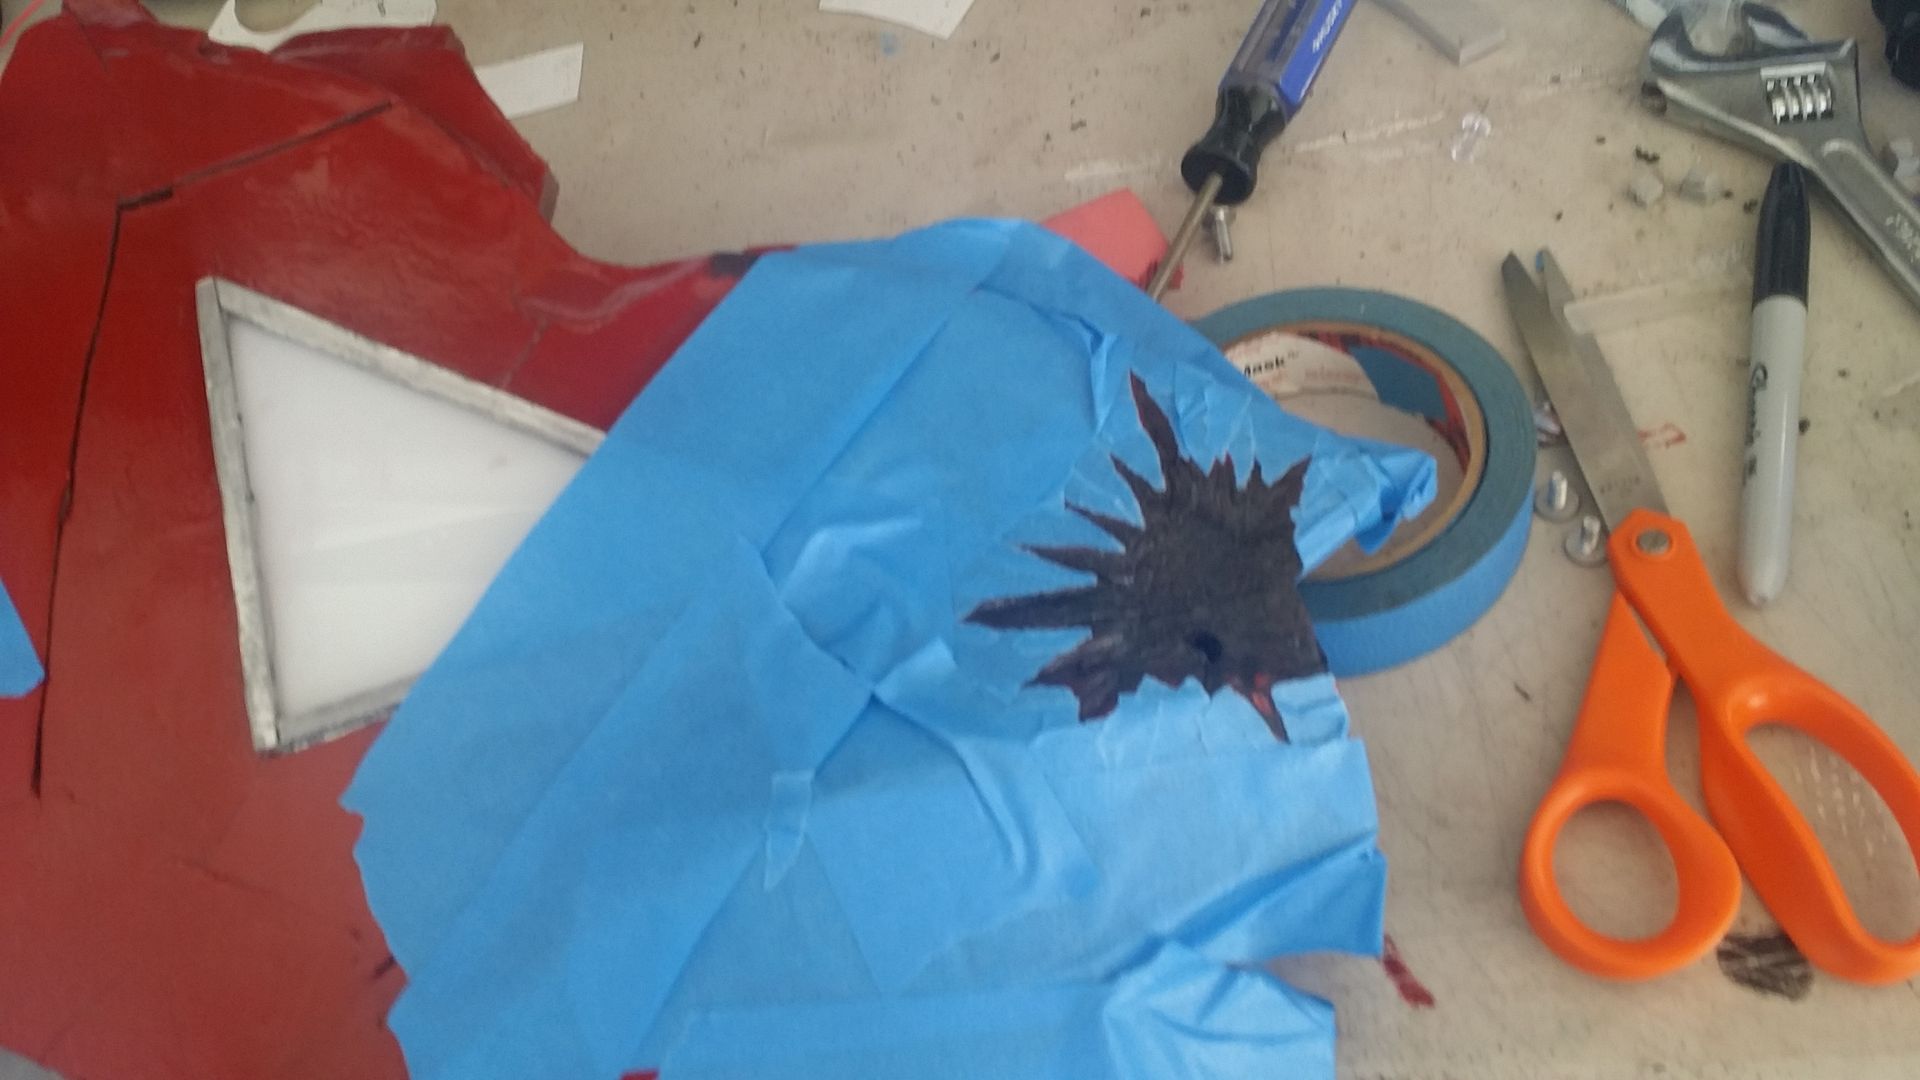
And finally, i decided to tackle the dismal failure that was the "battle damage". after a little research, i found that a more metallic silver would look better in the craters and bullet holes, and the black would make a good scuffed, carbon-scored outline, as seen here:

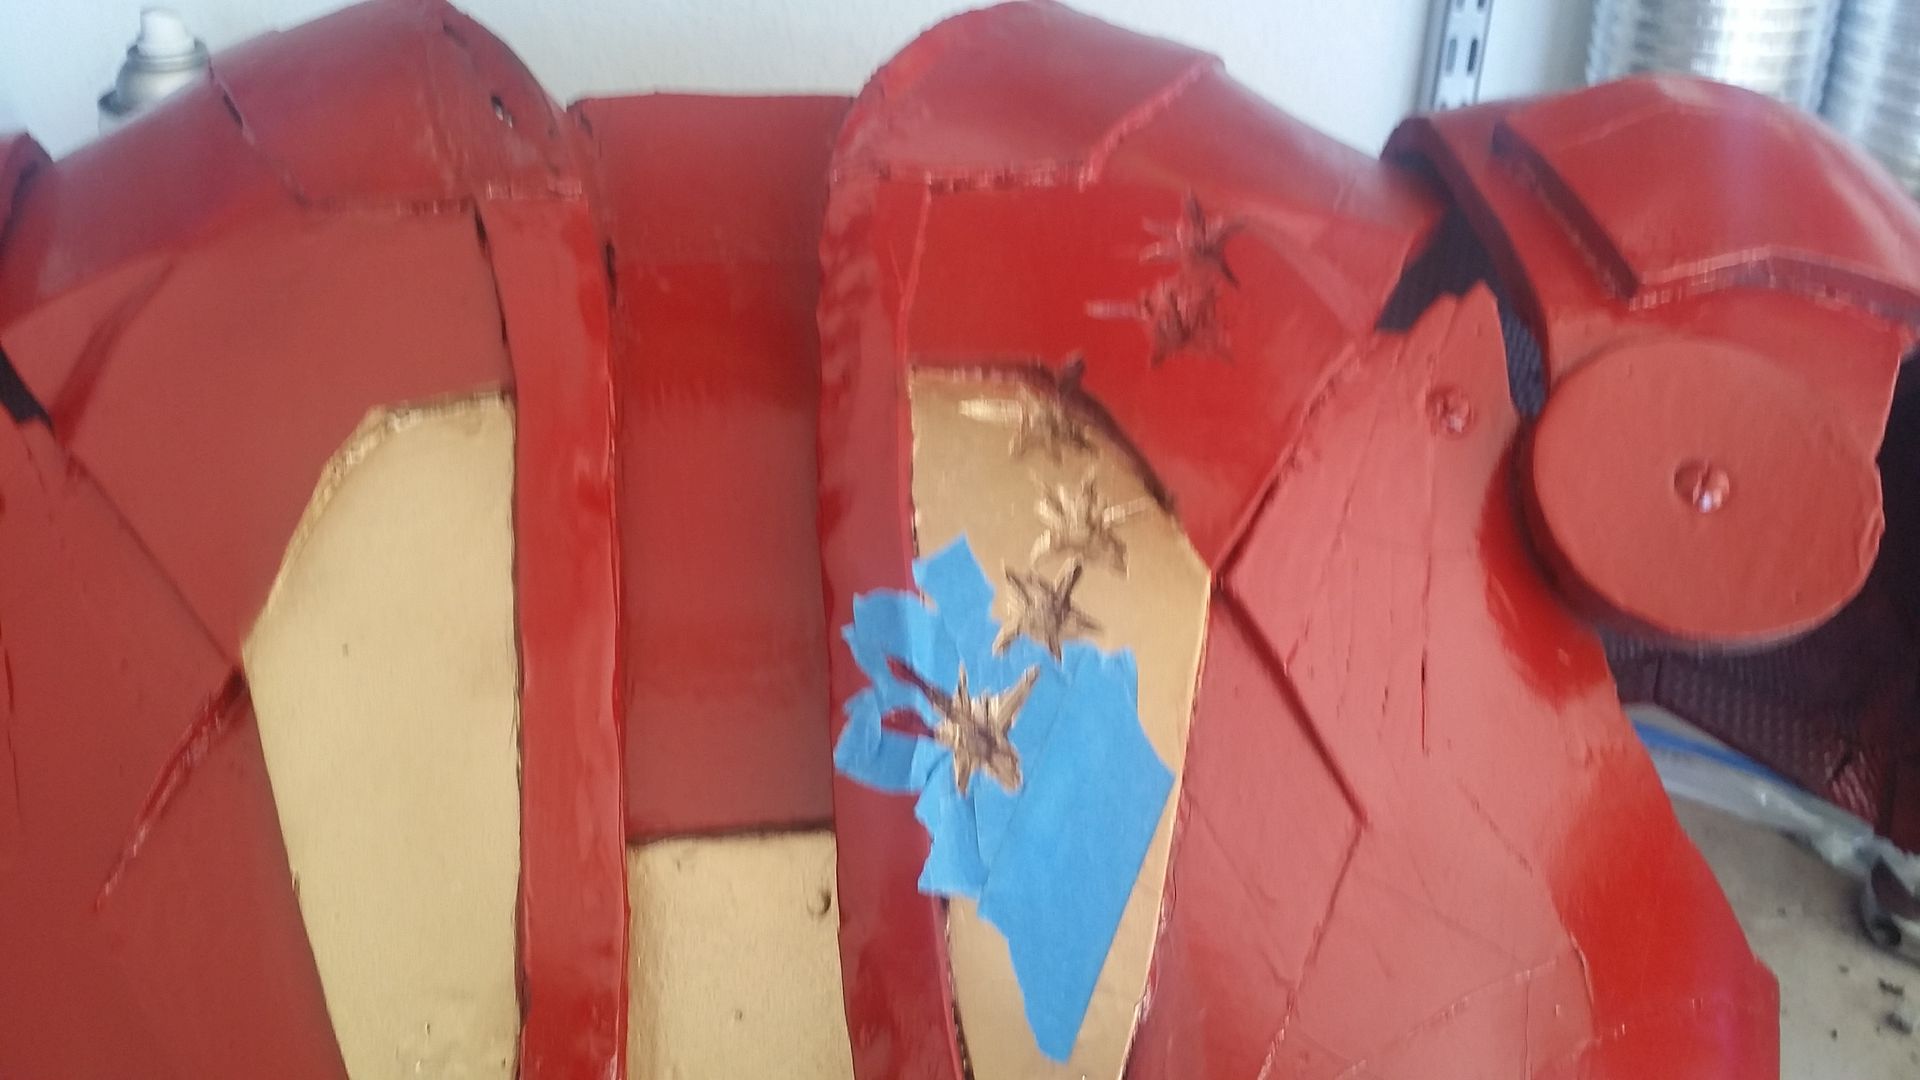
so, i started the long and annoying process of taping everything around the scars and damaged areas to paint them:
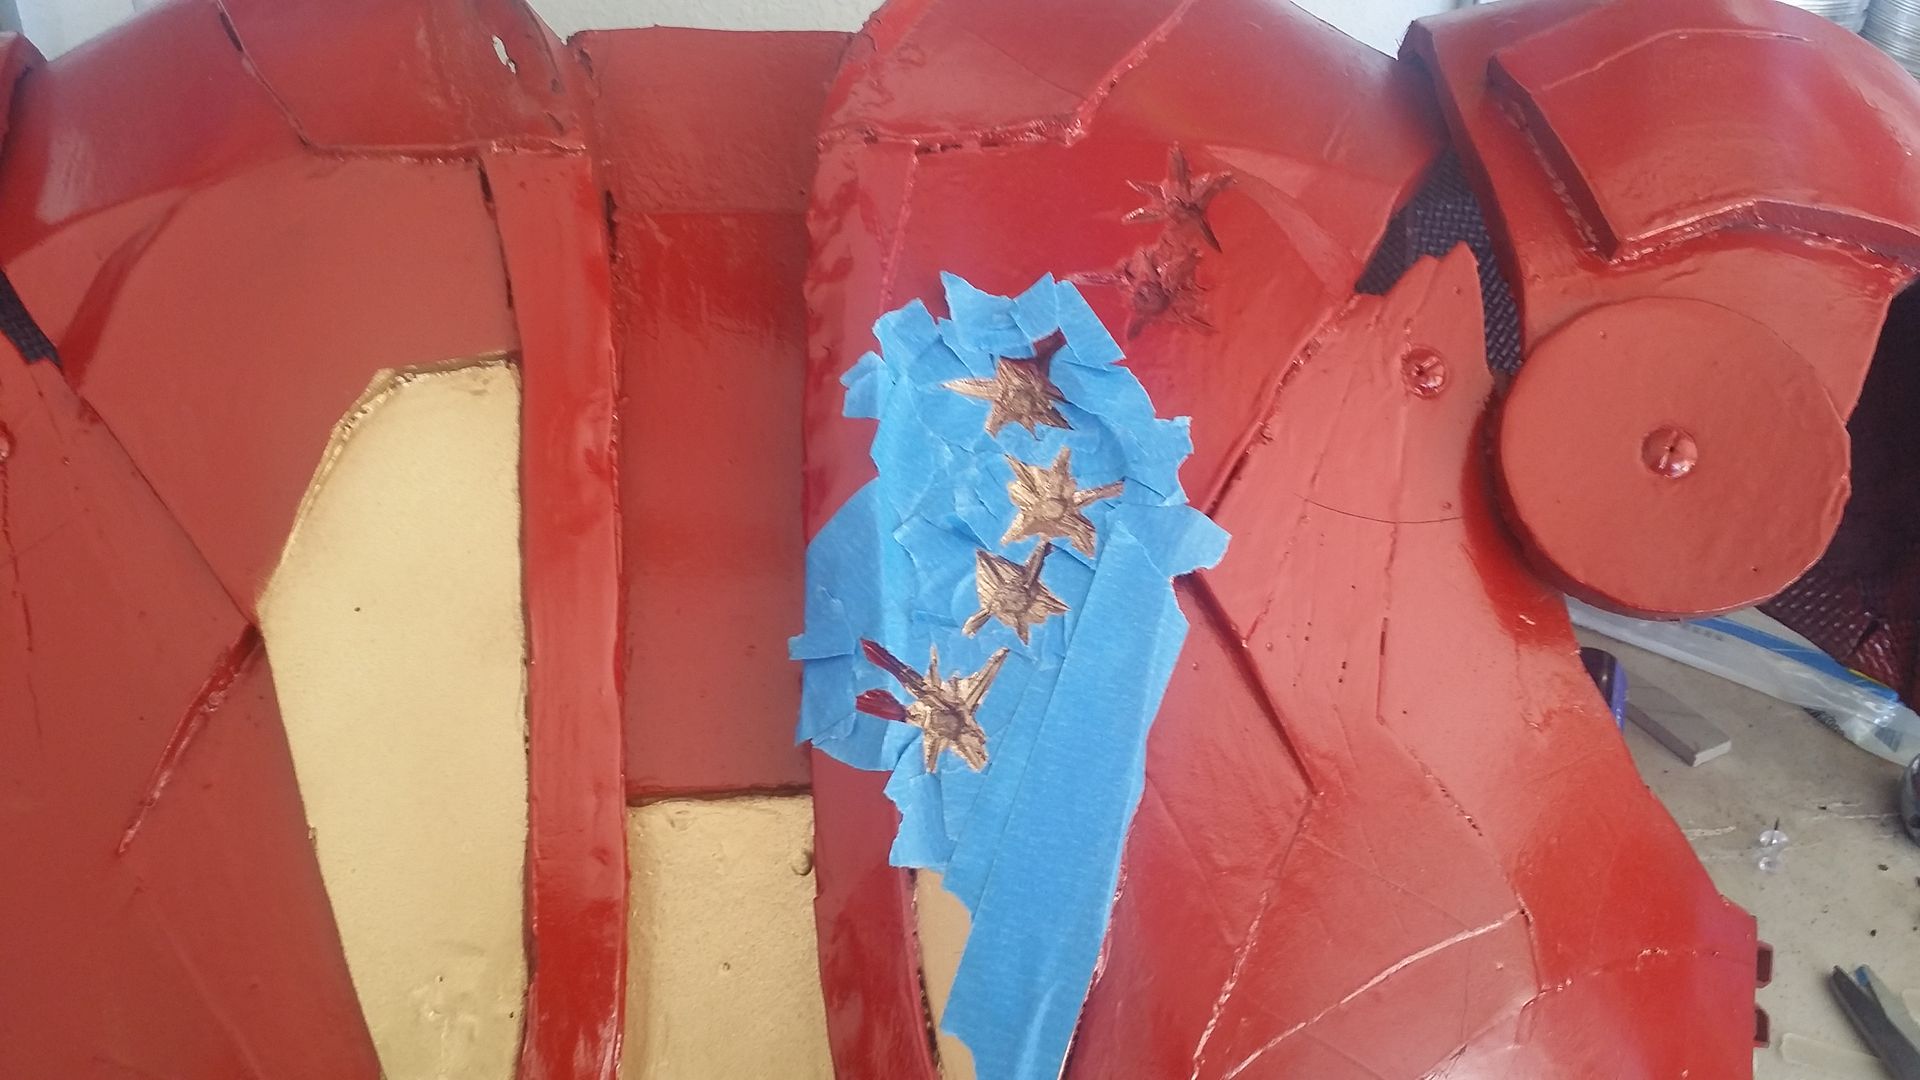

RIDE ETERNAL! SHINY AND CHROME!
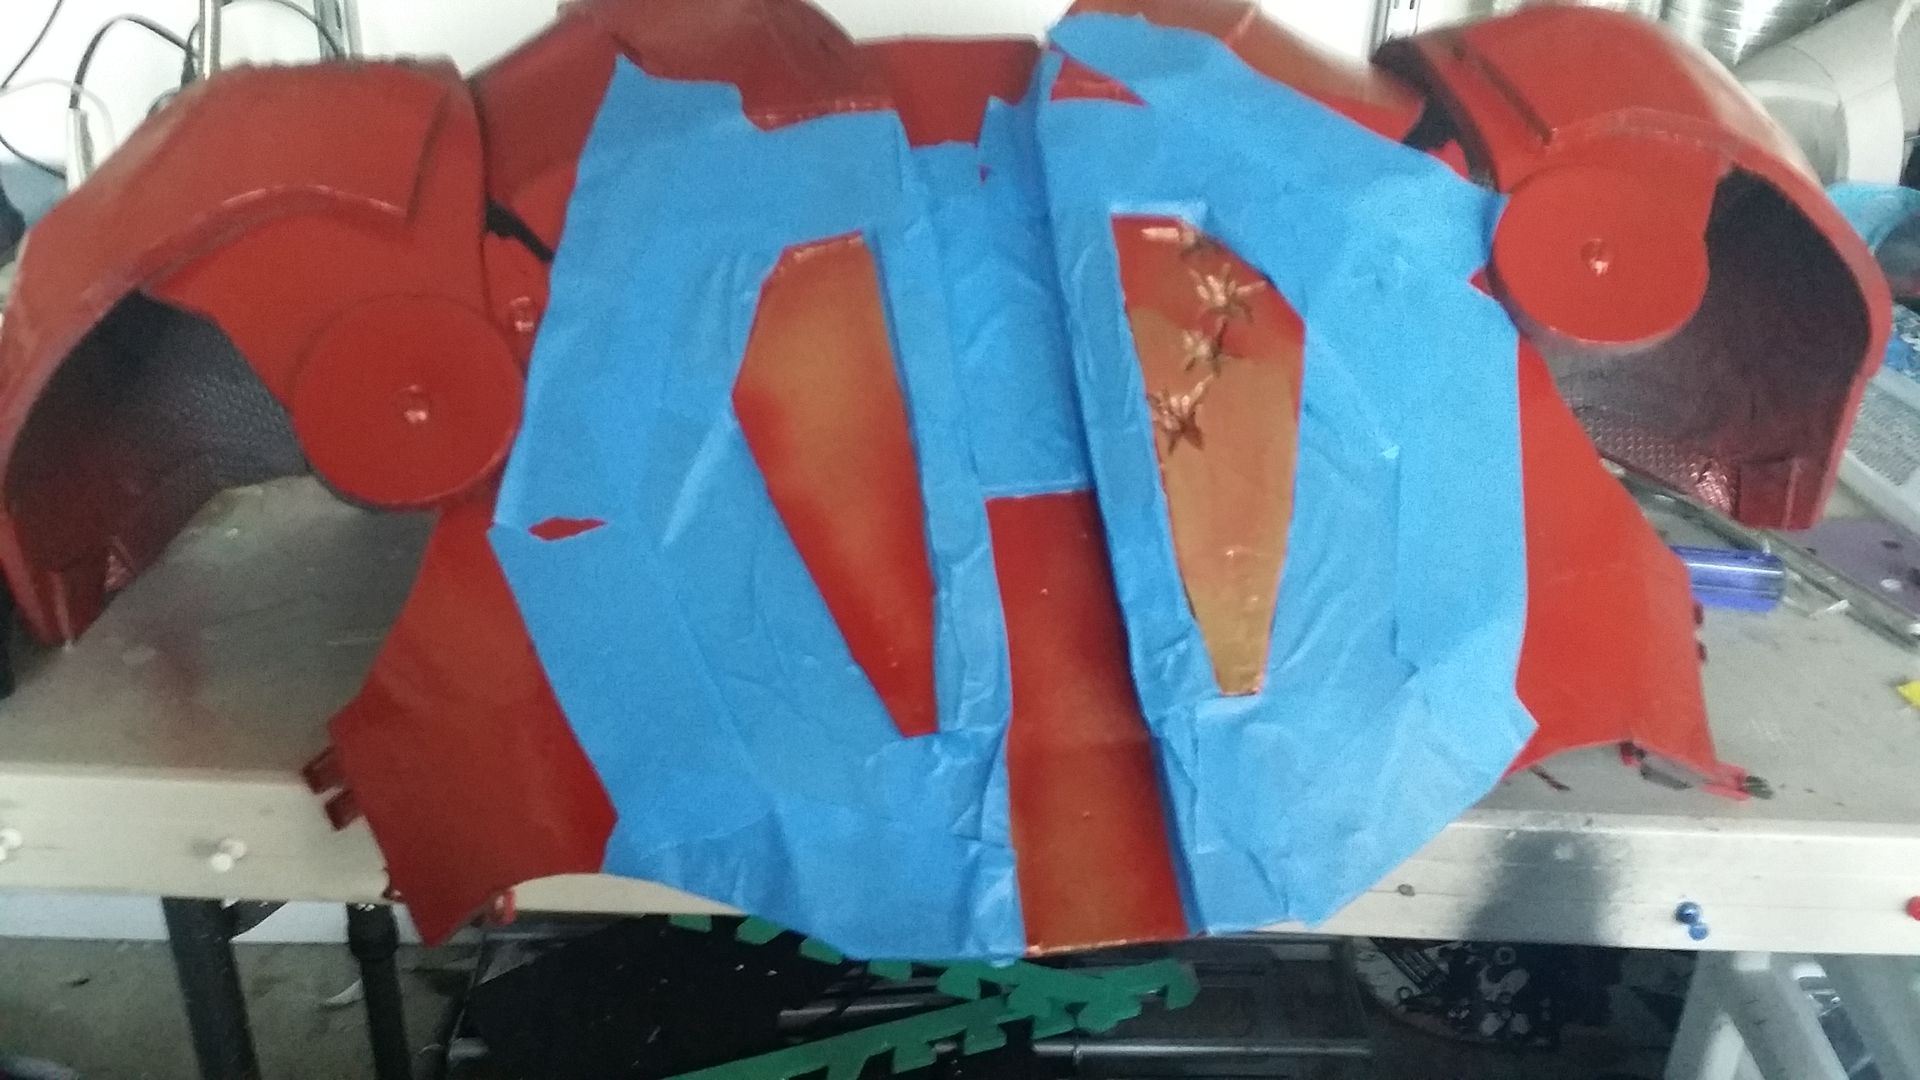
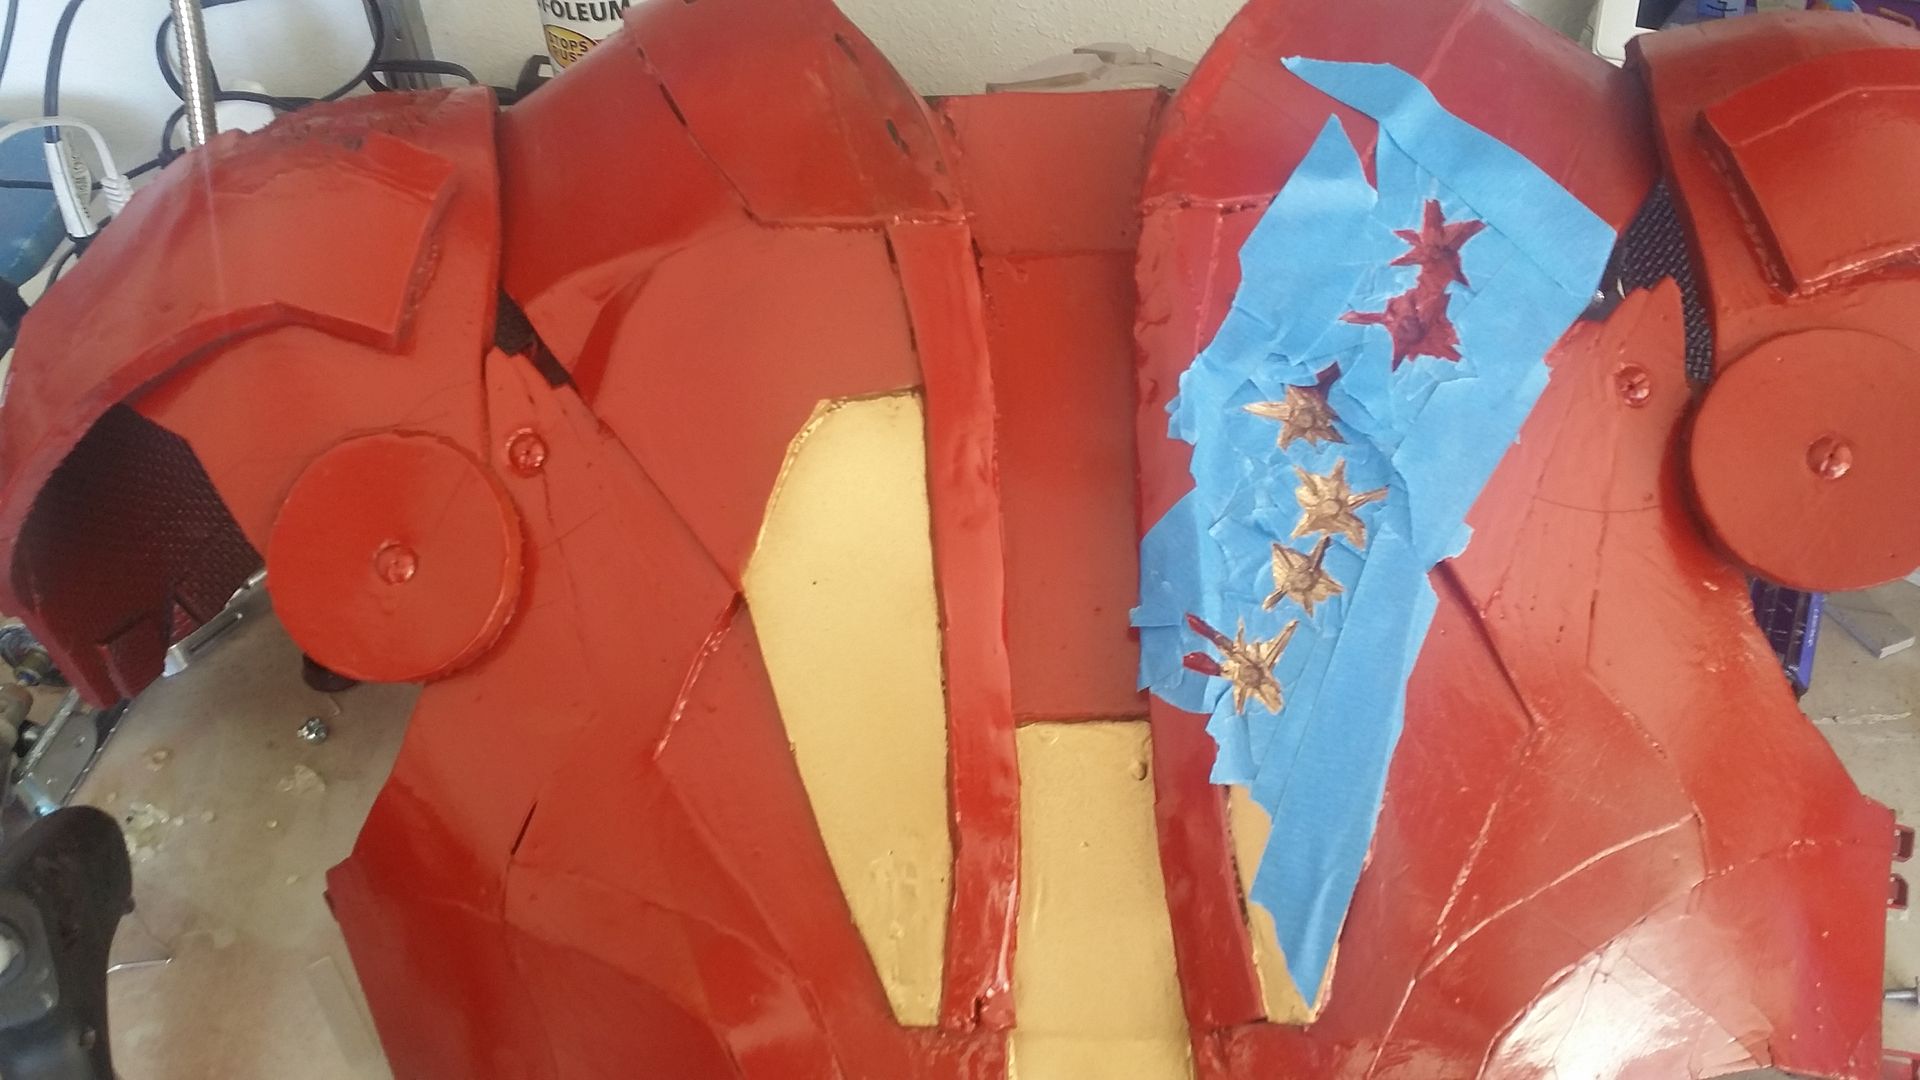
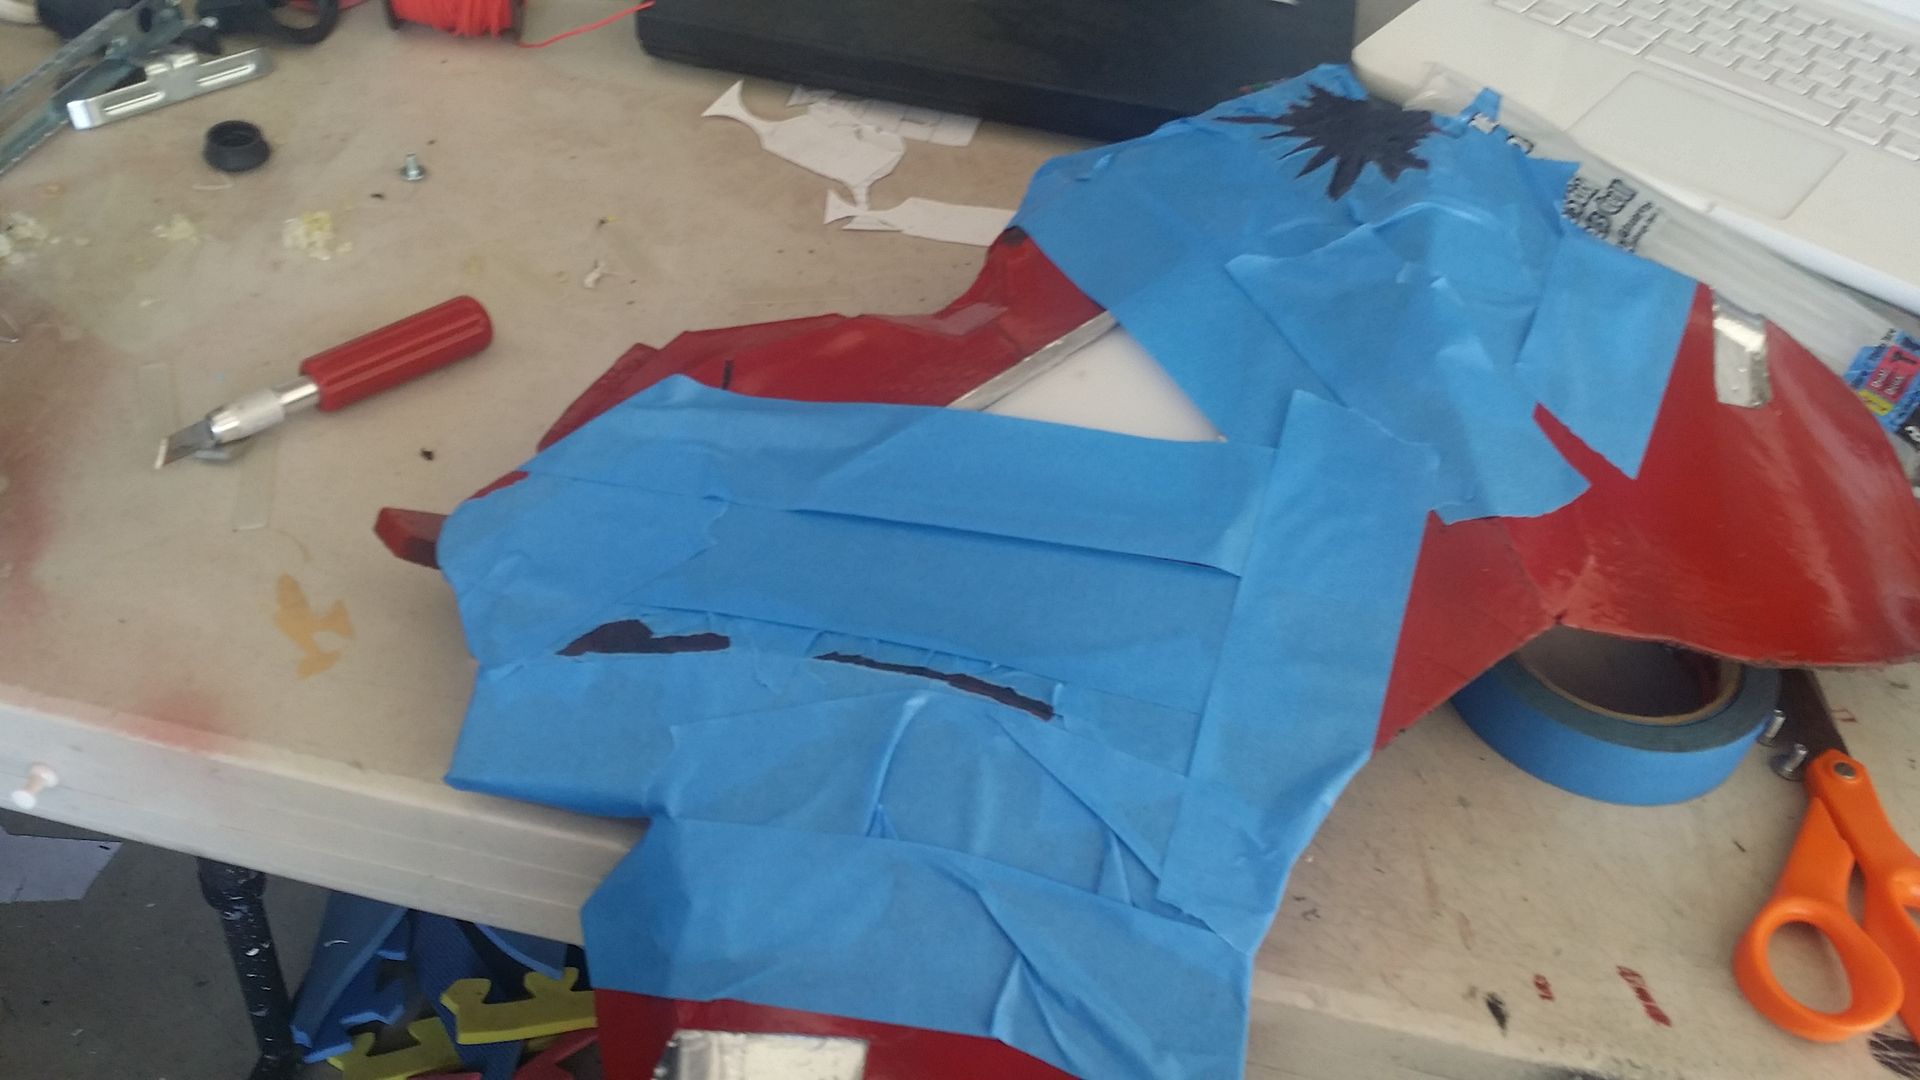
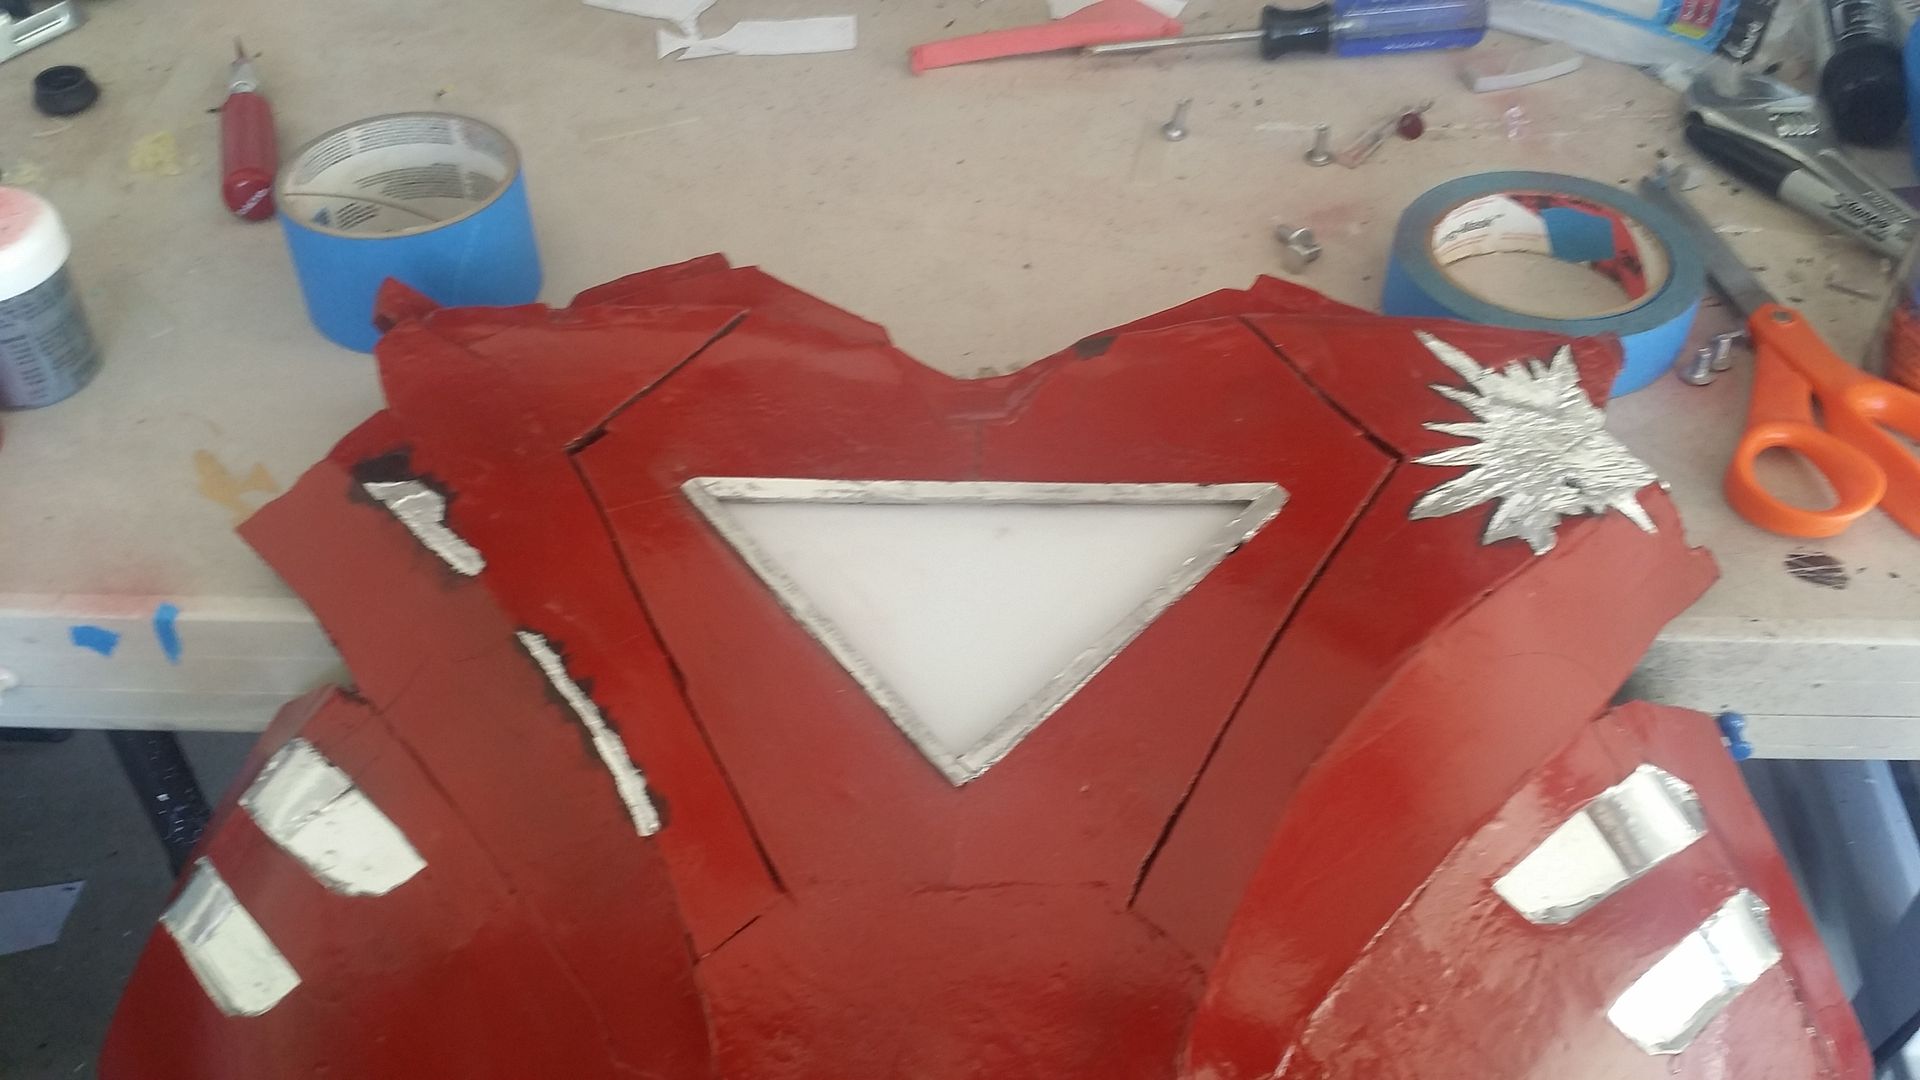
next came the chest, with even more annoyingly detailed battle scarring to carefully tape around:

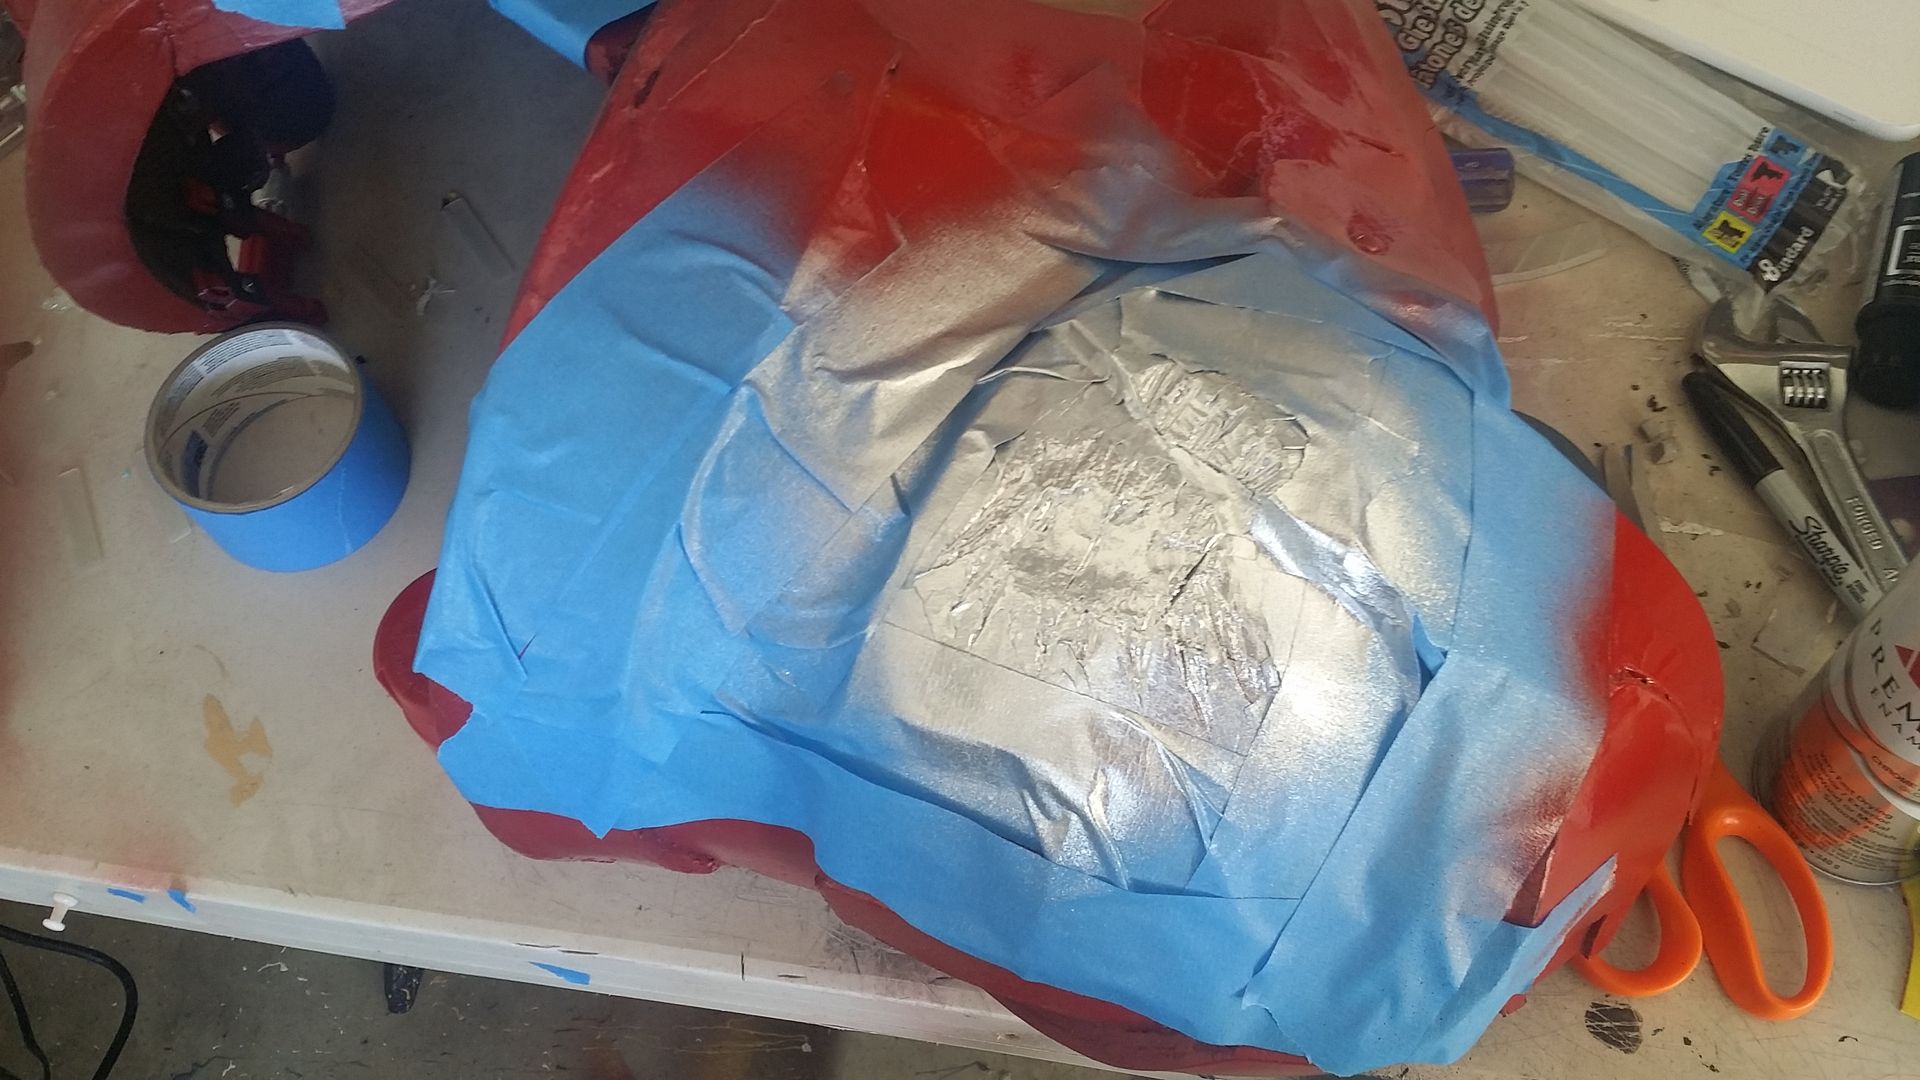
and finally, the last part to tape and paint was the big shoulder chunk:

after waiting a proper amount of time for drying, it was time to unwrap these suckers like it's christmas morning!
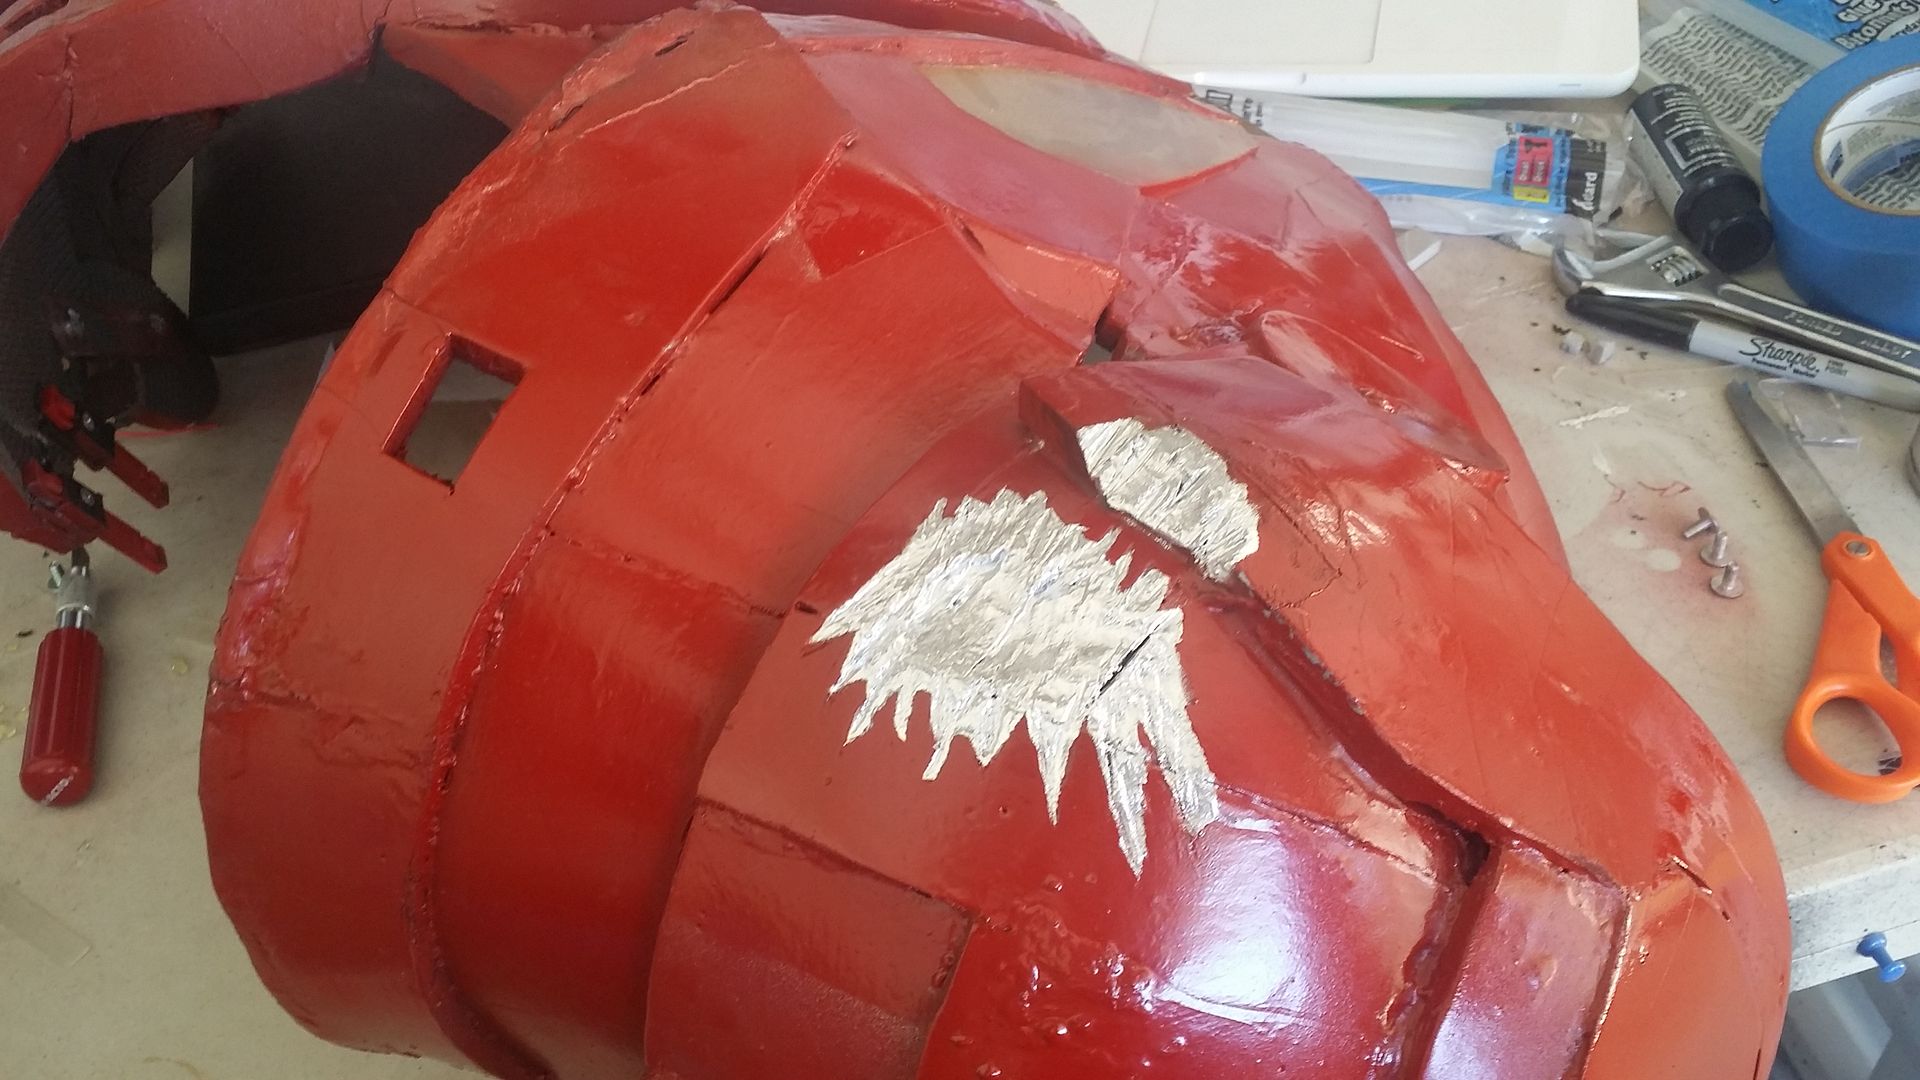
looks like i finally found the right way to do battle damage! hooray! that's all for this update though. next time, we'll be breaking new ground, and mister chief will be making his first helmet!
Stay tuned!
No comments:
Post a Comment