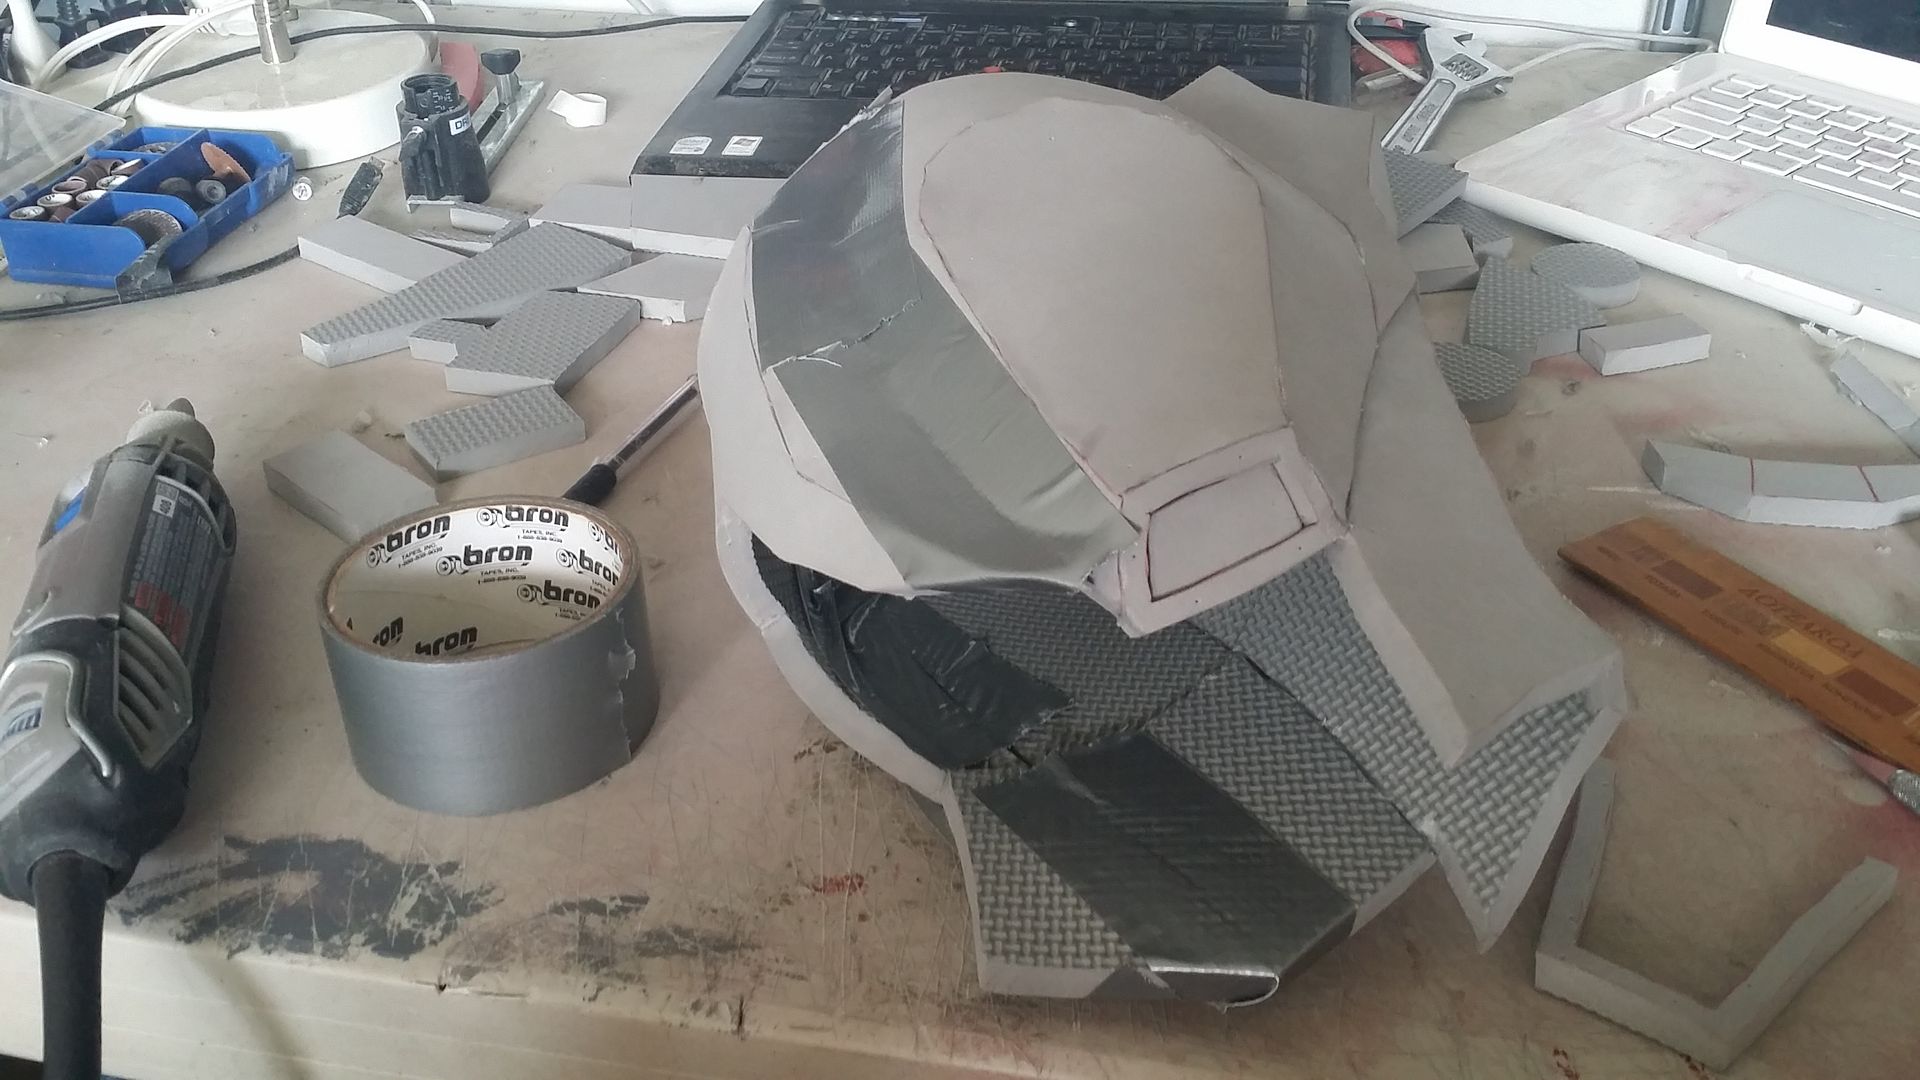
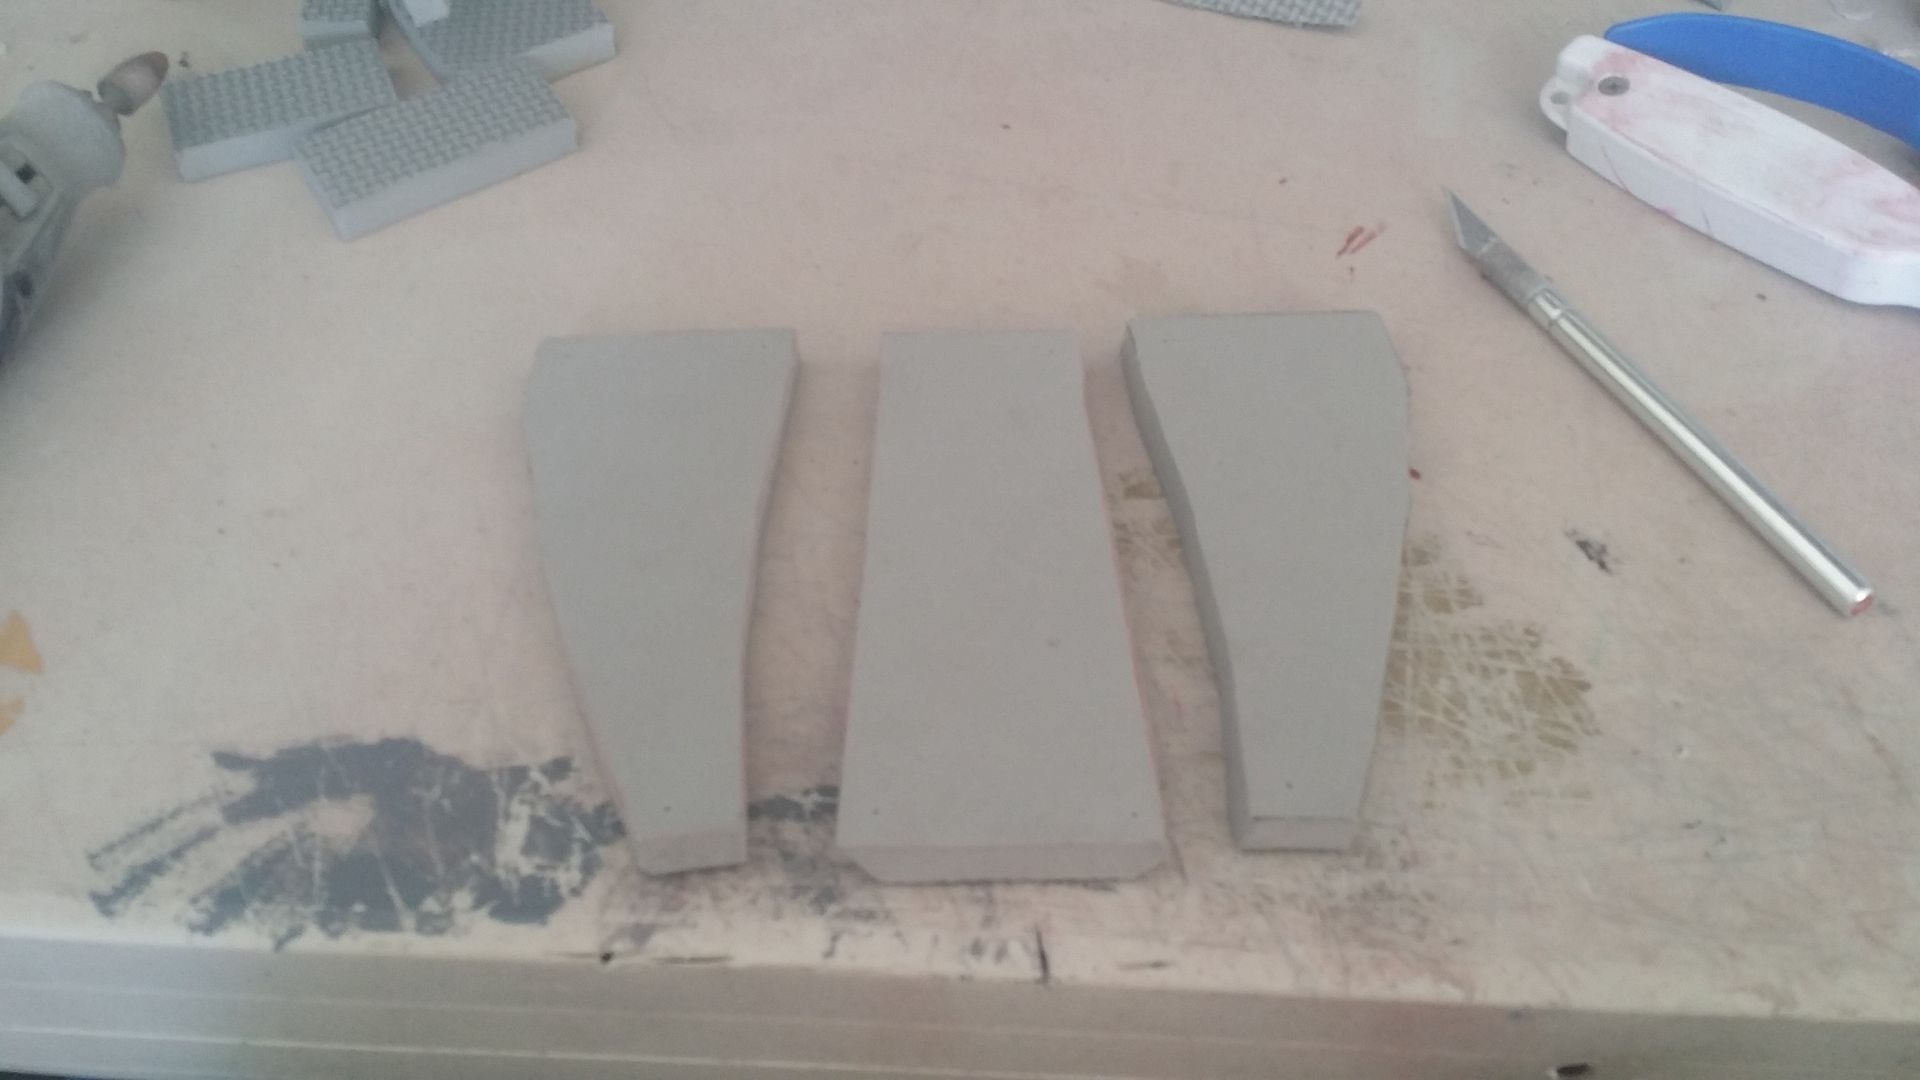
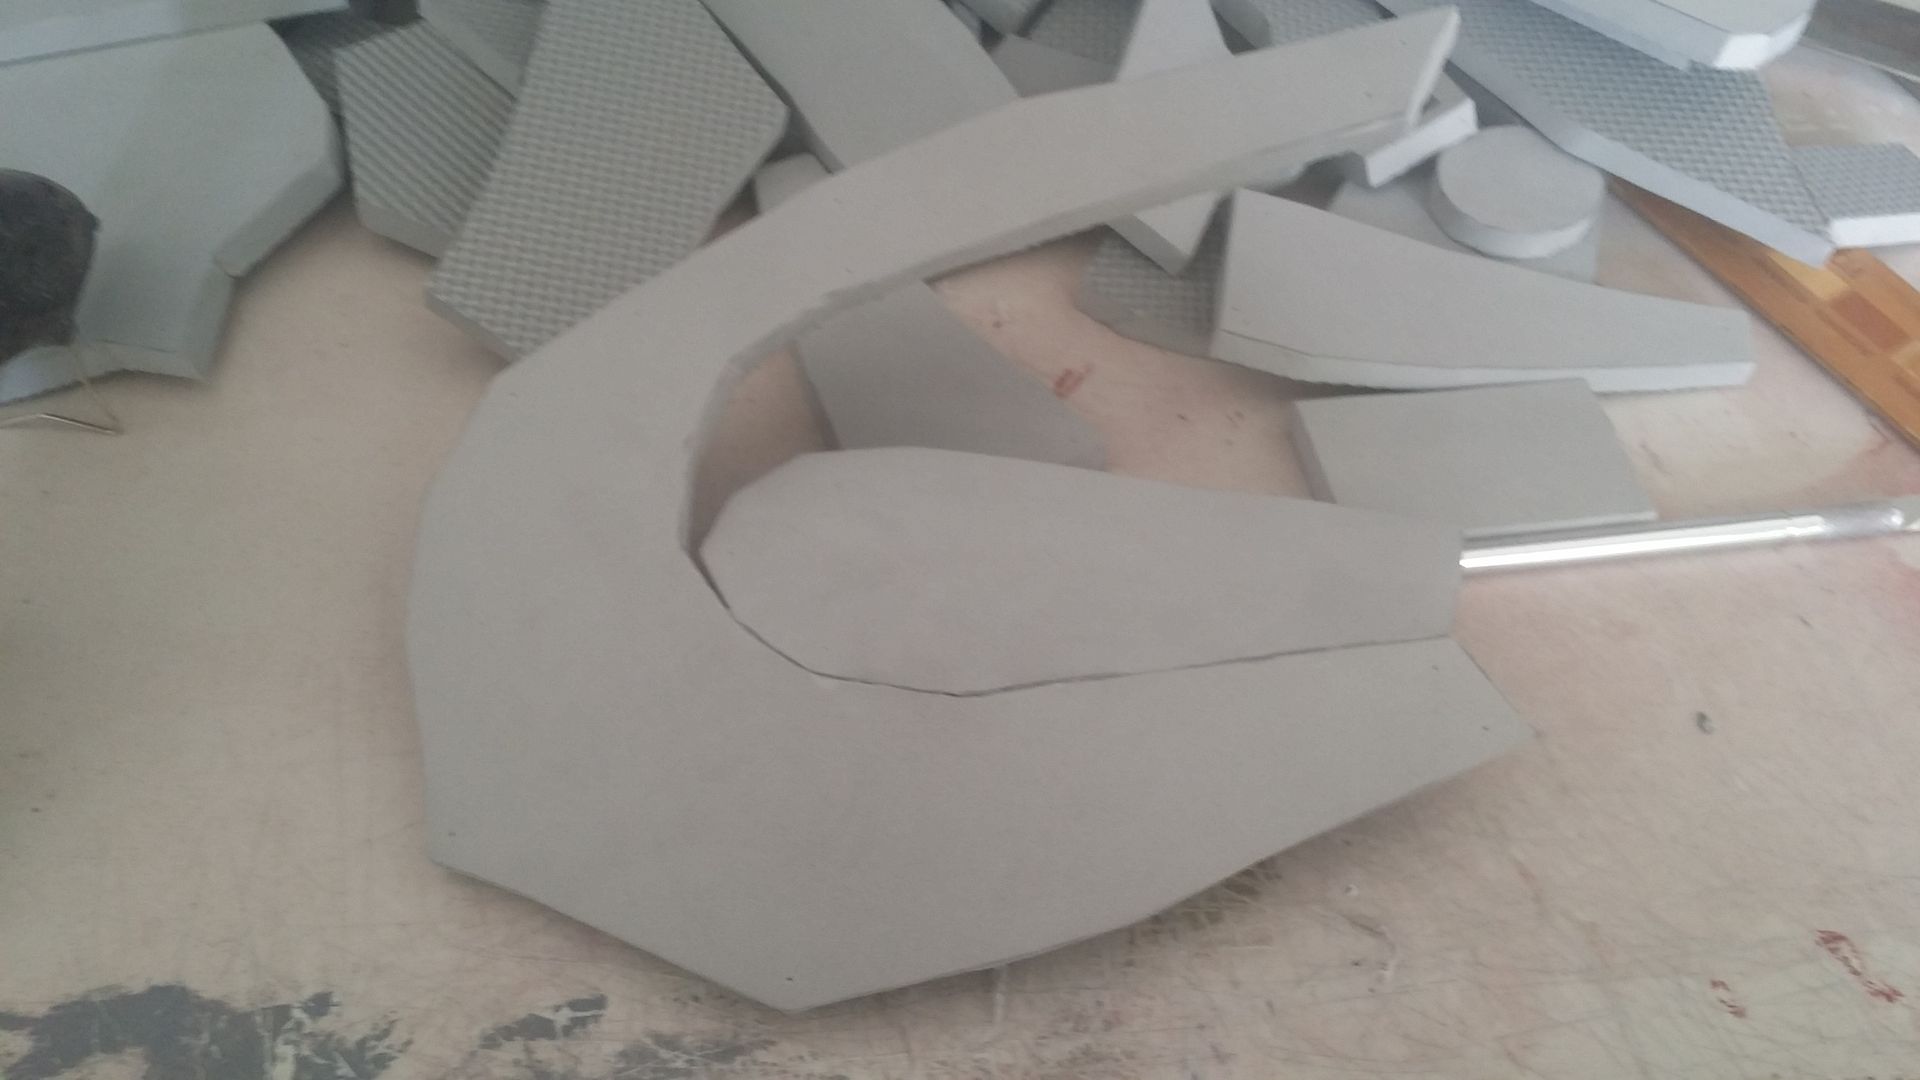
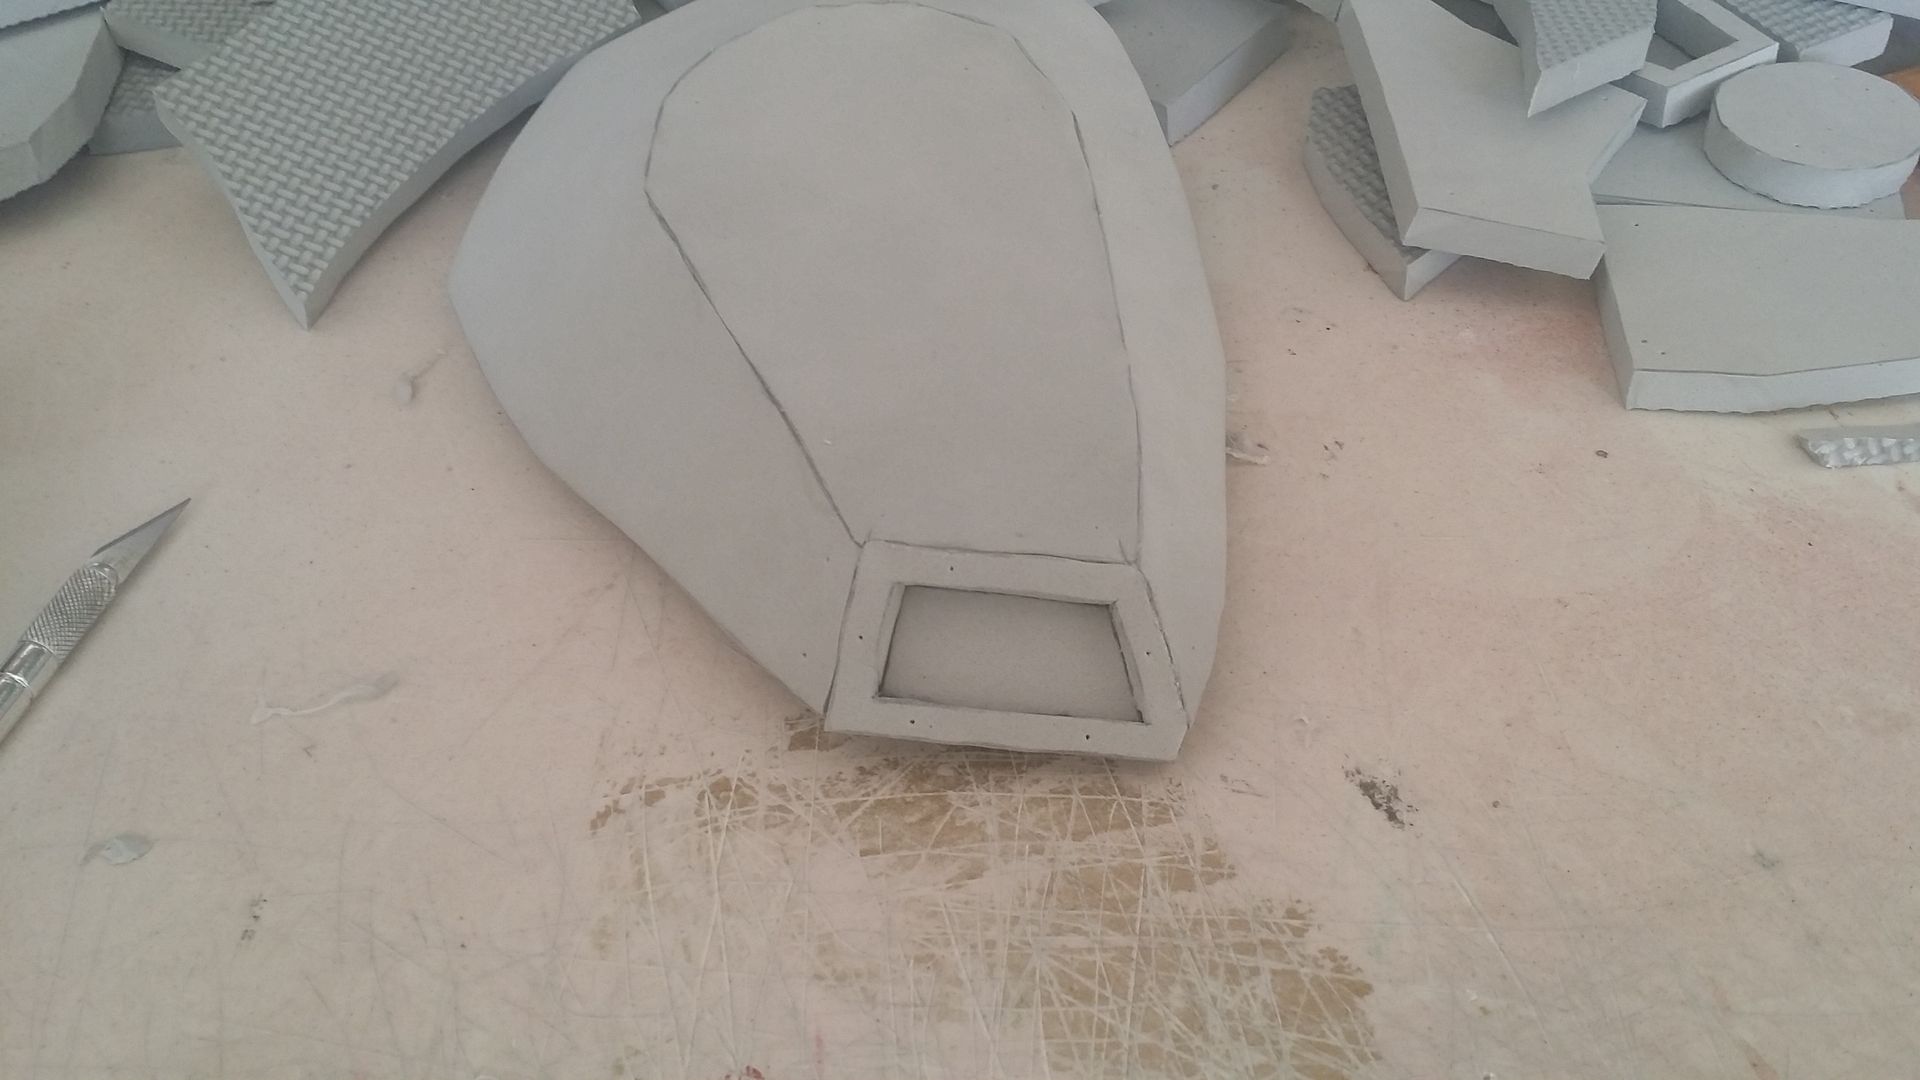
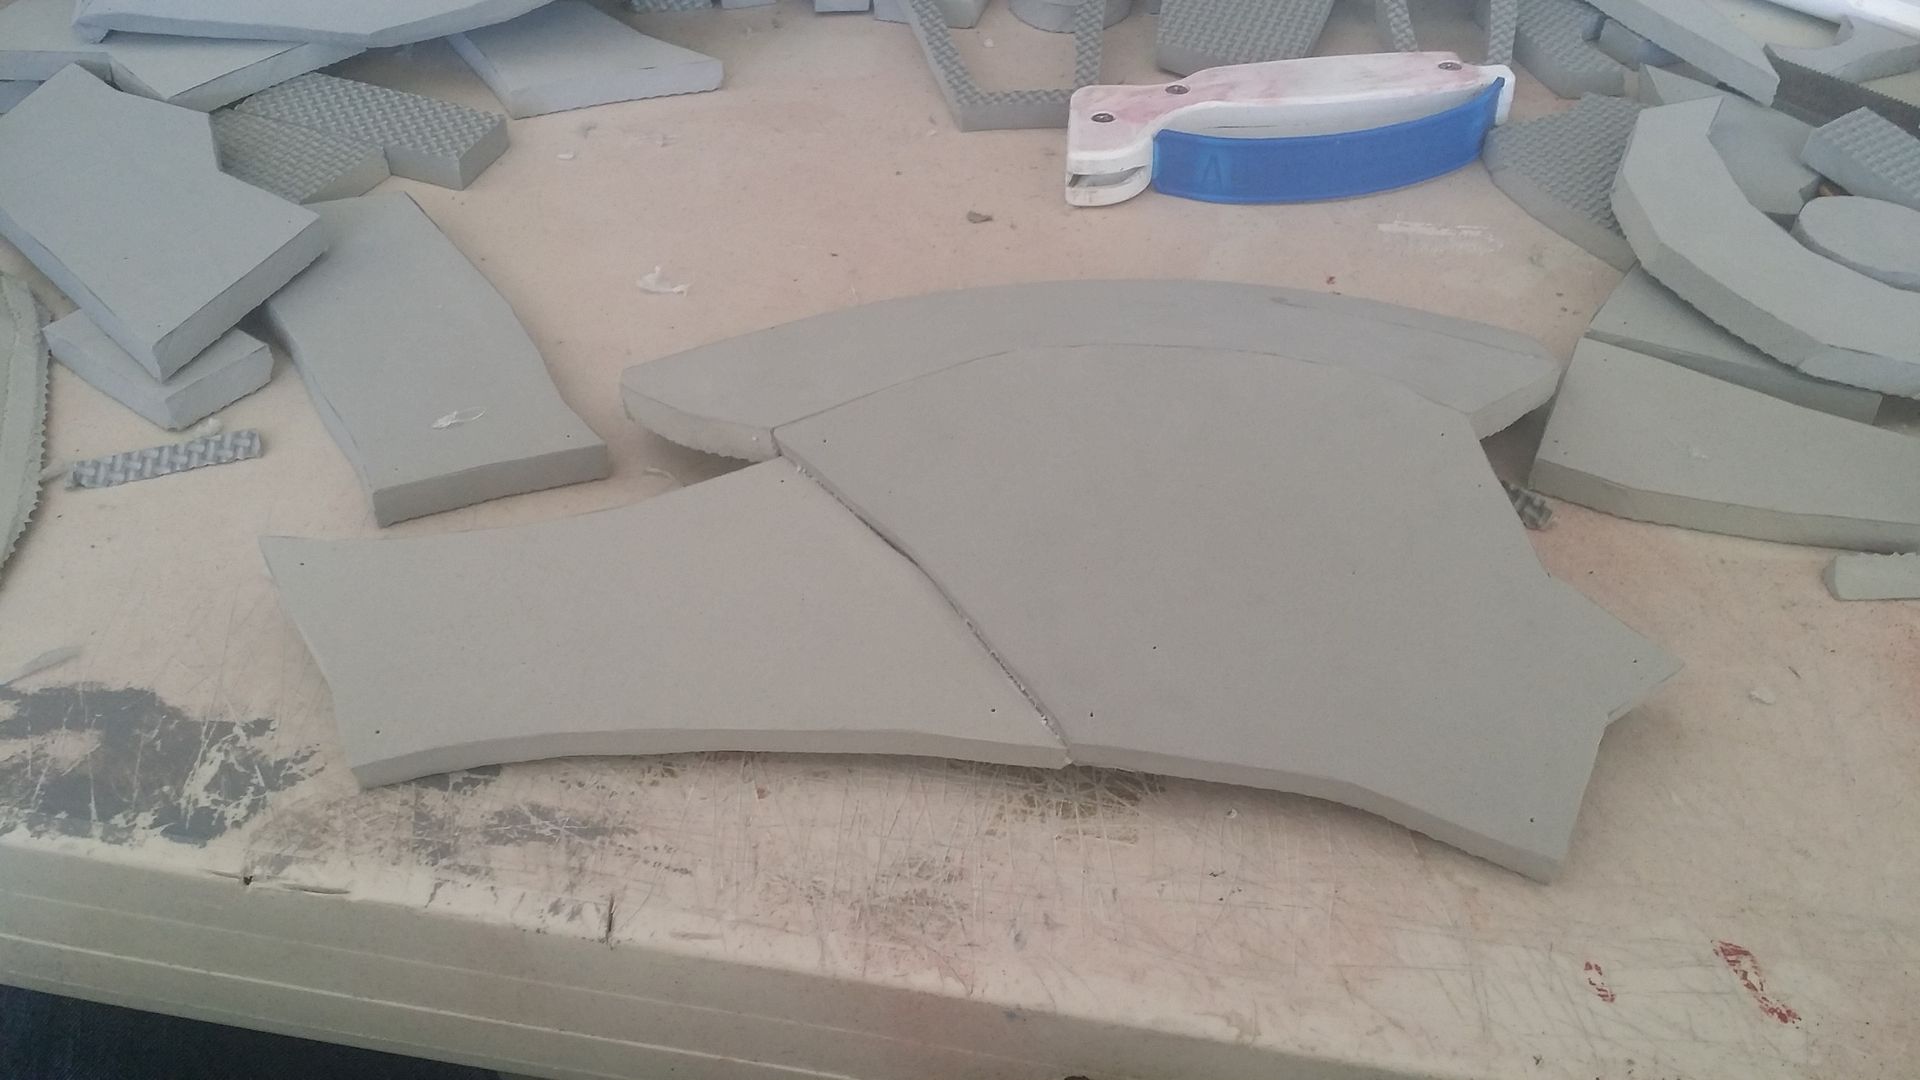
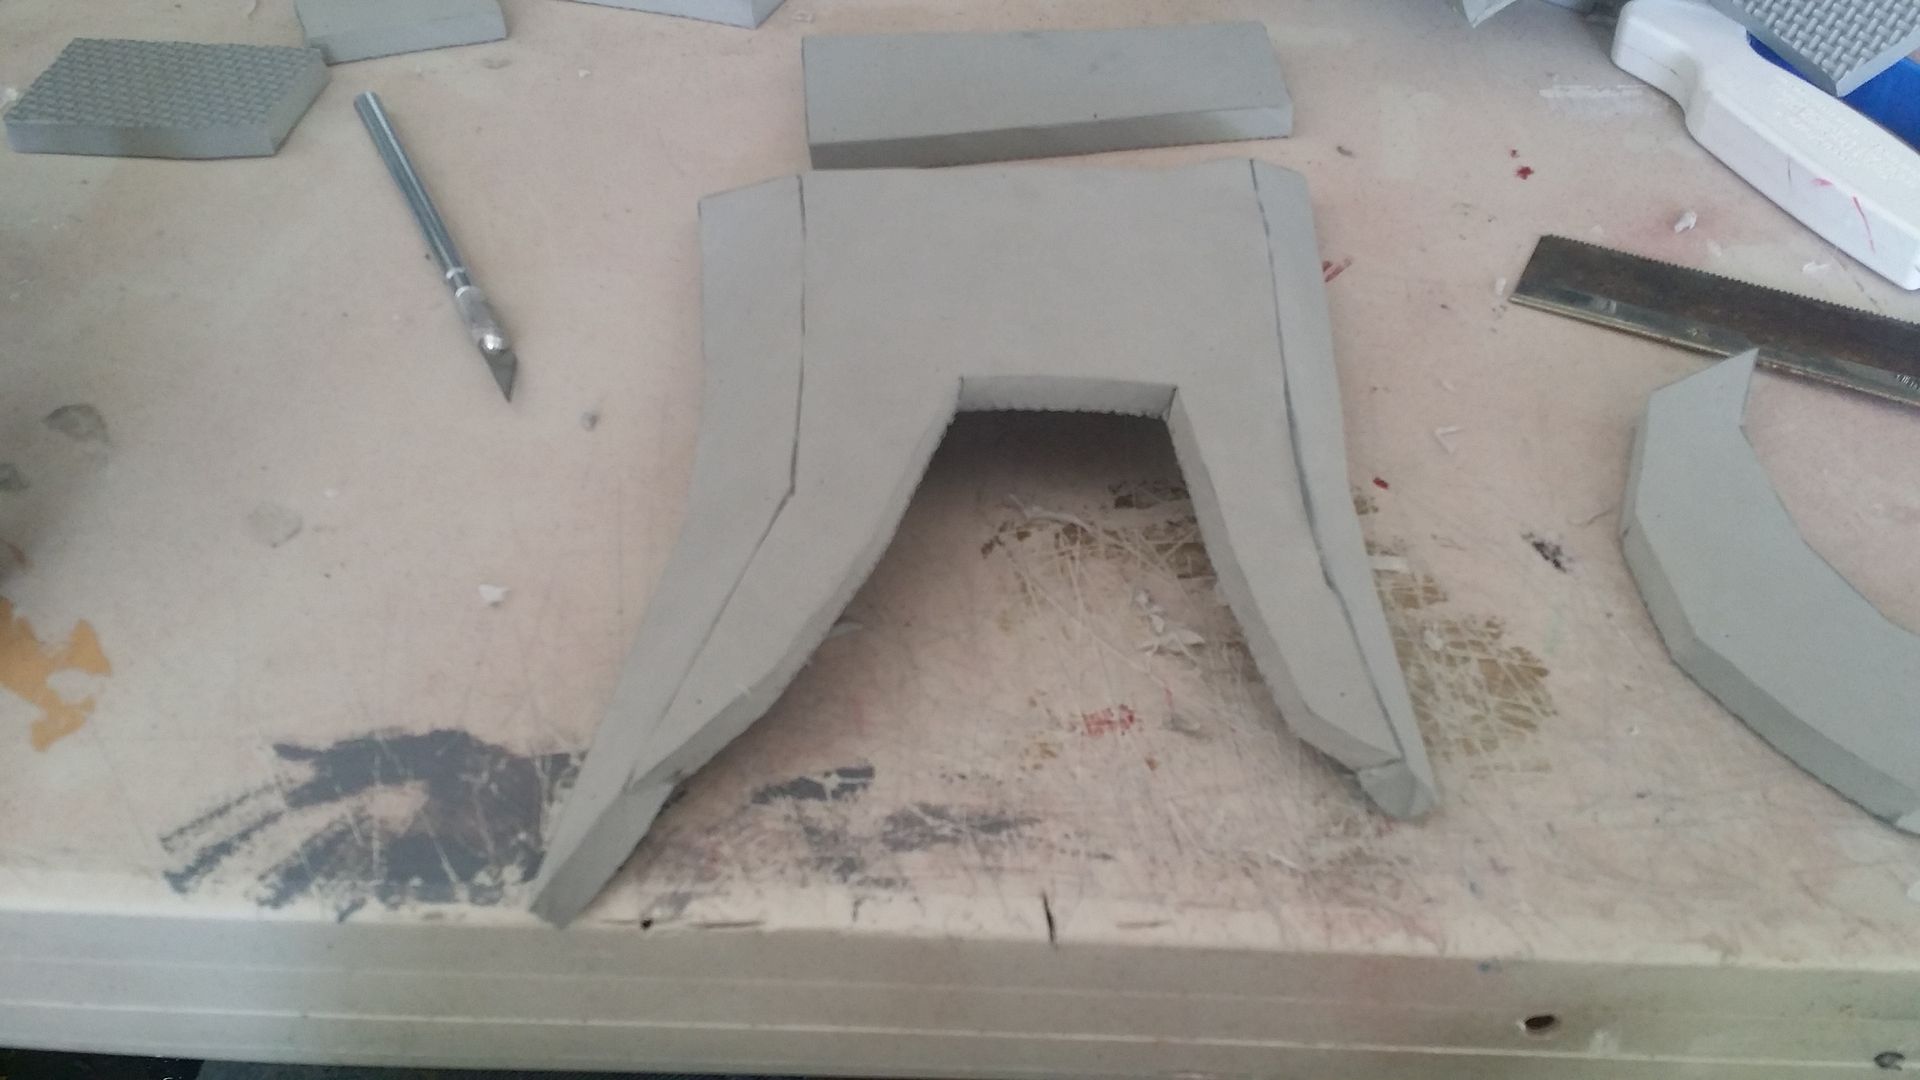
Alright! we're coming to the end of the building phase, and after that it'll be sealing, painting, and then that's about it! however, the shins are almost as detailed and complicated as the boots, especially considering that it's going to be cut into two parts and hinged together. so, let's get rolling:


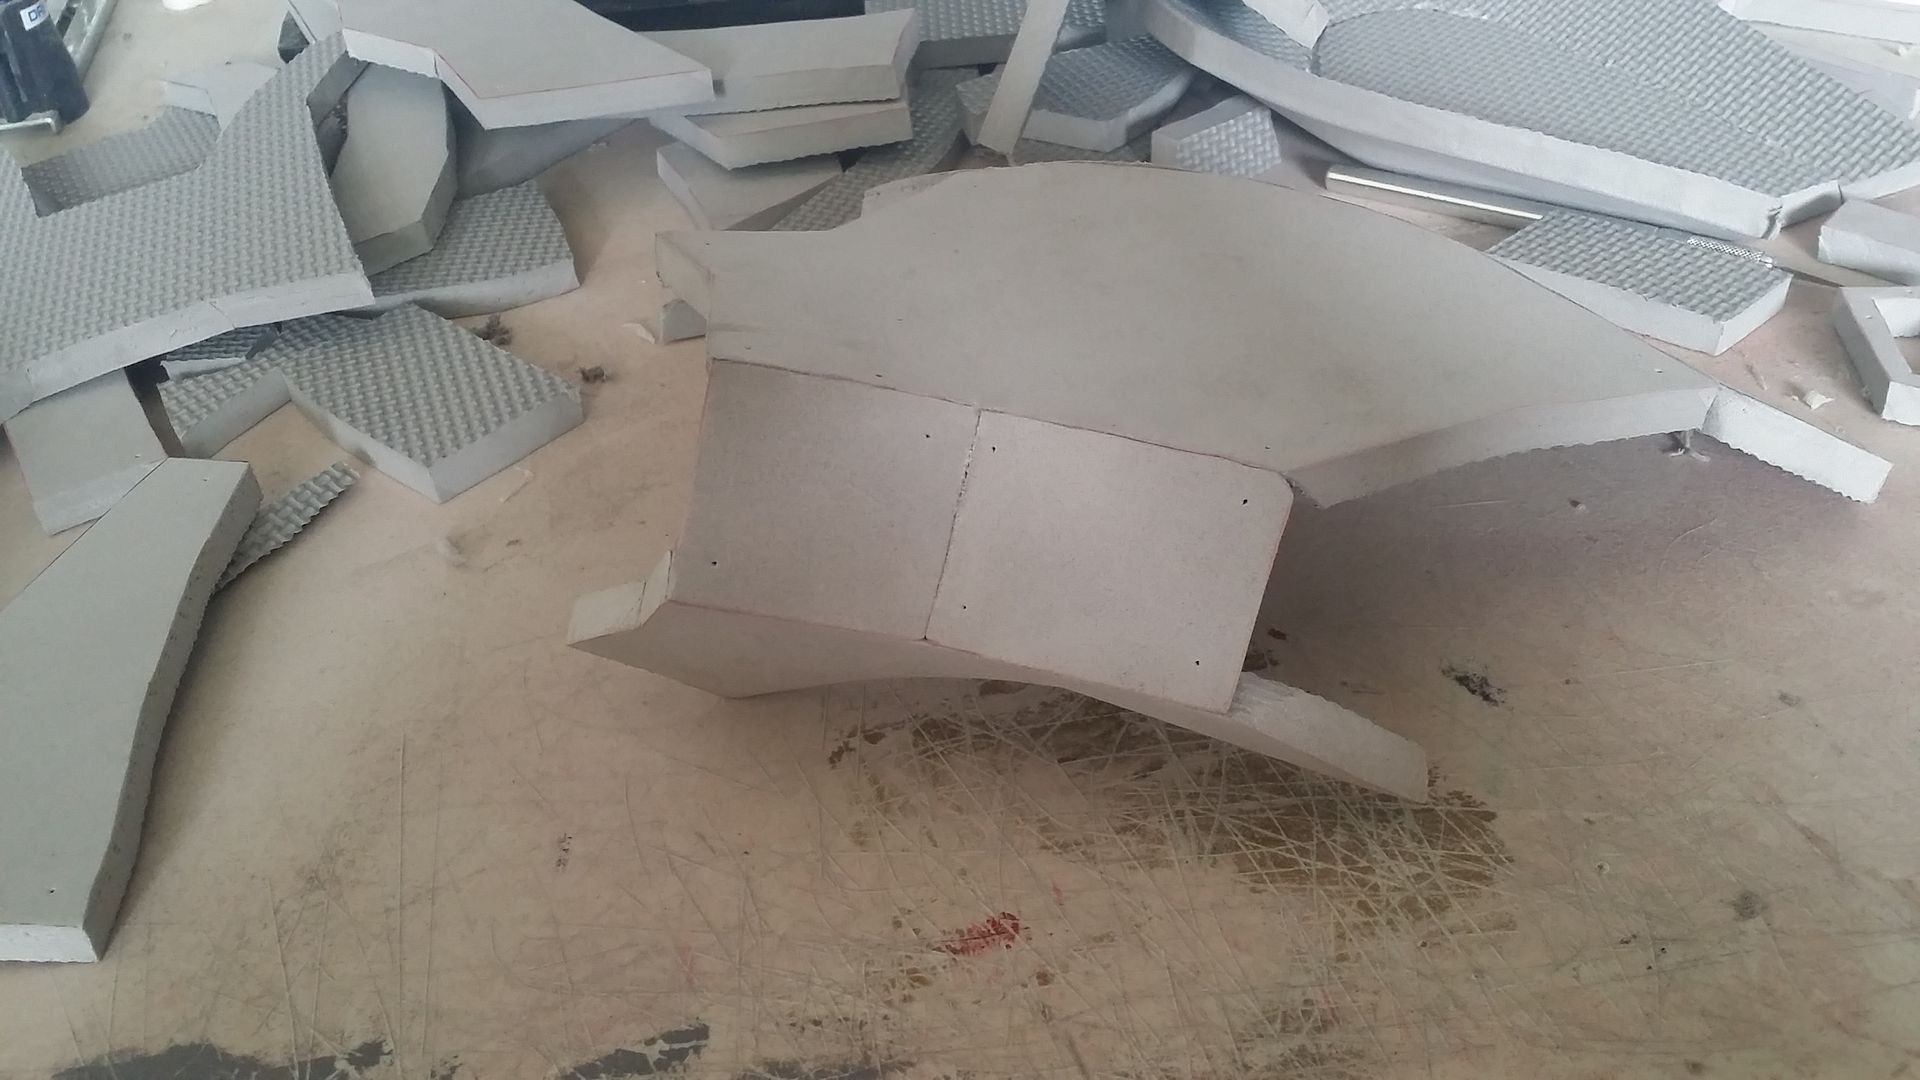
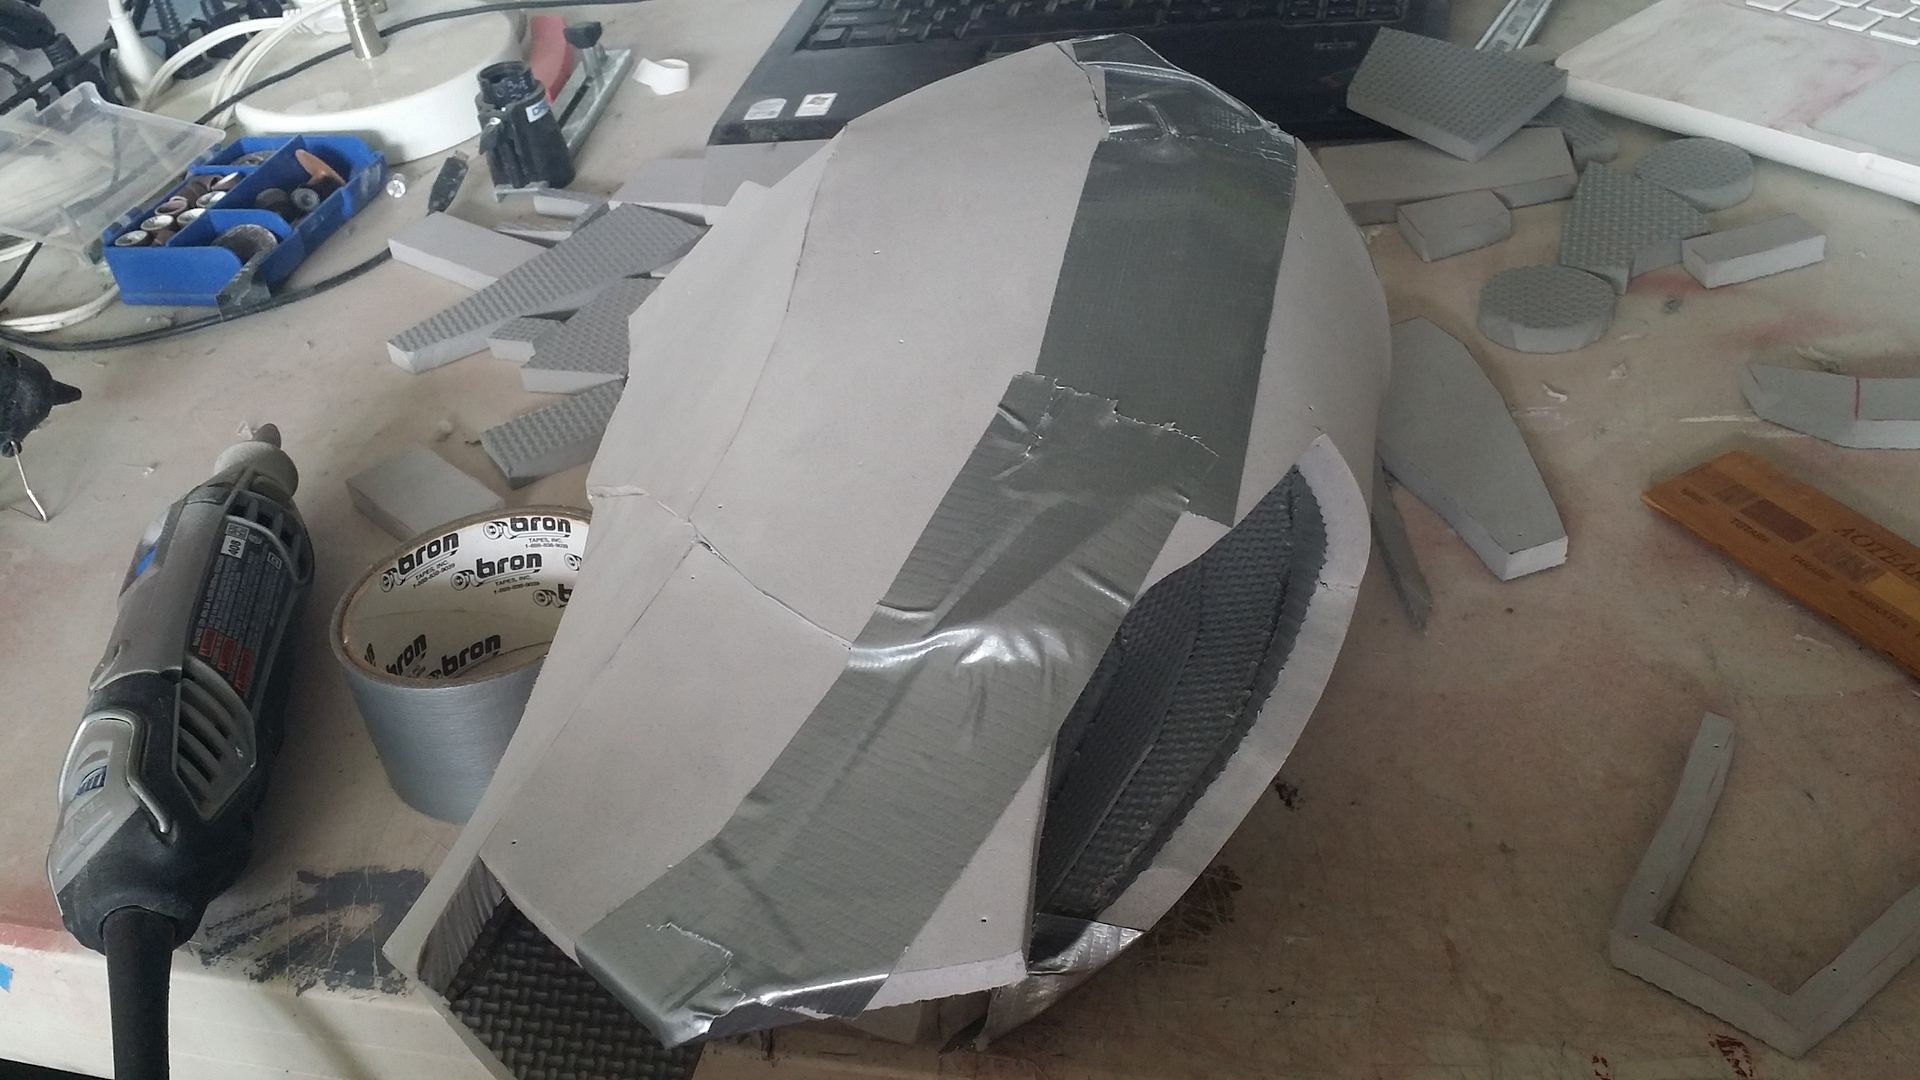
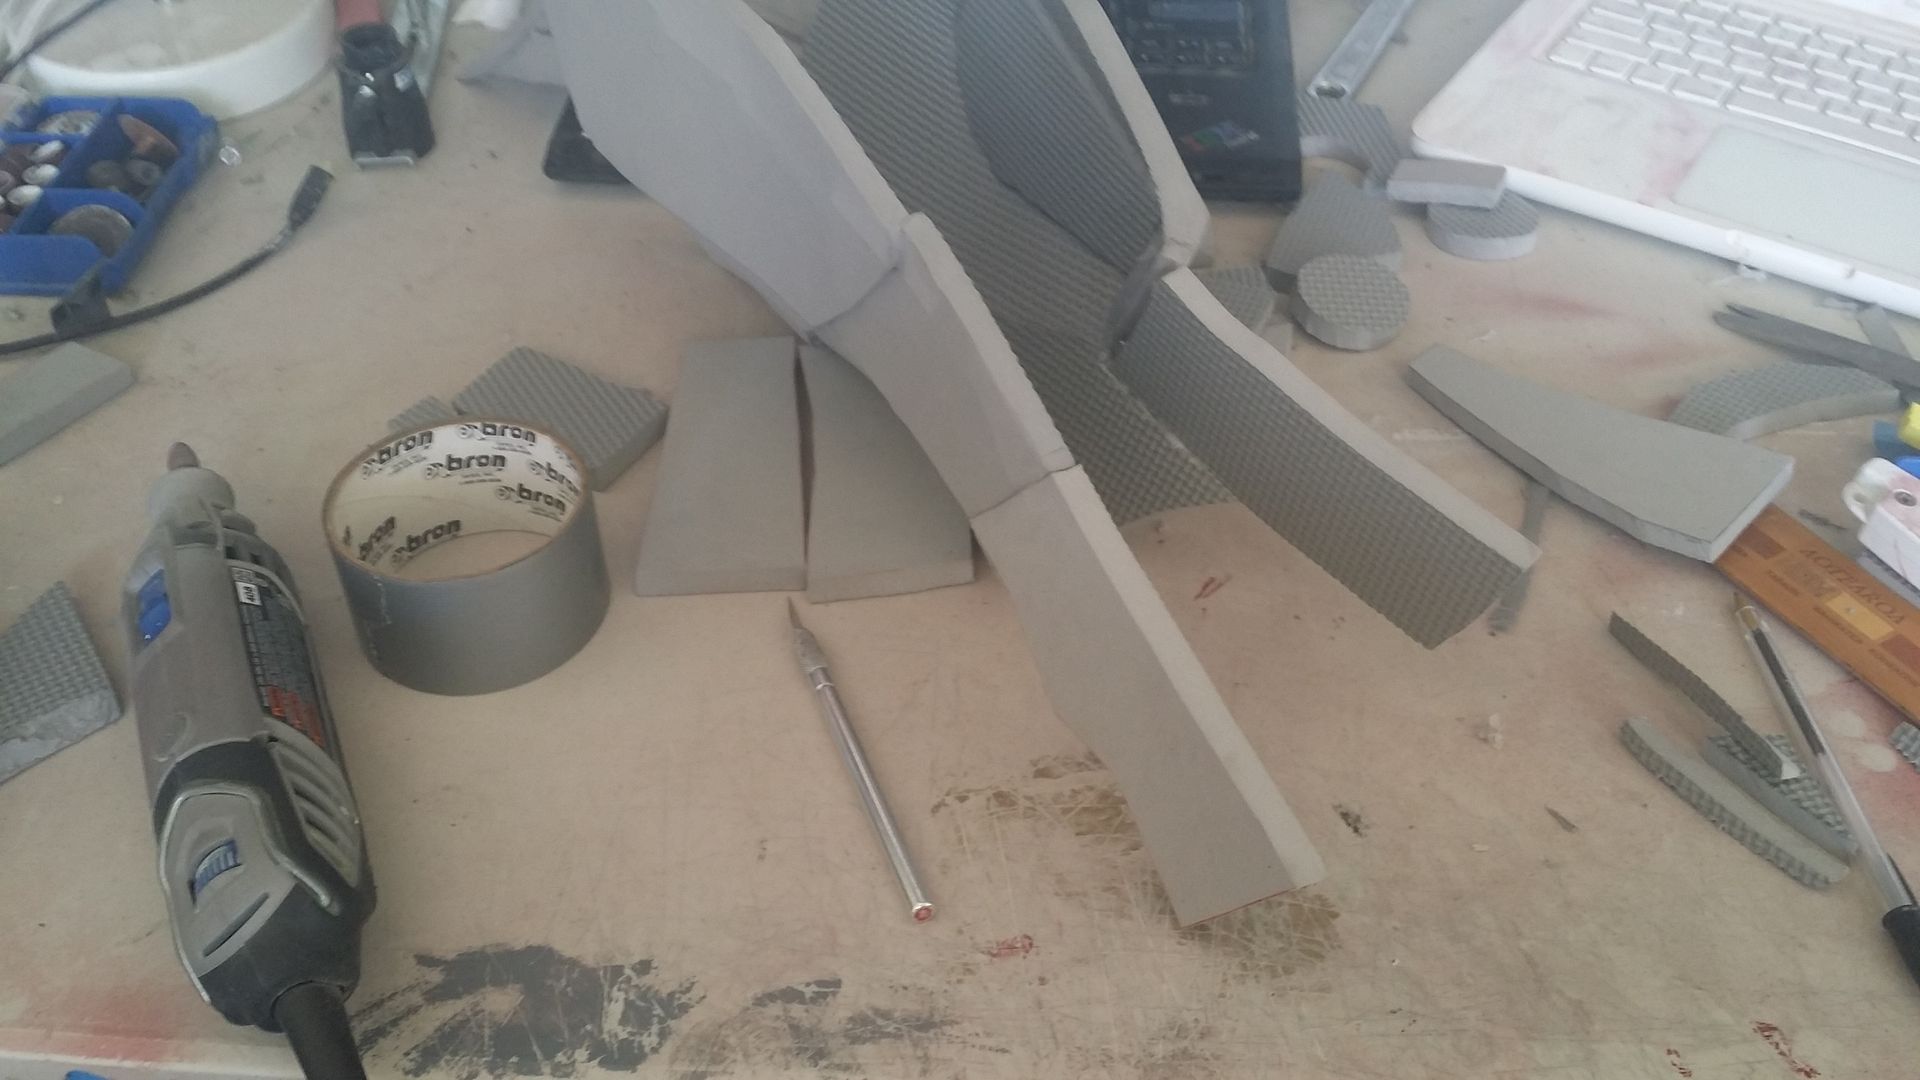
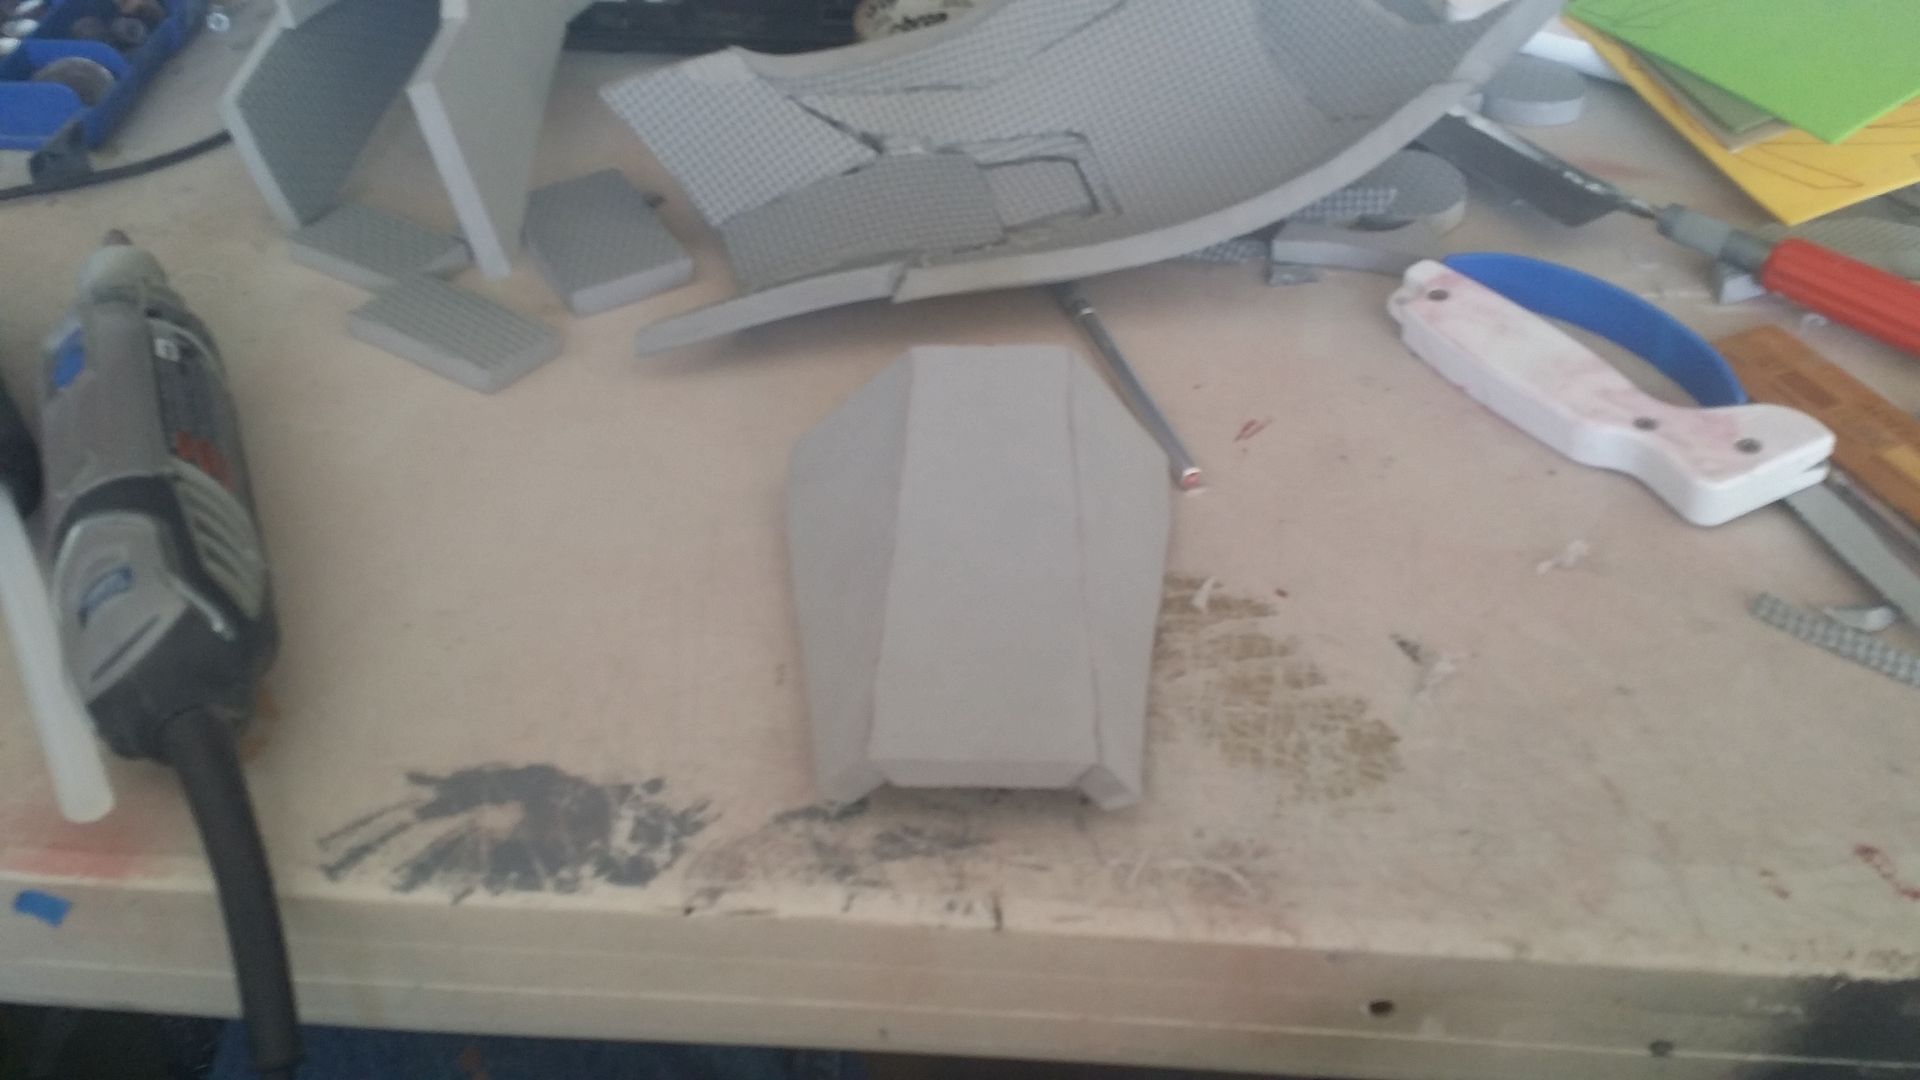
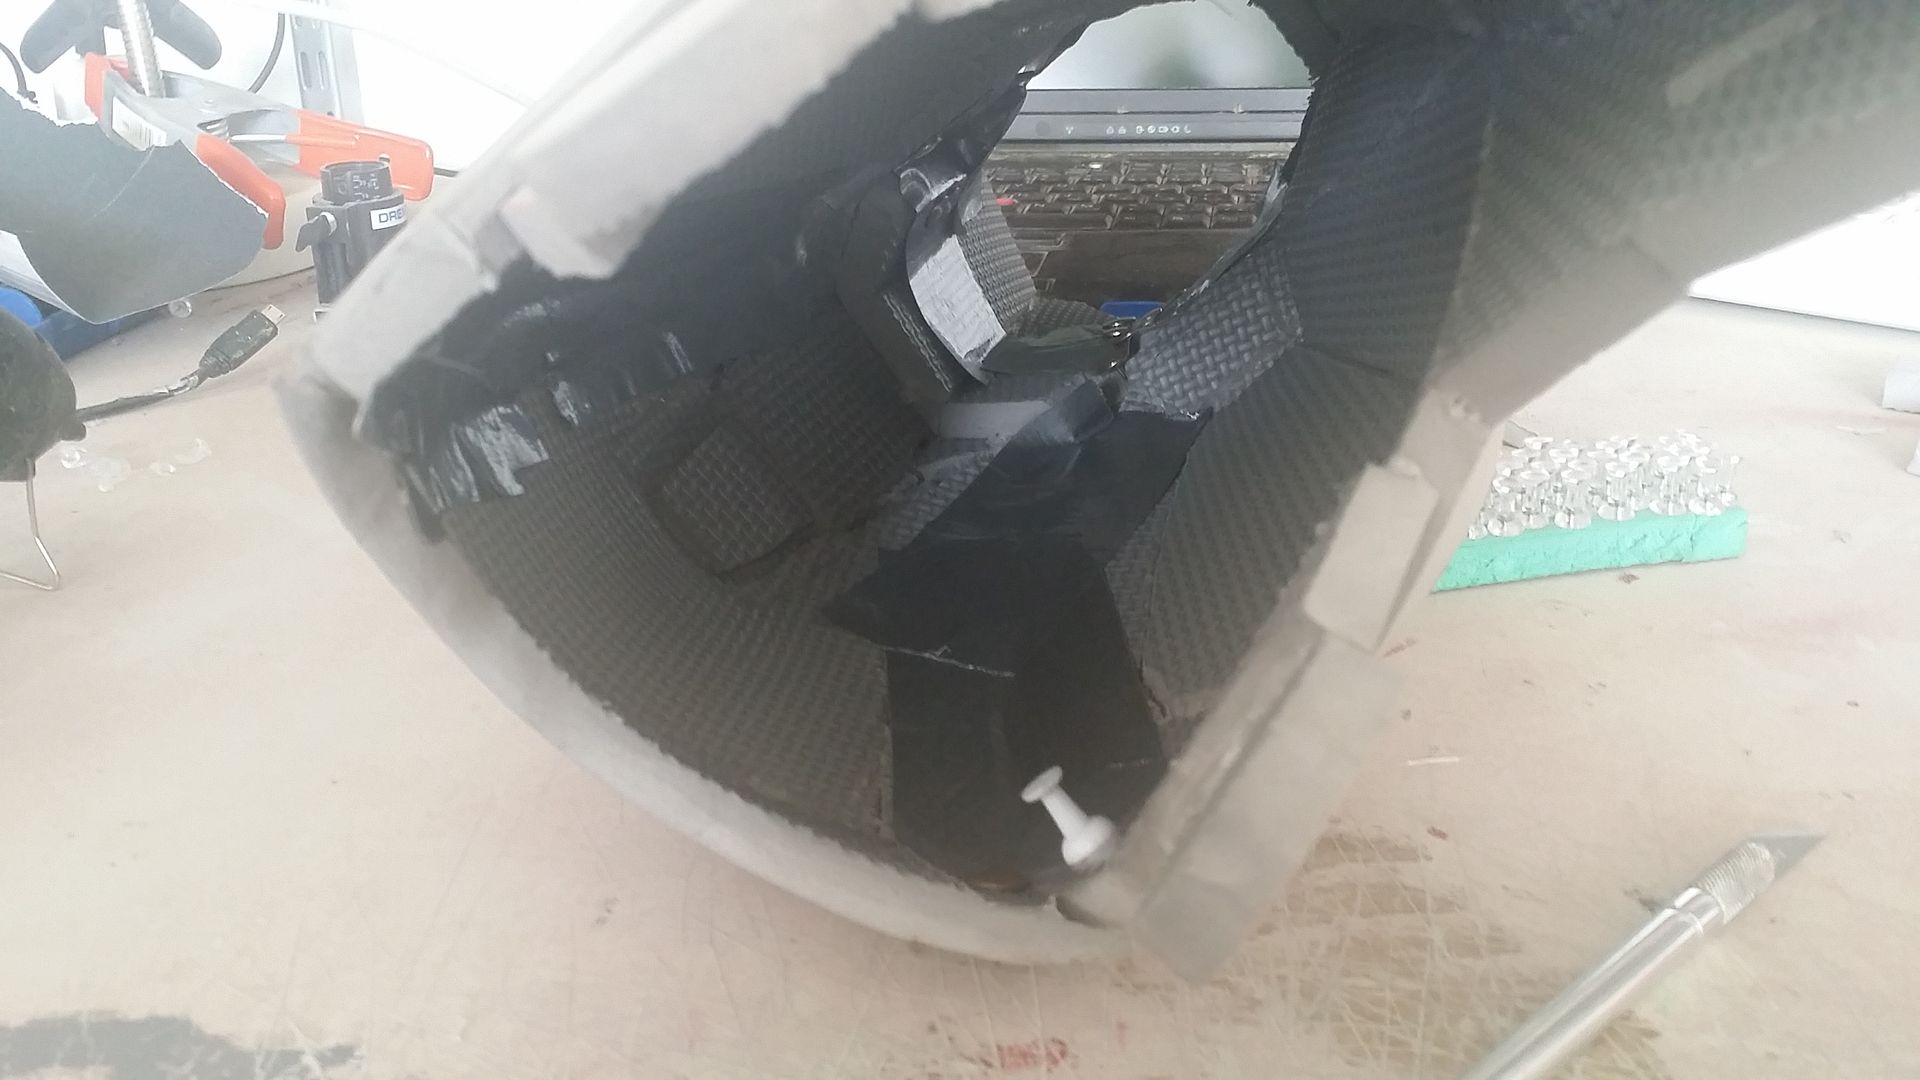
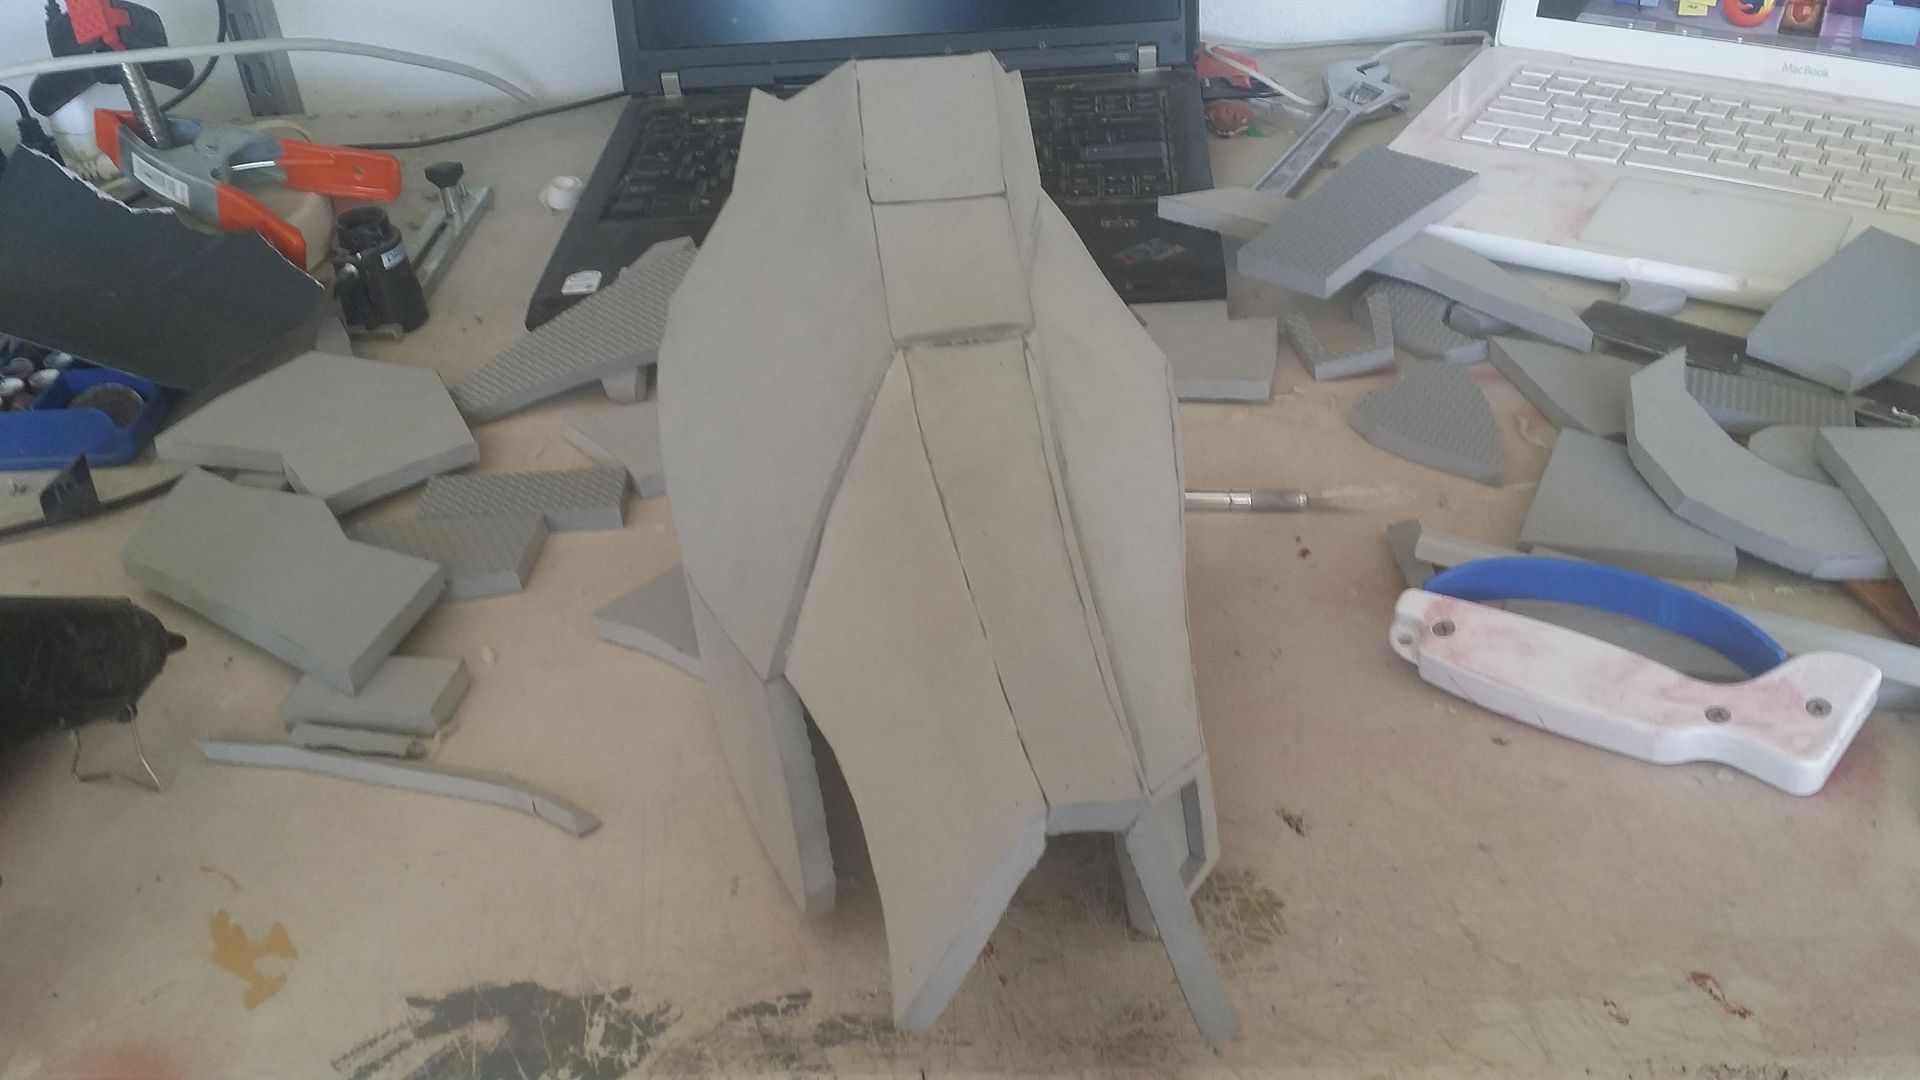
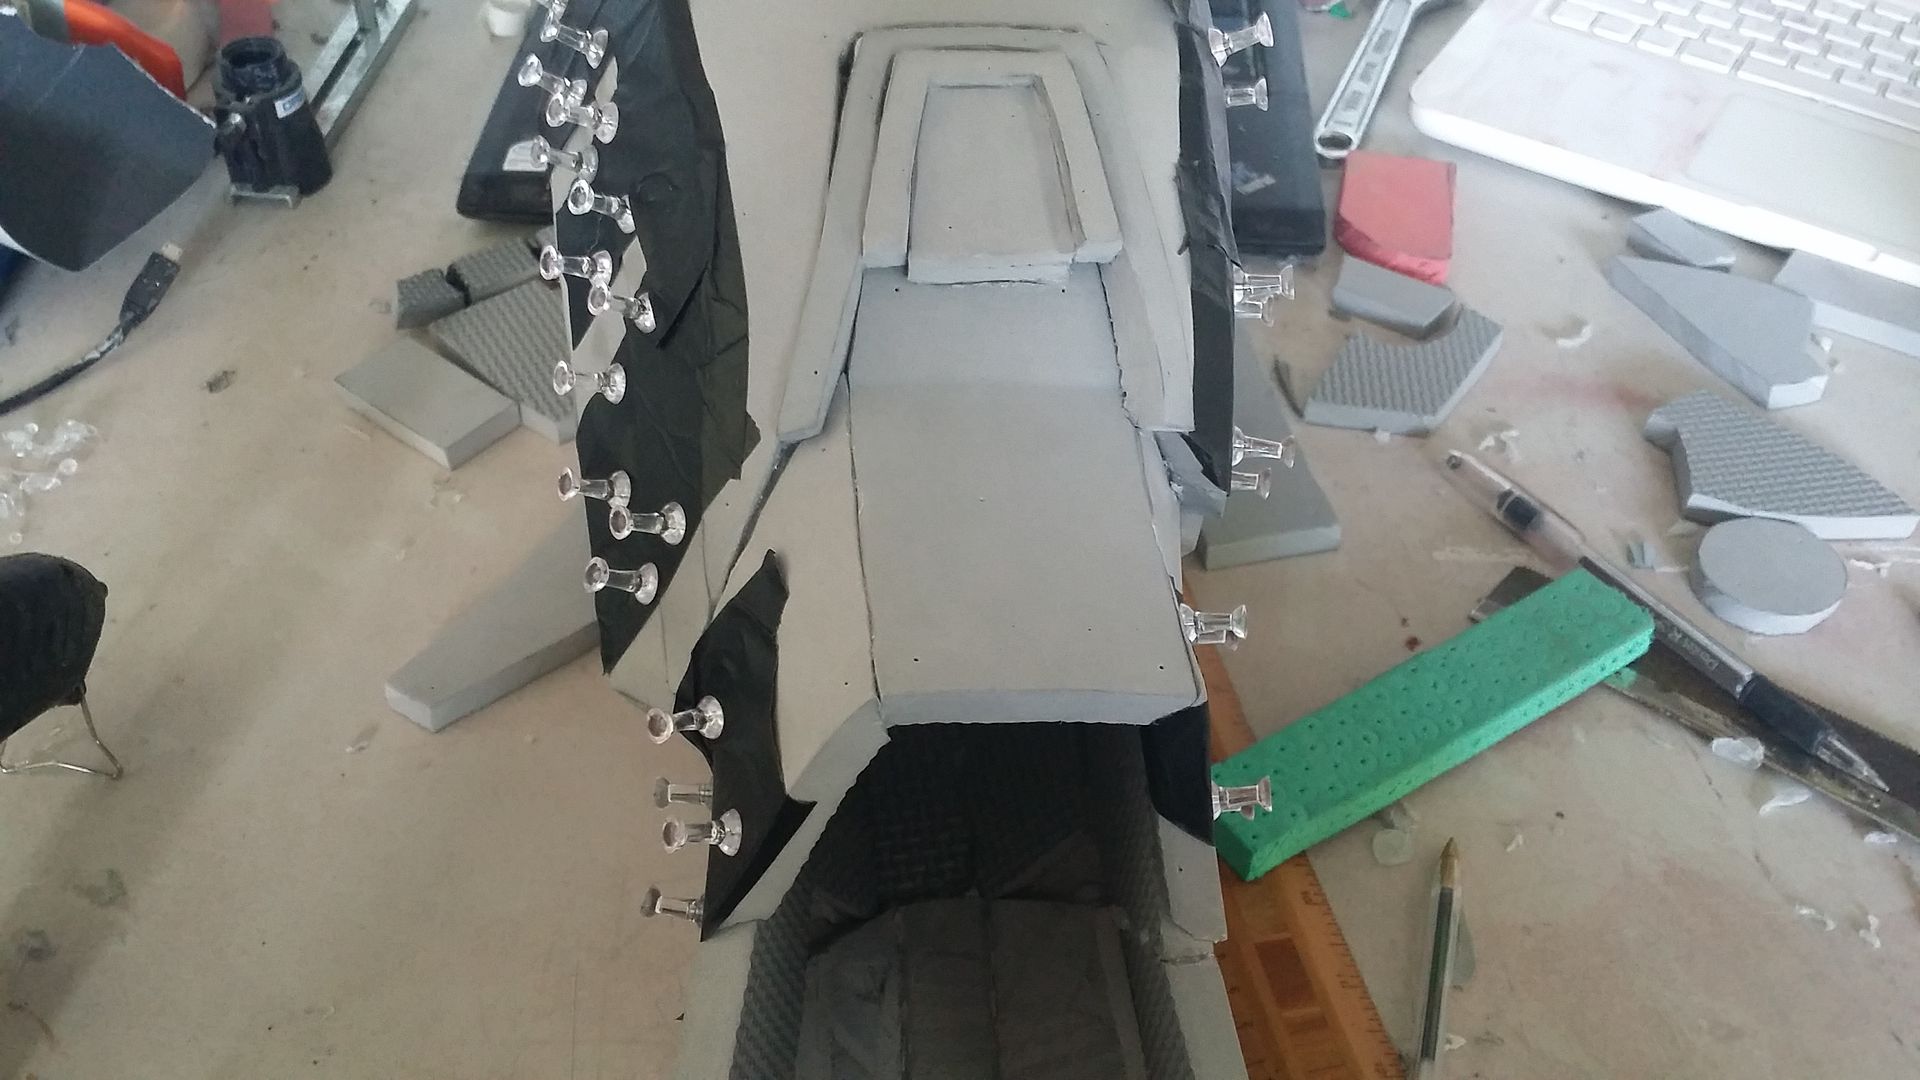
a lot of heat gun and shaping had to go into these, which meant that the foam was very bendy and did NOT want to hold its shape, especially along the seam. time to break out the duct tape!
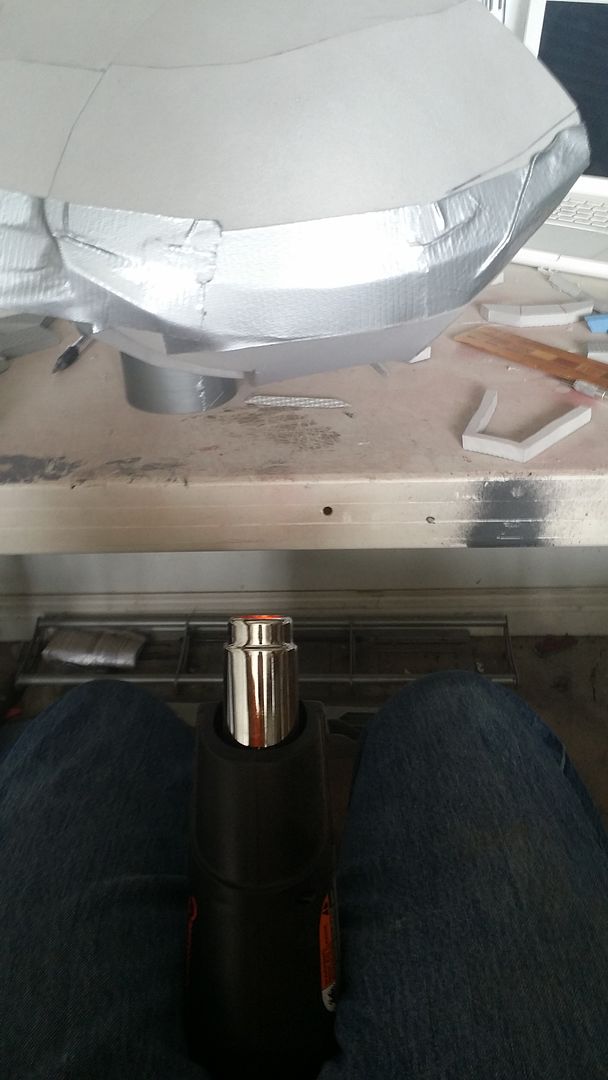
a little peek behind the curtain on how mister chief handles long, monotonous heat-gun shaping. yes, the picture did make me giggle:
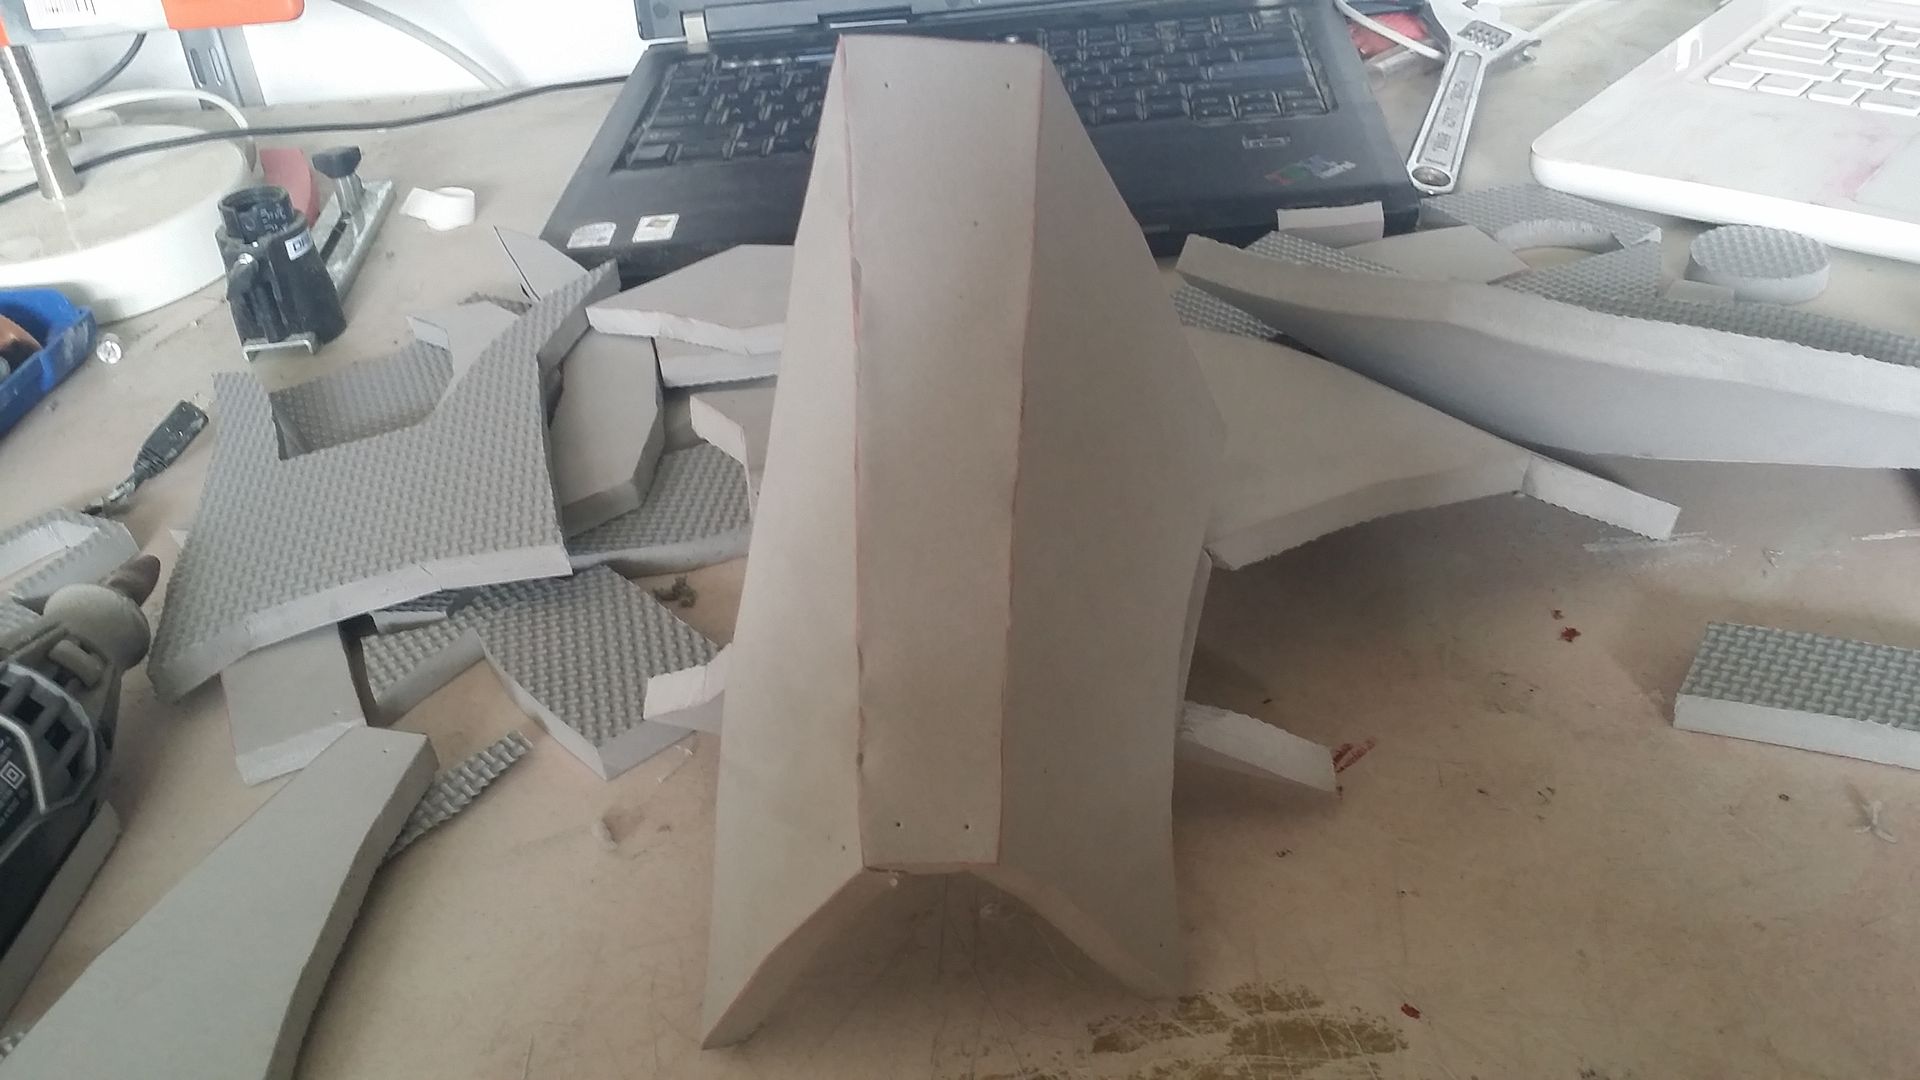
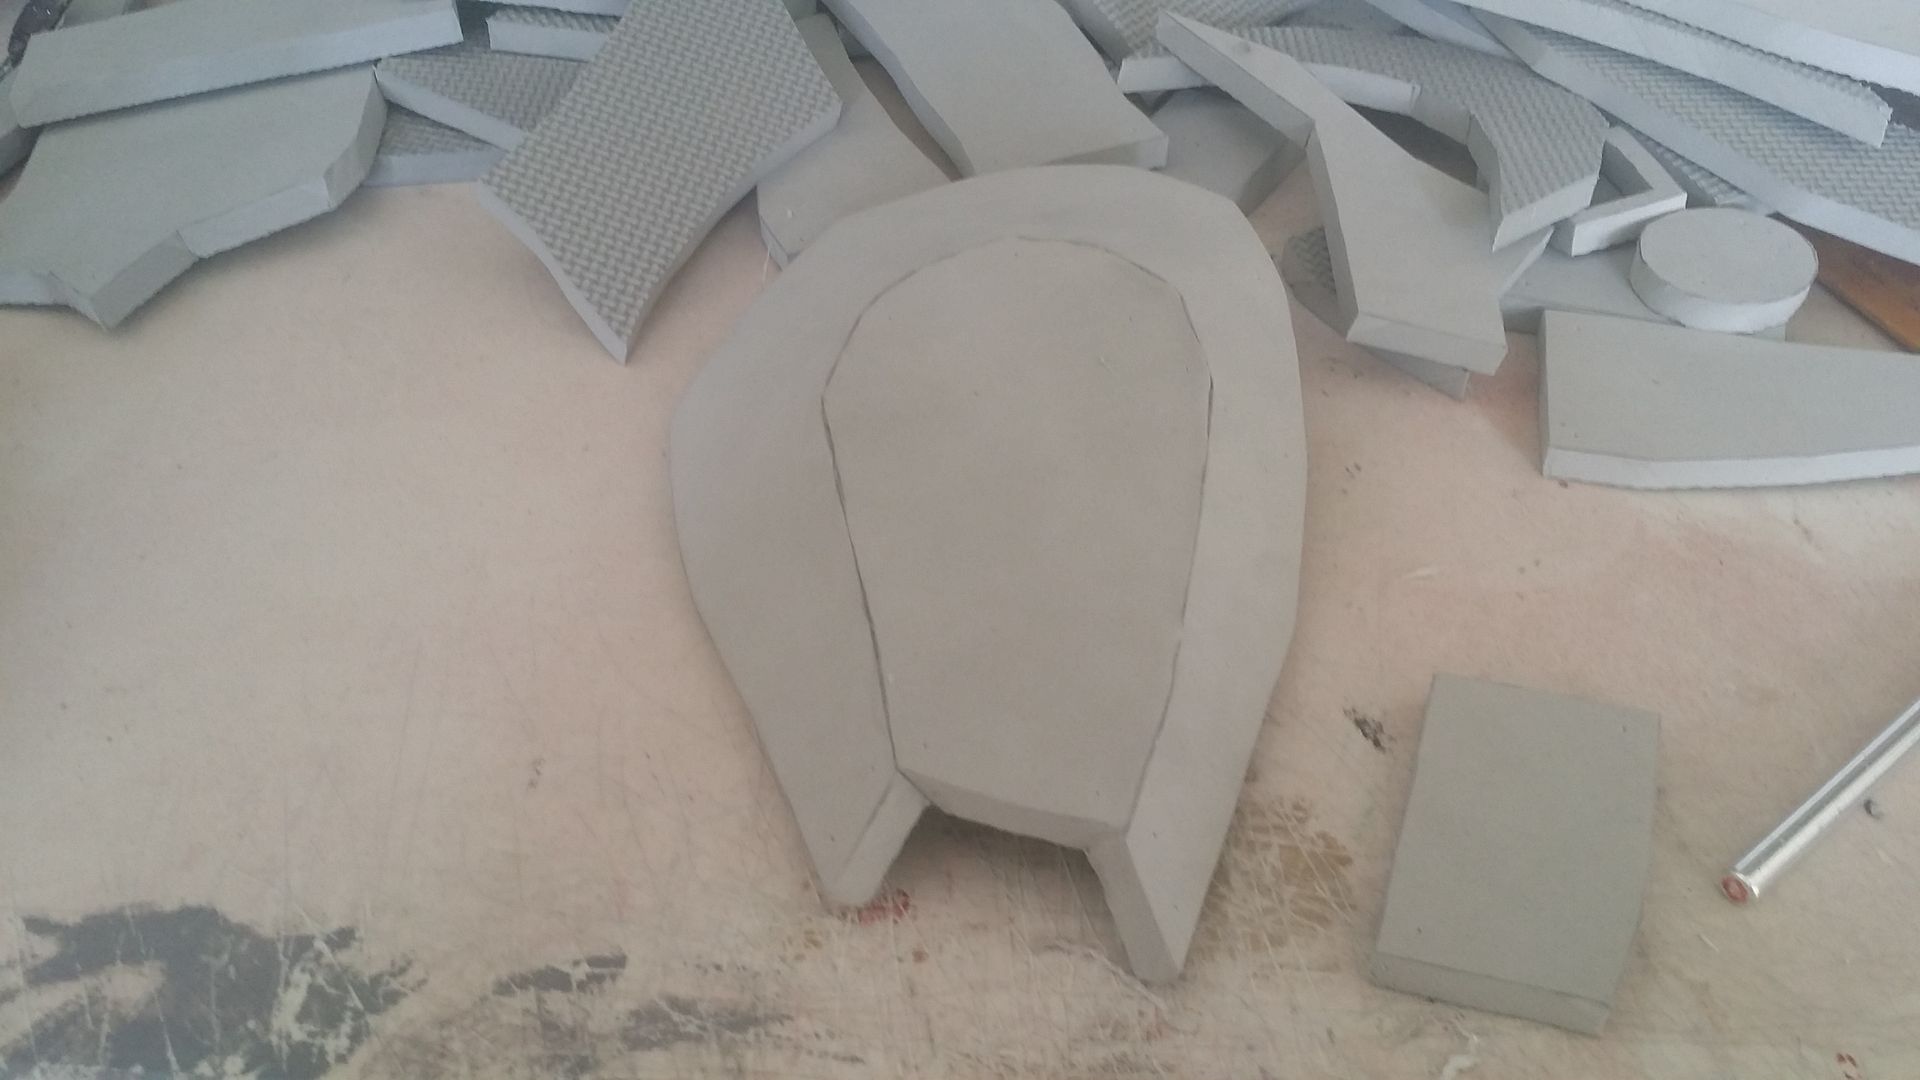
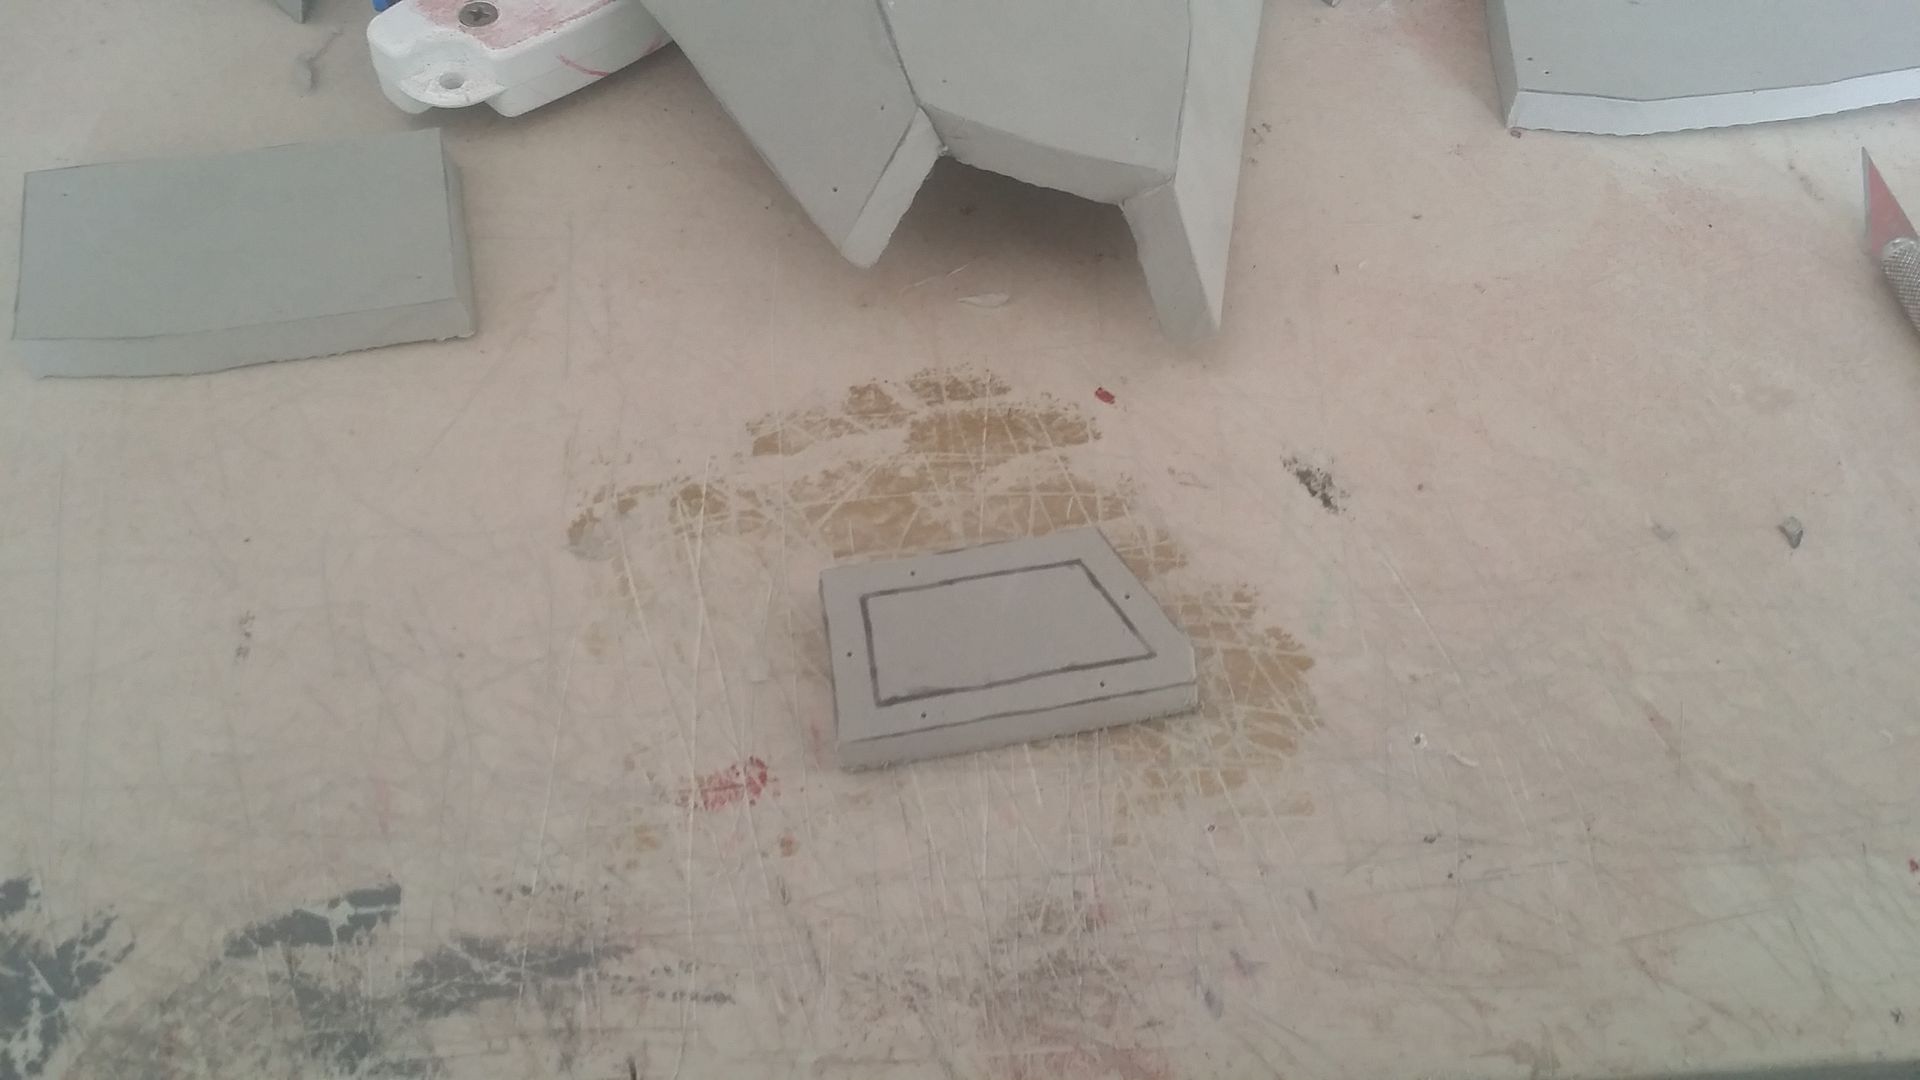
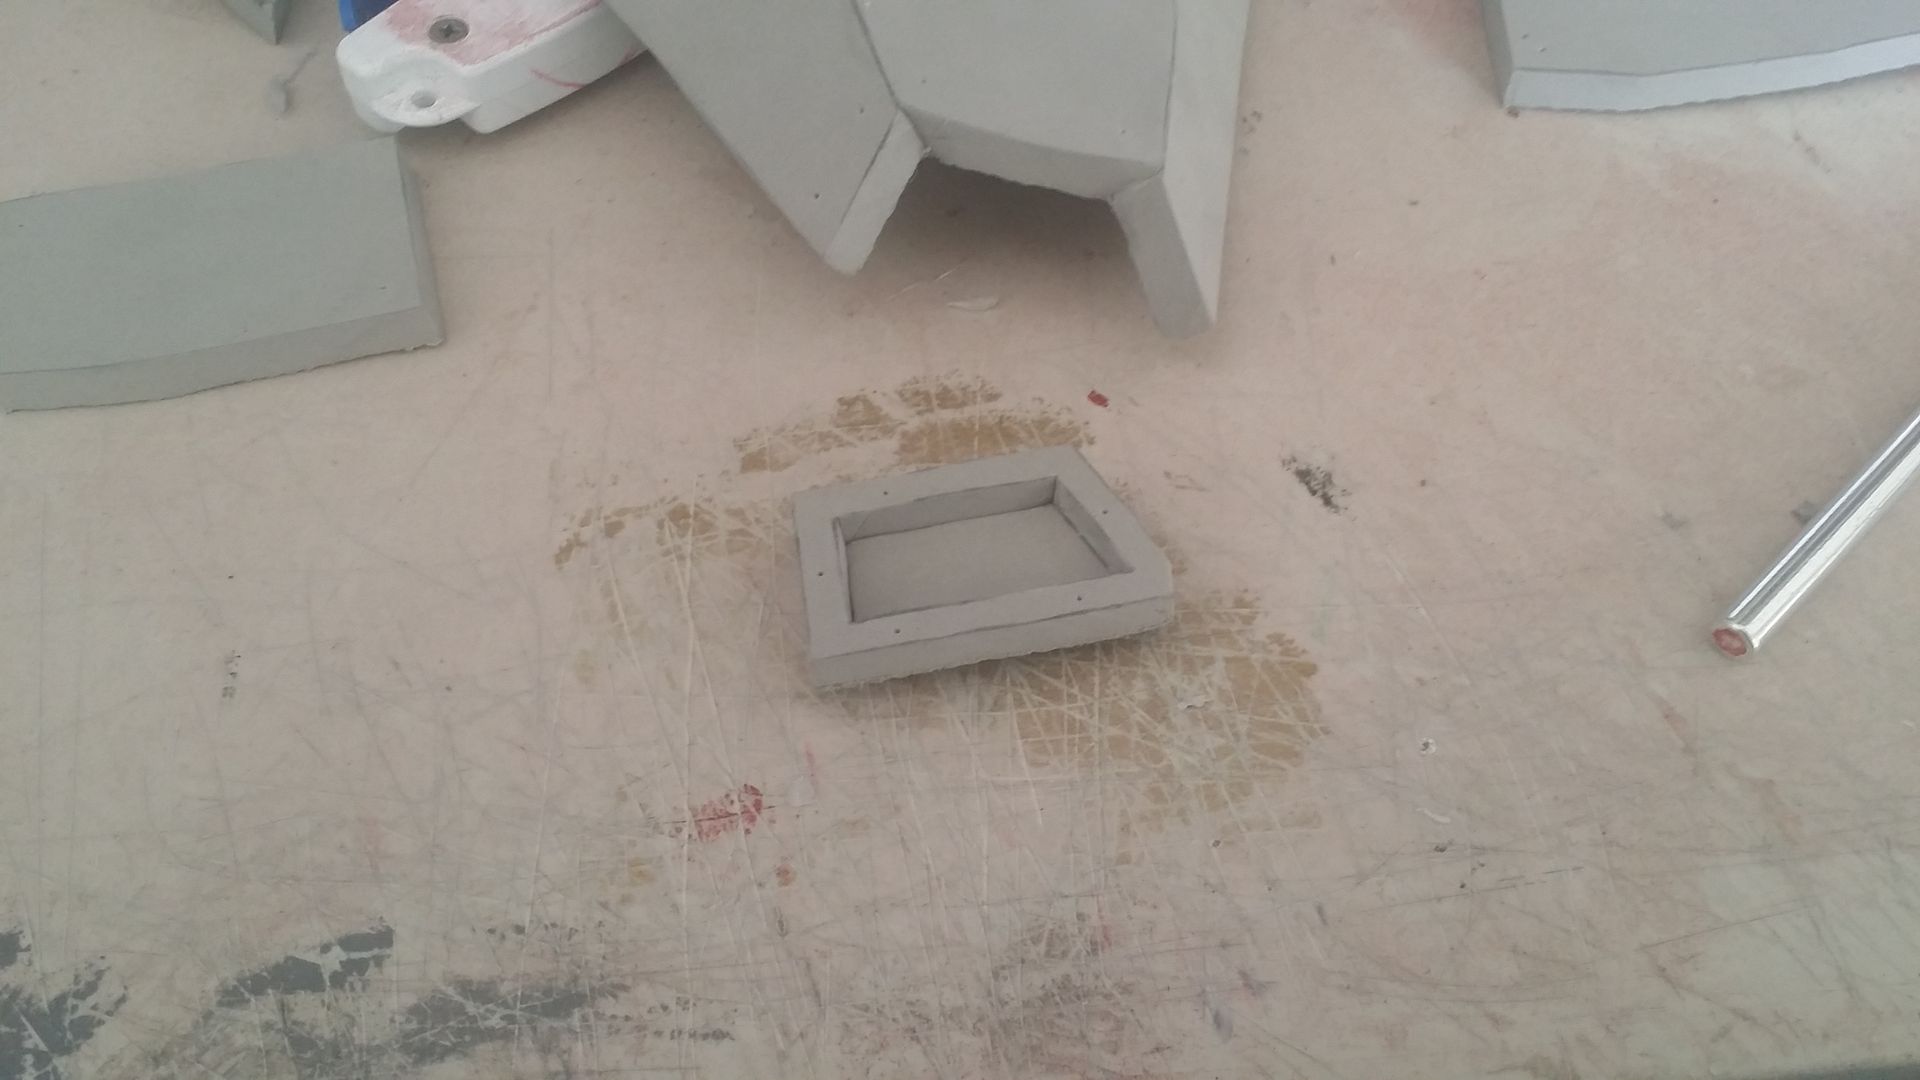
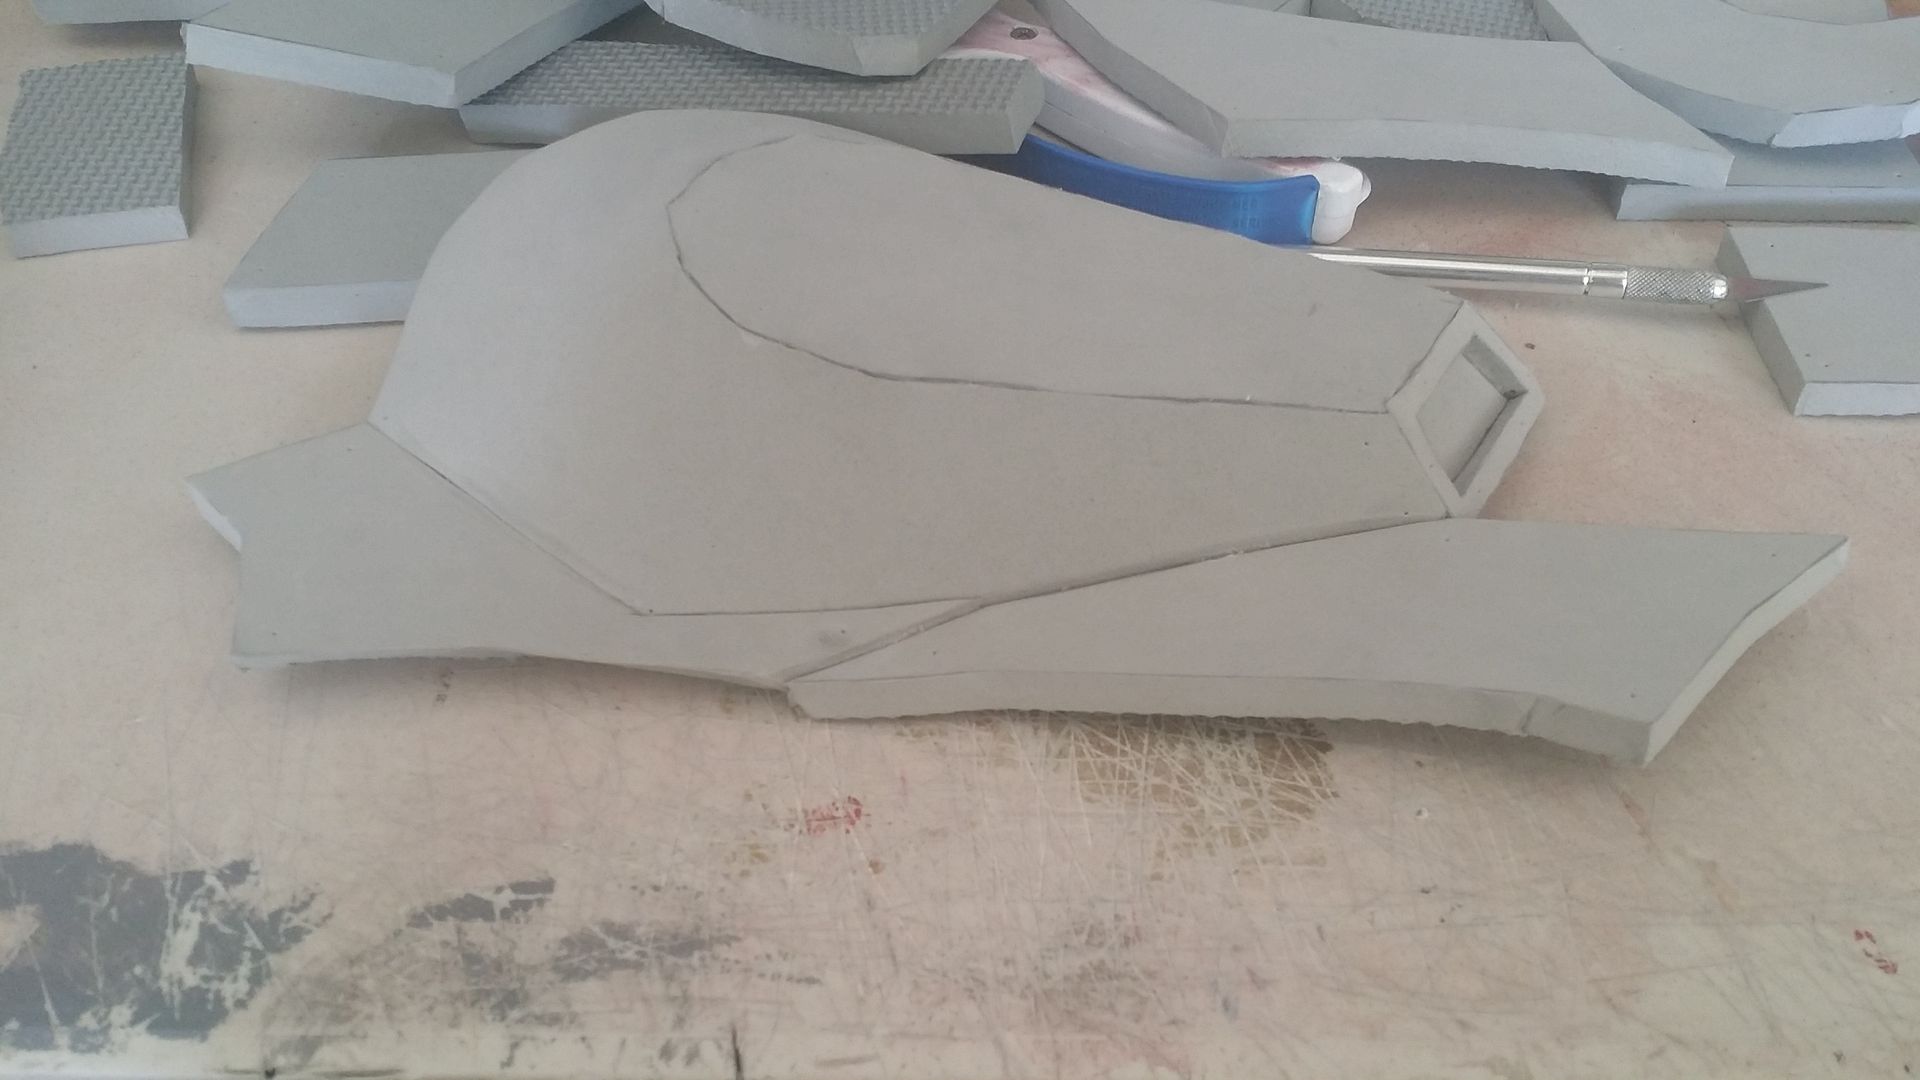
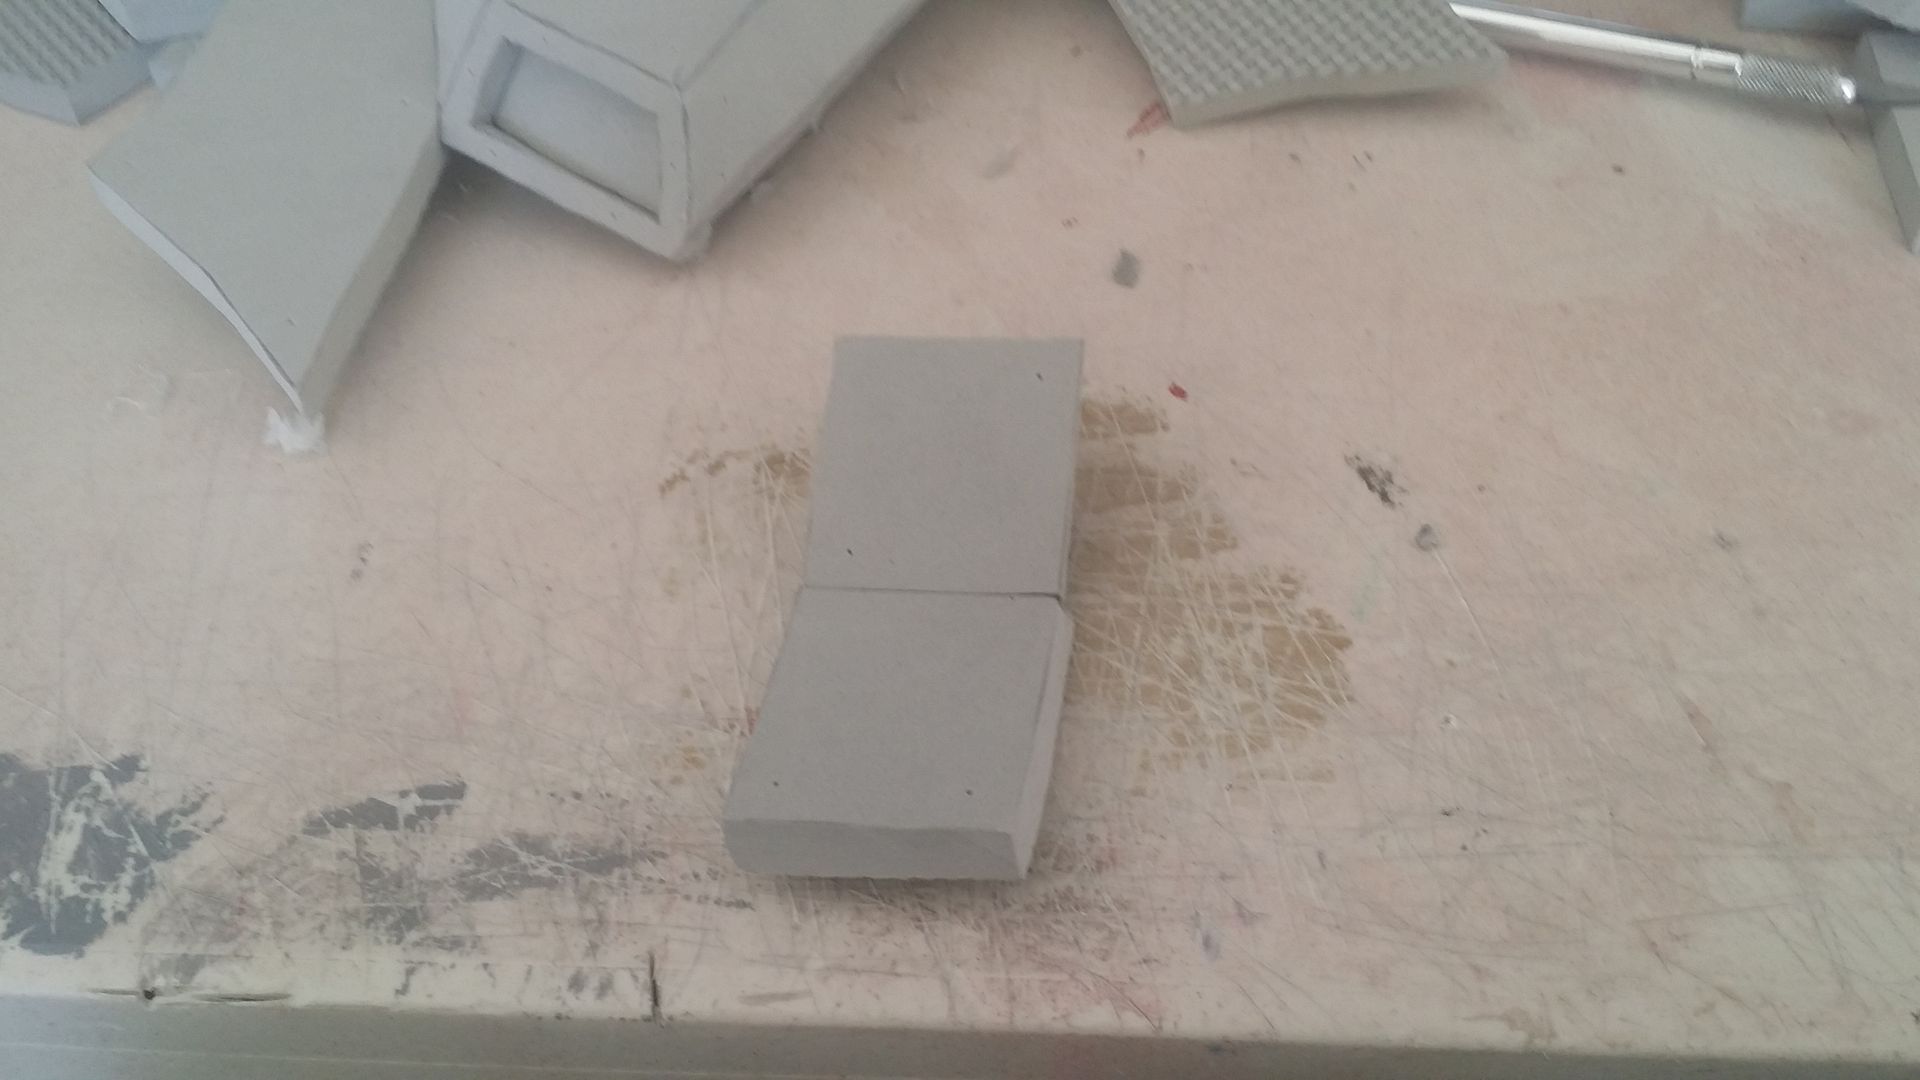
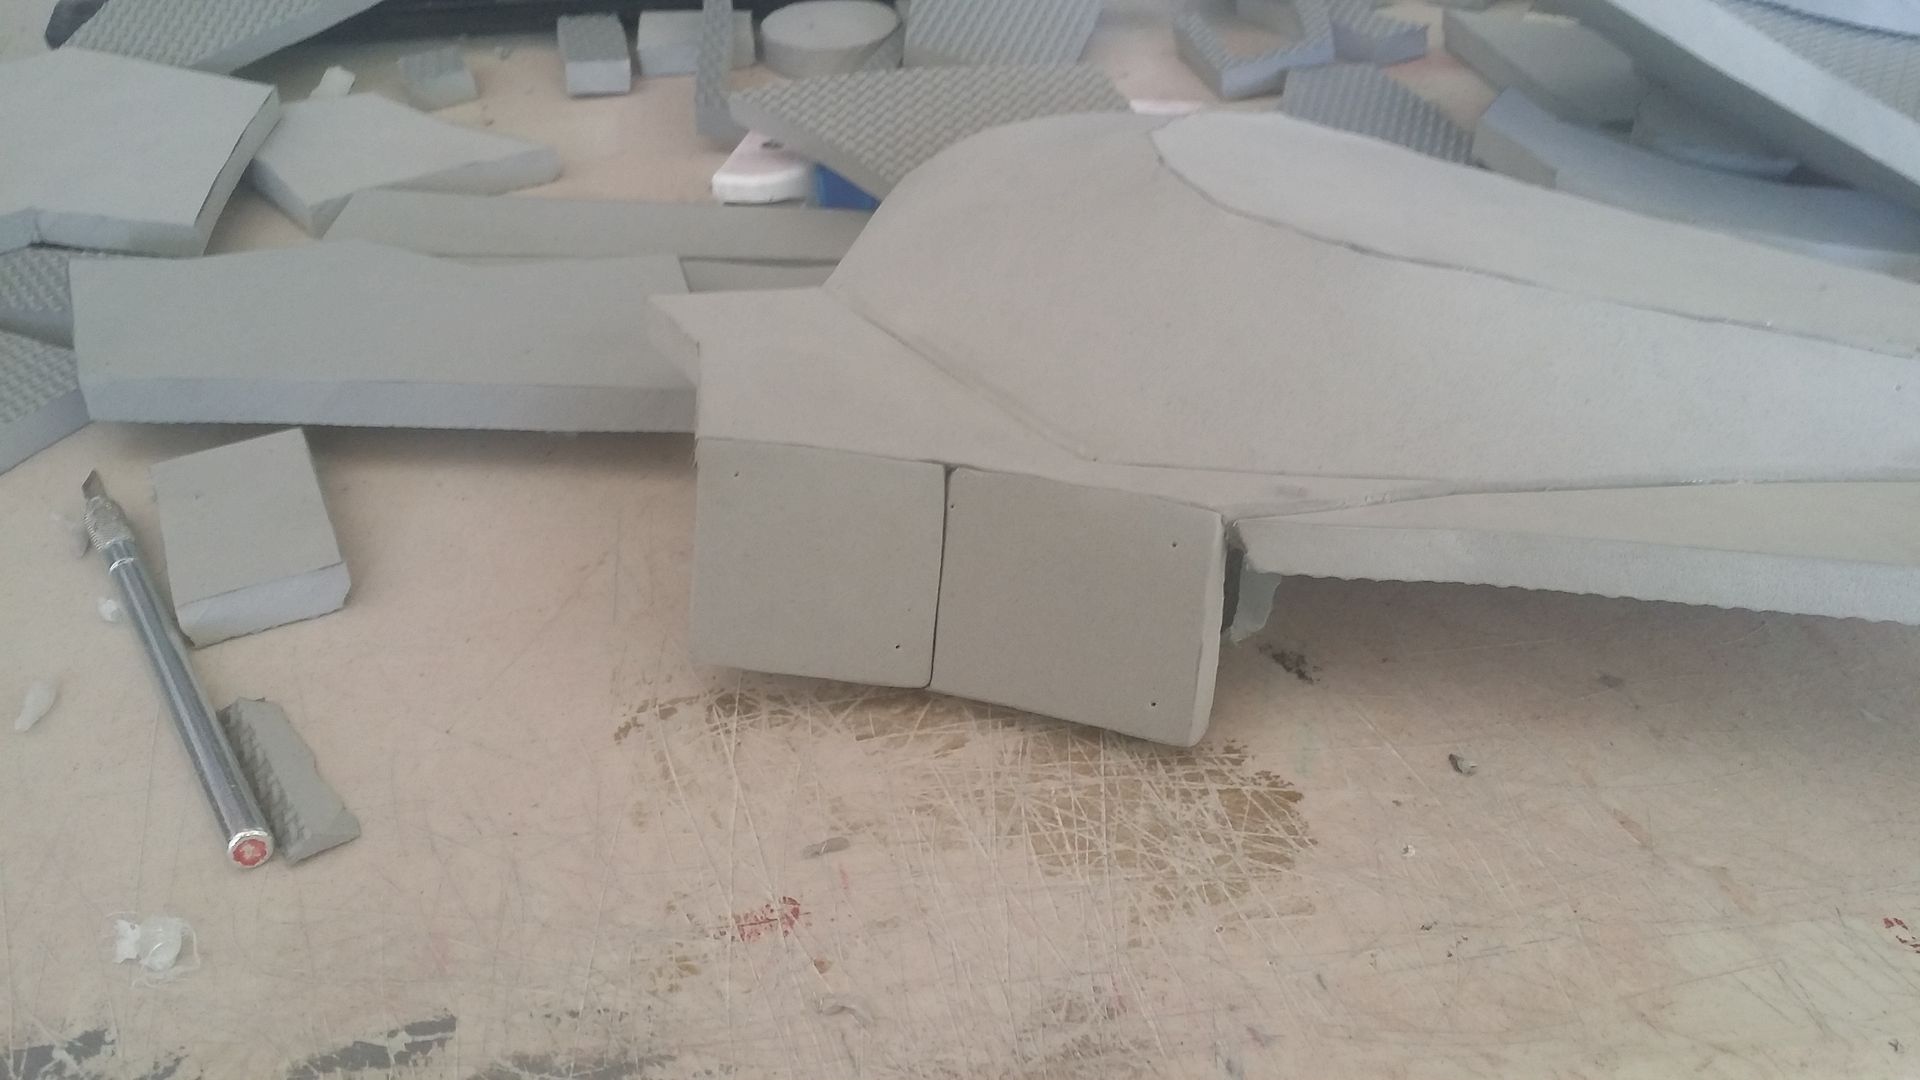
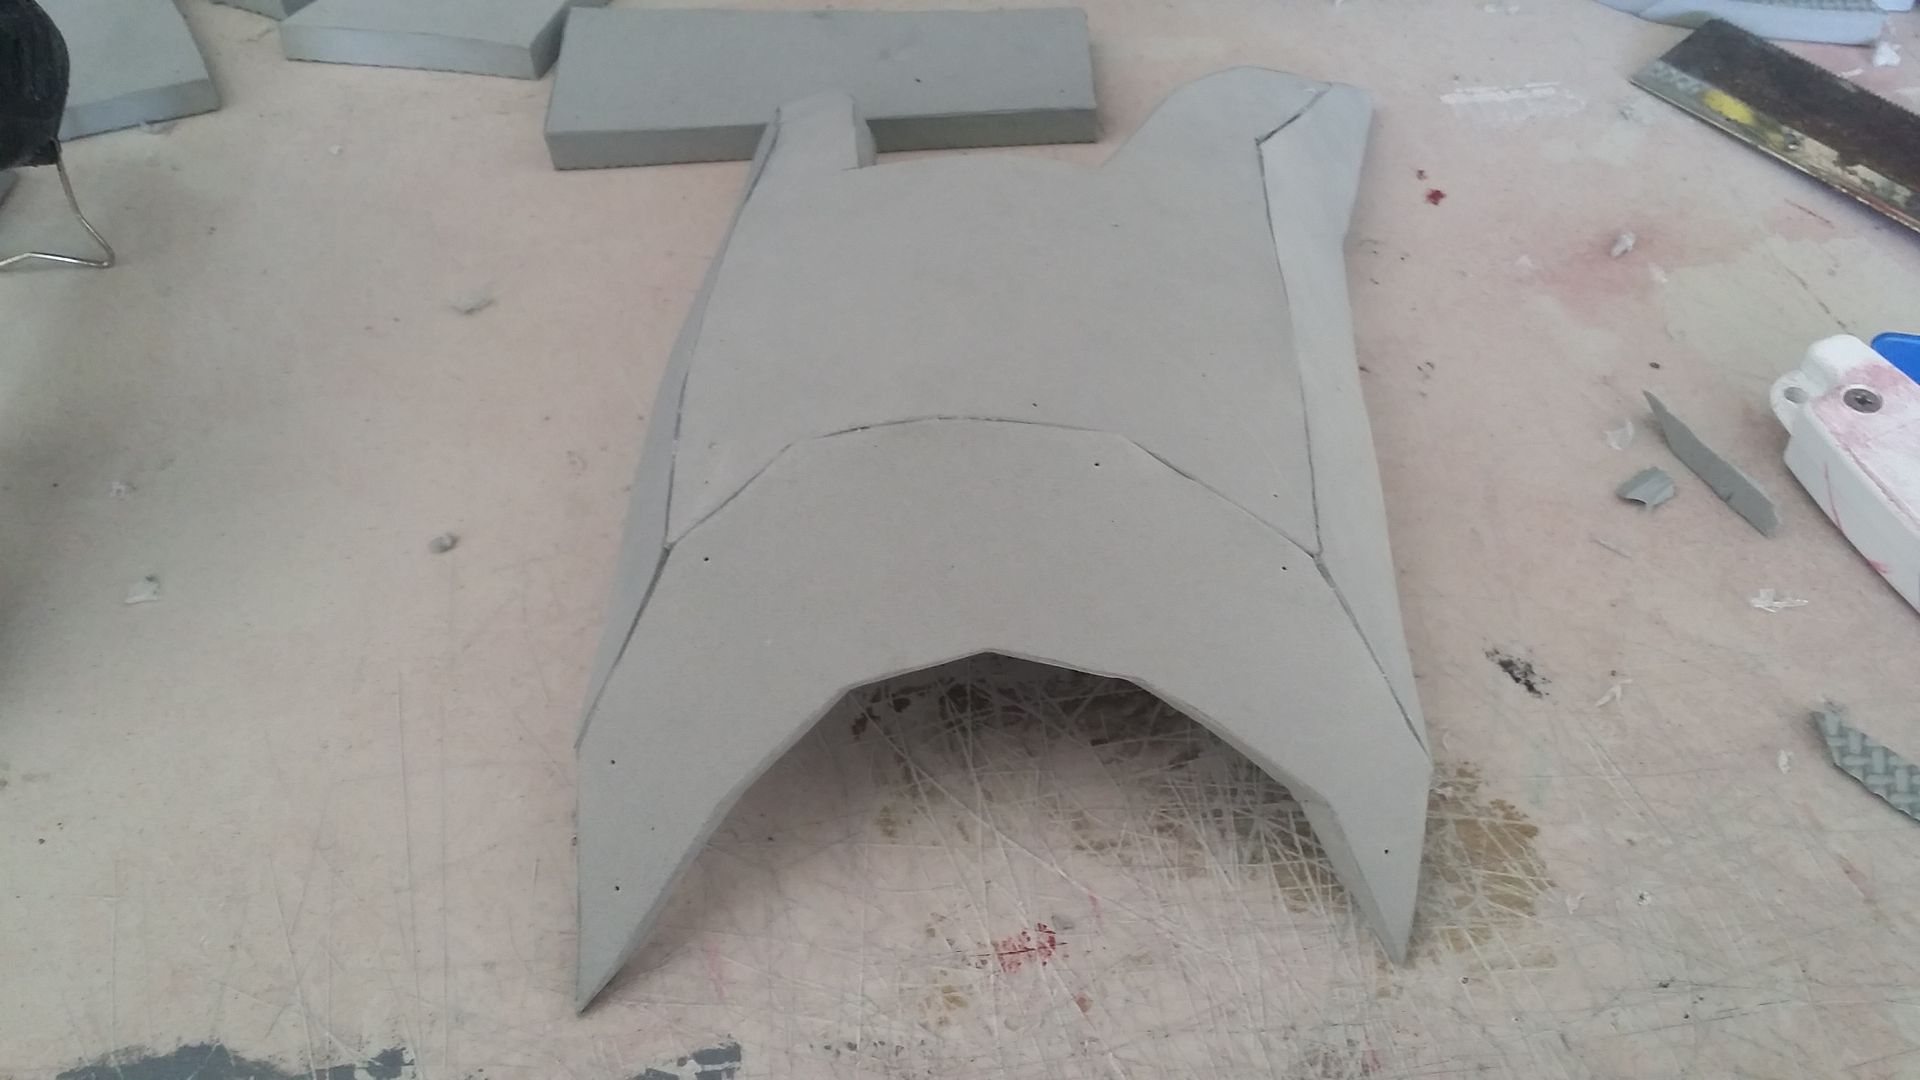
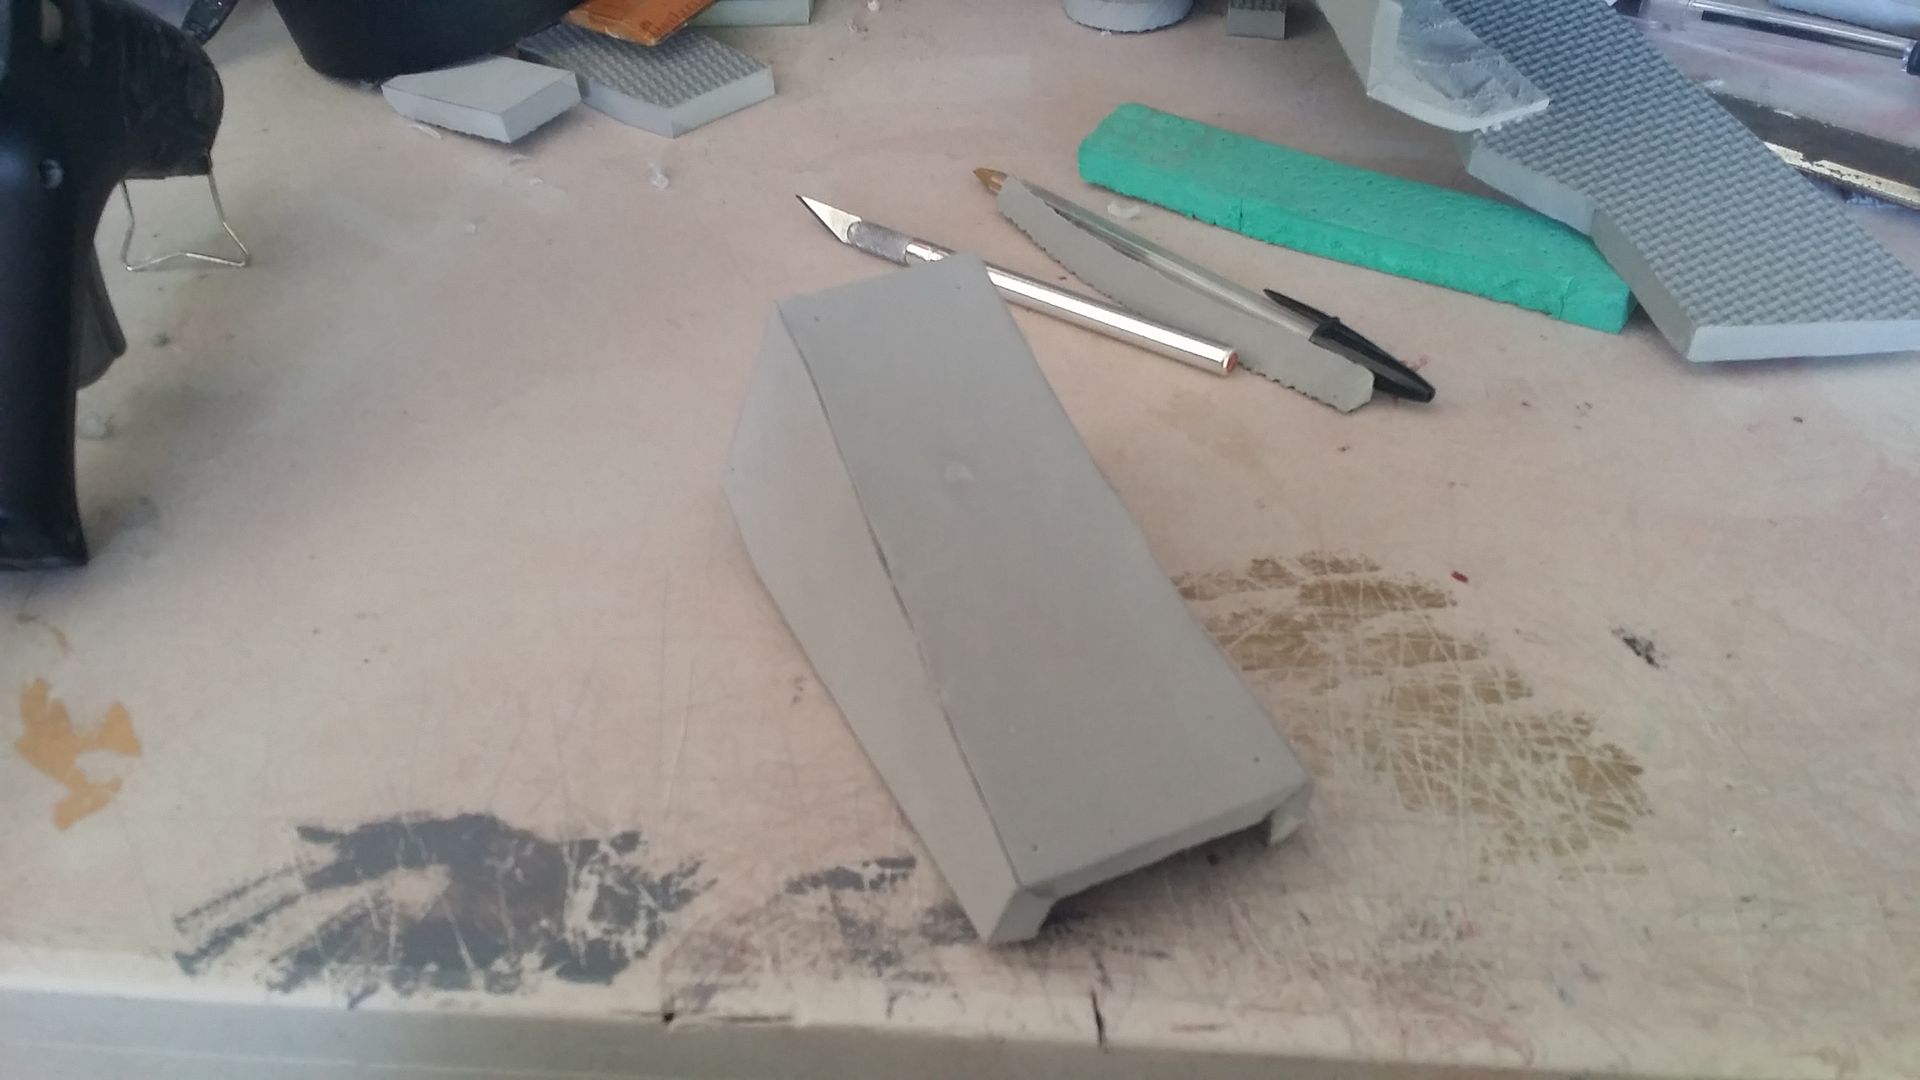
anyway, back to work. with the main body finished and shaped, all the little detail bits needed to be filled in:
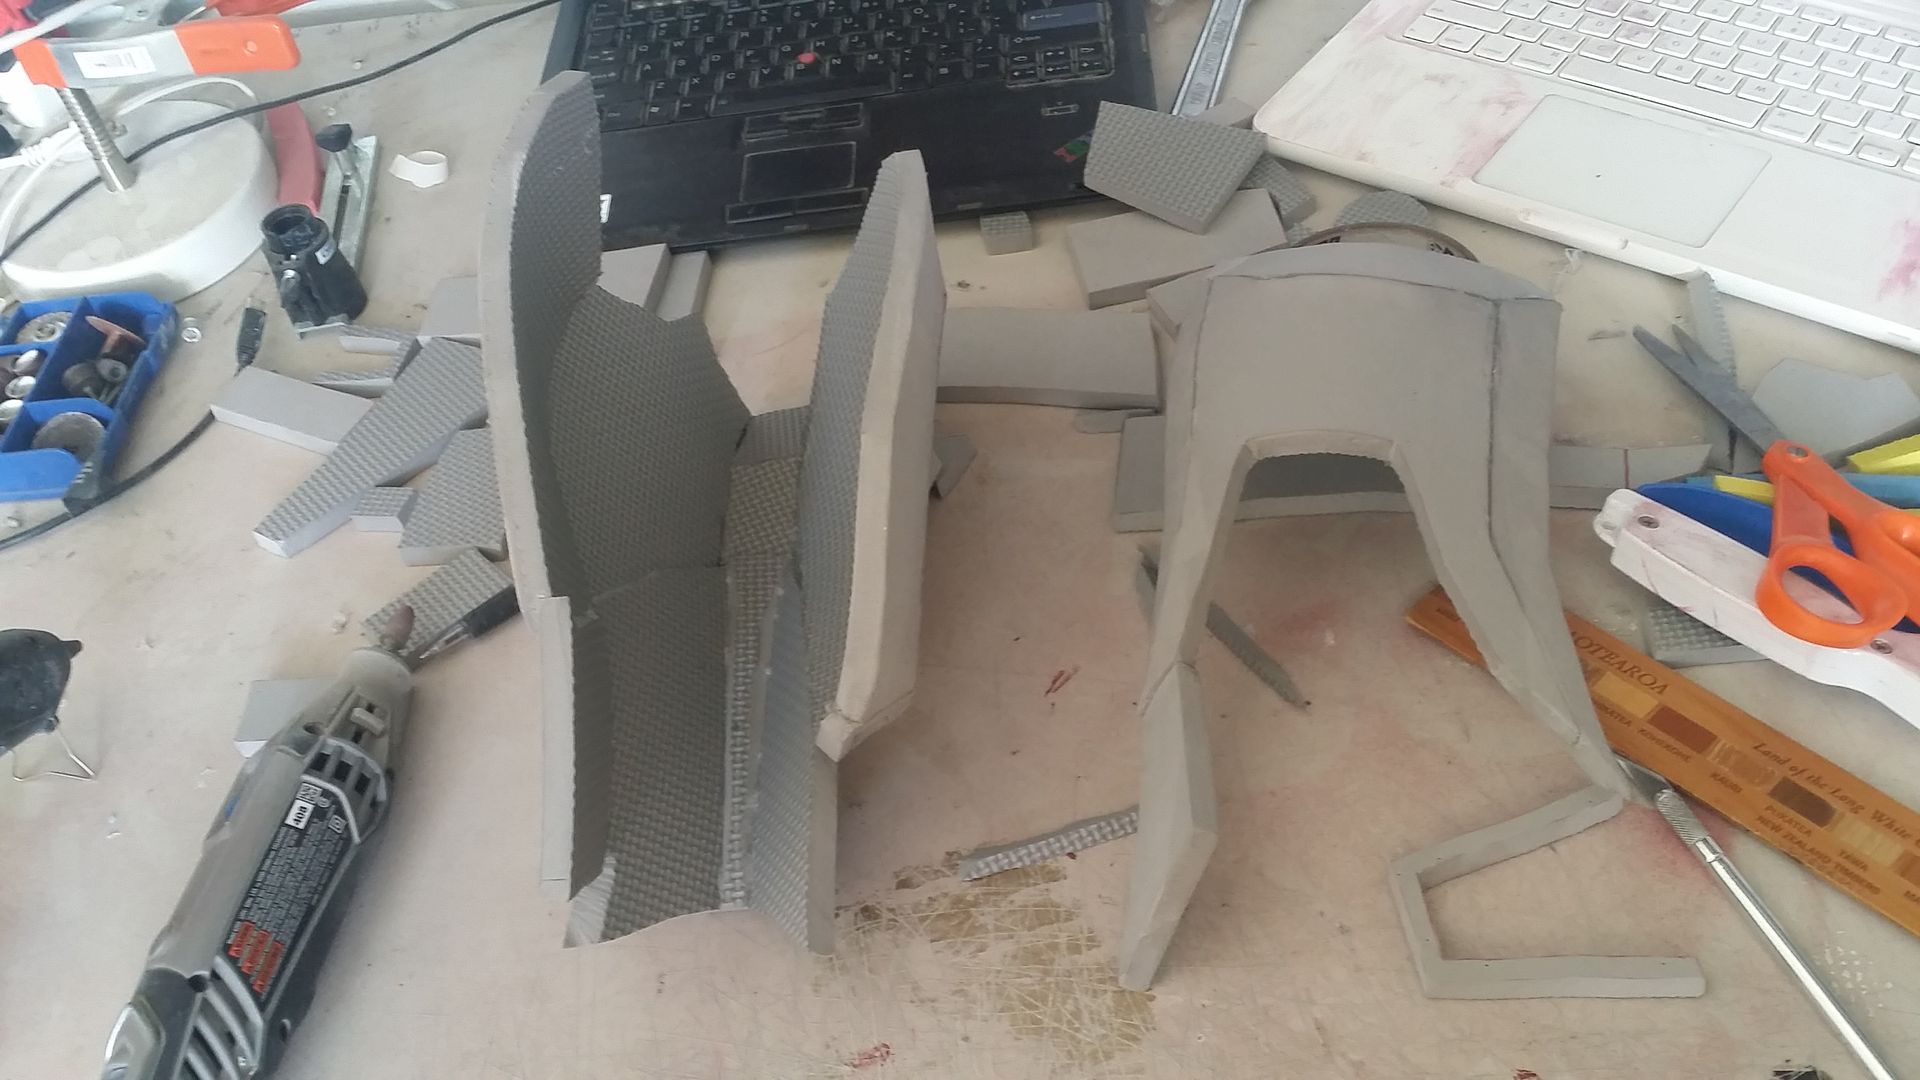
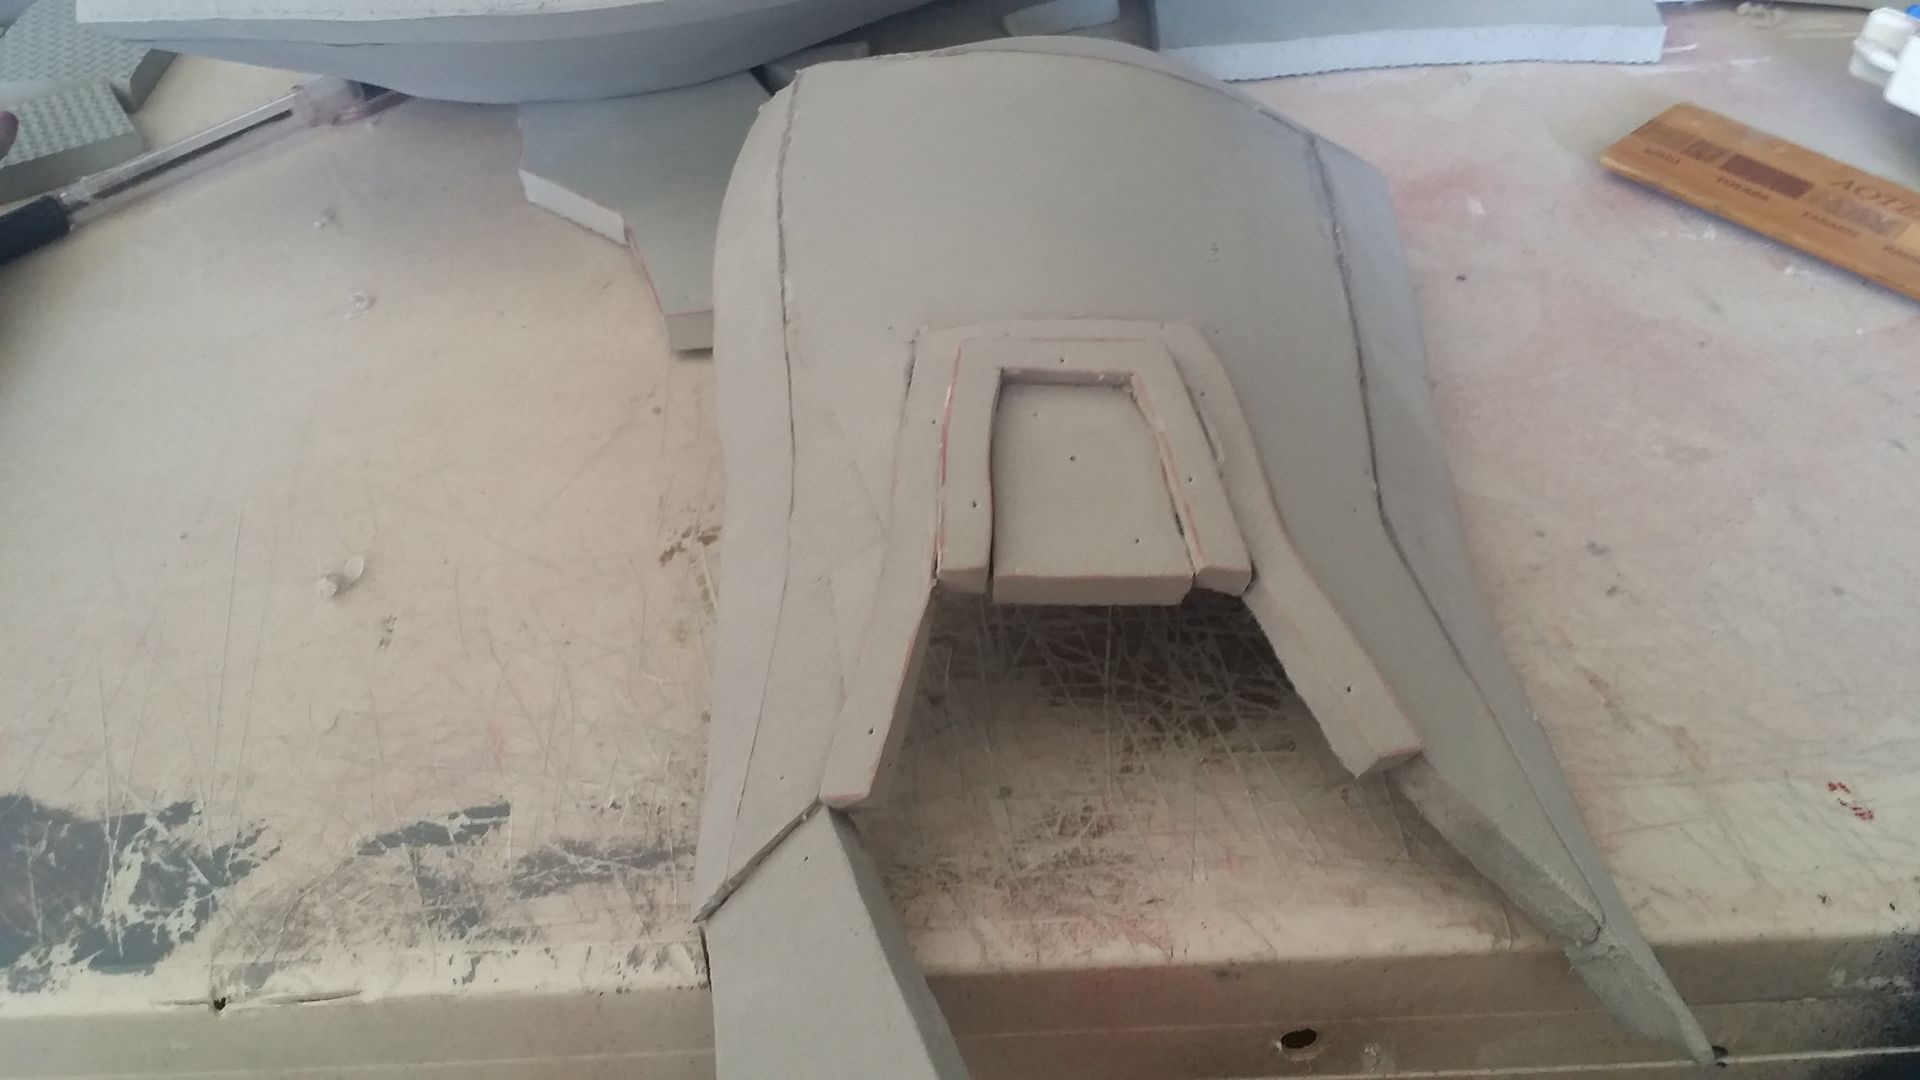

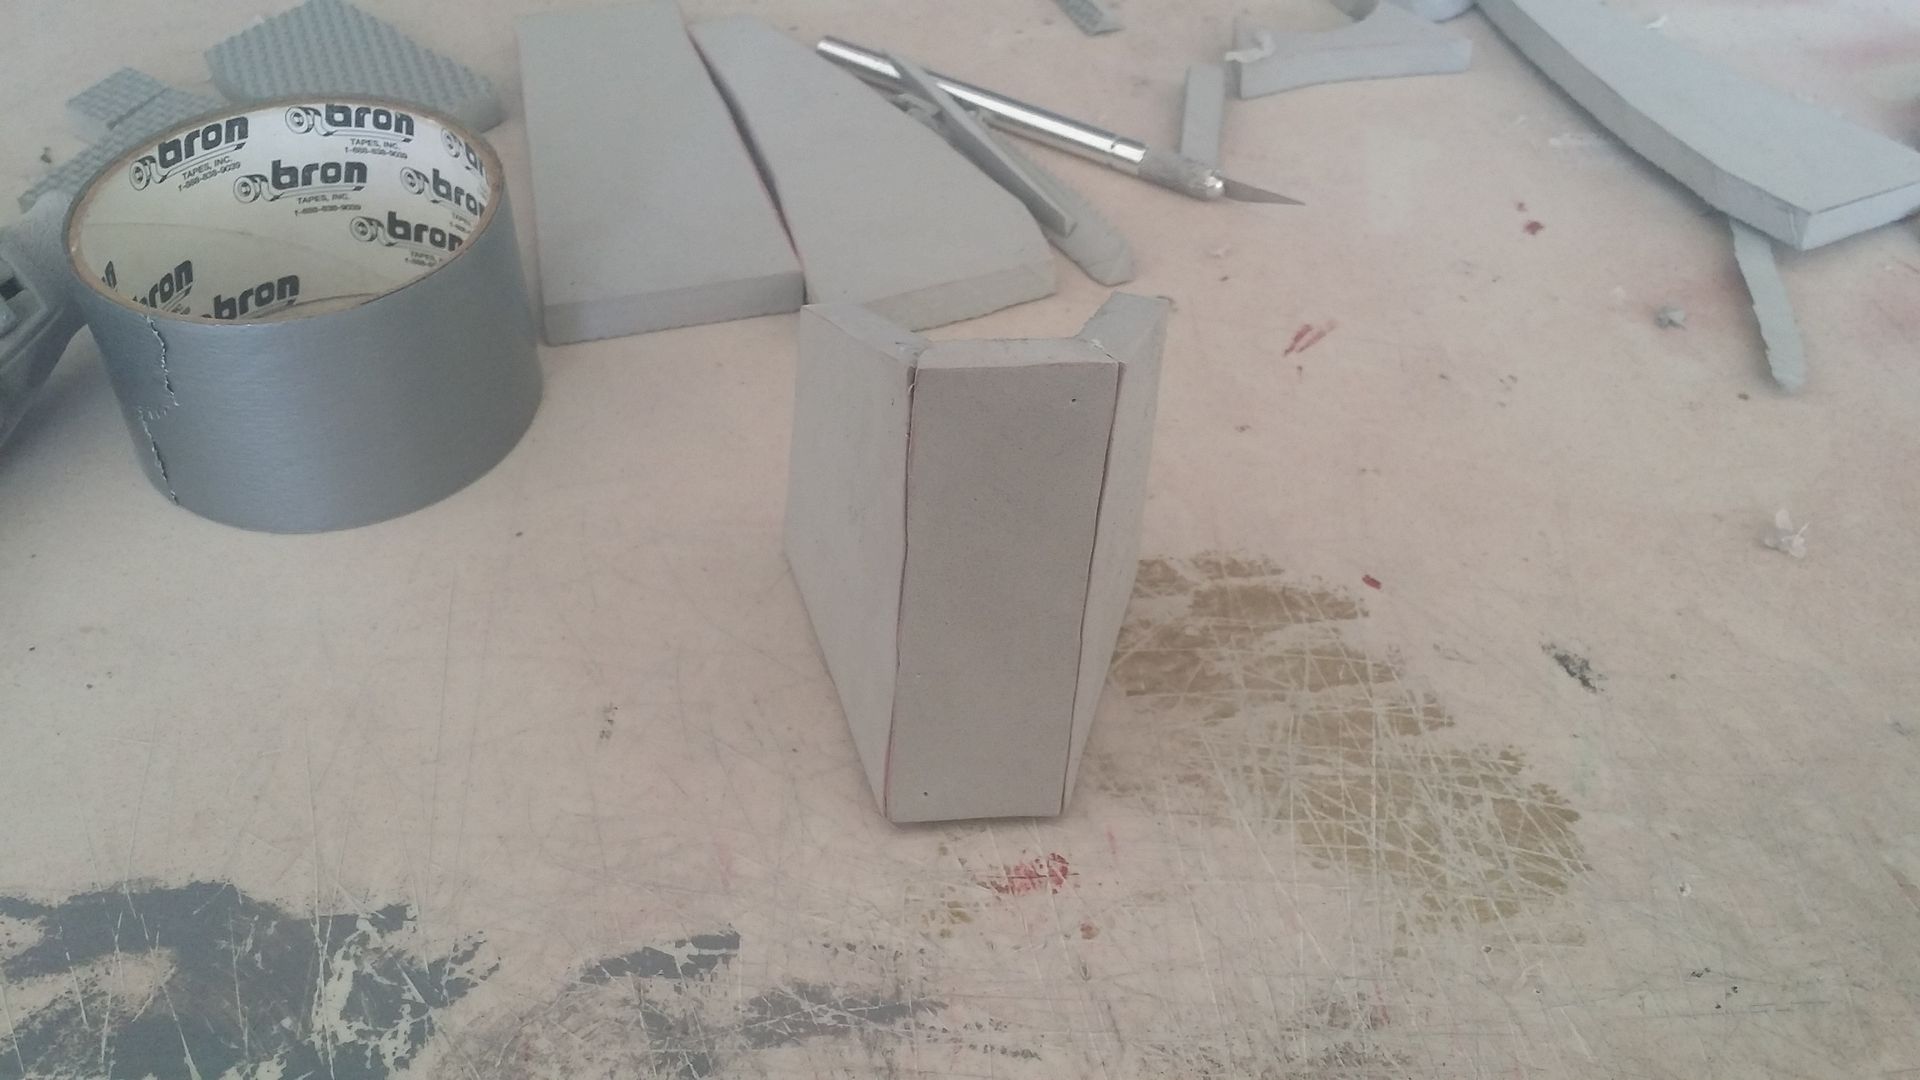

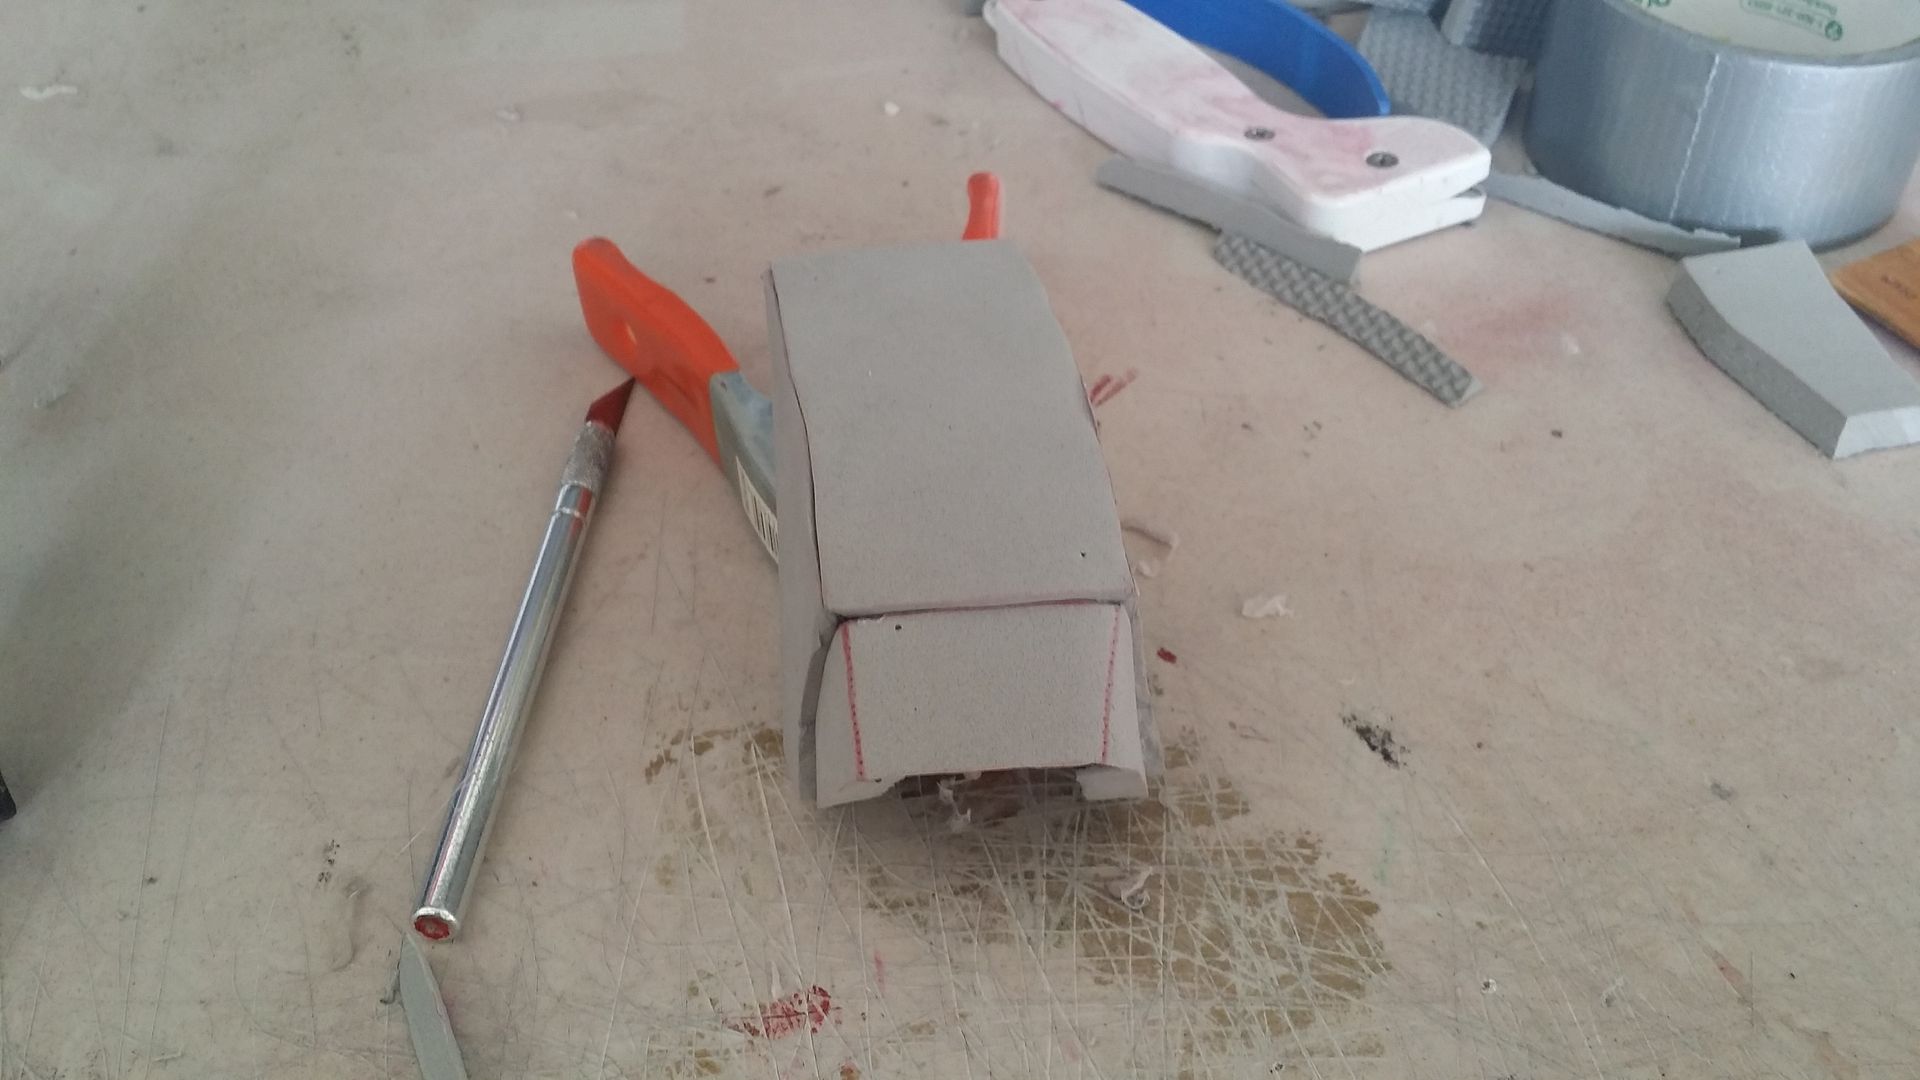

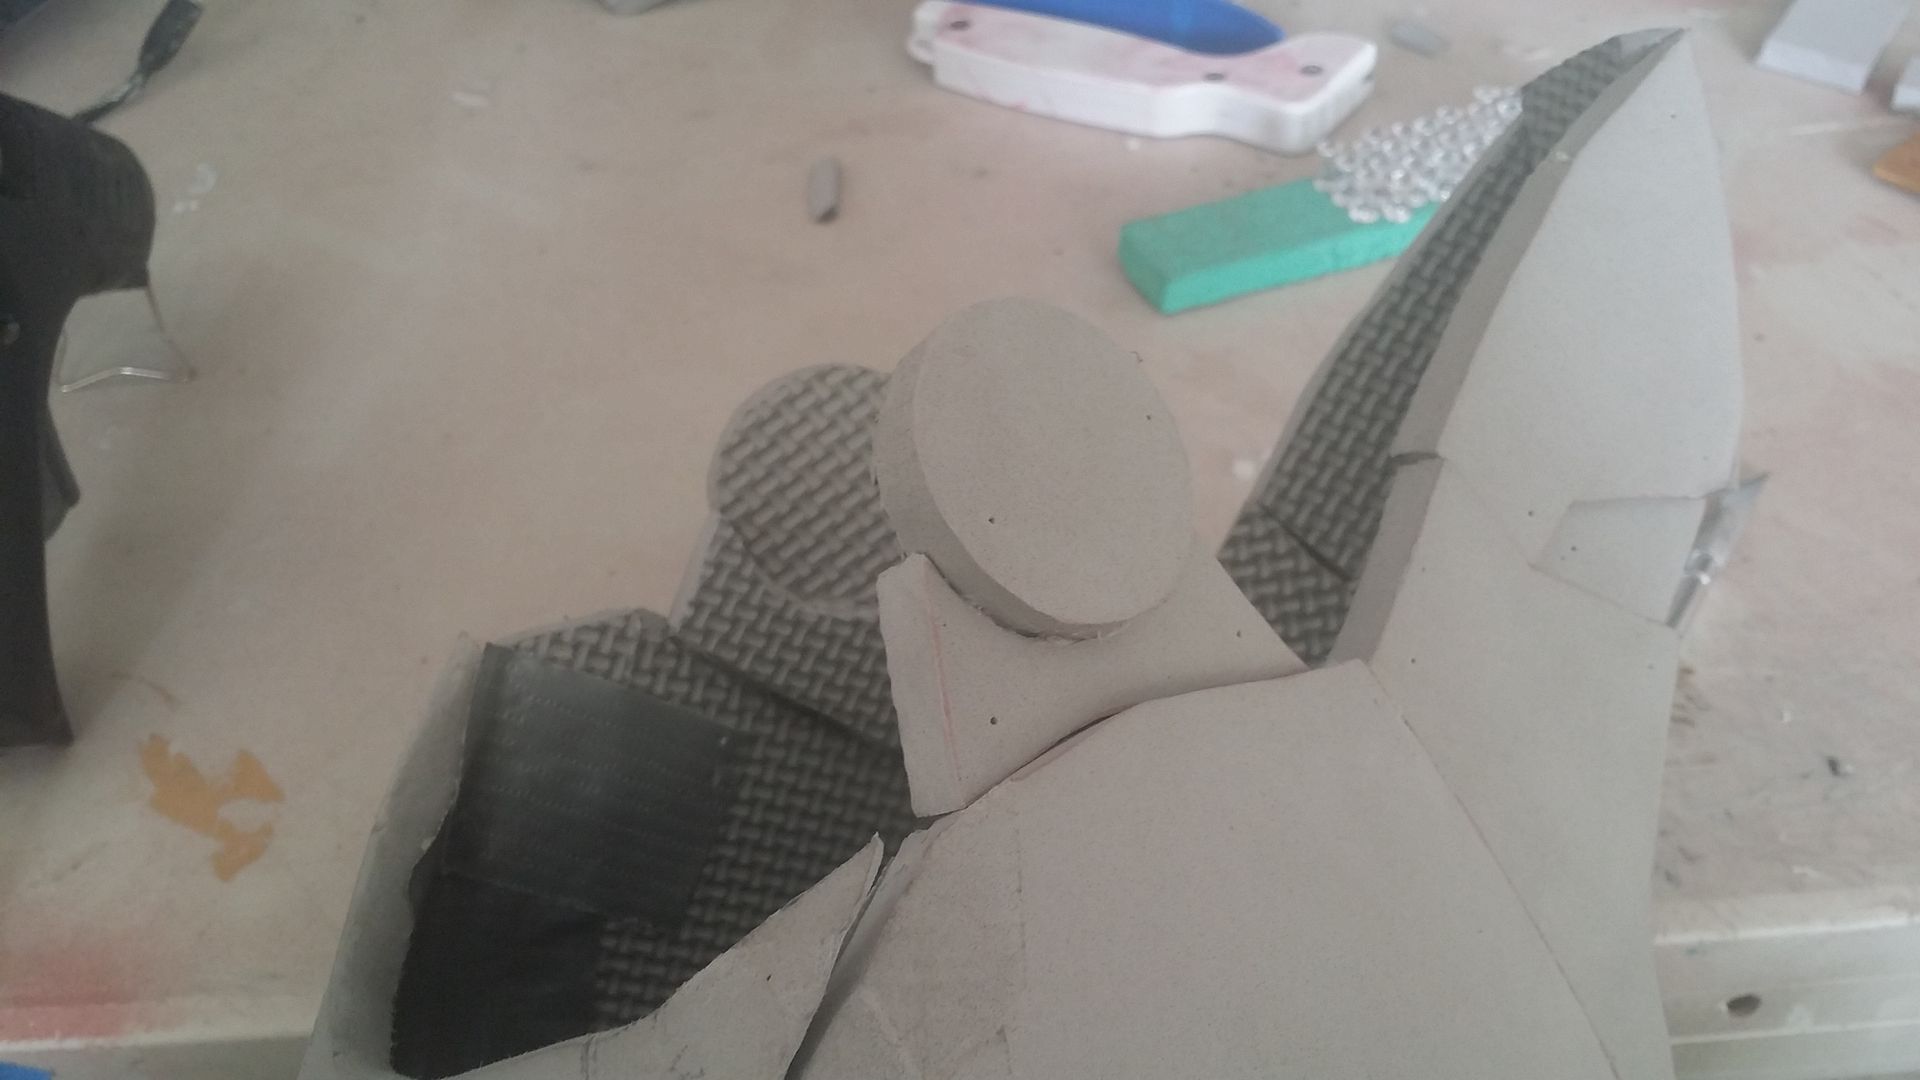
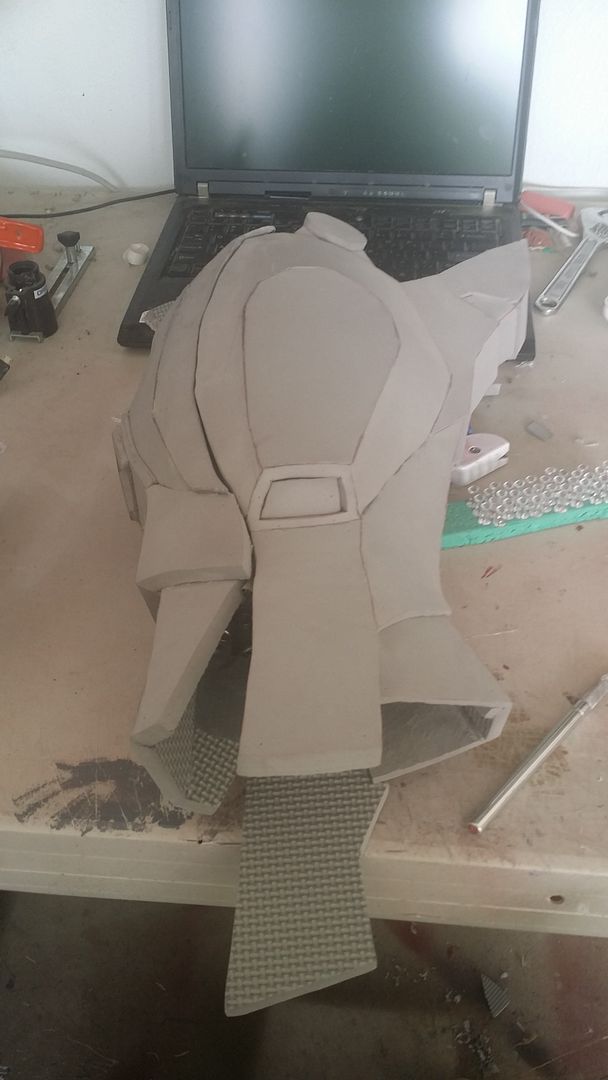
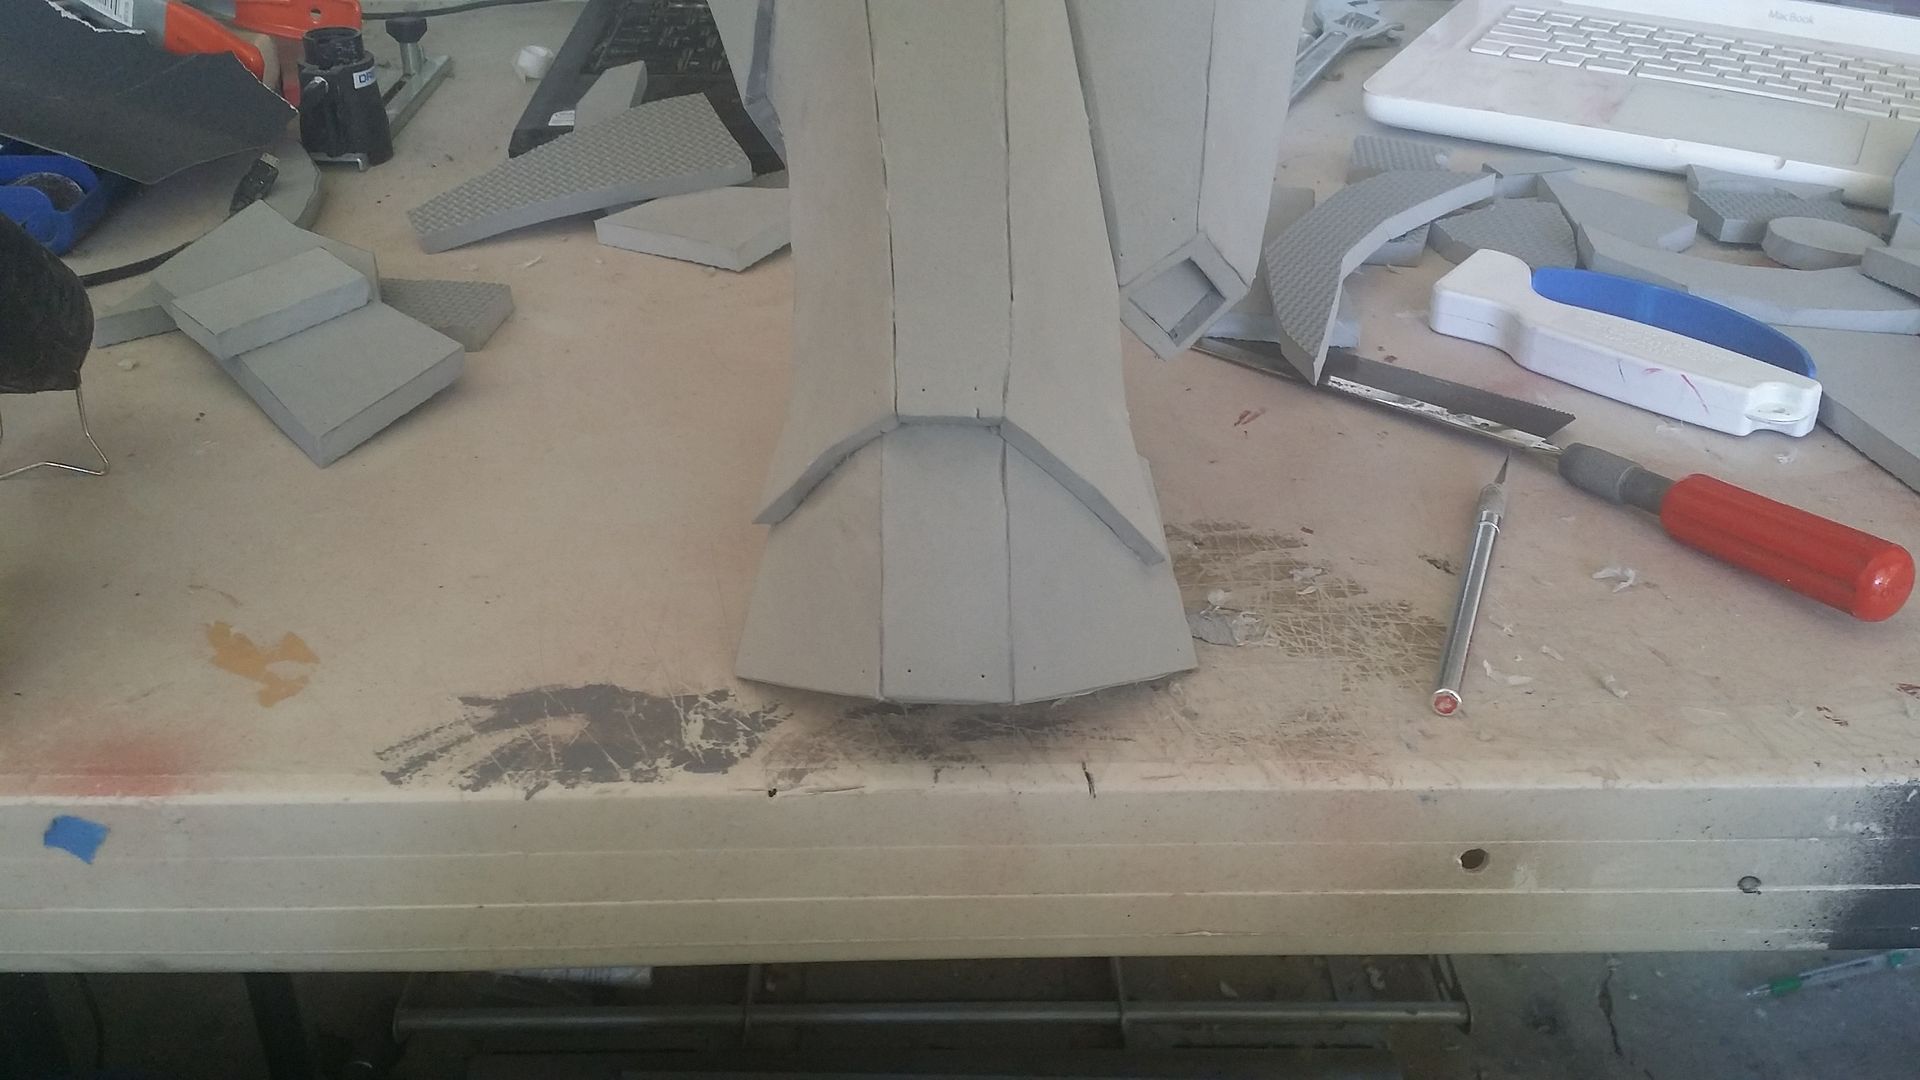
done and done! a few glamour shots before we move on to the next one:
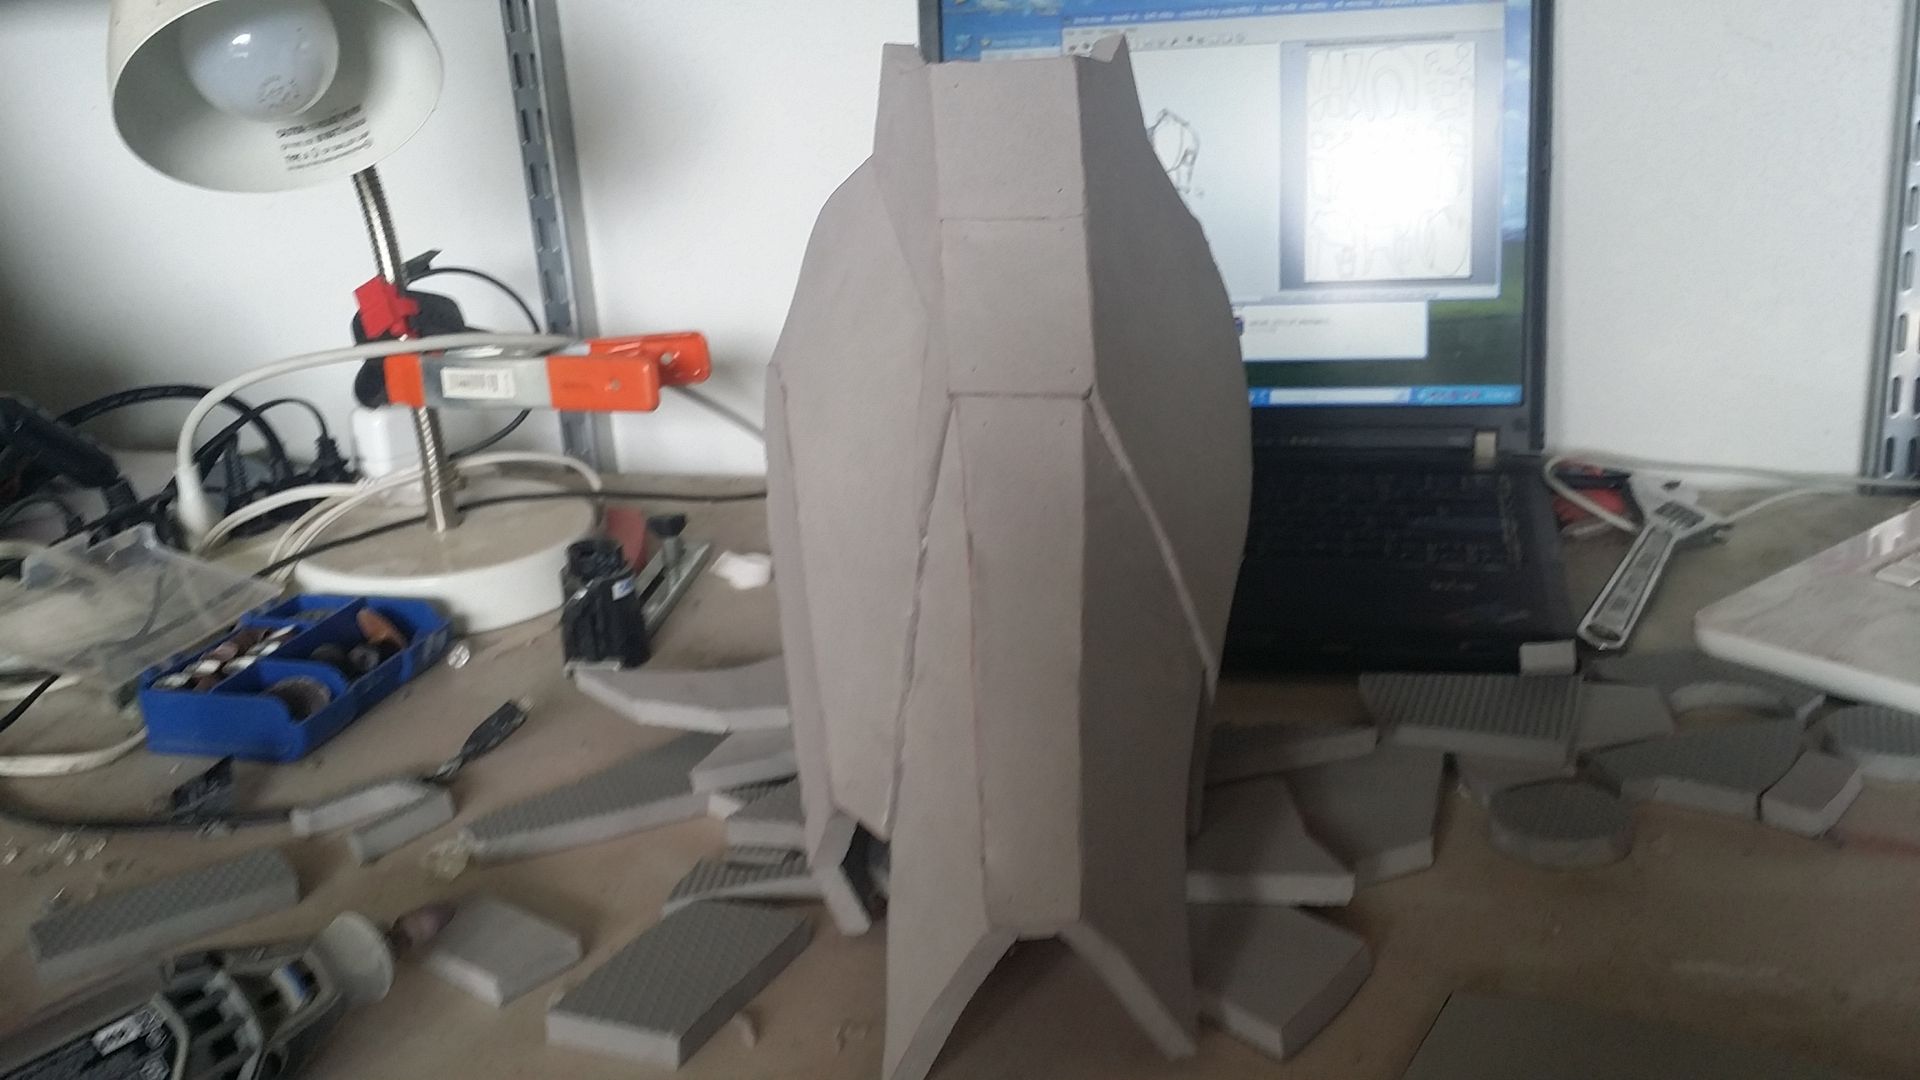
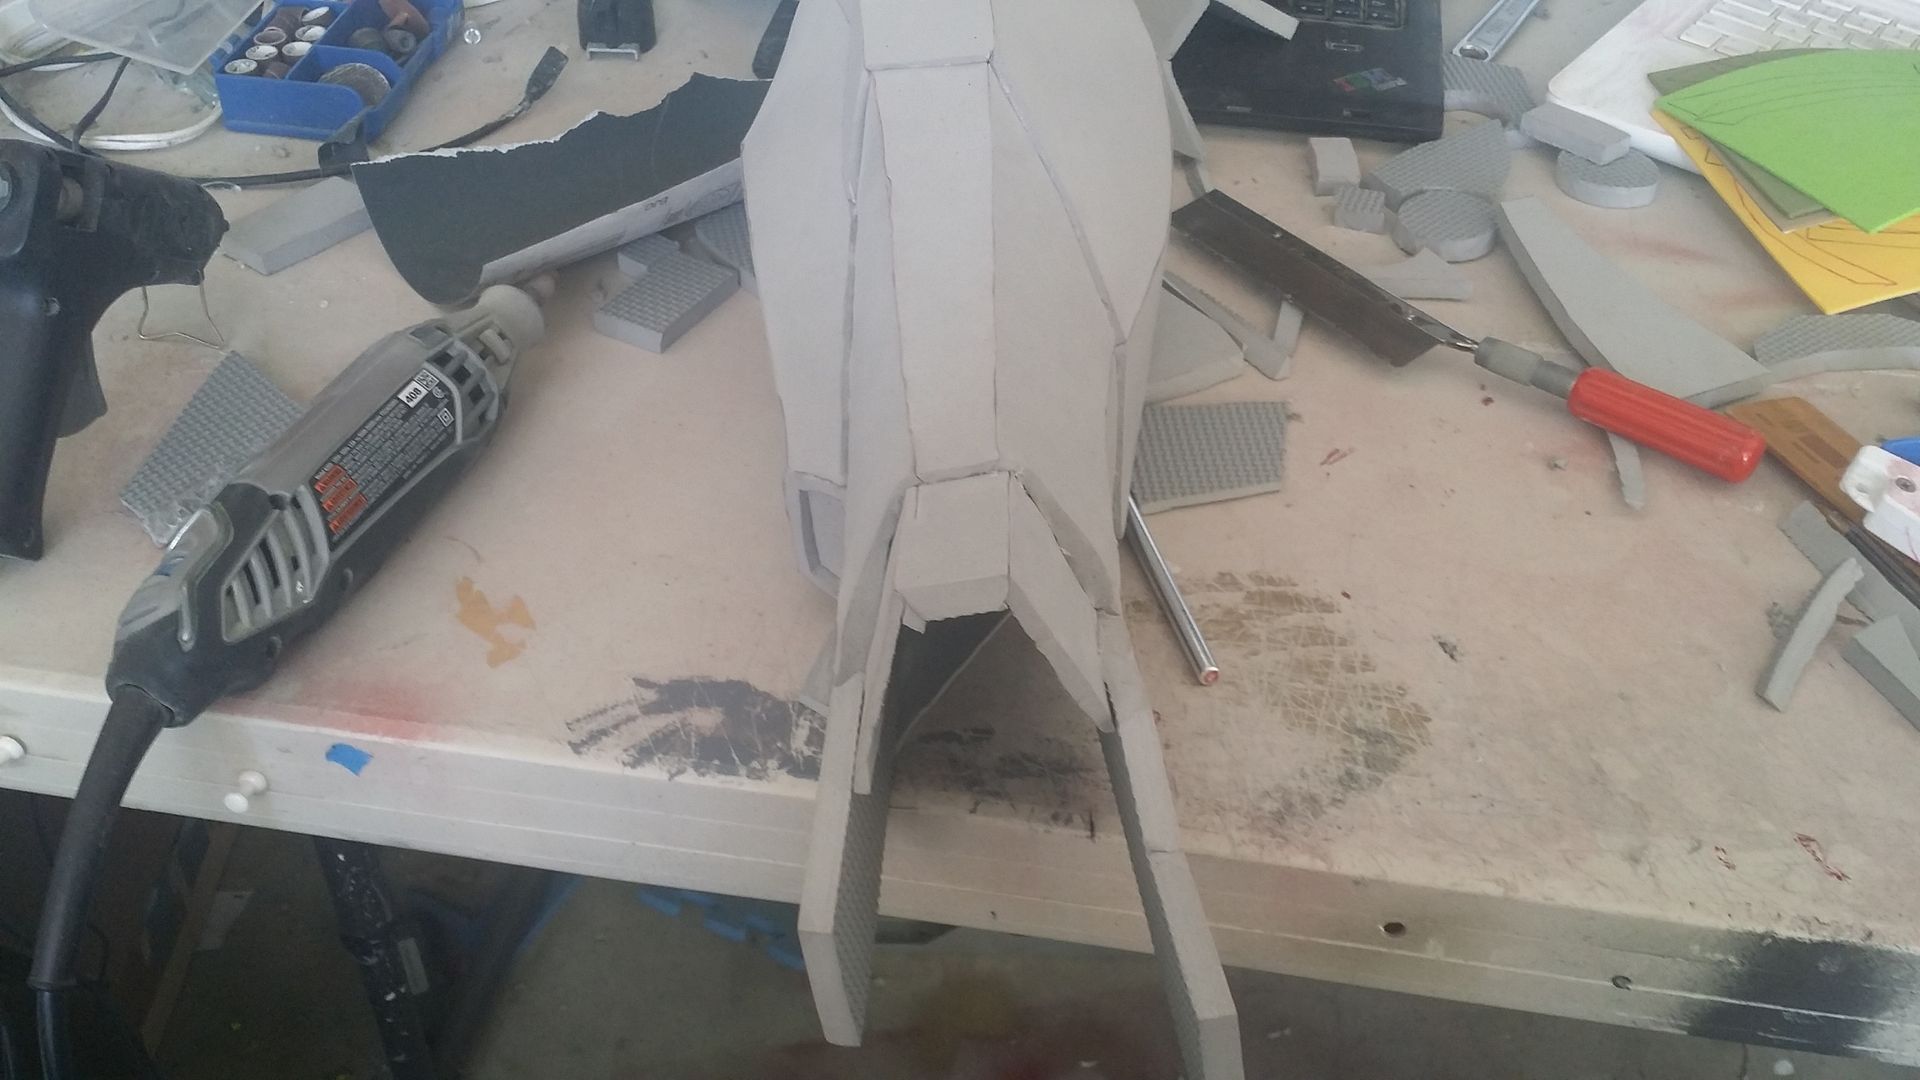
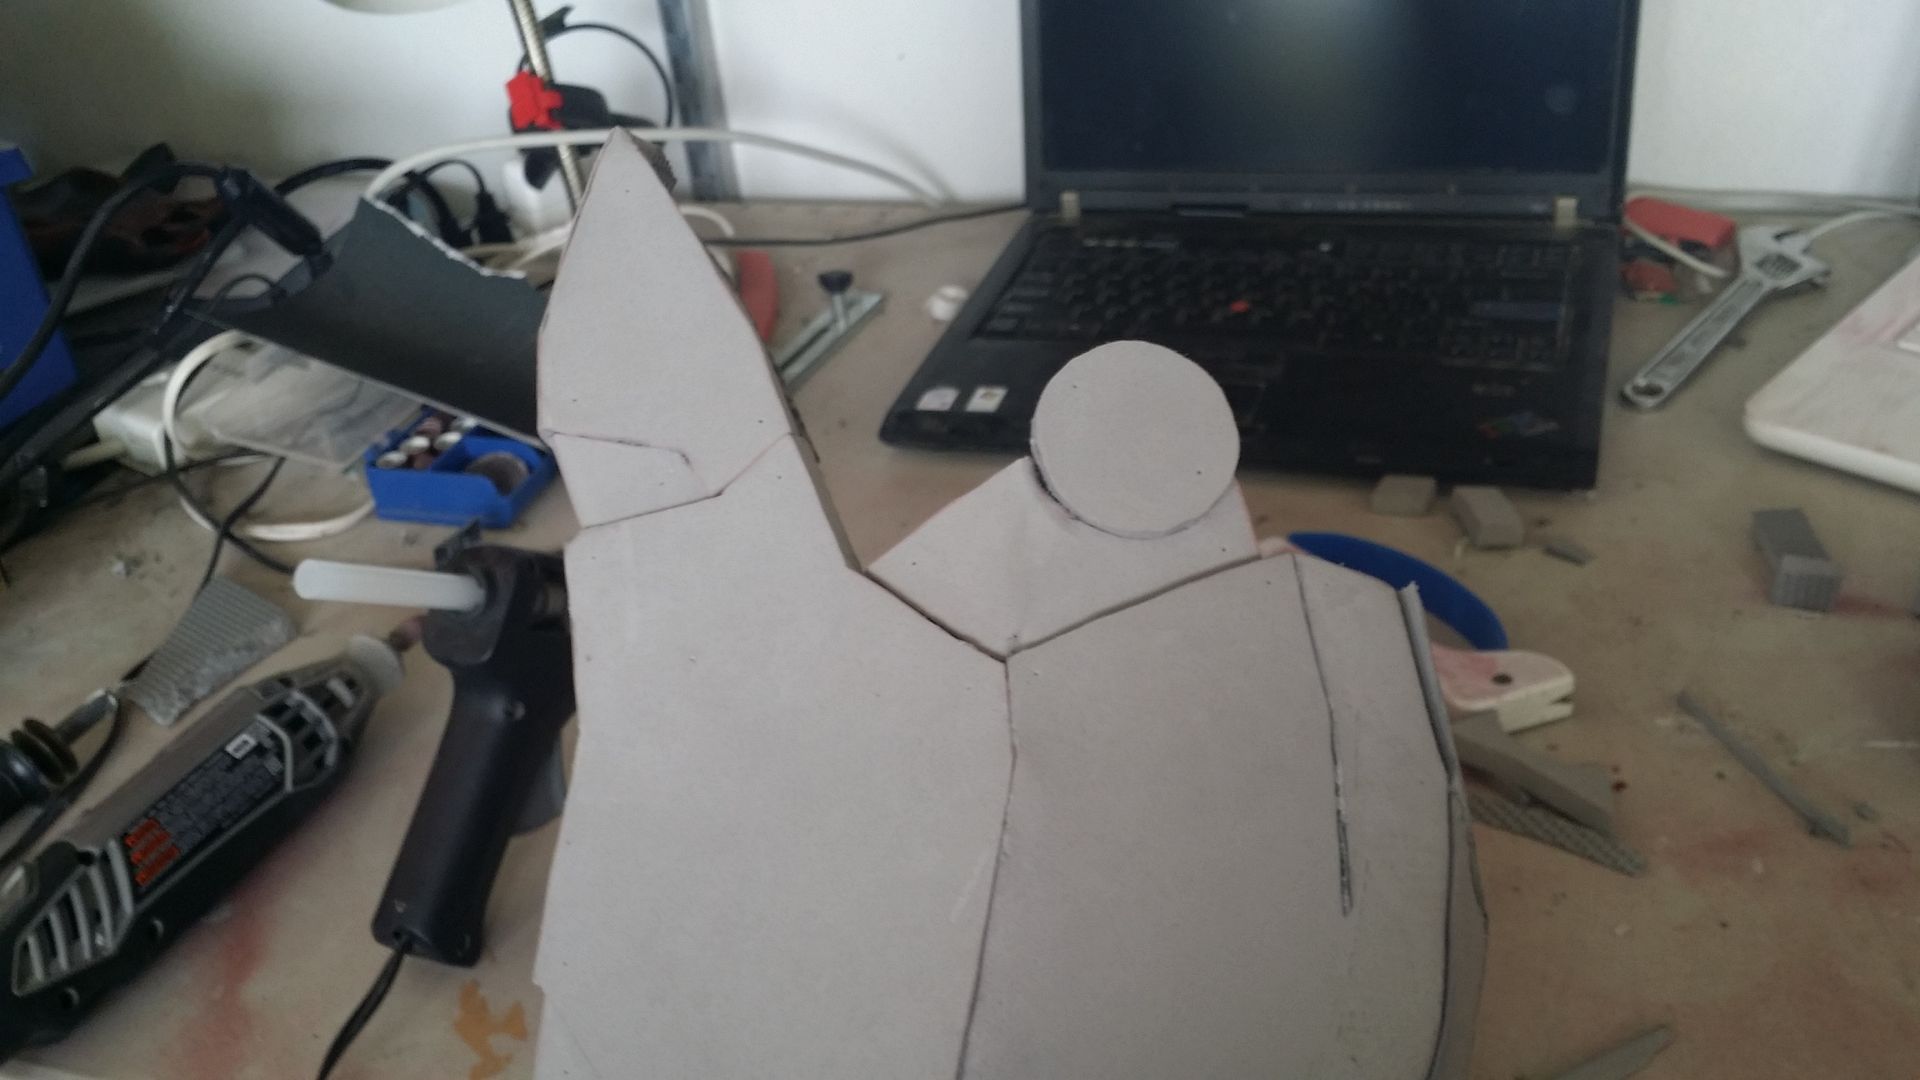
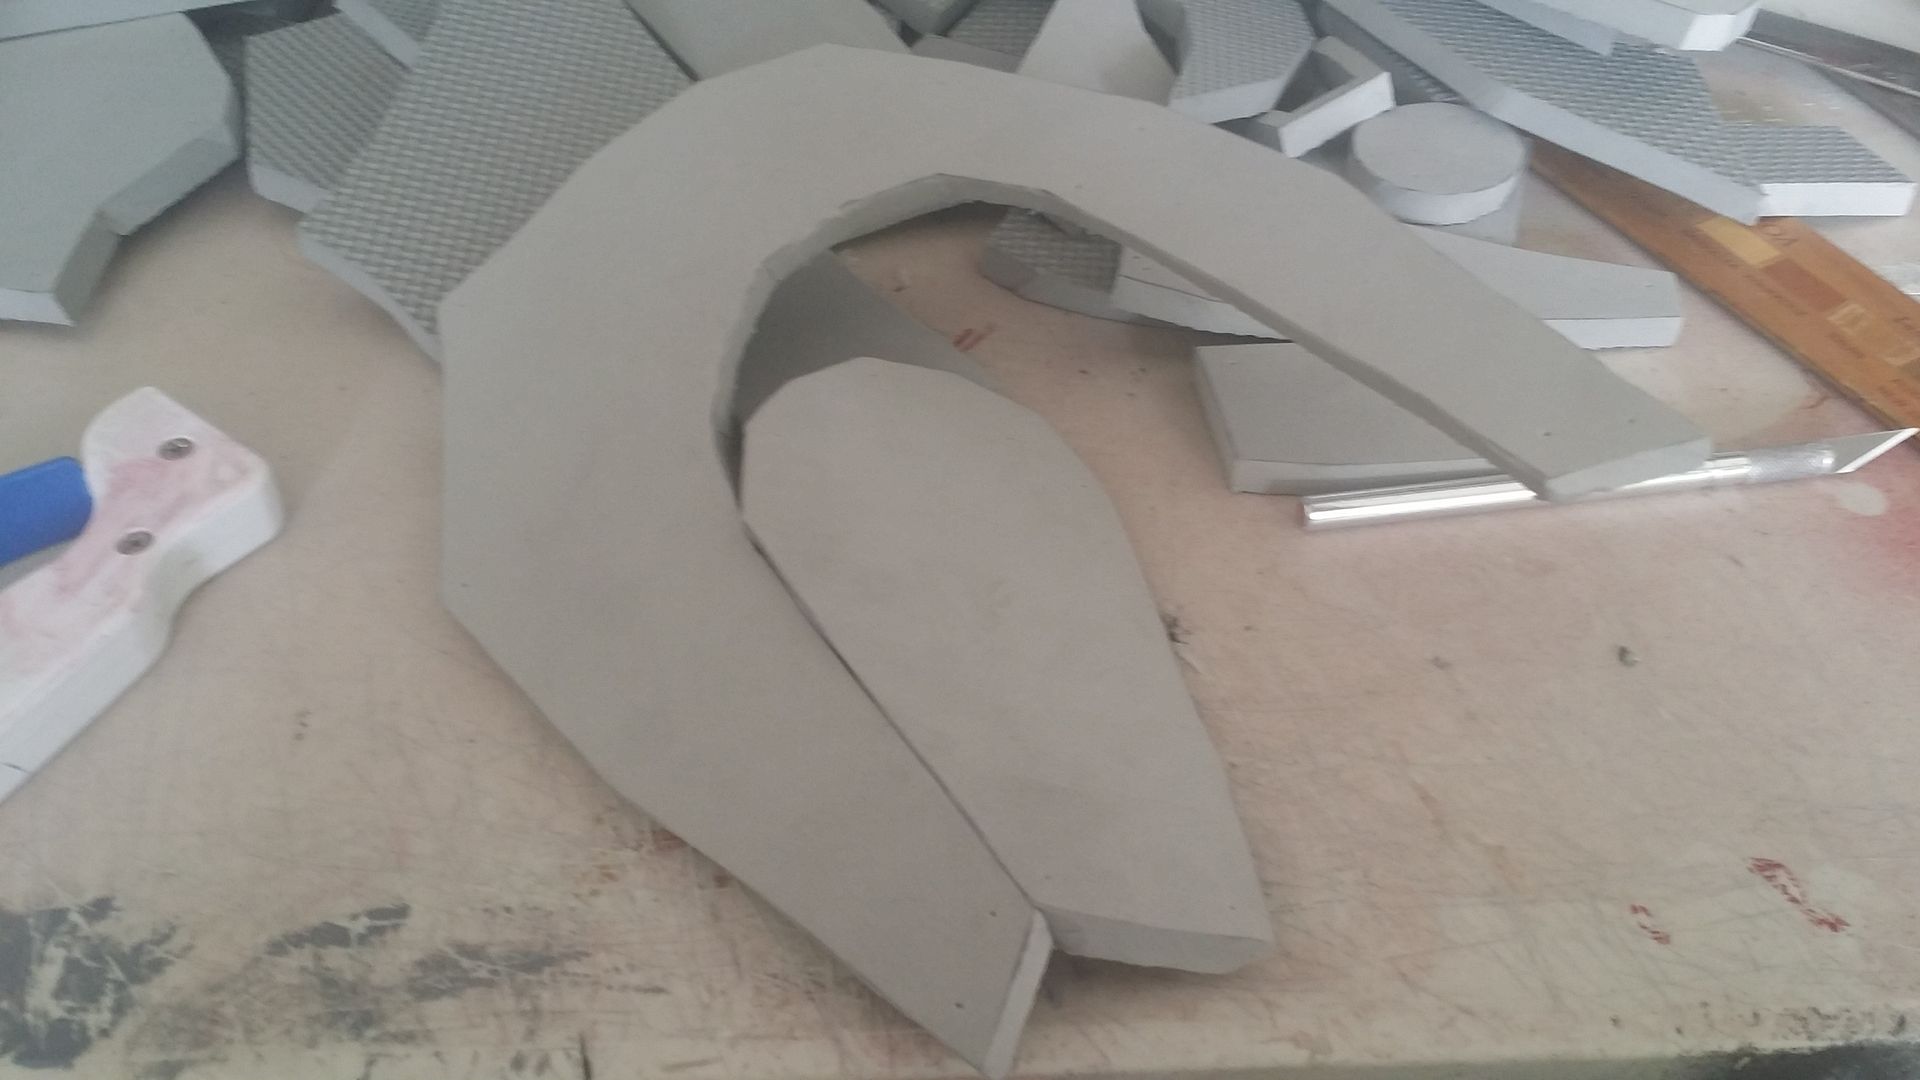
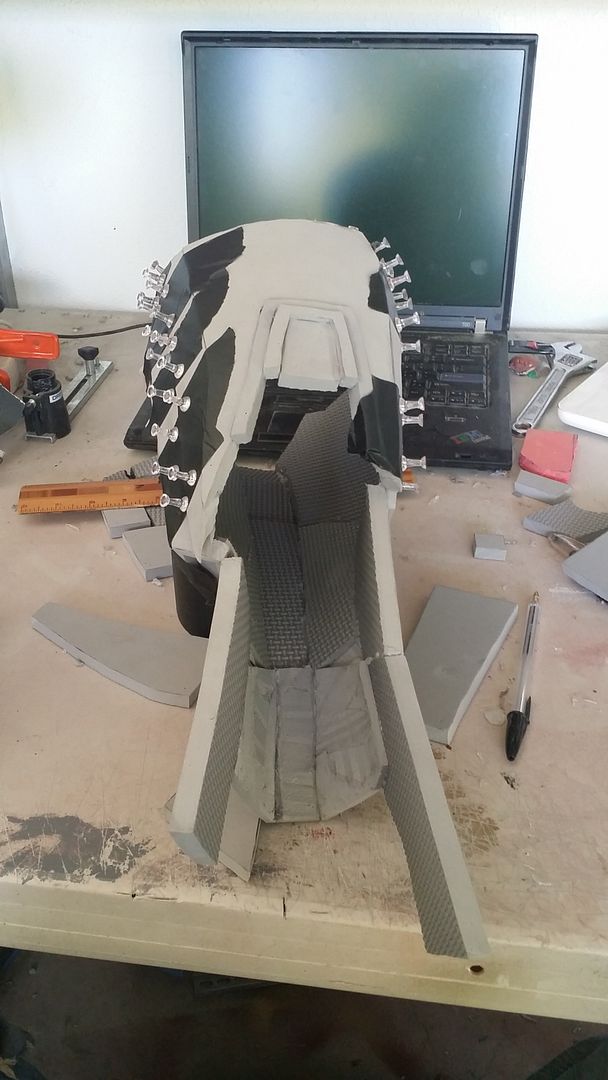
Next up, the left shin. same as before:


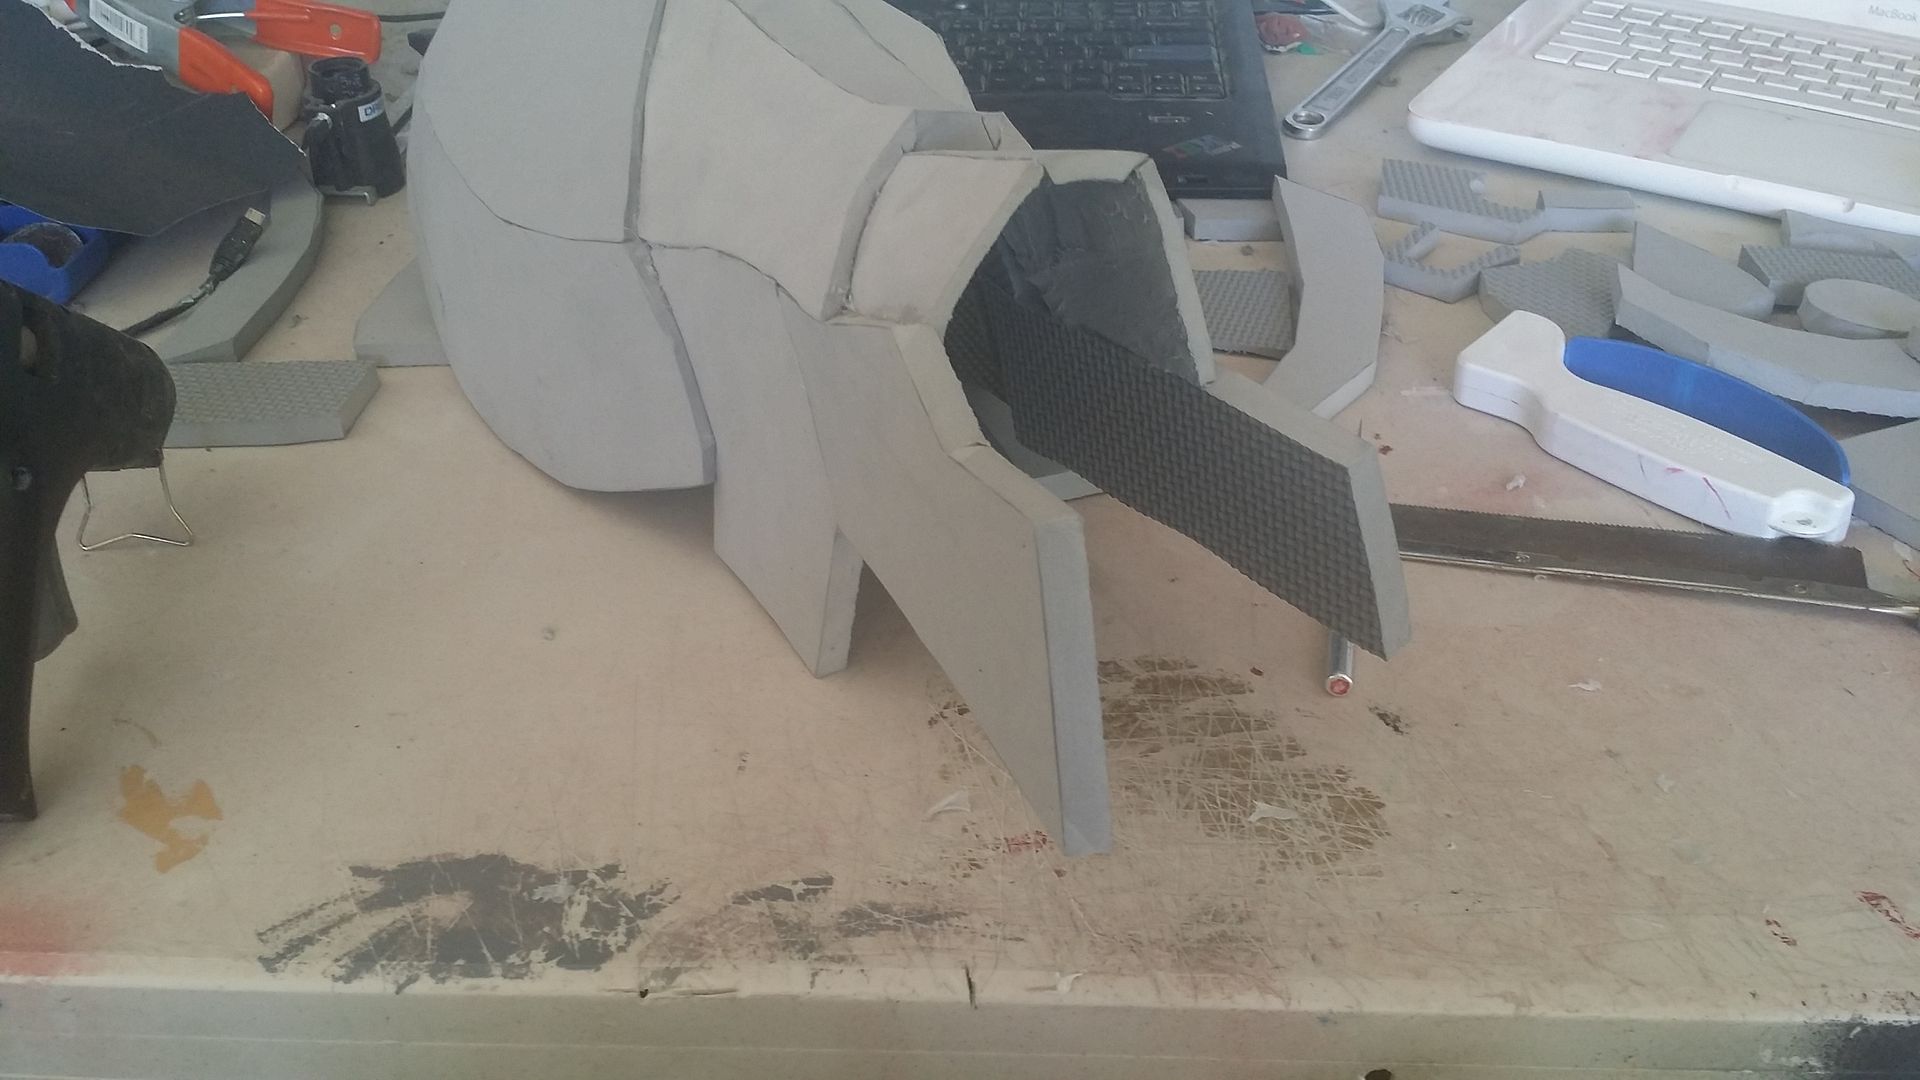

with everything built, it was time for a once-over with the heat gun. I actually ran out of duct tape (*collective gasp*), so i had to use gaffer's tape and thumbtacks. the result looked like some monstrosity out of hellraiser:
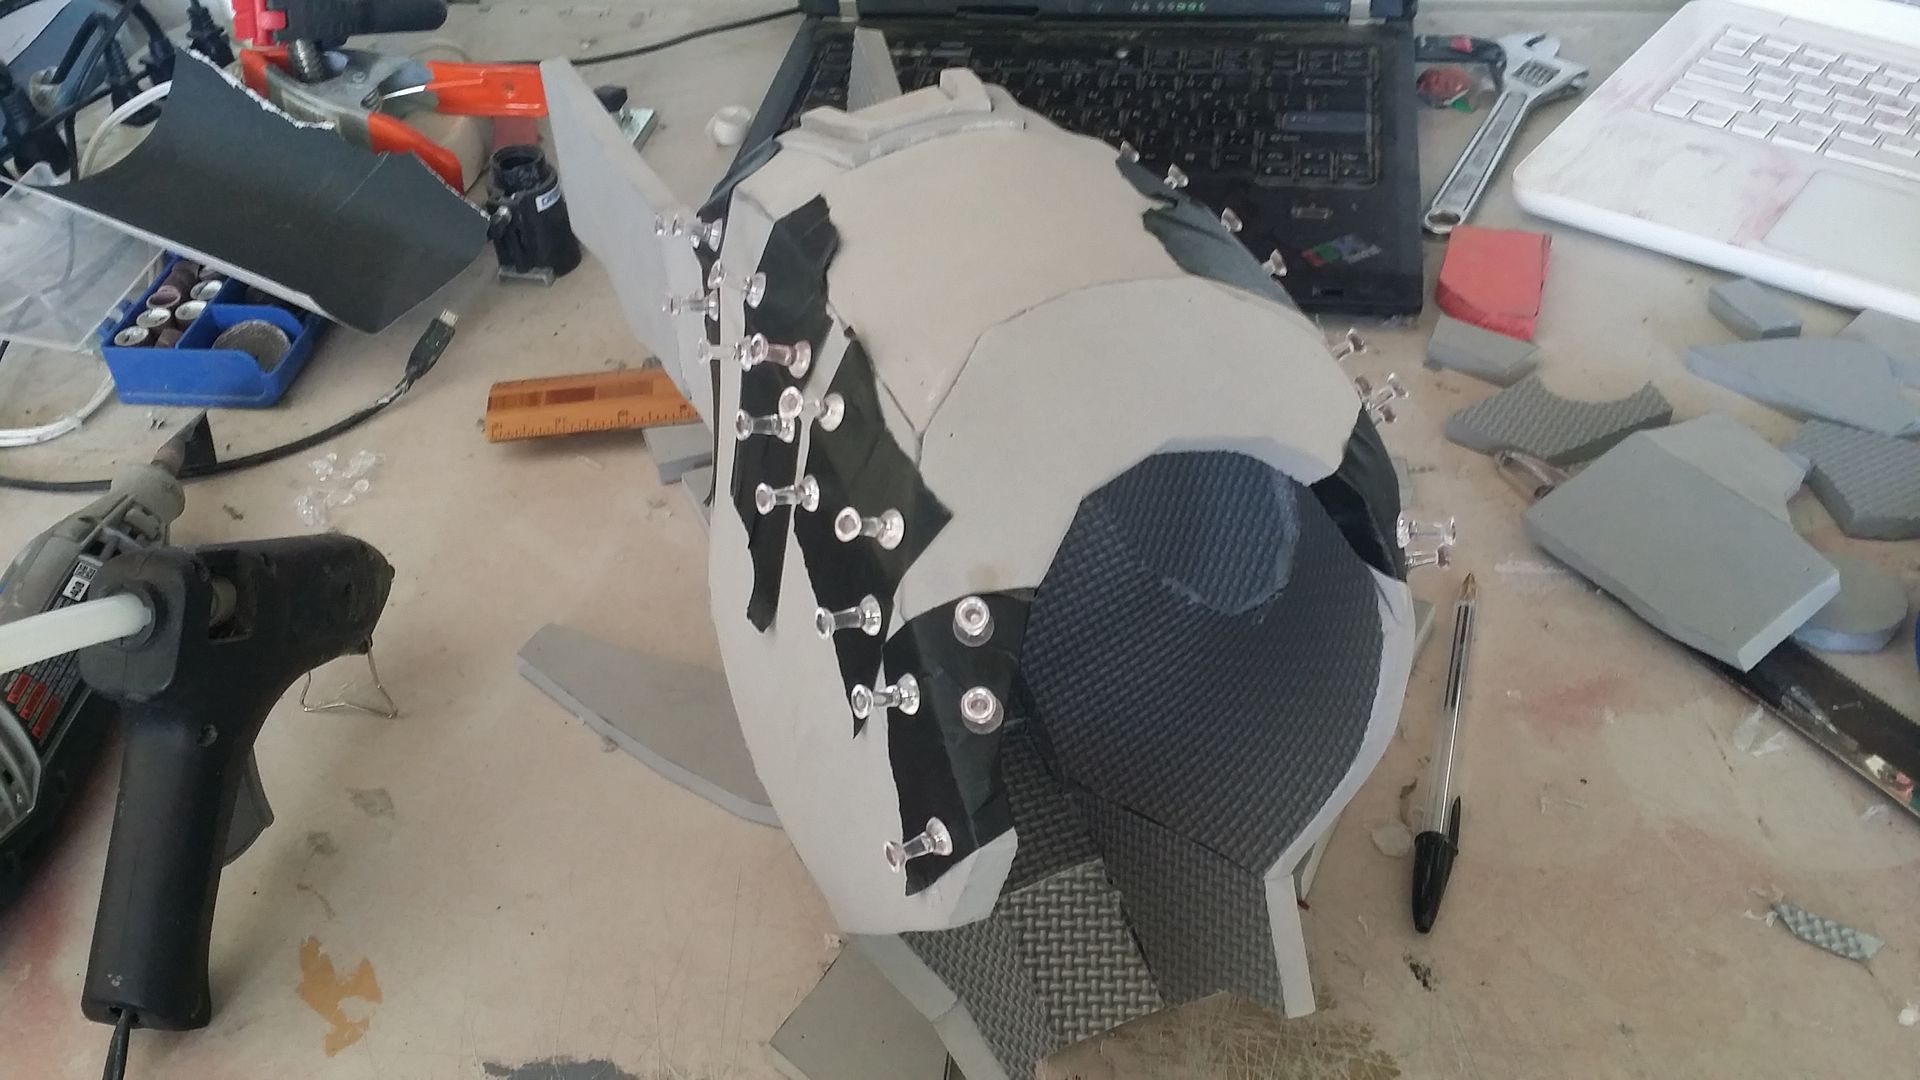

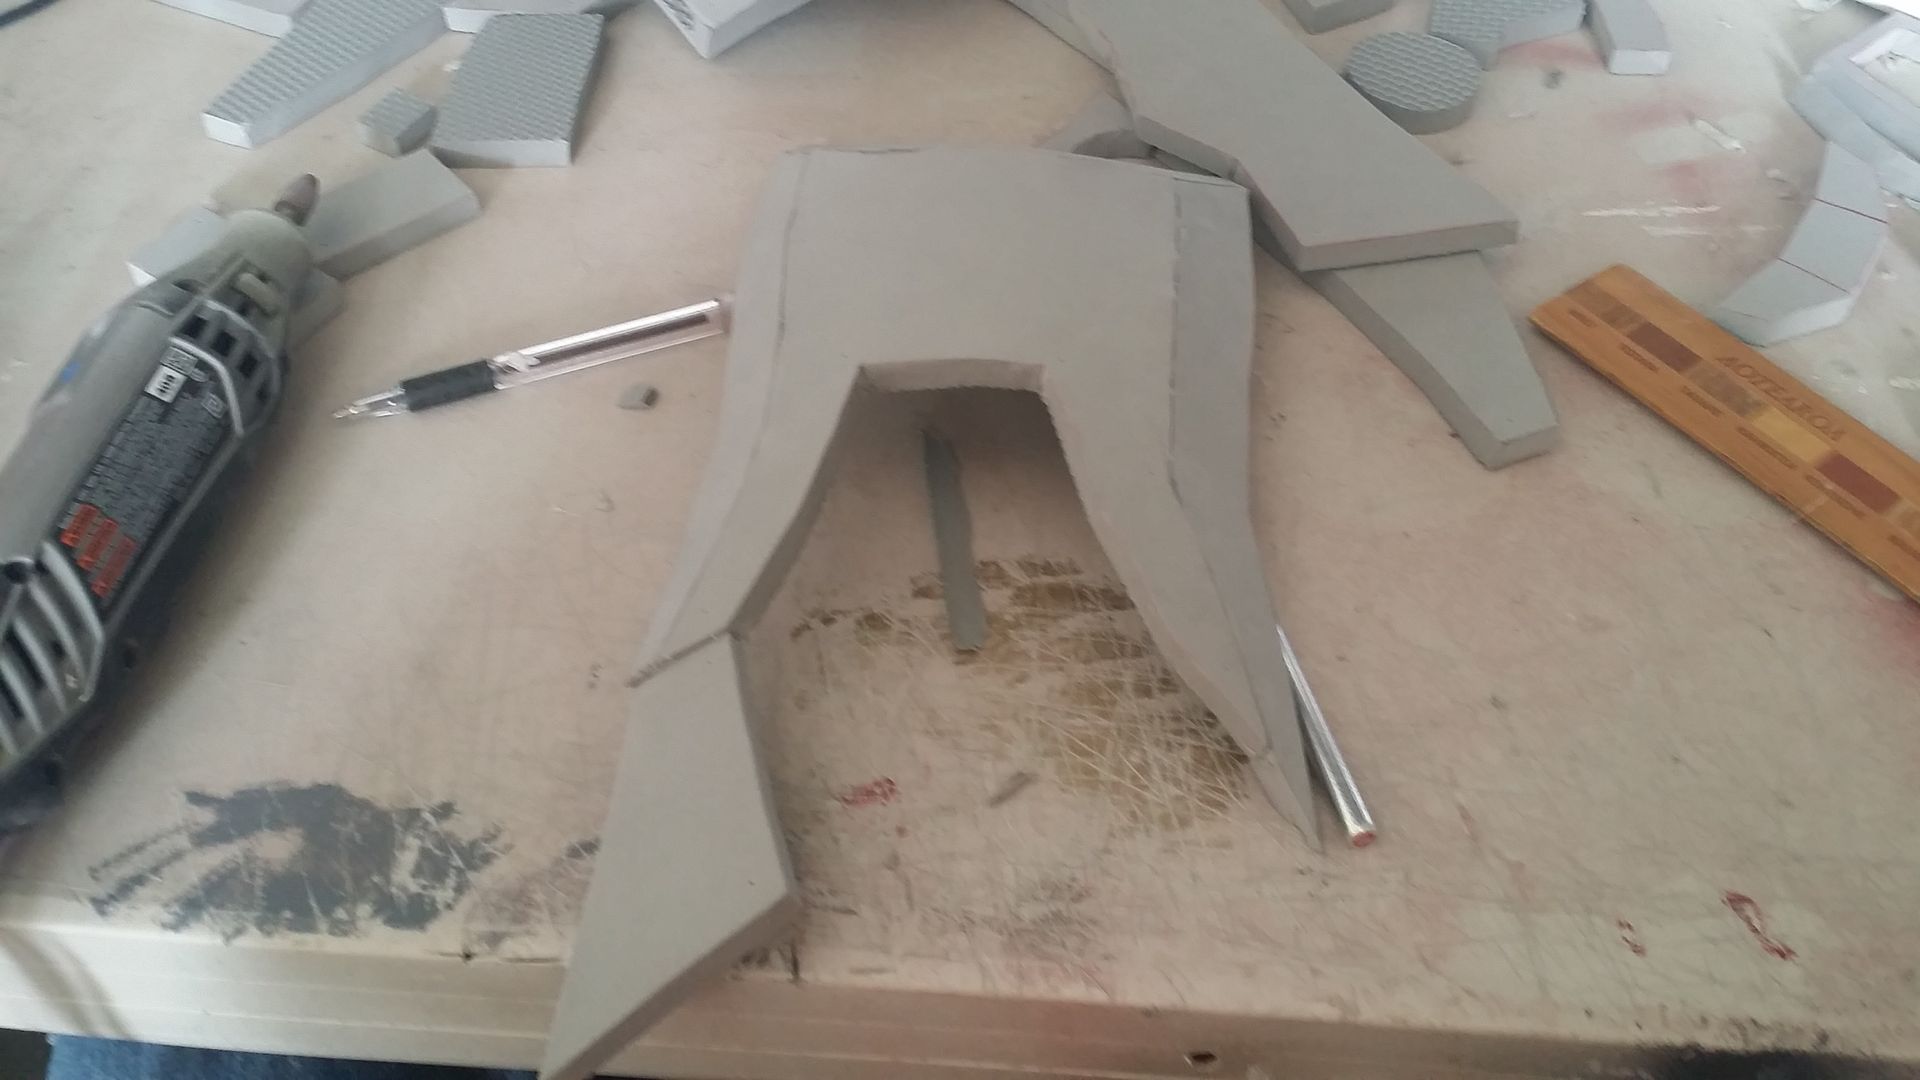
and this marks the end of the building stage, with a damn good looking glamour shot:
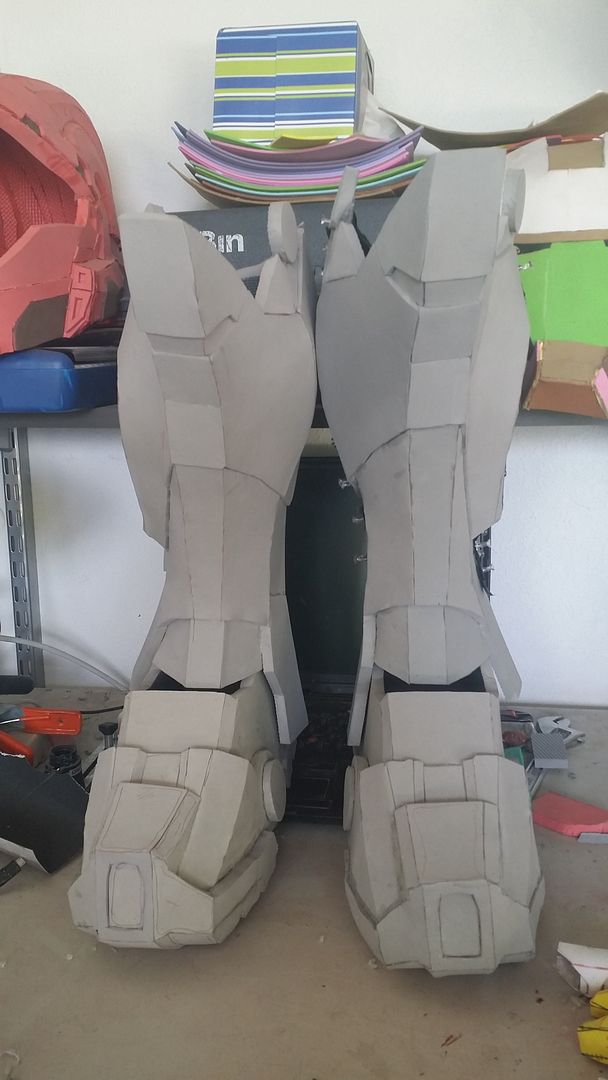
Next update, we'll be moving to the next part, sealing and prepping for painting.
stay tuned!
No comments:
Post a Comment