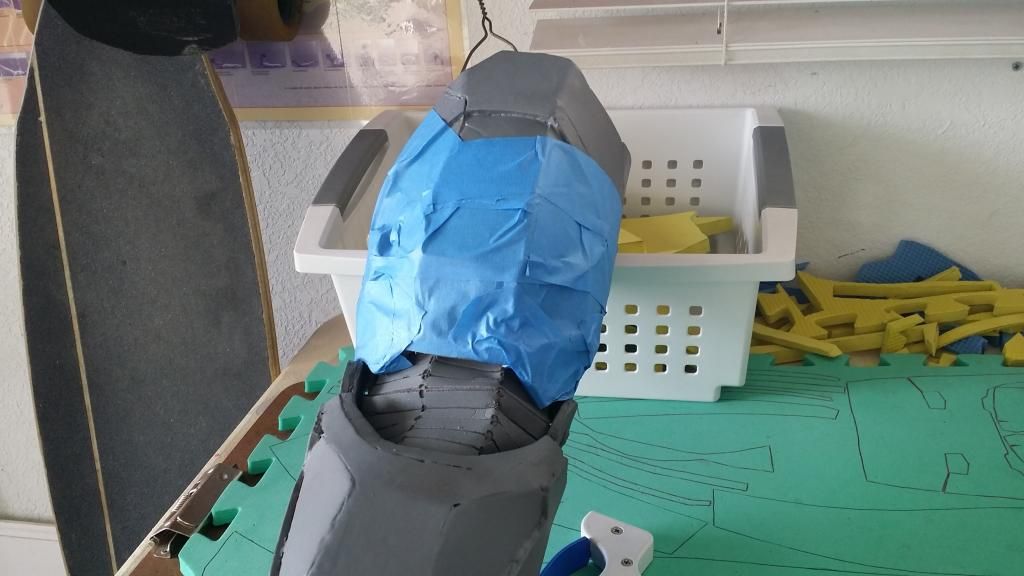
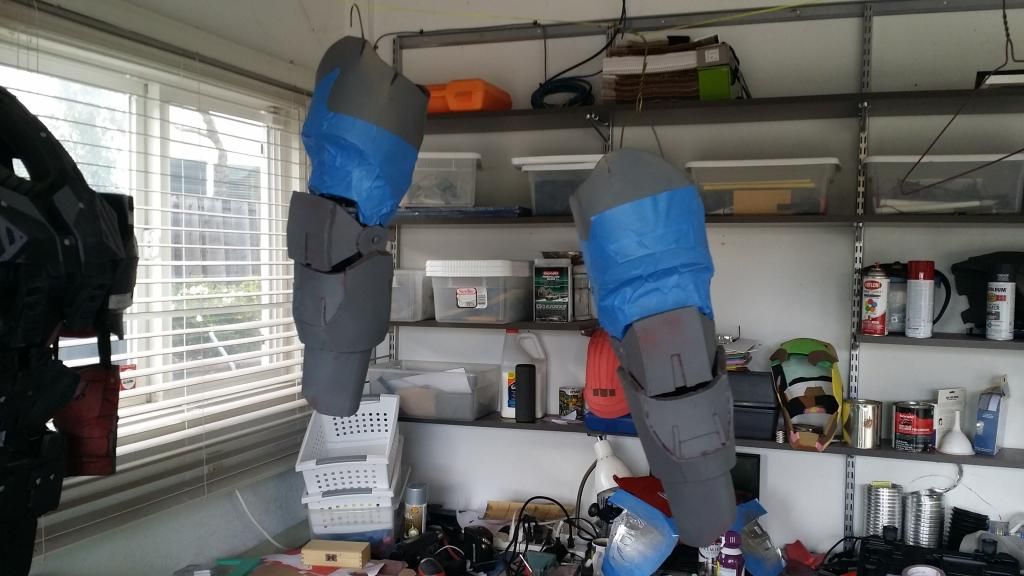
Alright! last we left off, things were on the up and up with some sweet detailing. this time, we'll be doing the arms, which consist of all three colours (red, gold, and silver) in possibly the HARDEST places to properly tape up and paint. after that we'll work on salvaging the paint job for the midsection, then once that's done we'll start putting everything together! never a dull moment:
Let's start with the easiest part of the arms, the solid red forearm pieces. after a whole lot of tape-tearing and swearing, this is where we're at:


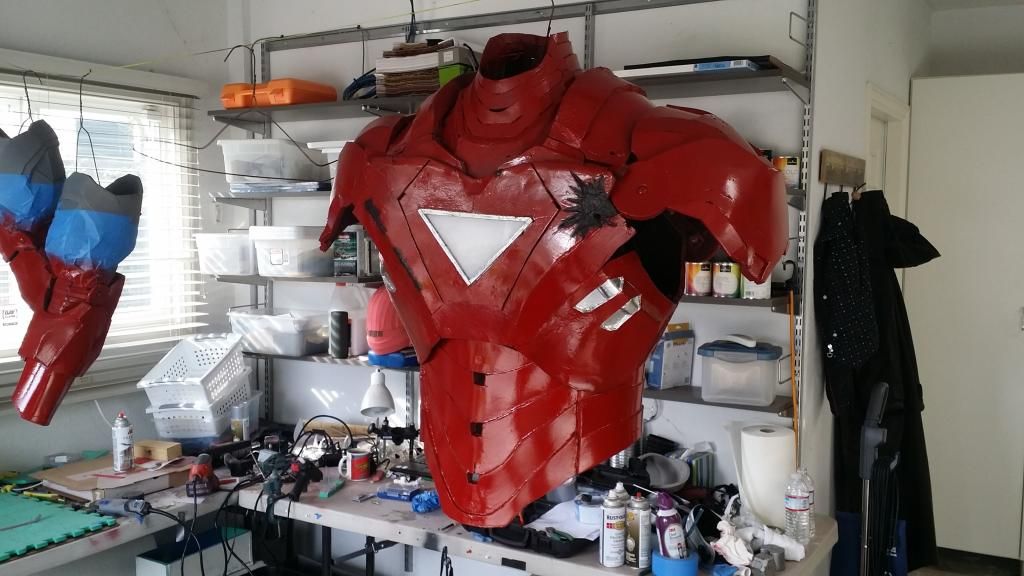
came out pretty damn good if you ask me. however, our little winning streak had to come to an end, and that end came in the form of me running out of both silver paint, and money (temporarily). so anything silver (like, say for example, THE REST OF THE ARMS) had to be put on hold. That couldn't stop me from playing dress up though!
first thing to add were the re-touched-up abs:
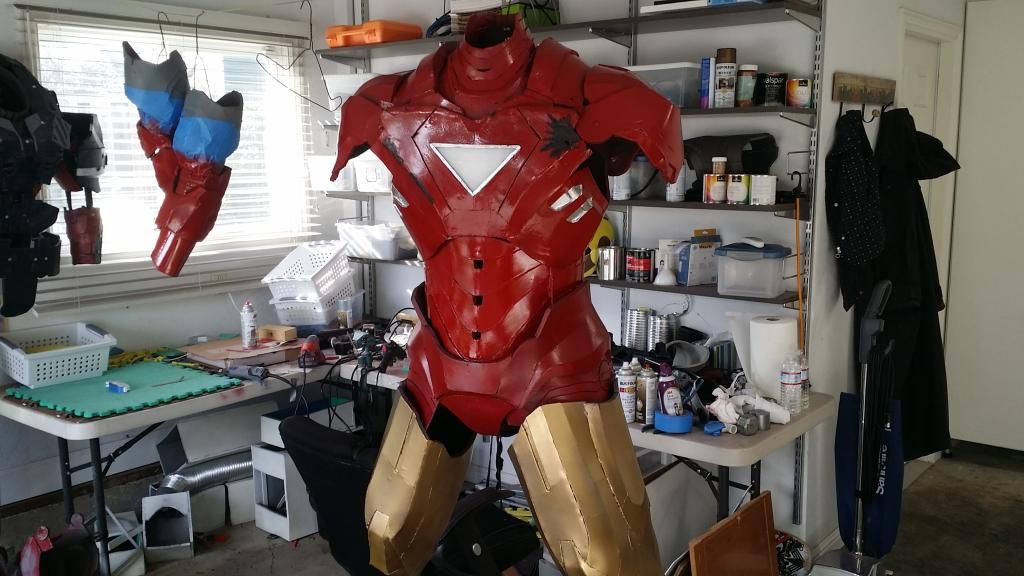
and finally, the half-finished arms, and rather decrepit shins and boots:

Lookin
fockin
nice.
so, with our little game of build-a-hero, it was time to get back to work. time to tackle the most dreaded of repairs on my list: the hands.
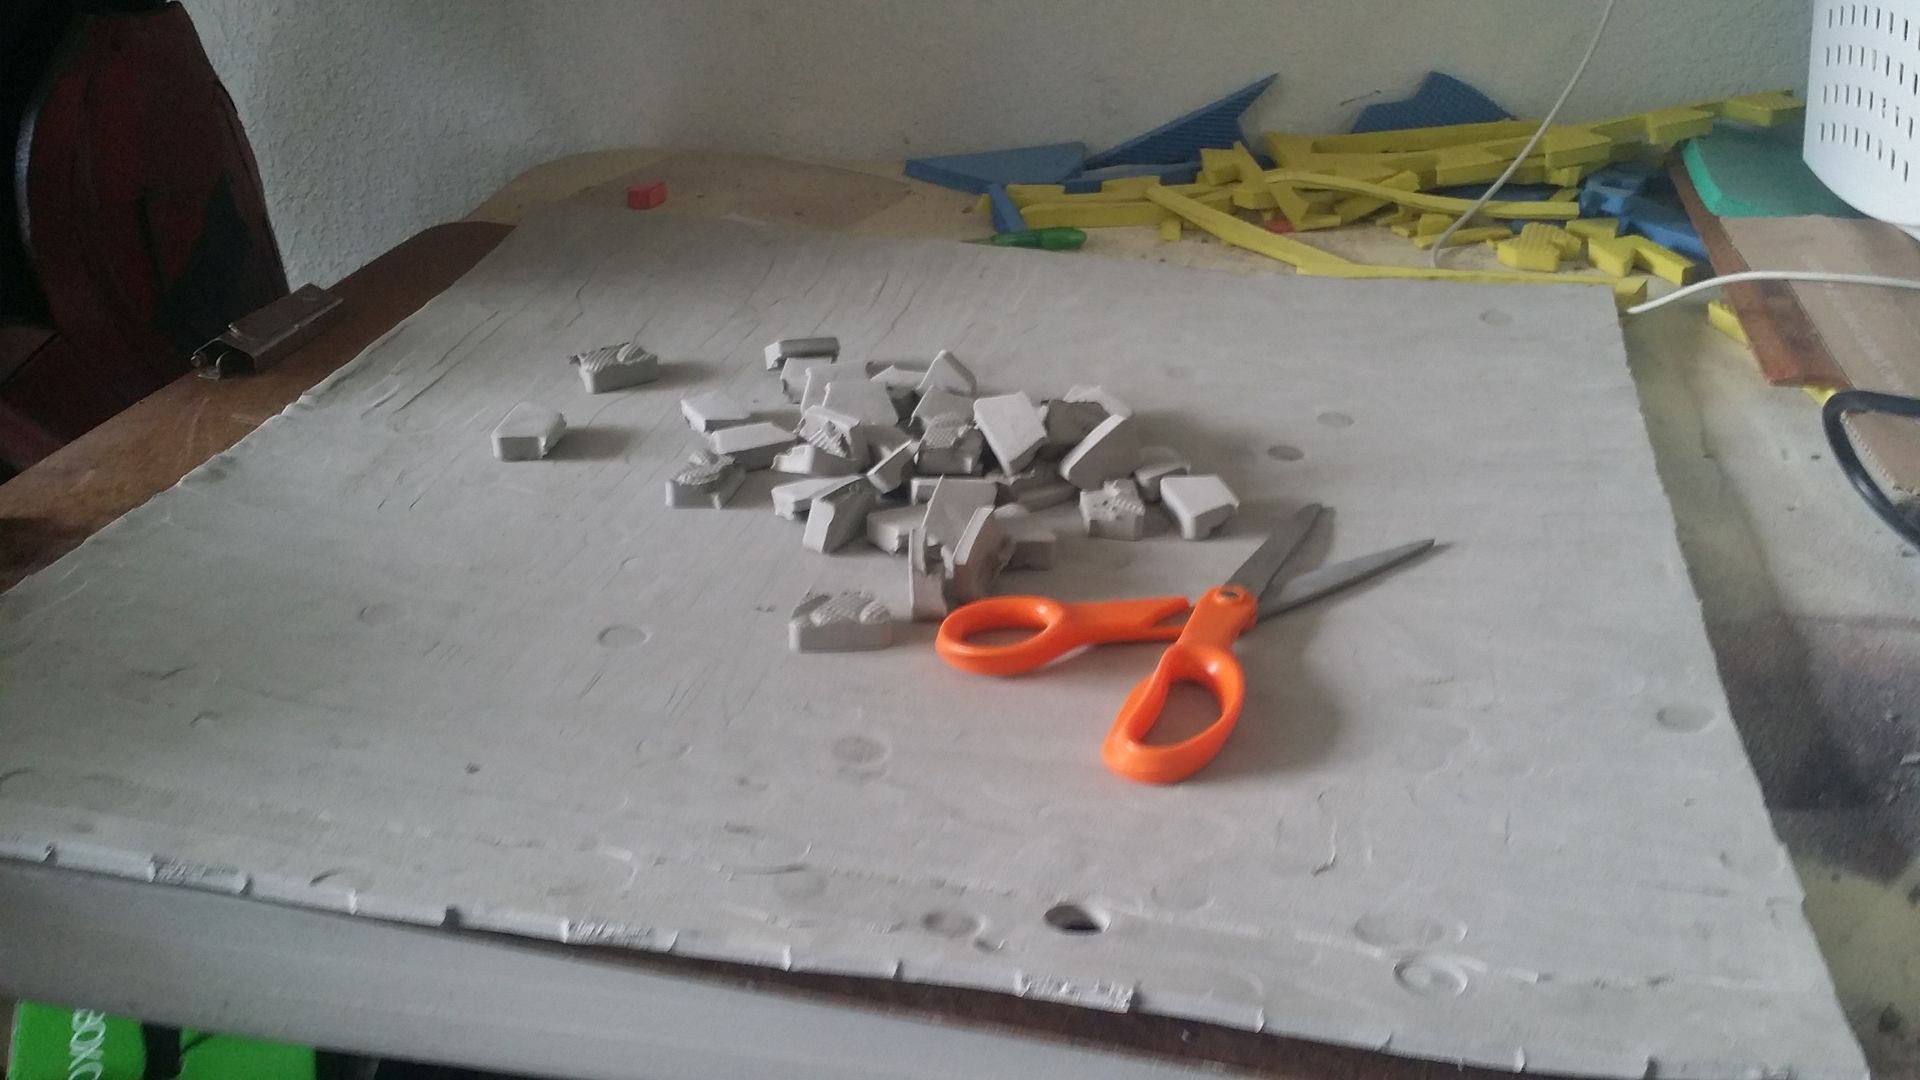
now, the original iron man hands were made completely out of foamies, put over hastily spray painted rubber gloves with a small battery-powered garden light cut down and shoddily glued into the palm. here's the remains. those faint of heart and/or stomach, look away now.
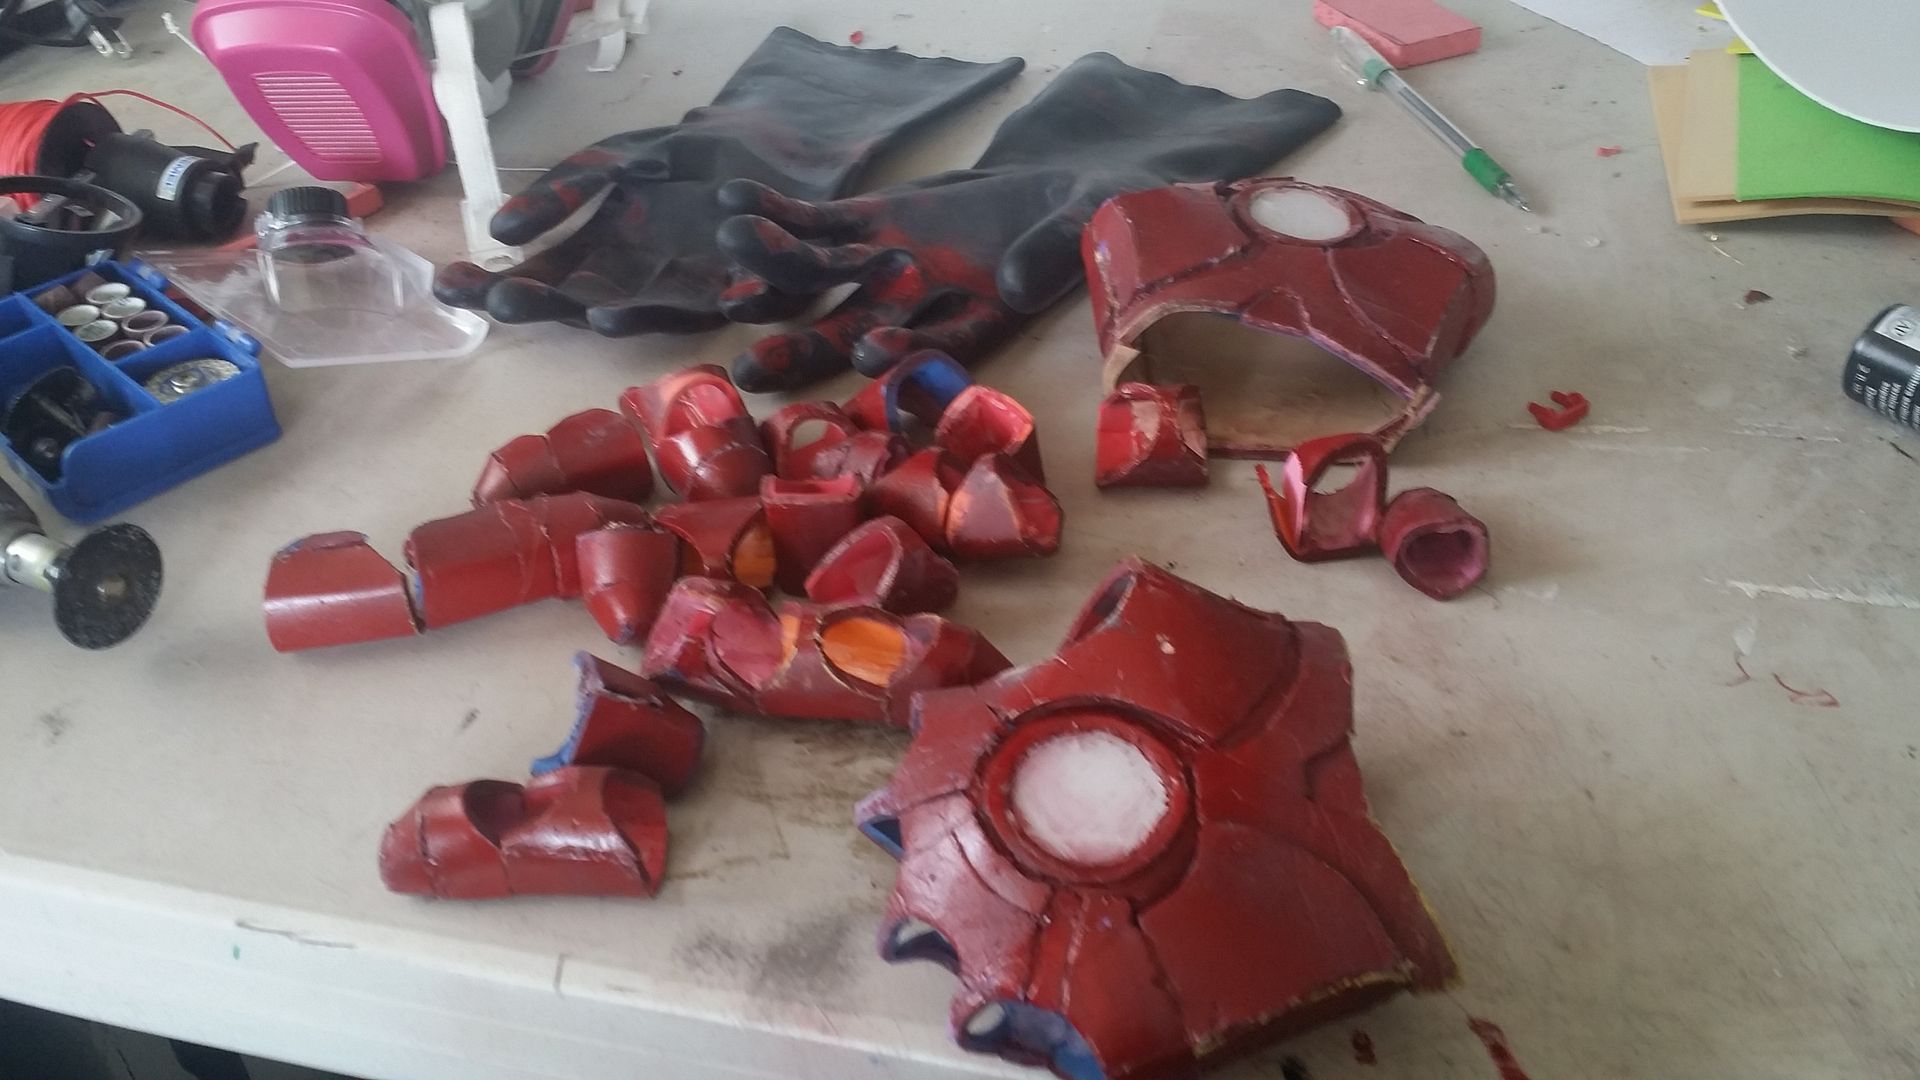
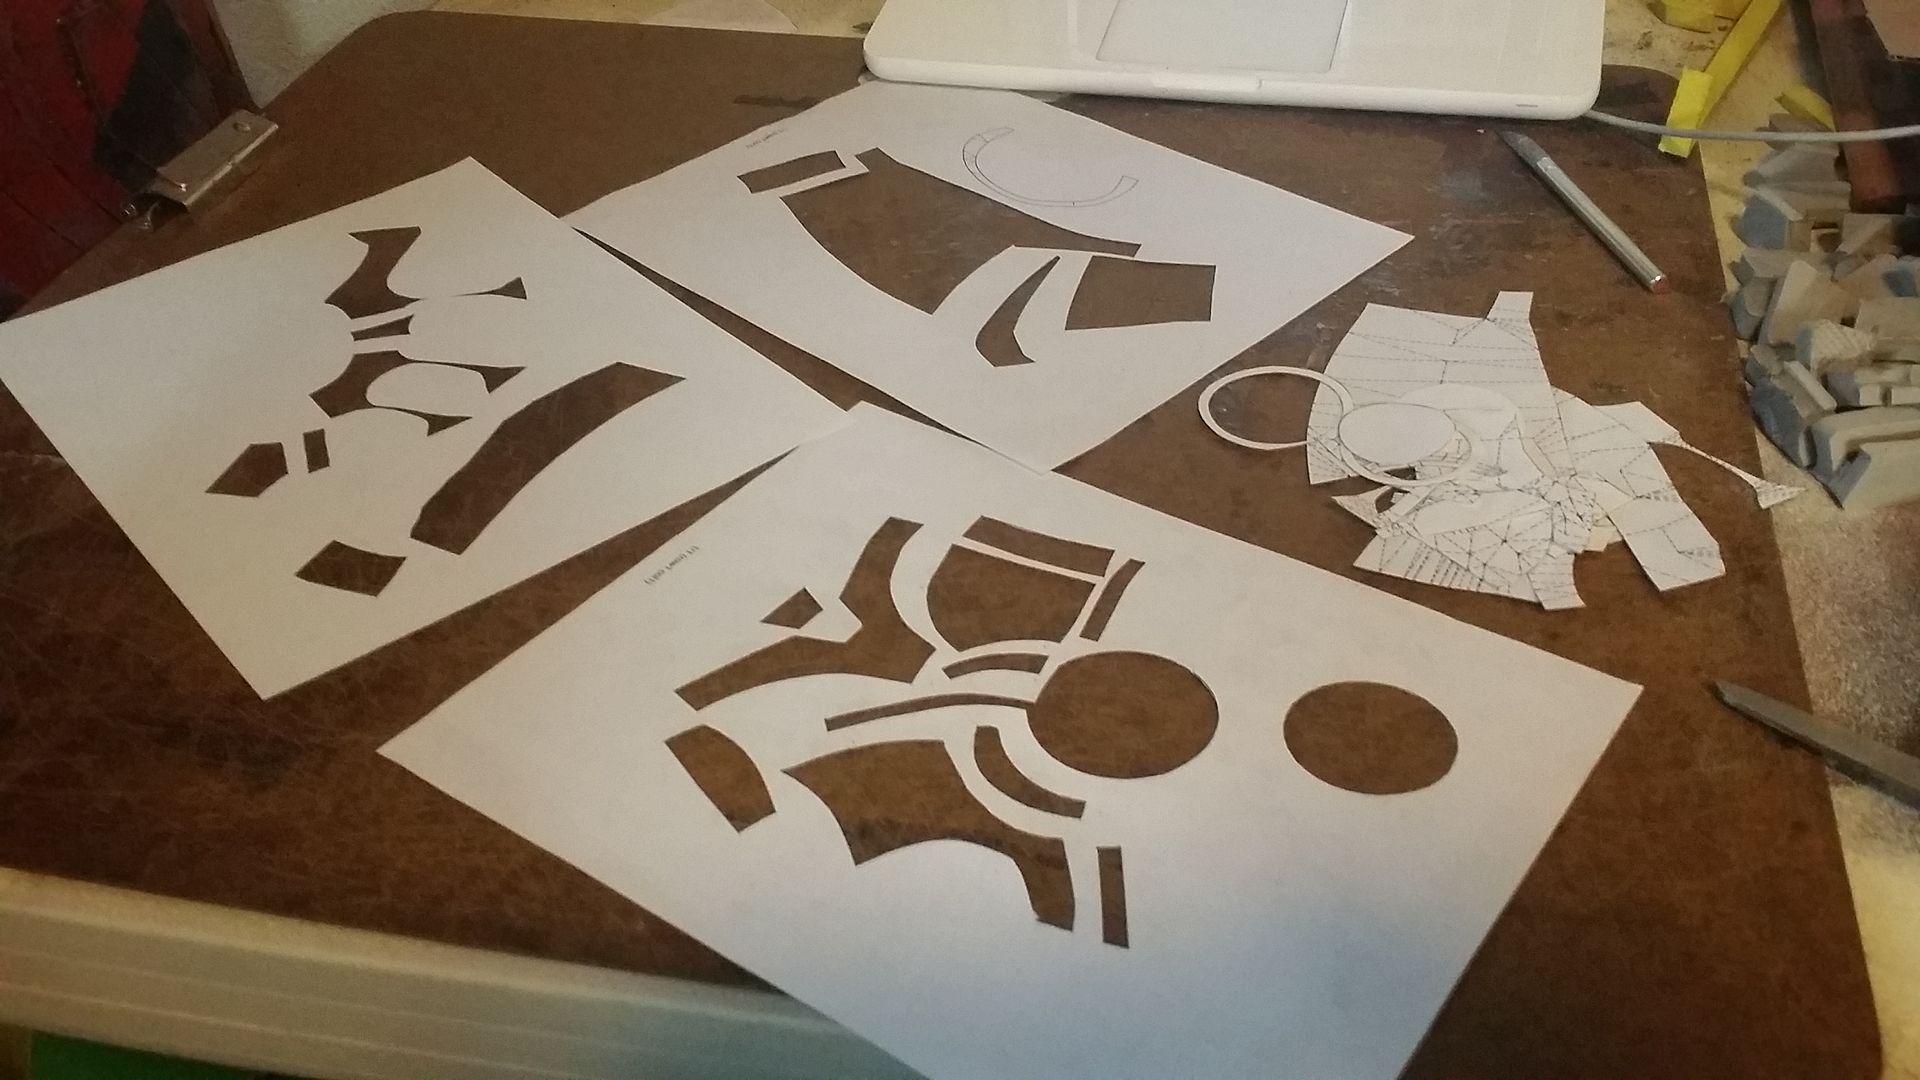
needless to say, these were a total loss. so, it was time to start over! the finger pieces would still need to be made out of foamies, however, so i started with those first. Same deal as before, print, cut out, trace onto foam:
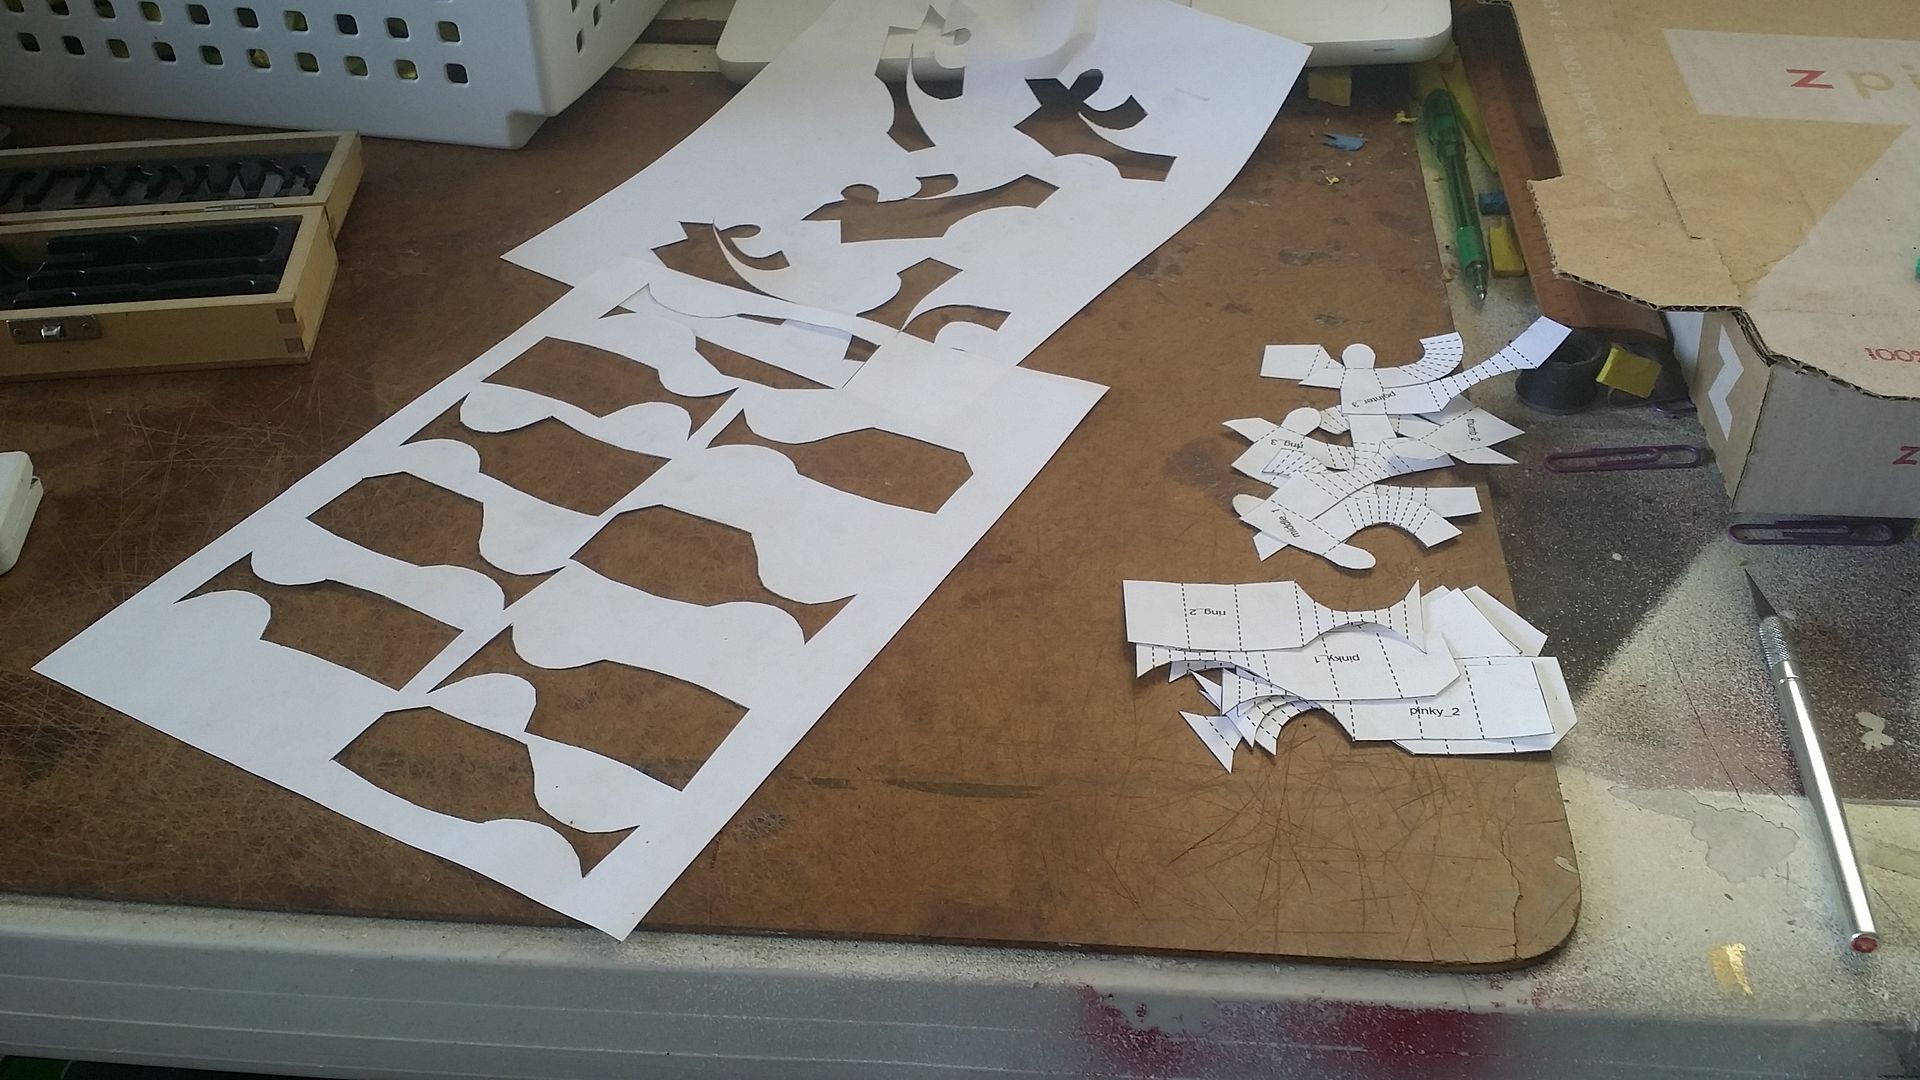
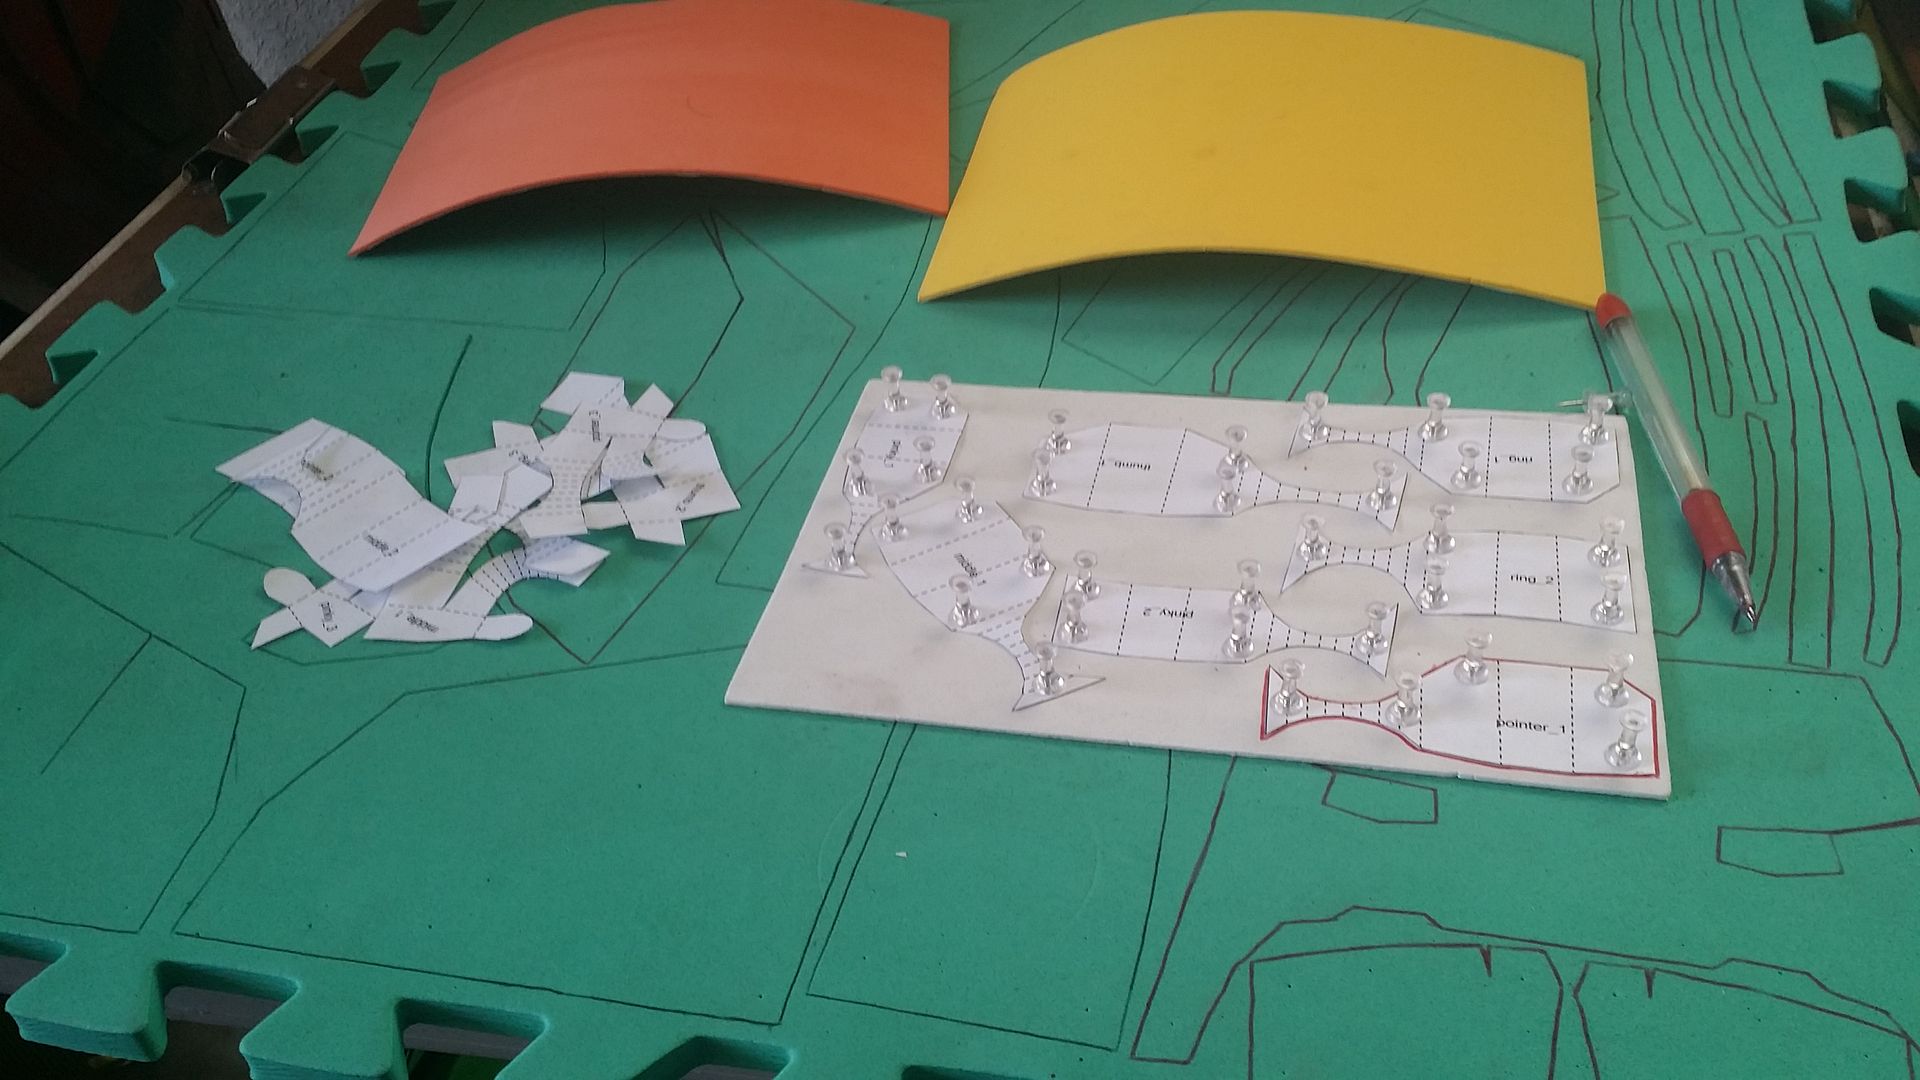

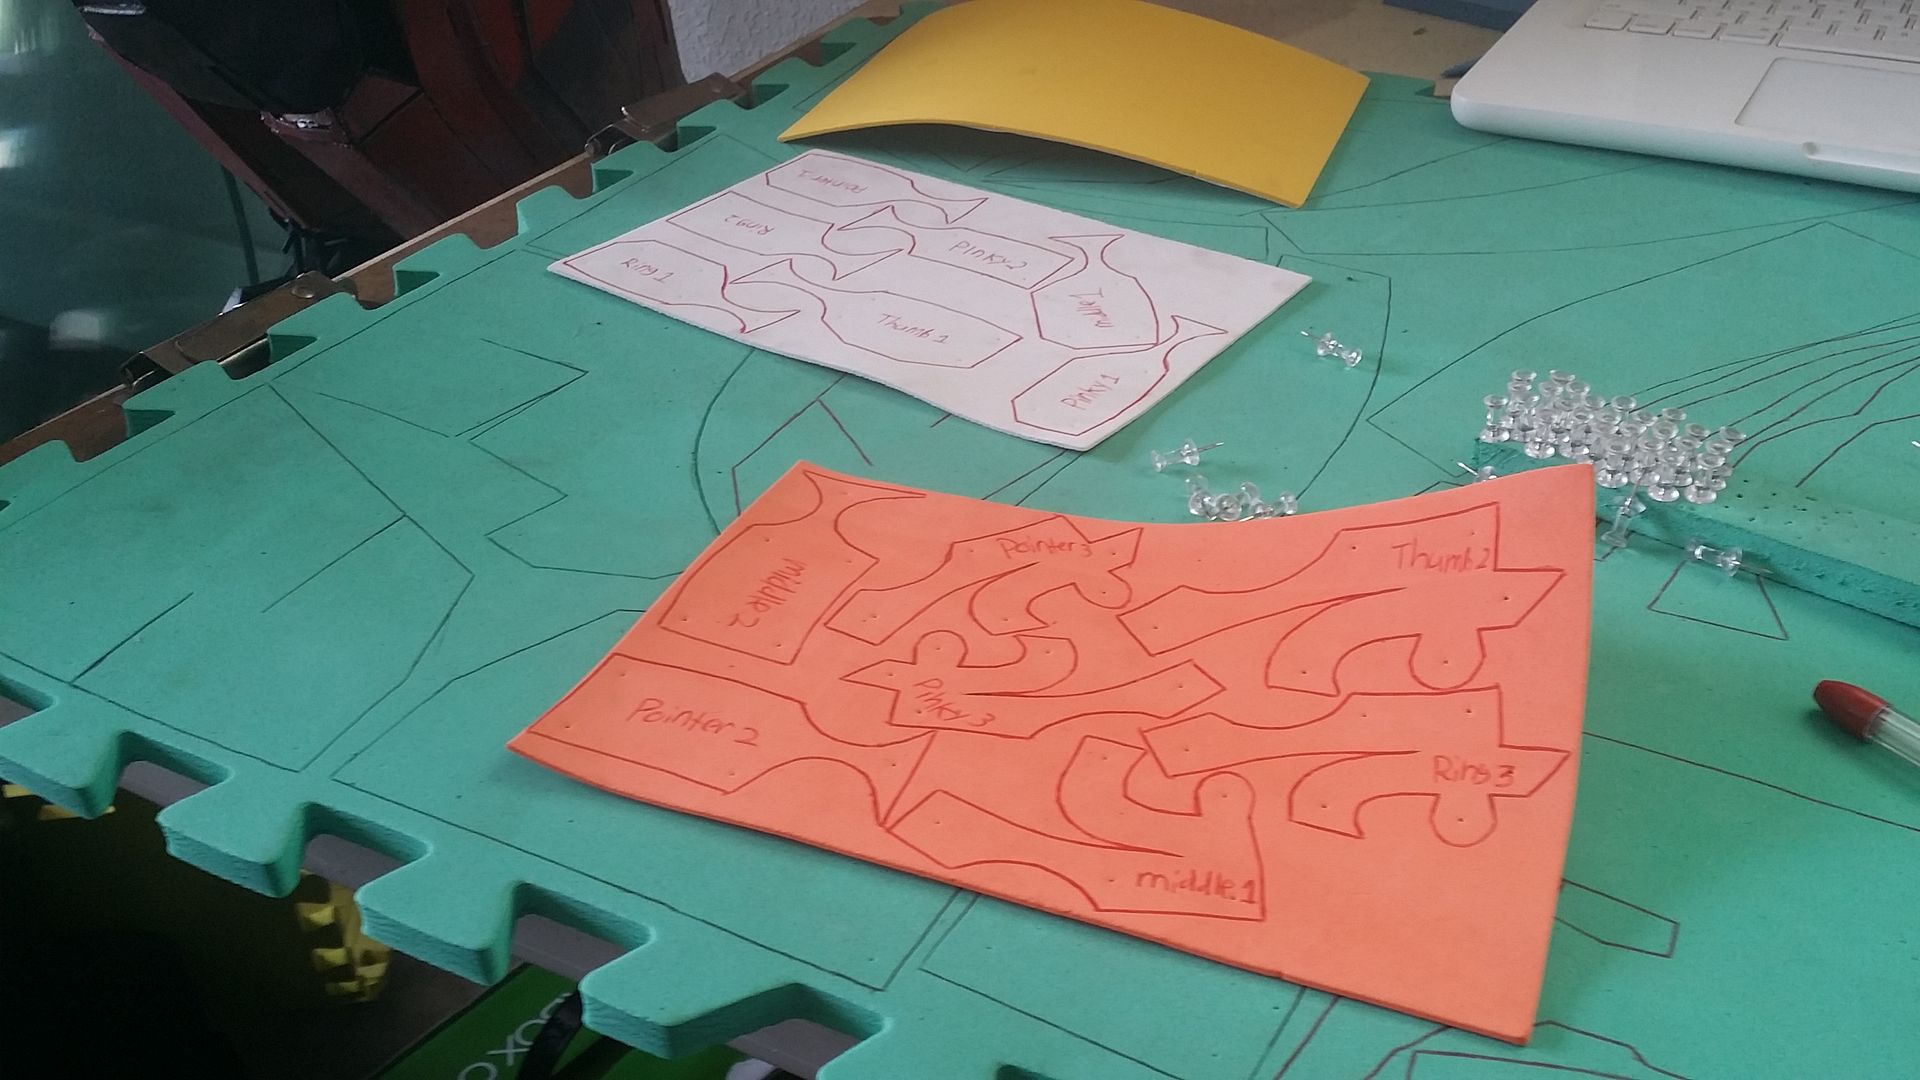
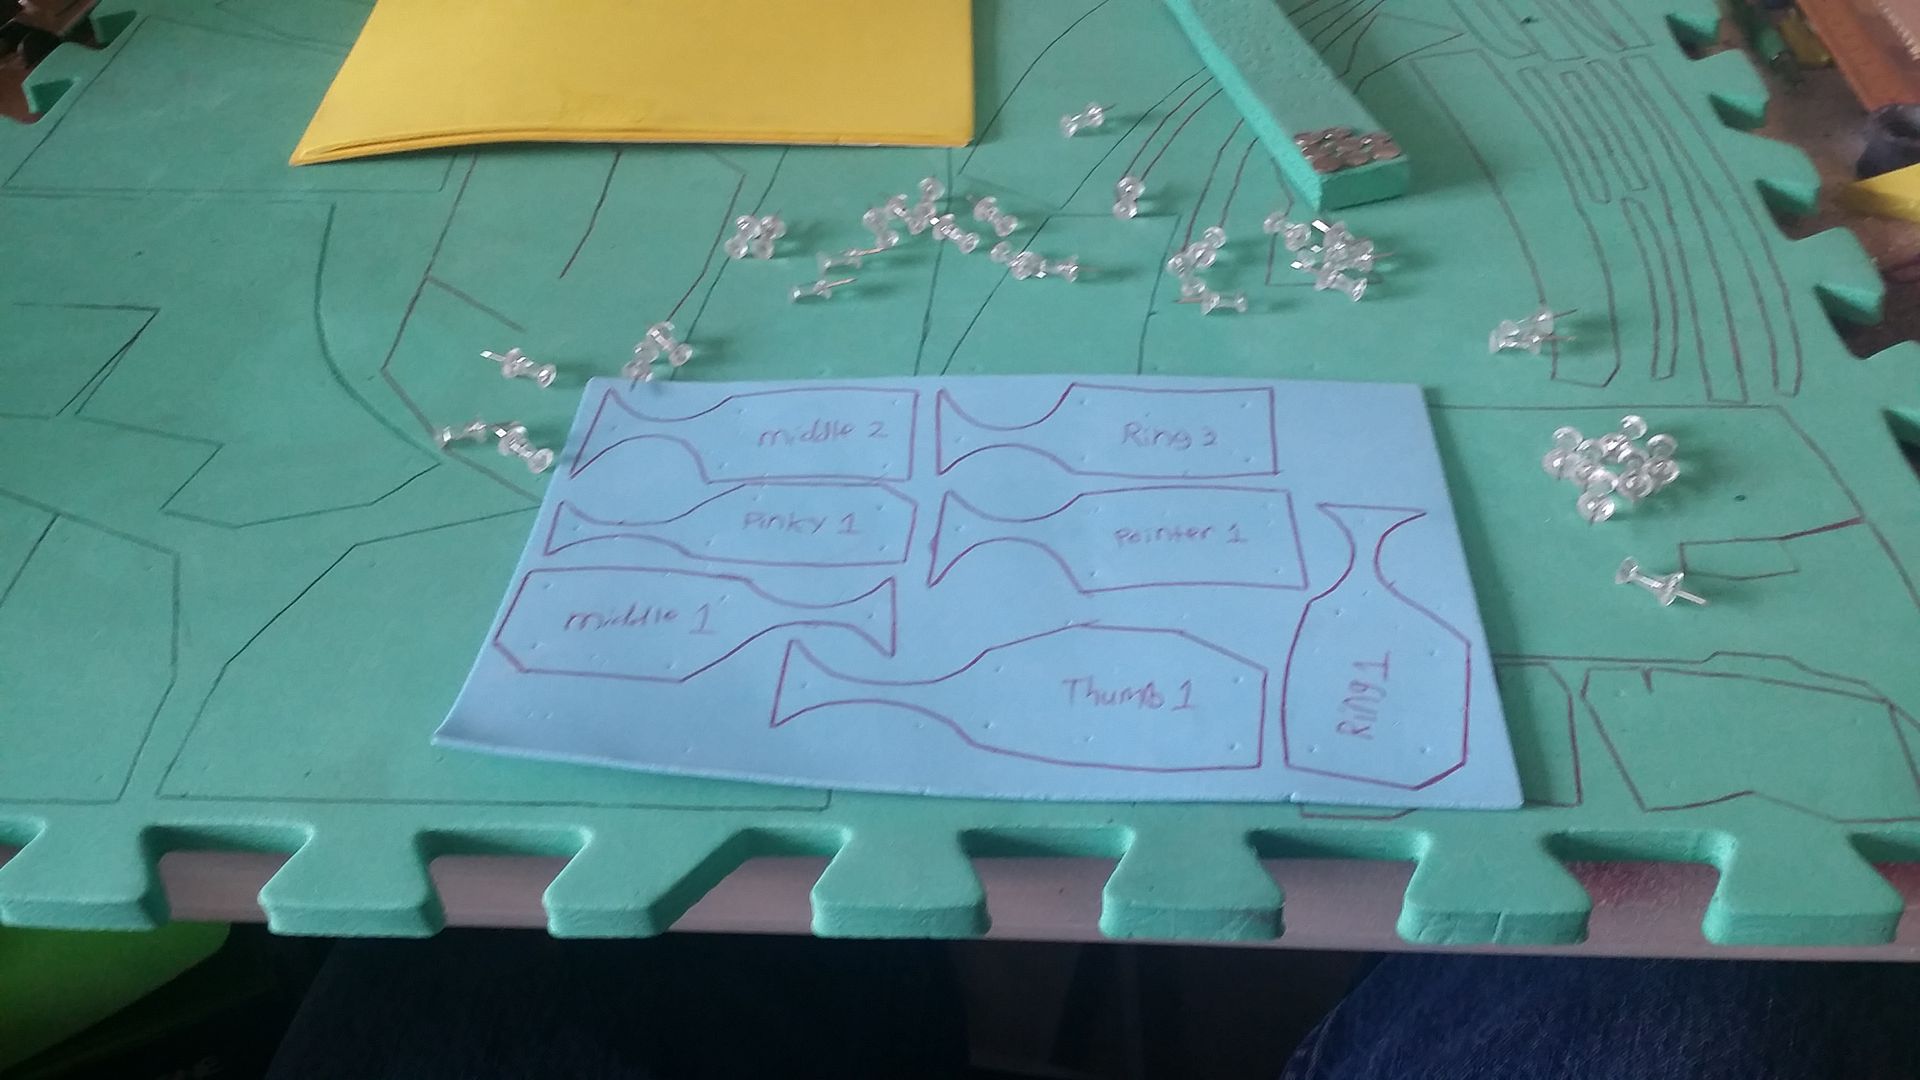
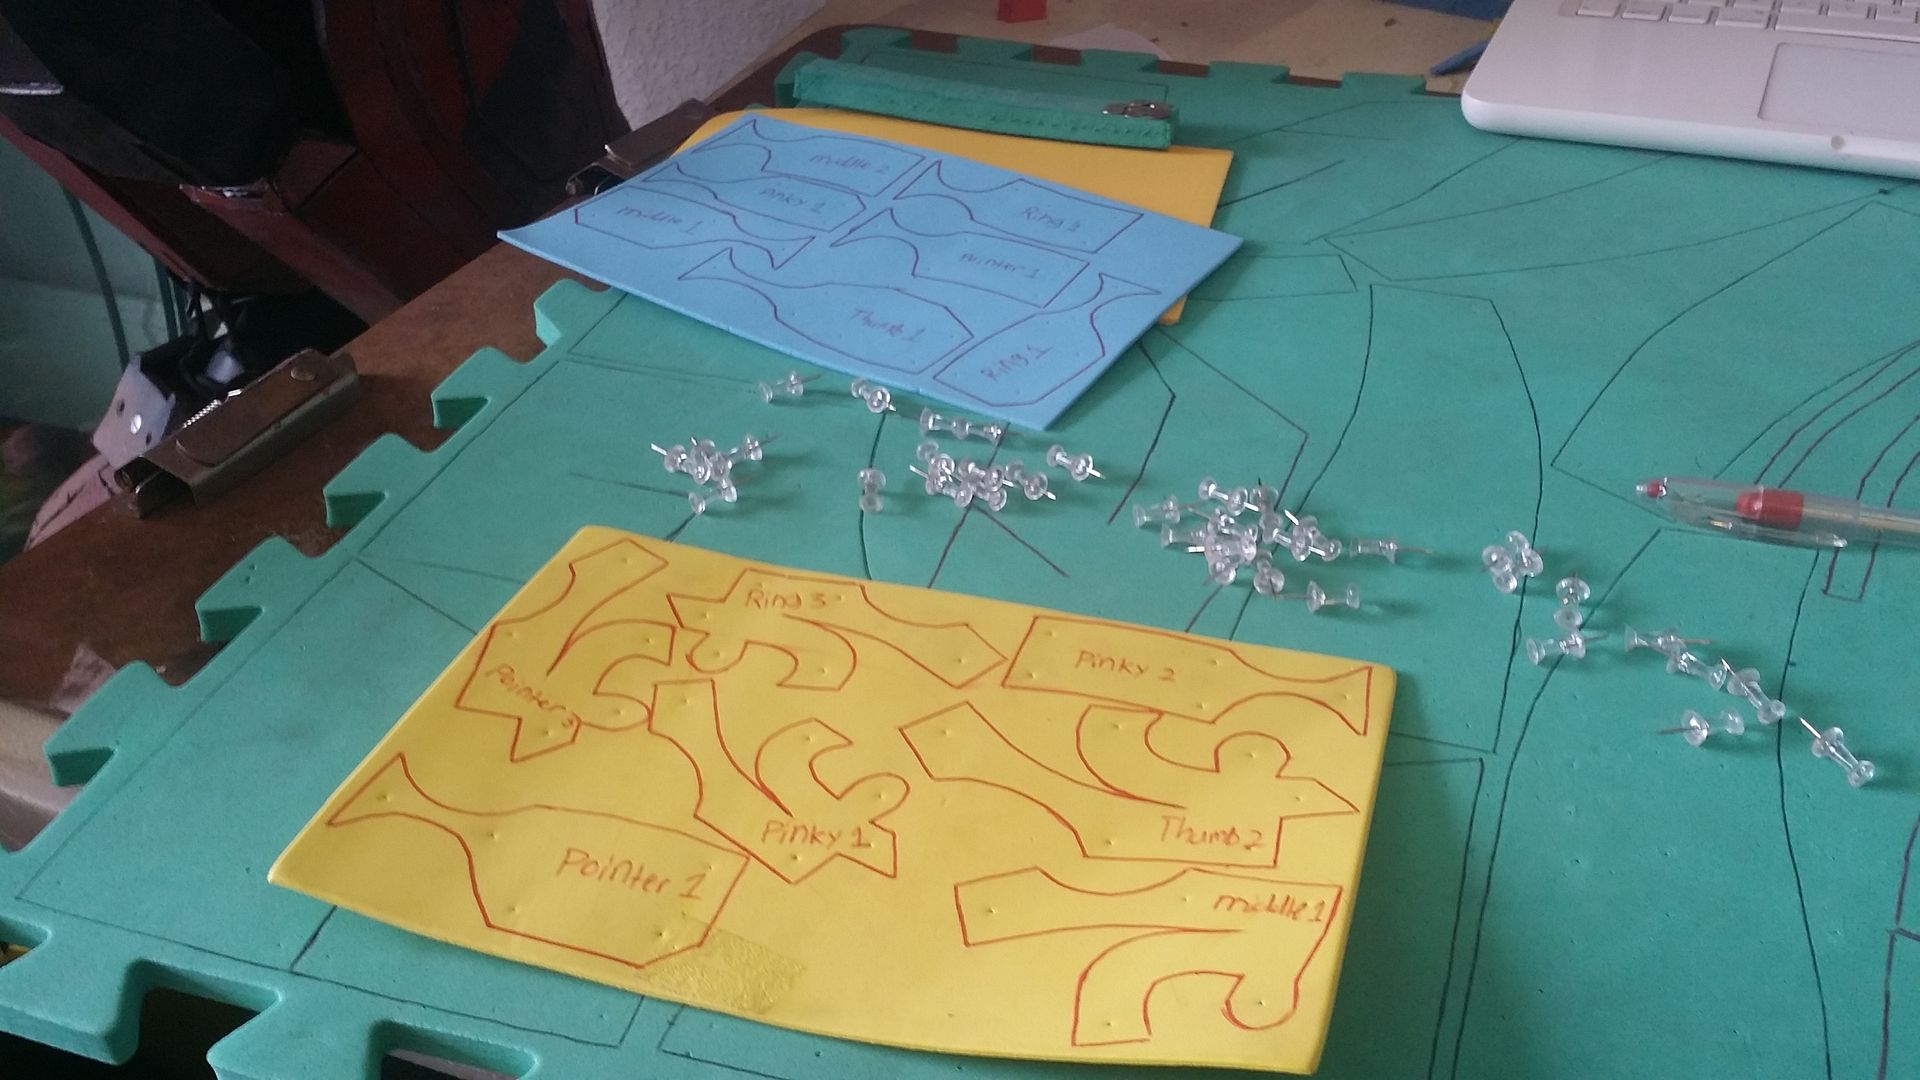
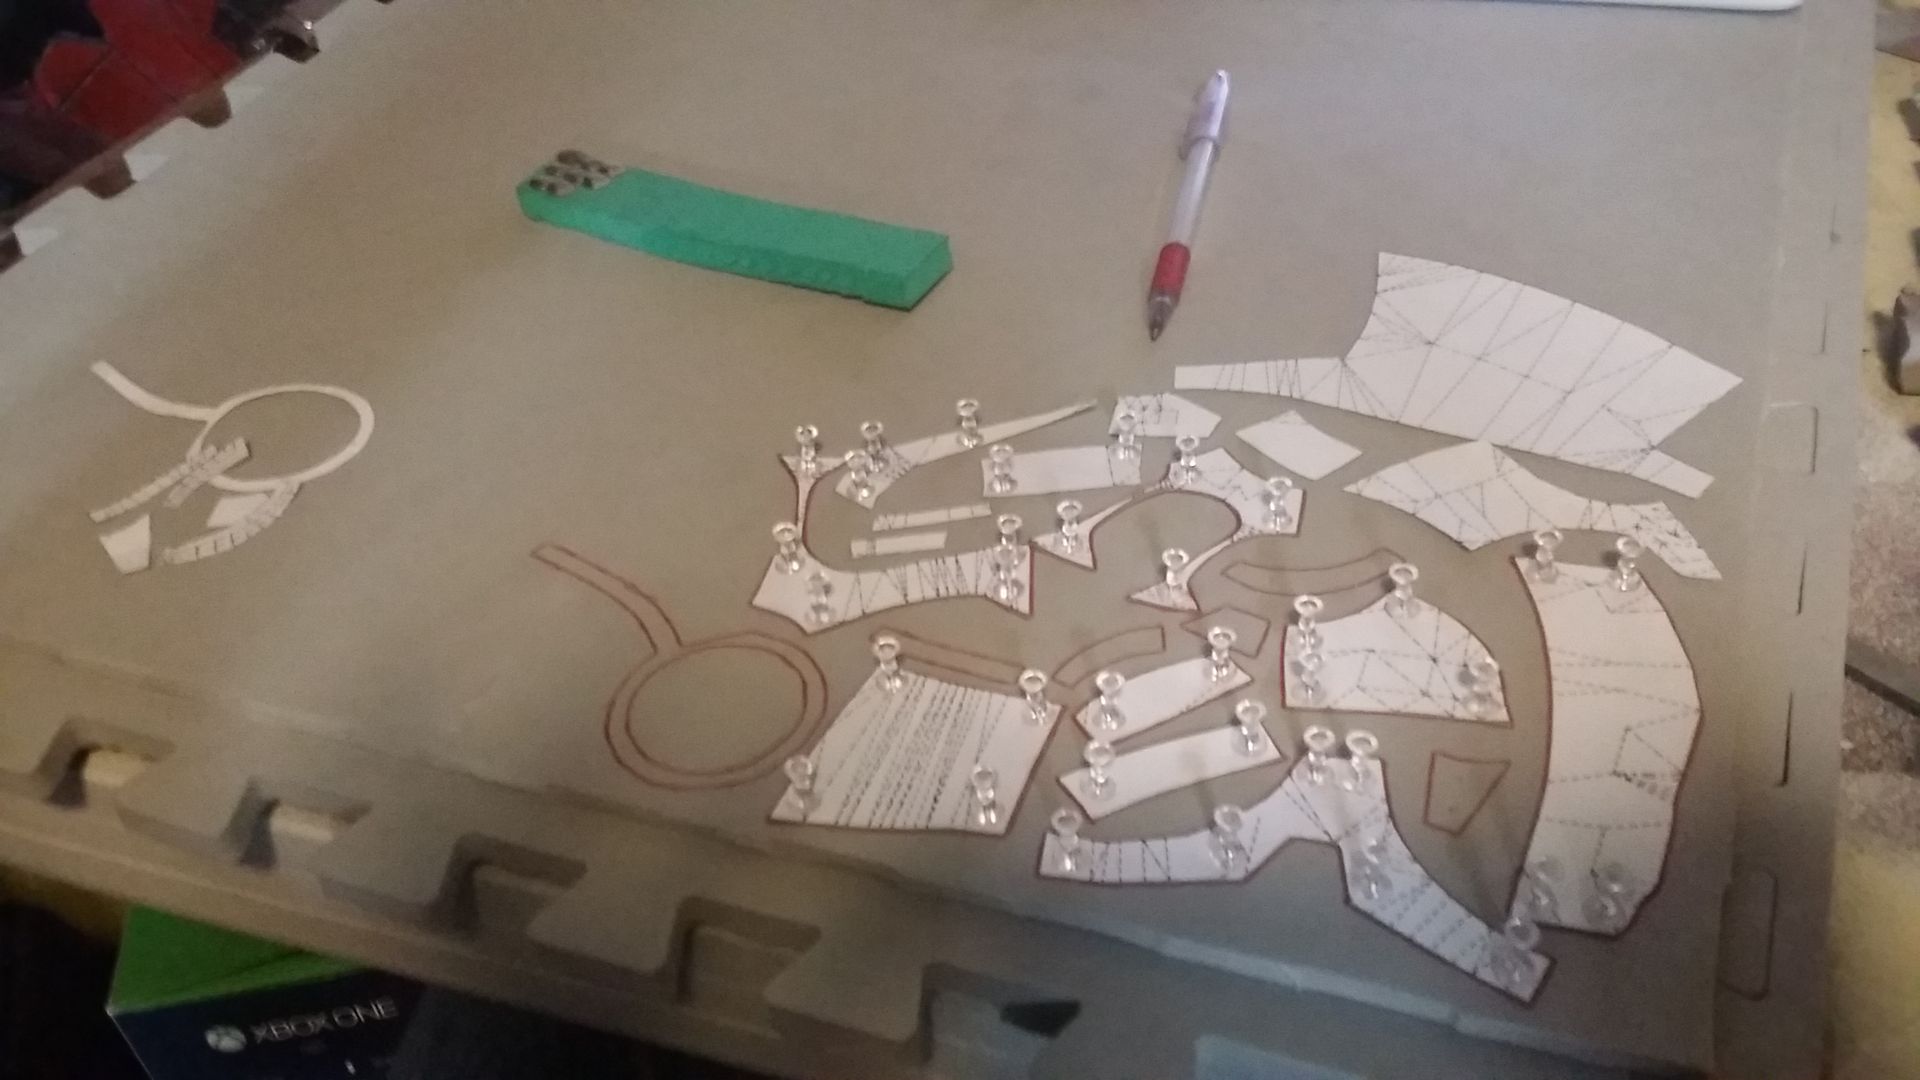
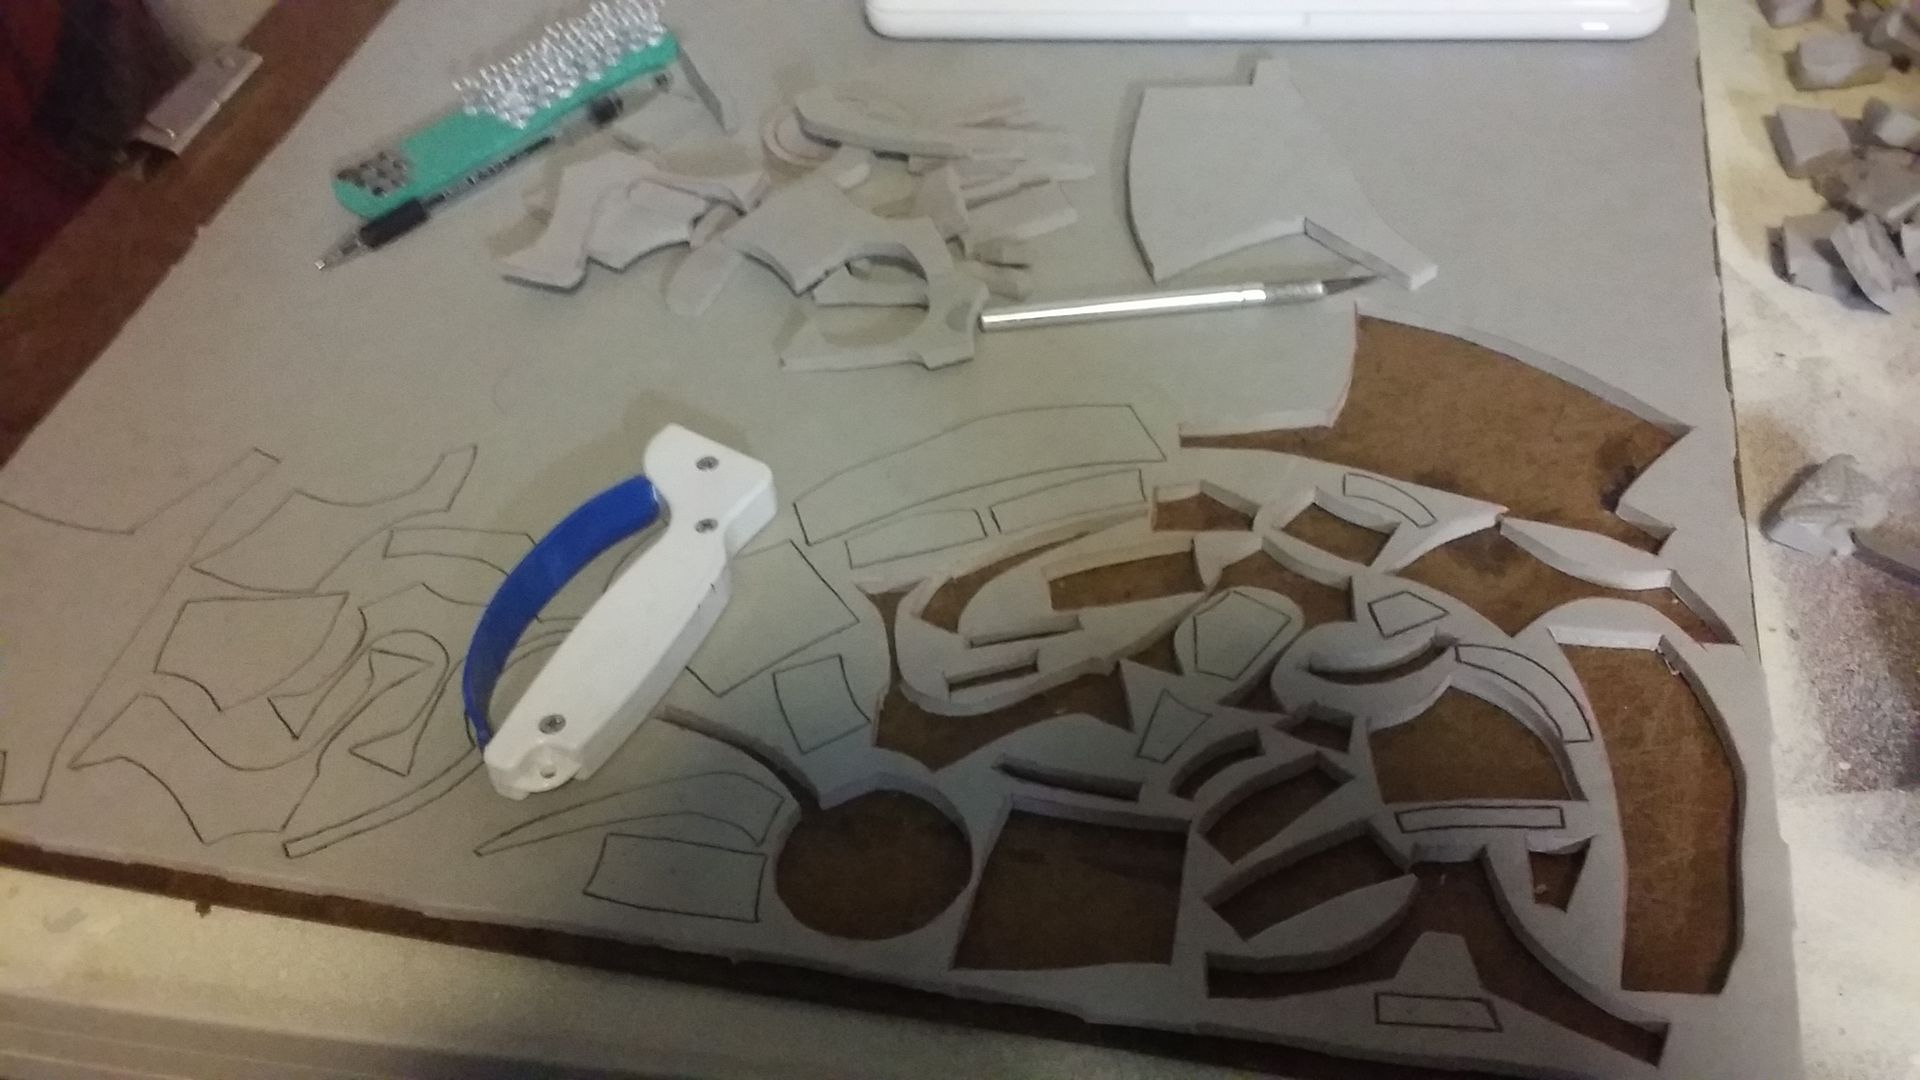
And this time, i made sure that all of them are labeled accordingly, unlike last time. with those traced and ready to be cut, next was the palms. now, as proven by the DISASTER pictured above, foamies isn't going to work for the palms. it's just too thin and fragile. But normal 4 mm foam isn't going to work either, because it's too thick. Thankfully i found a way to sand down the thickness of a sheet of foam. it's a large dremel attachment that i have no recollection of buying, and it turns my normal handheld rotary dremel into... something... either way it has a depth measurement tool, which means i can get a precise measurement. a precise measurement means i can go back and forth over a sheet of foam, sanding down a constant thickness of 2 mm. perfect!
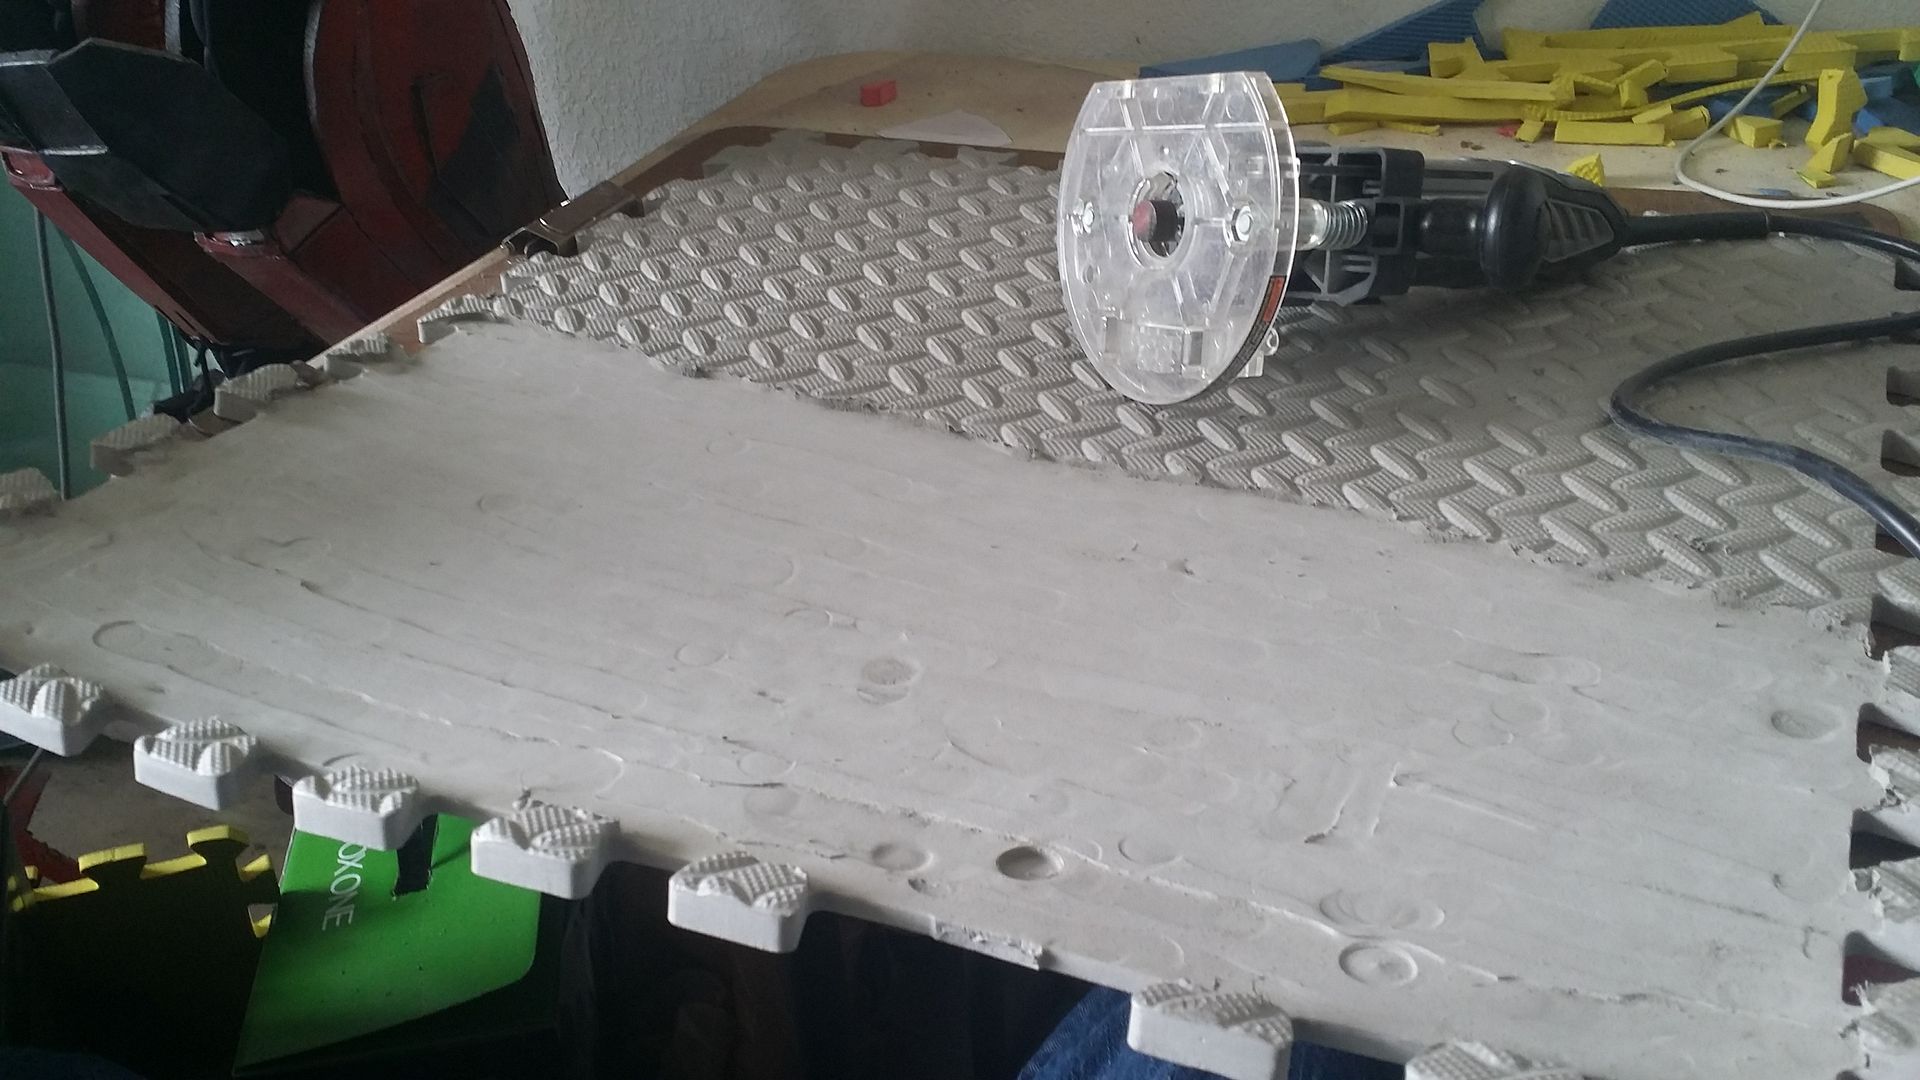
needed to break out the vacuum for the HUGE amount of dust:
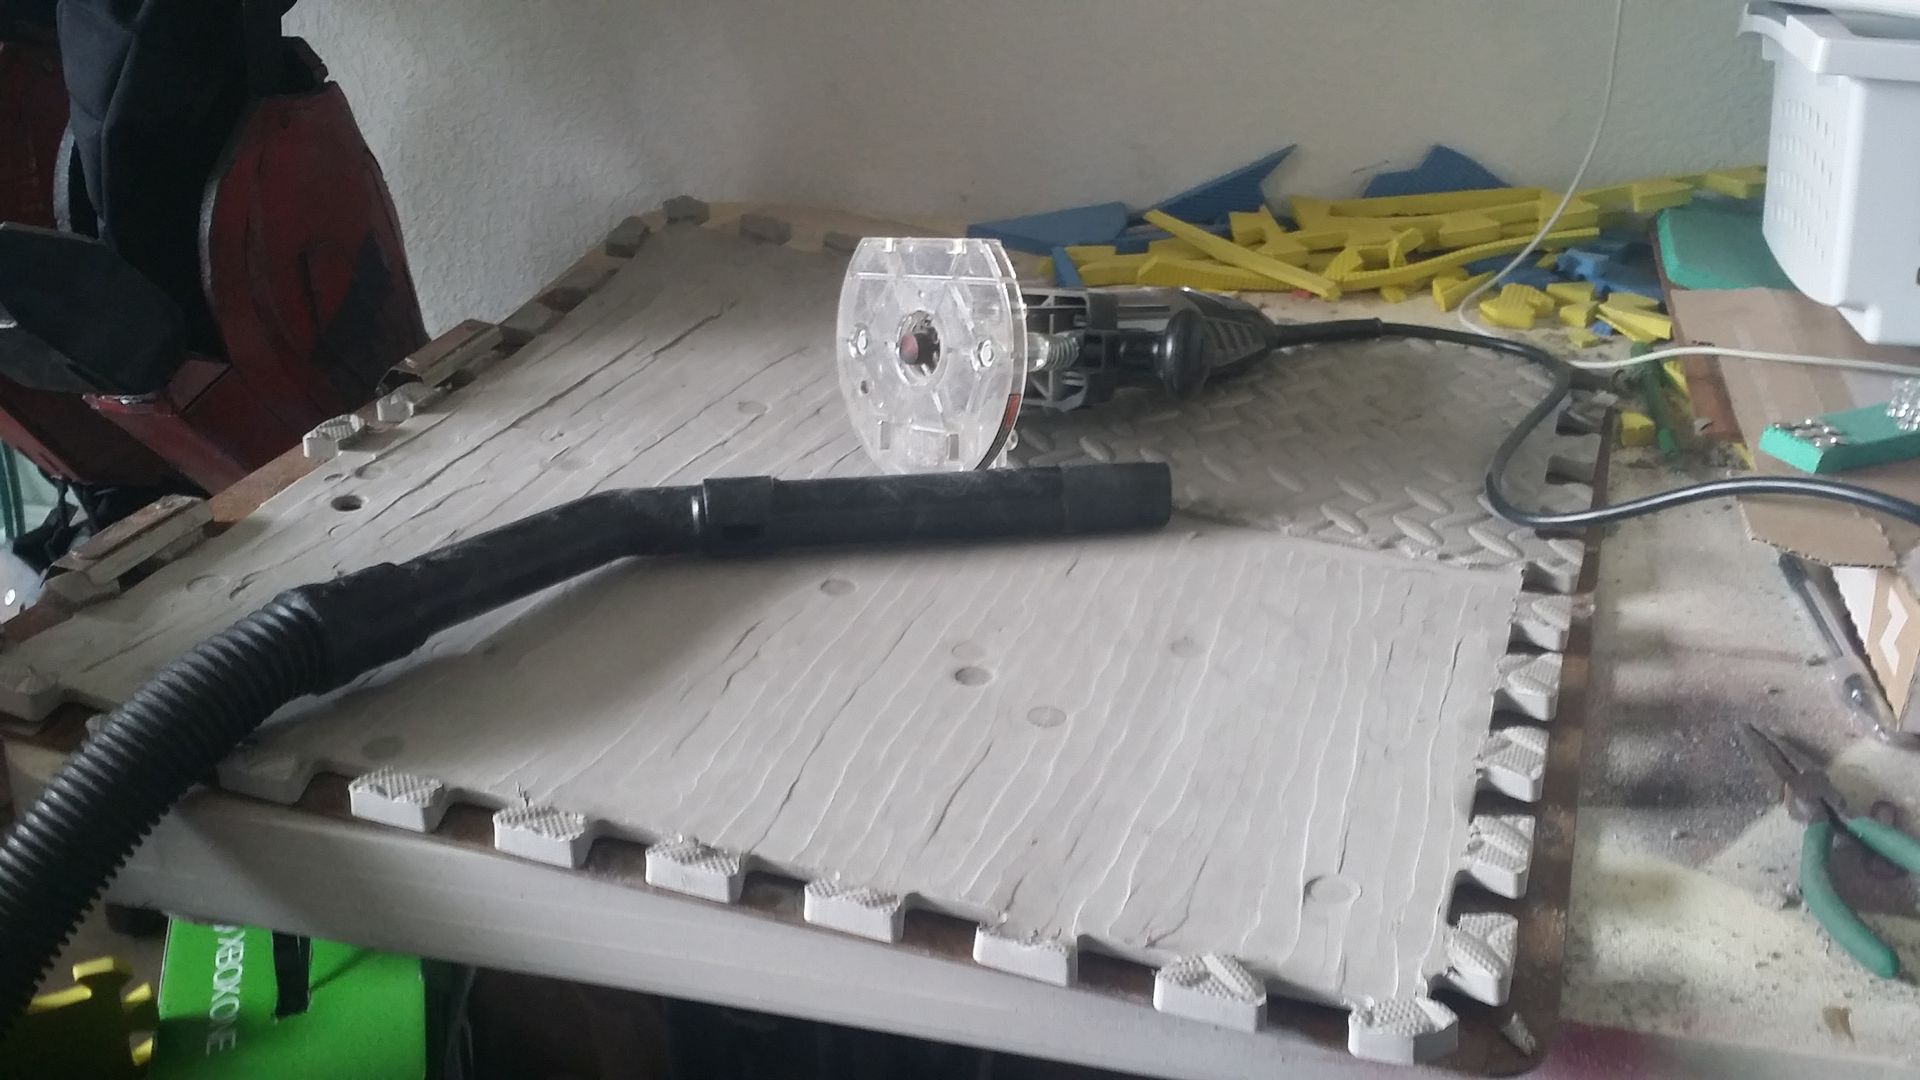
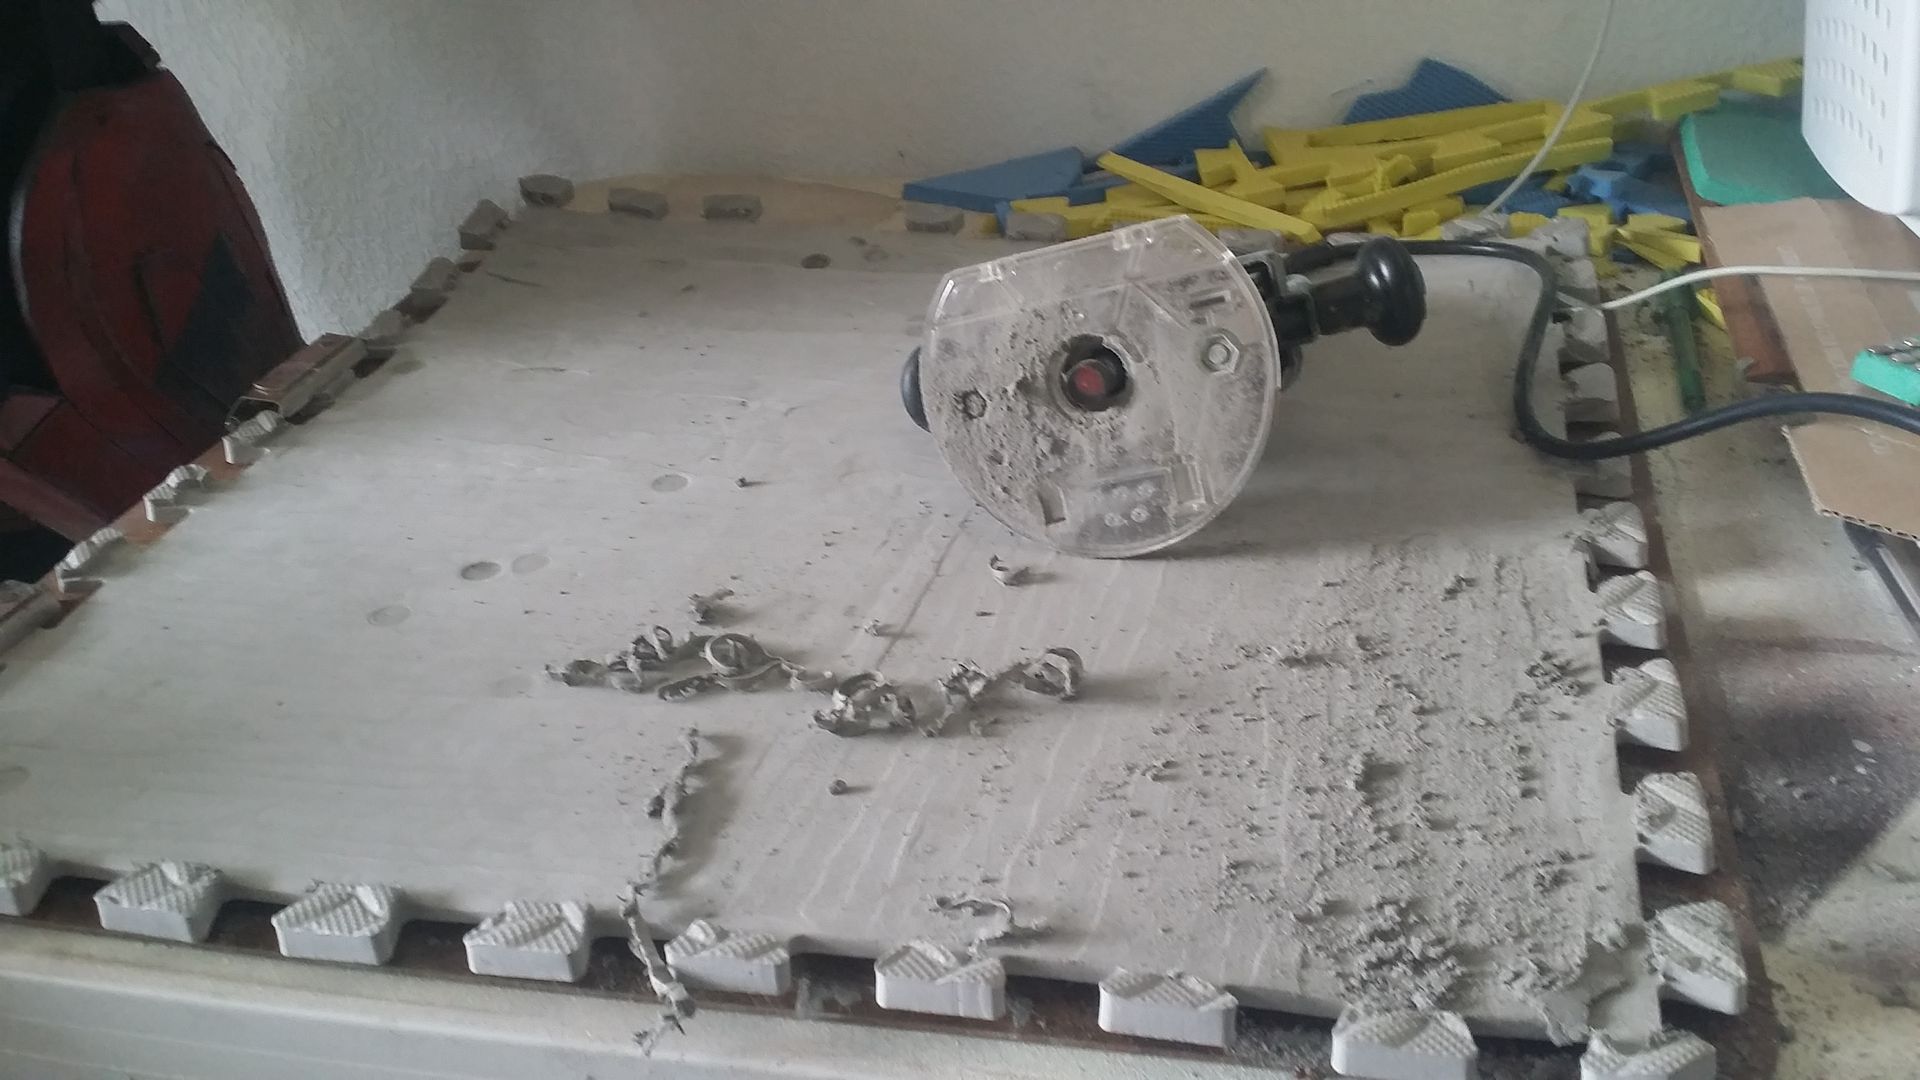
cutting off all the annoying little nubs
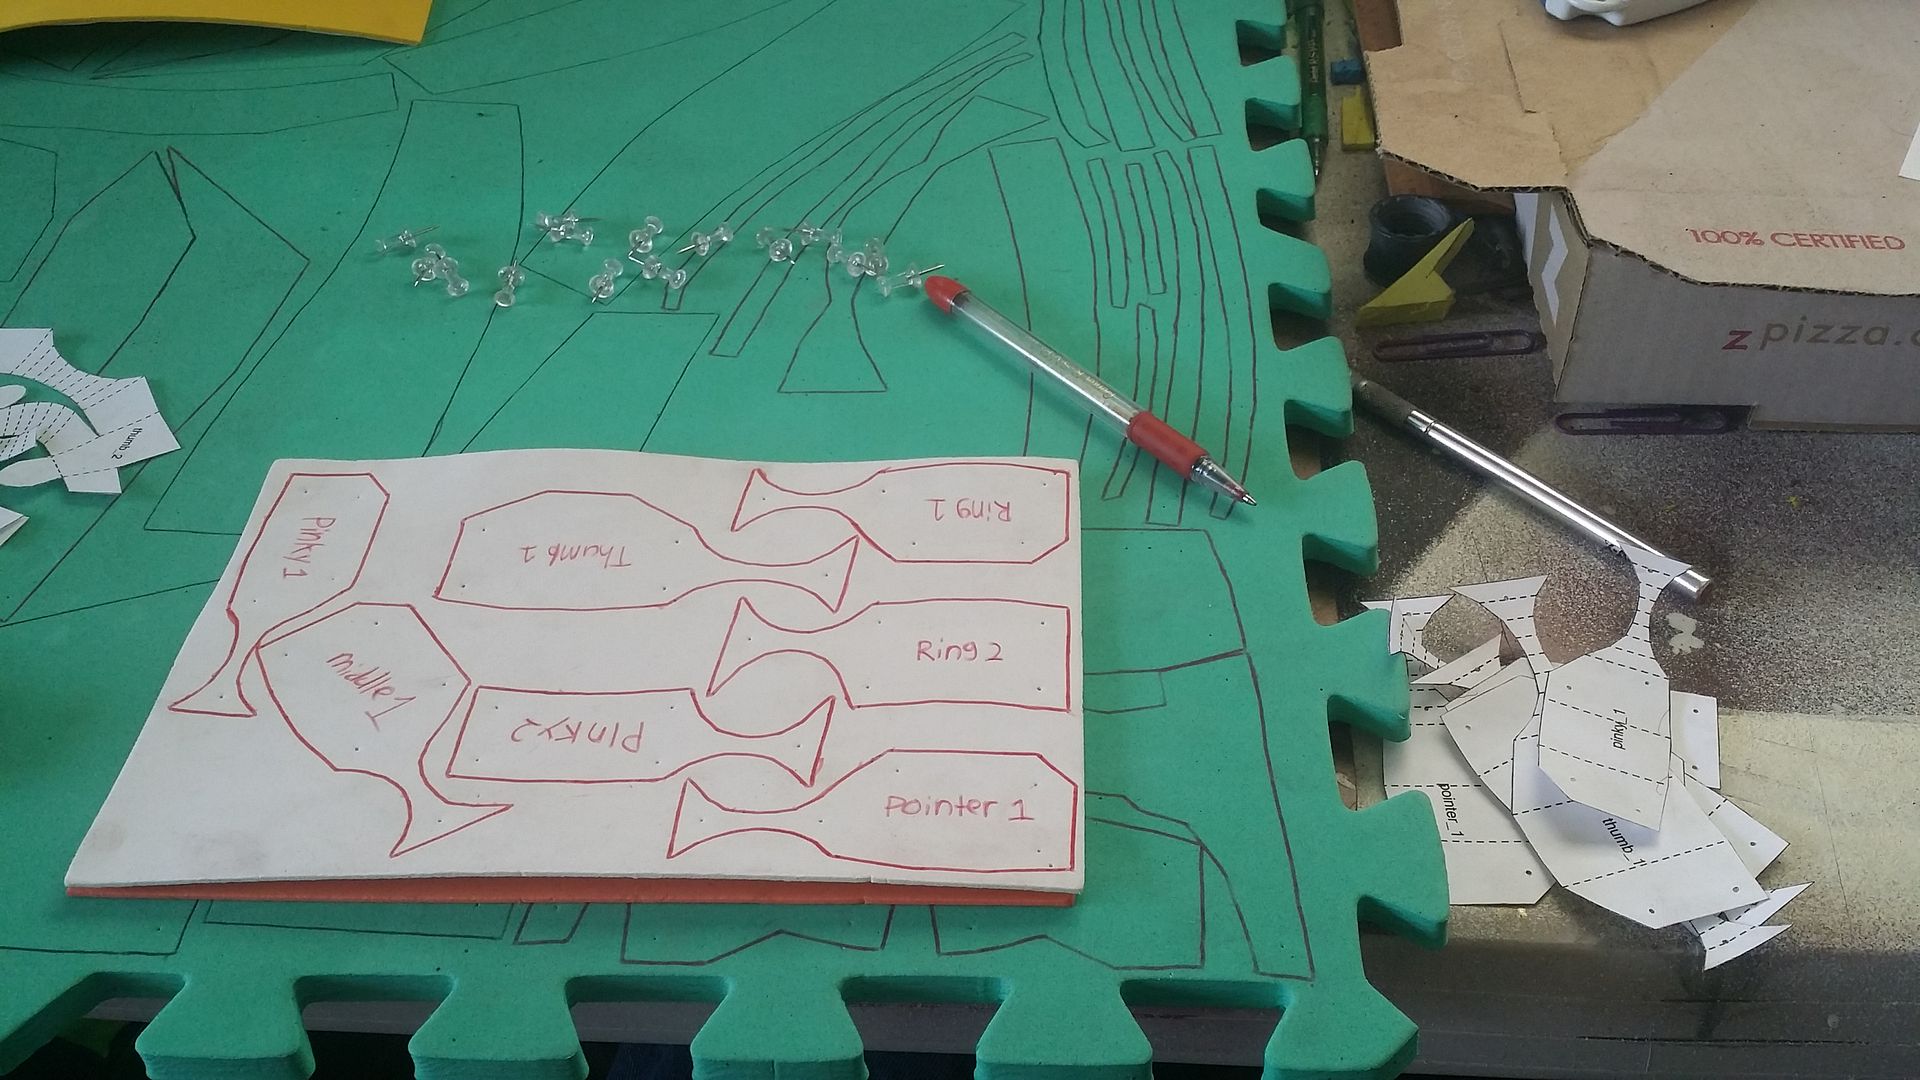
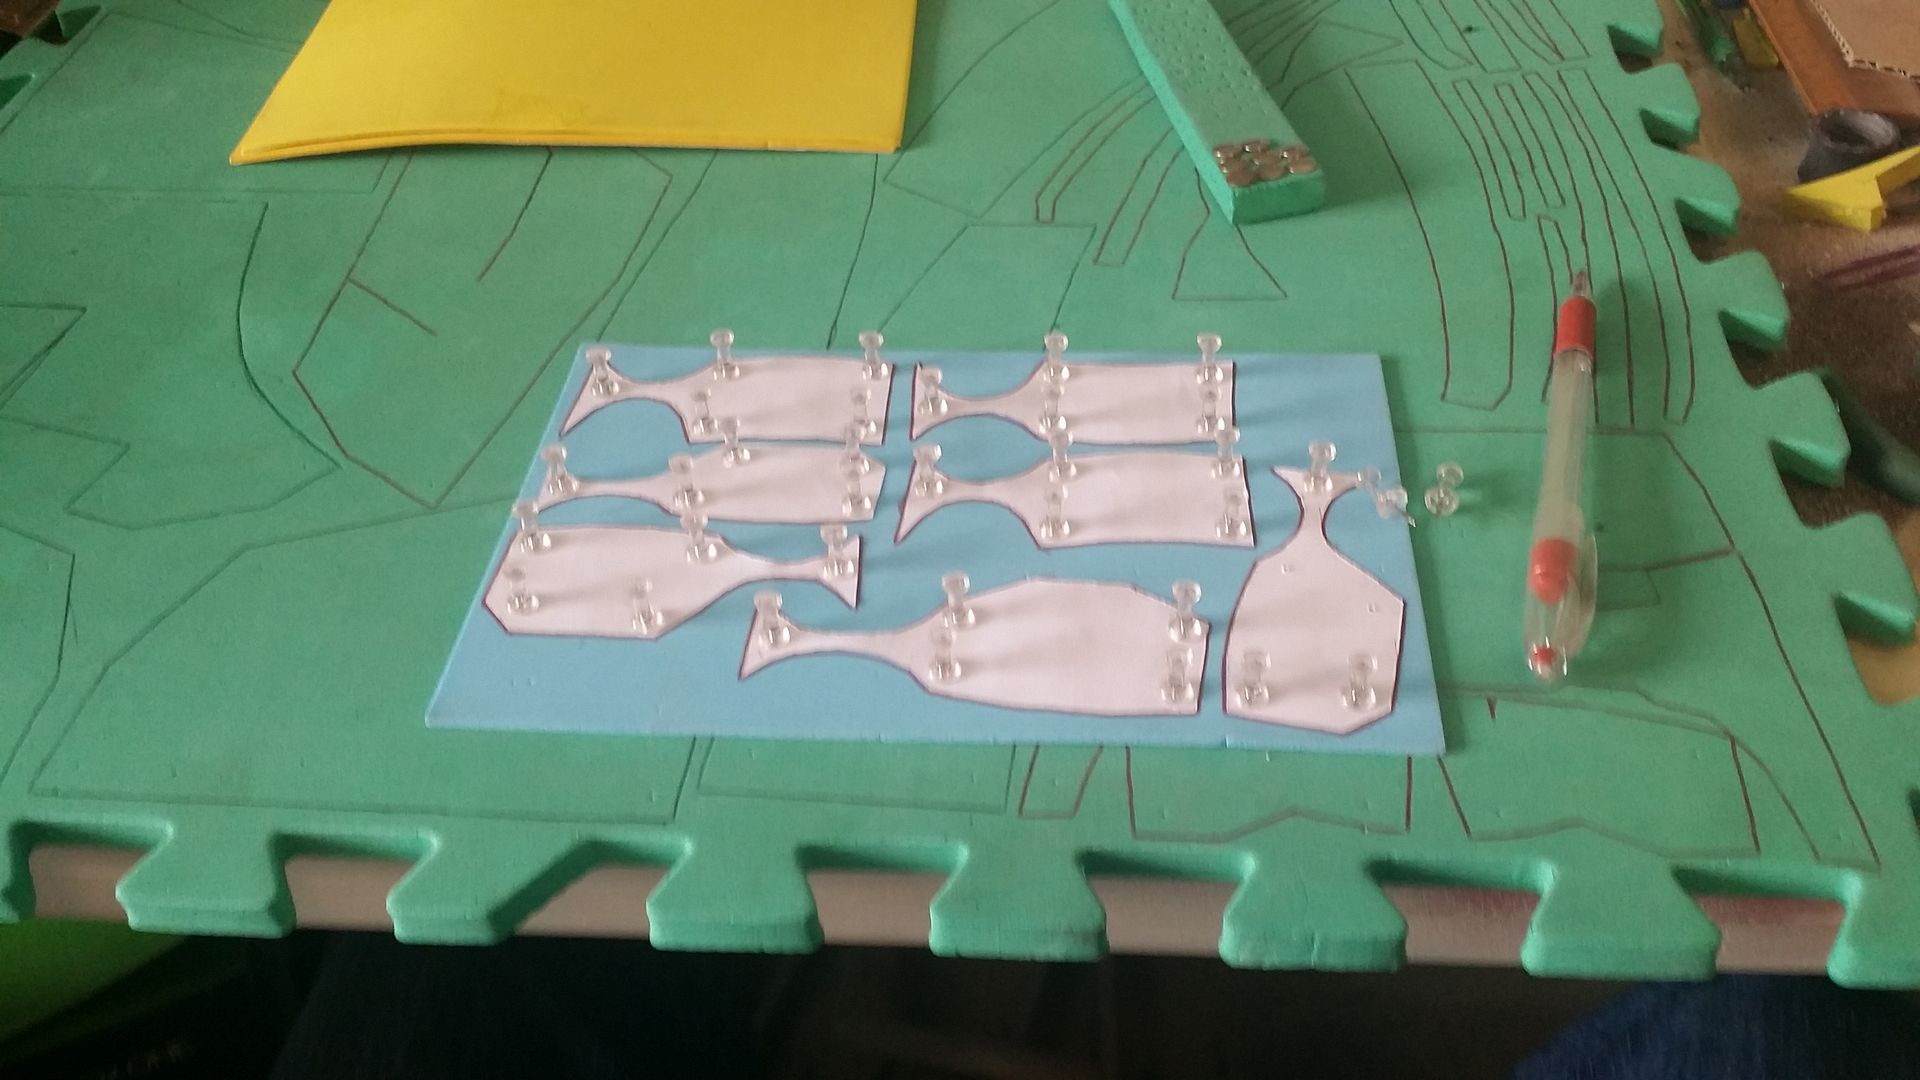
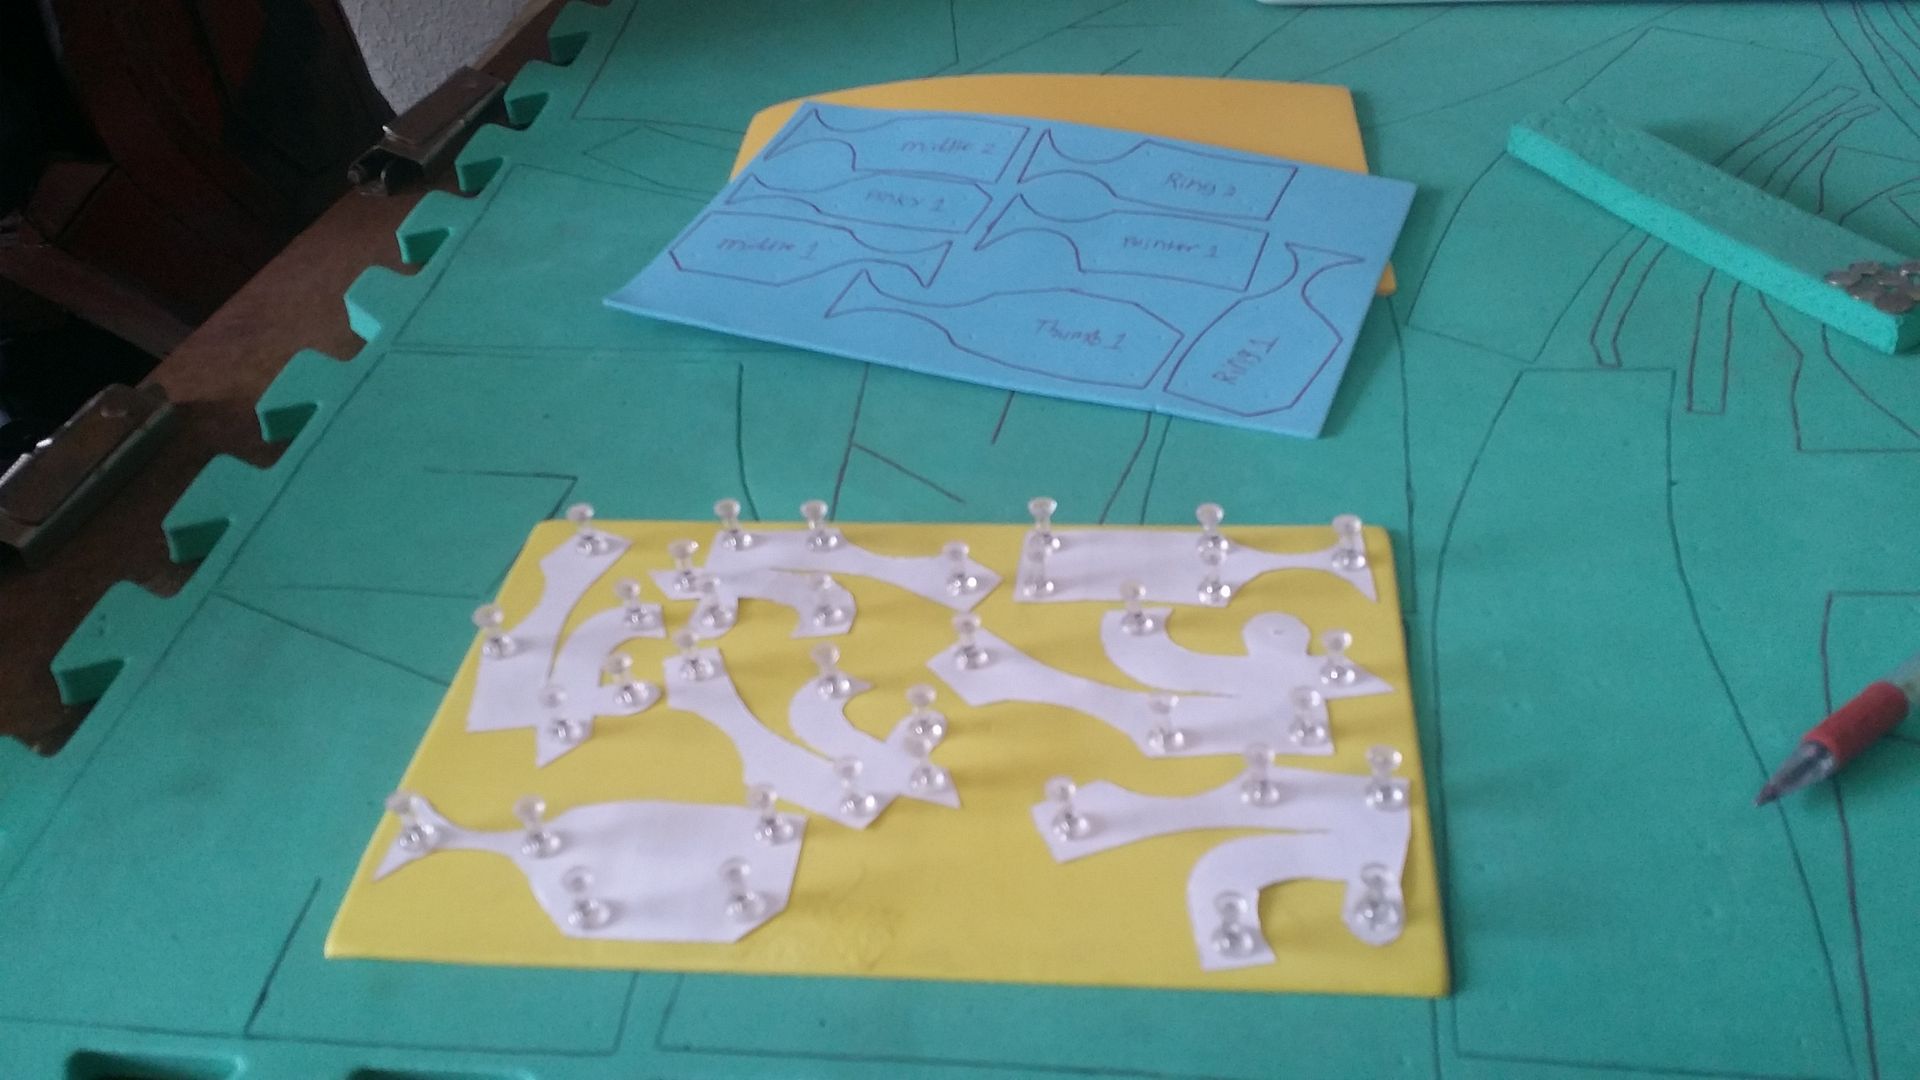
and it worked PERFECTLY! time to cut out and trace the palm pieces:


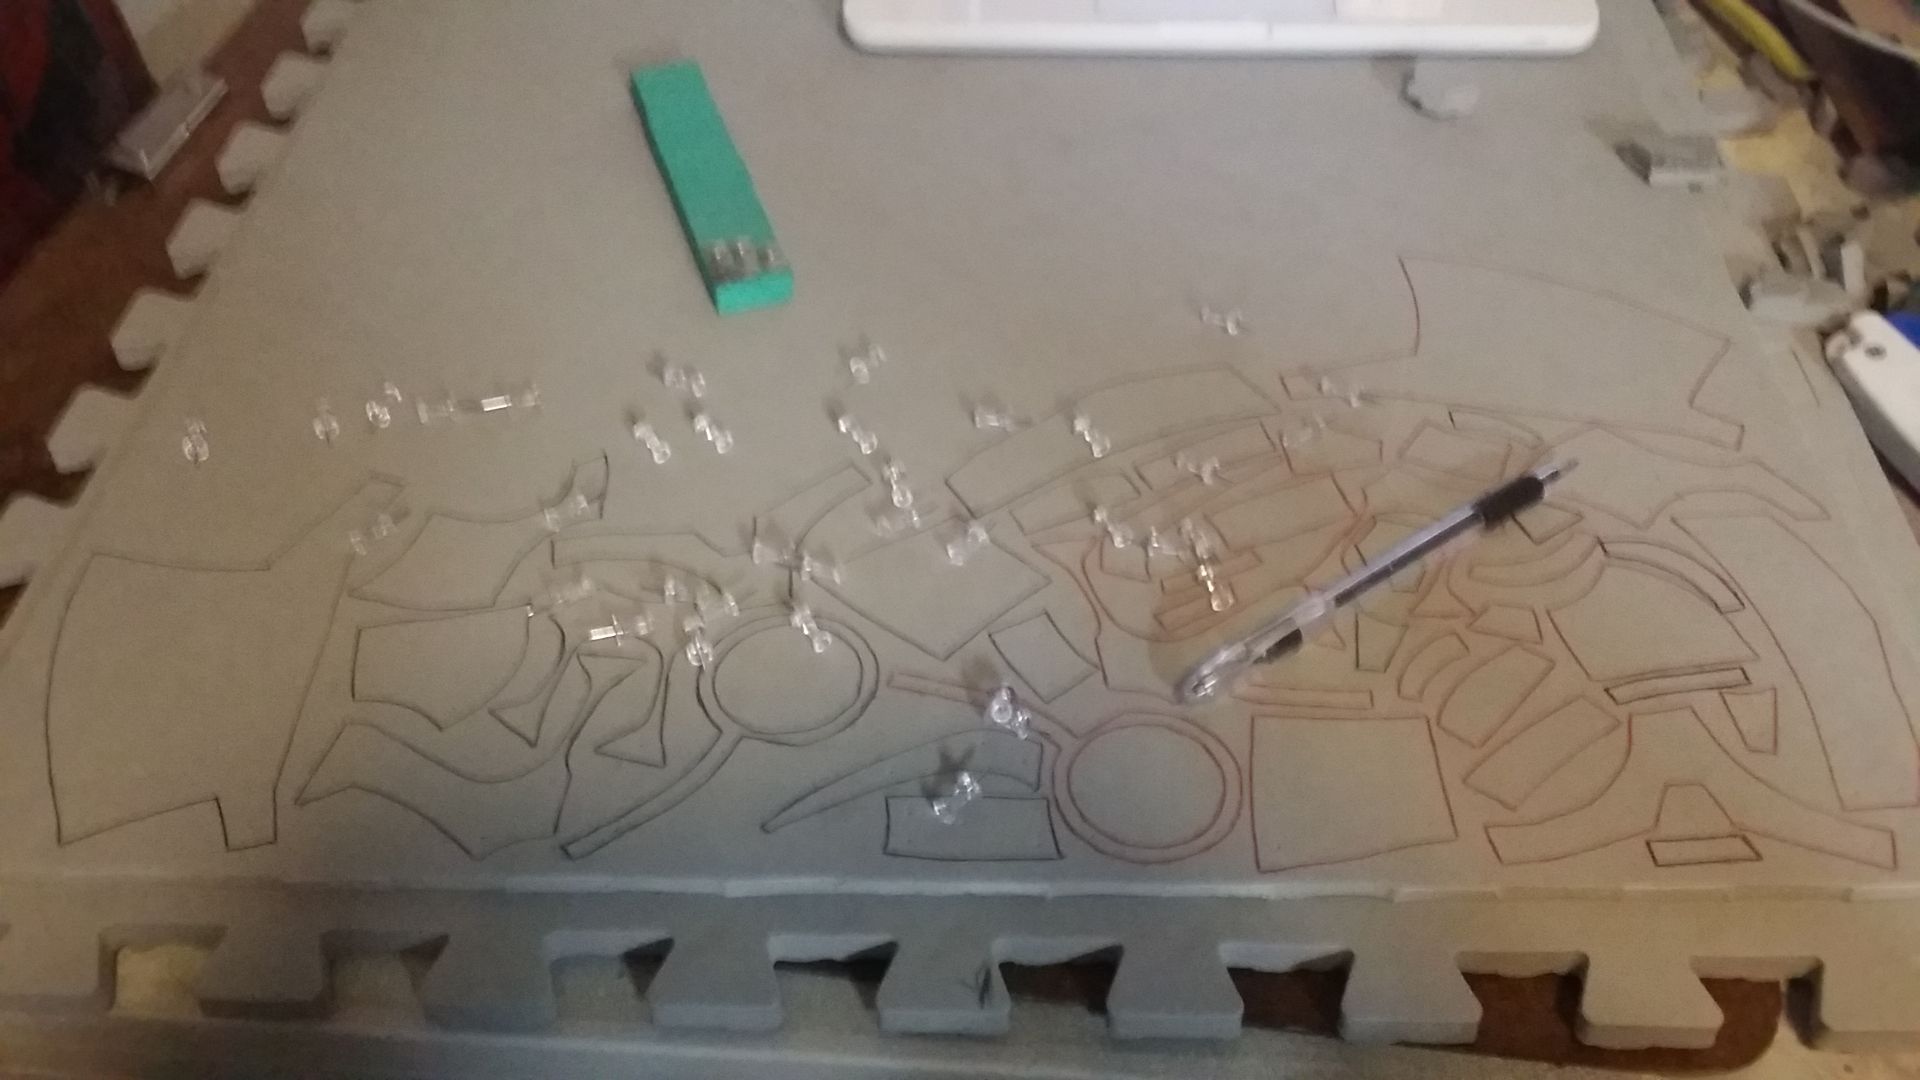
aaaand time to cut!


so! another victory by the seat of my pants! next up, we'll start building with this new half-thickness foam. stay tuned!
No comments:
Post a Comment