SO! on a recent Rooster Teeth Podcast, a Mr. Burnie Burns was introduced to a scientific breakthrough i have come to dub "cyborg sperm" and, in a fit of laughter, begged someone from the community to cosplay as "cyborg sperm" at RTX 2016.
(at around 56:20)
Now, unfortunately, i have pesky little character flaws like "self respect" or "dignity" that prevent me from dressing up as a big sperm cell. However, i am dumb enough to waste money making a scale model to give to Burnie at RTX 2016! so, let's begin, shall we?
(at around 56:20)
Now, unfortunately, i have pesky little character flaws like "self respect" or "dignity" that prevent me from dressing up as a big sperm cell. However, i am dumb enough to waste money making a scale model to give to Burnie at RTX 2016! so, let's begin, shall we?
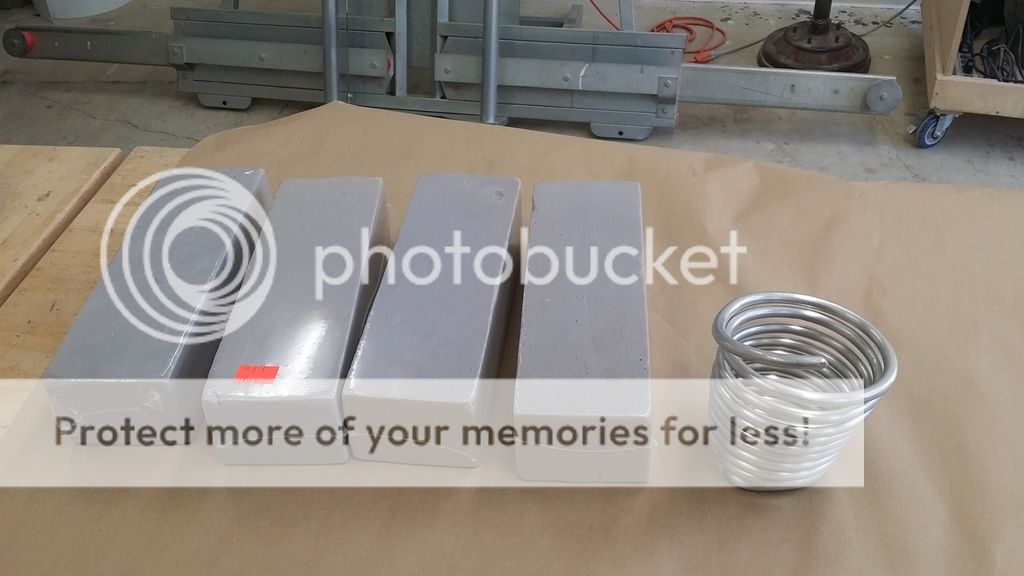
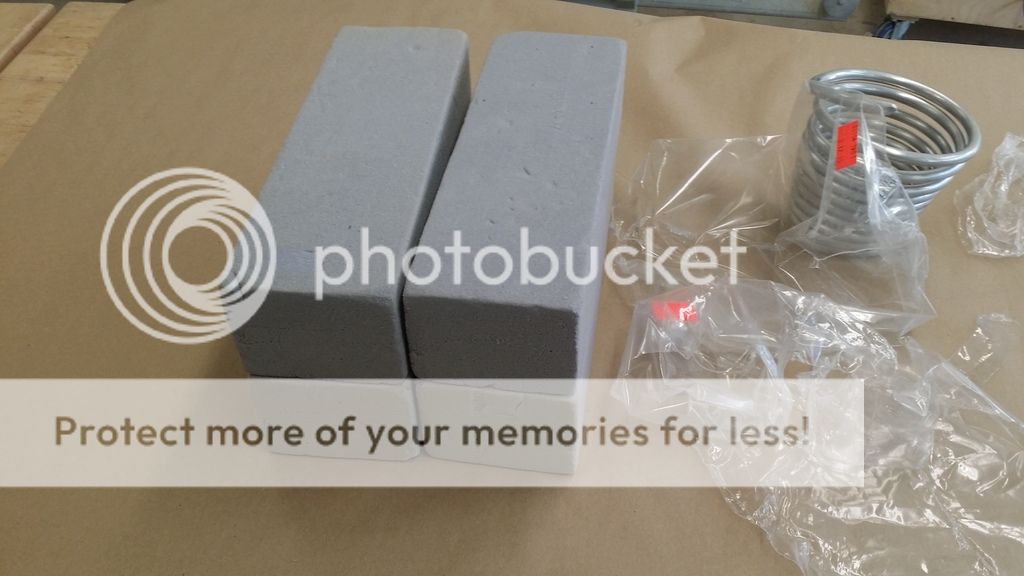
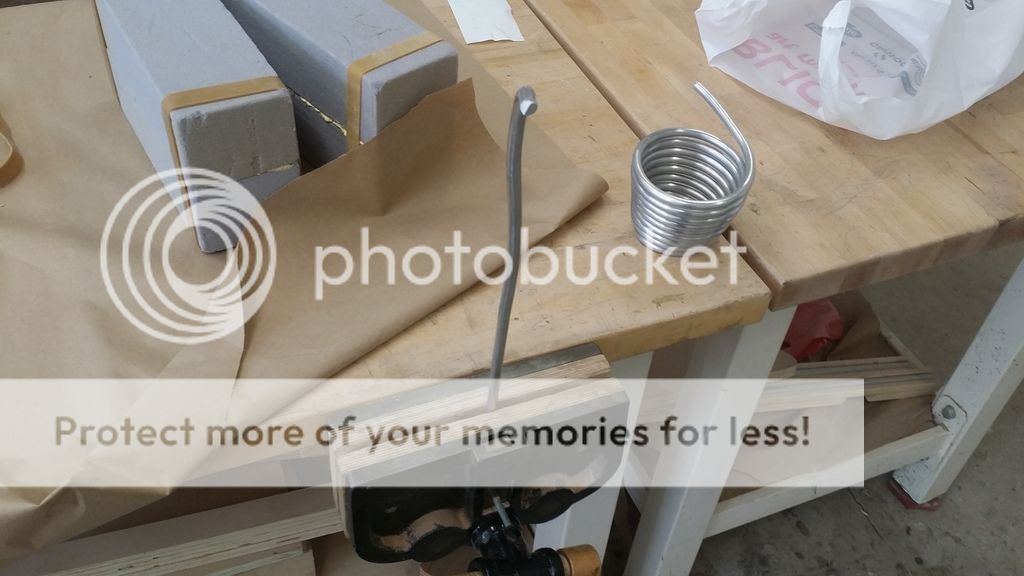
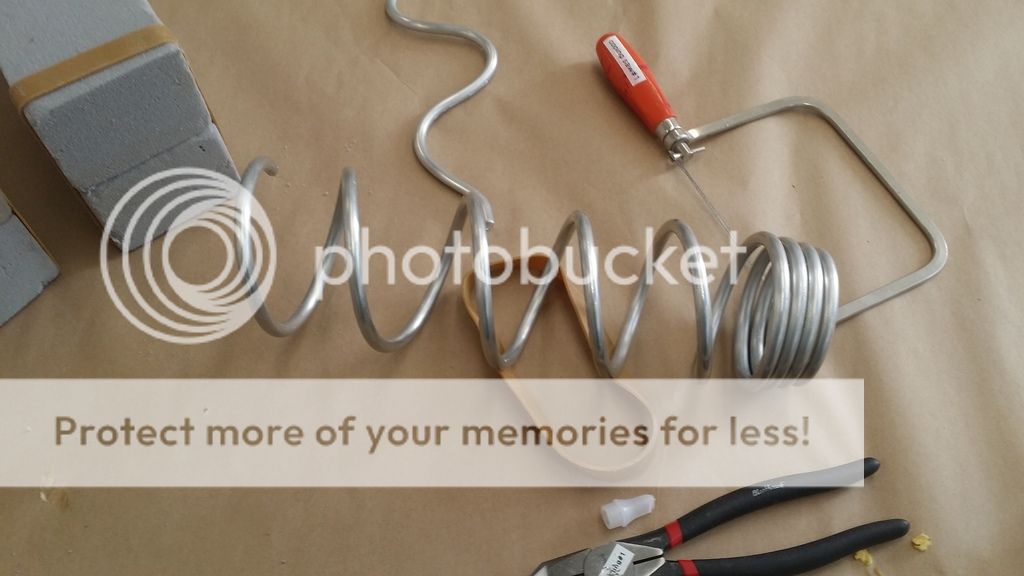
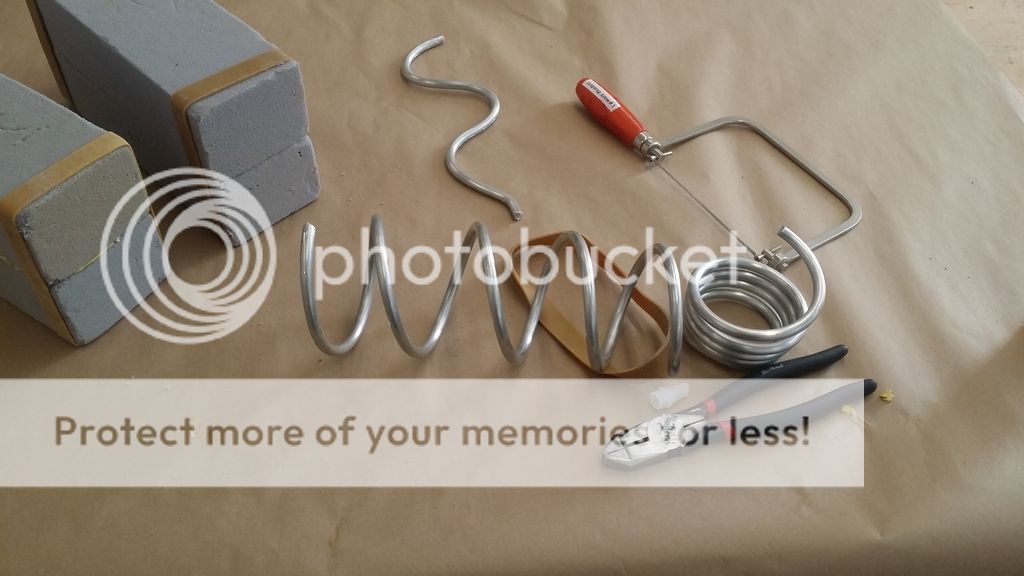
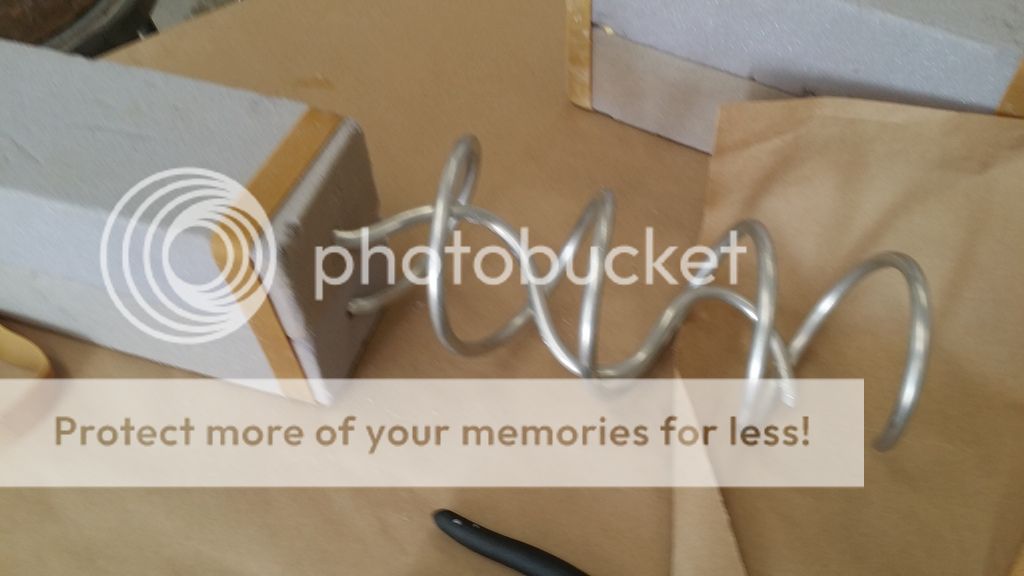
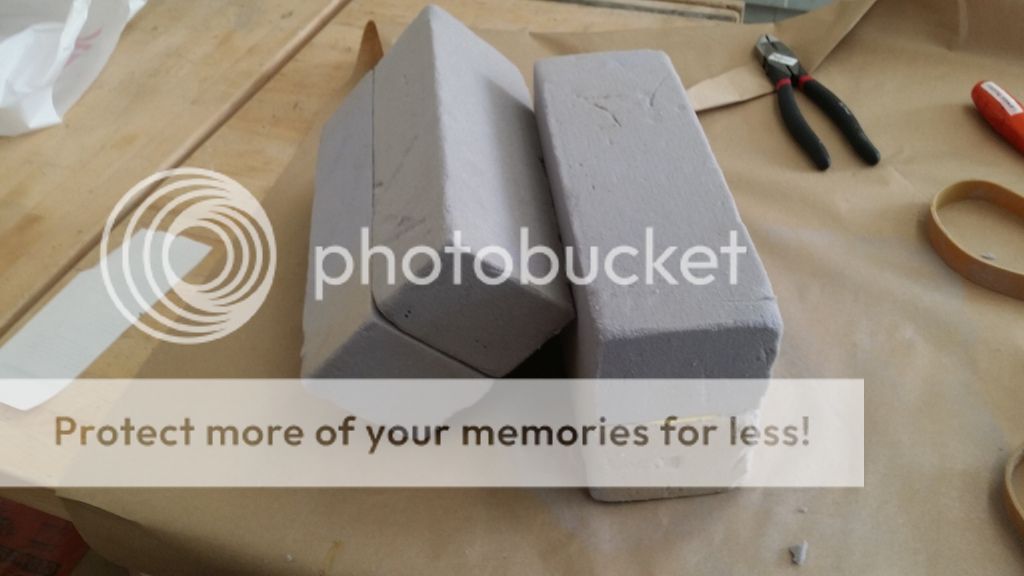
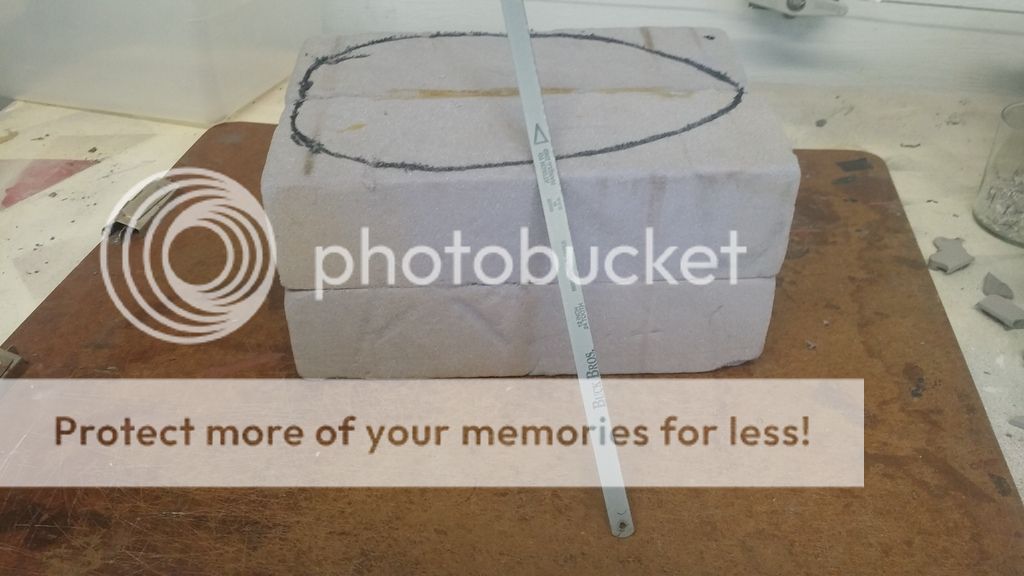
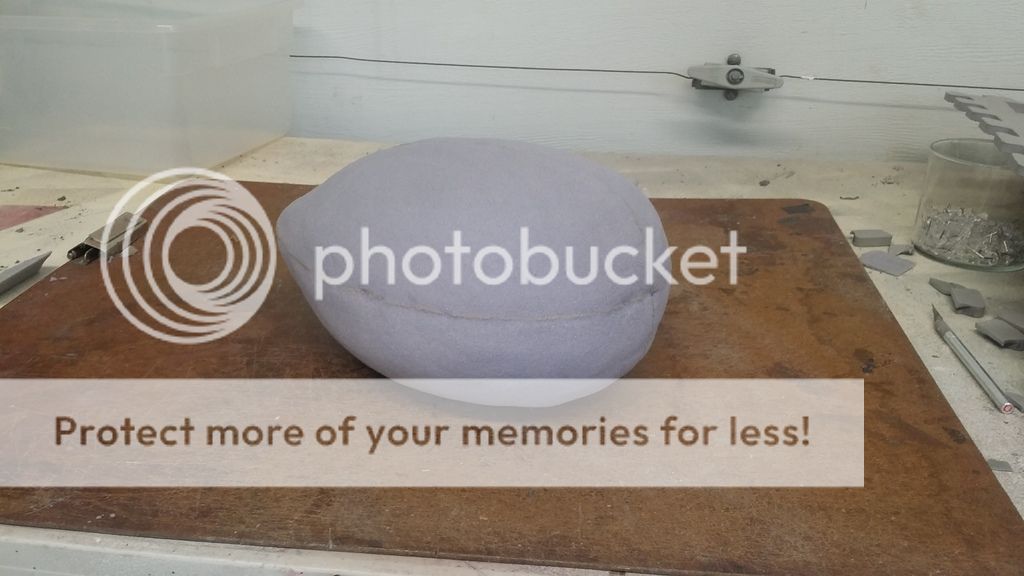
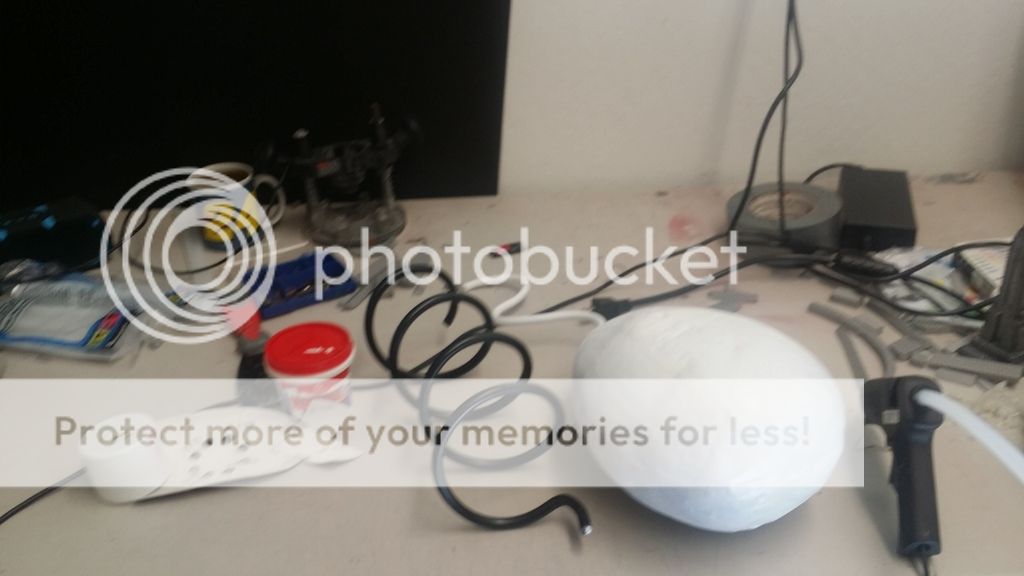
So, i had to figure out what i'd be making it out of first. I decided some simple Styrofoam blocks would give good rigid shape, while staying light. and, at the arts and crafts store i picked the foam up at, there was some thick-gauge aluminum tubing/wire right next to the foam (don't ask me why). It turned out to be a very convenient material to make the sperm "tail" and the cyborg corkscrew addon as well! that was certainly easy... so, $30.00 poorer, but 4 foam blocks and 1 wire coil richer, i grabbed some glue and some large vices (provided by my lovely art college, which is the reason you'll see some environment switches in the background of the pictures during this project) and got to work smushing the foam blocks together:
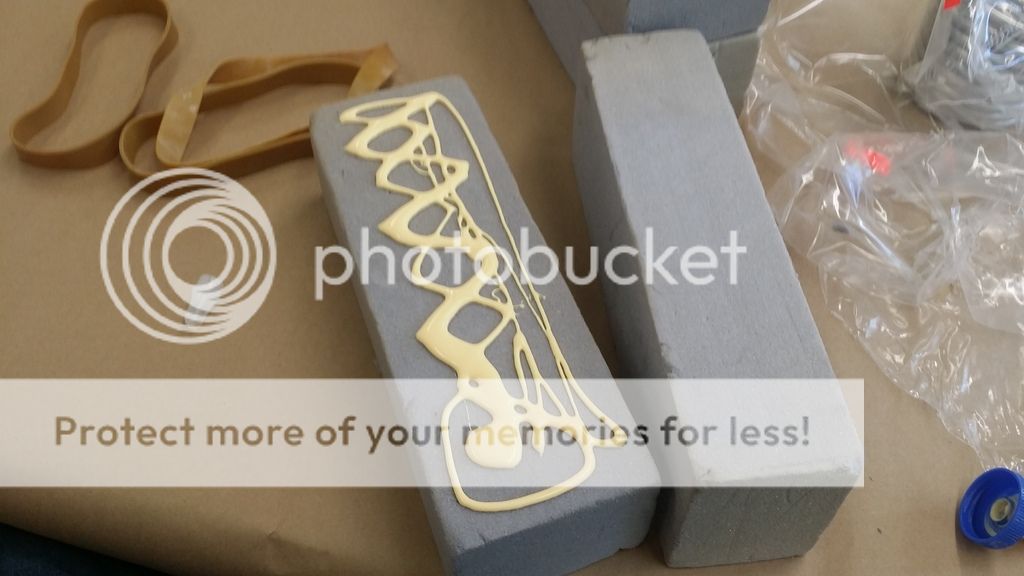
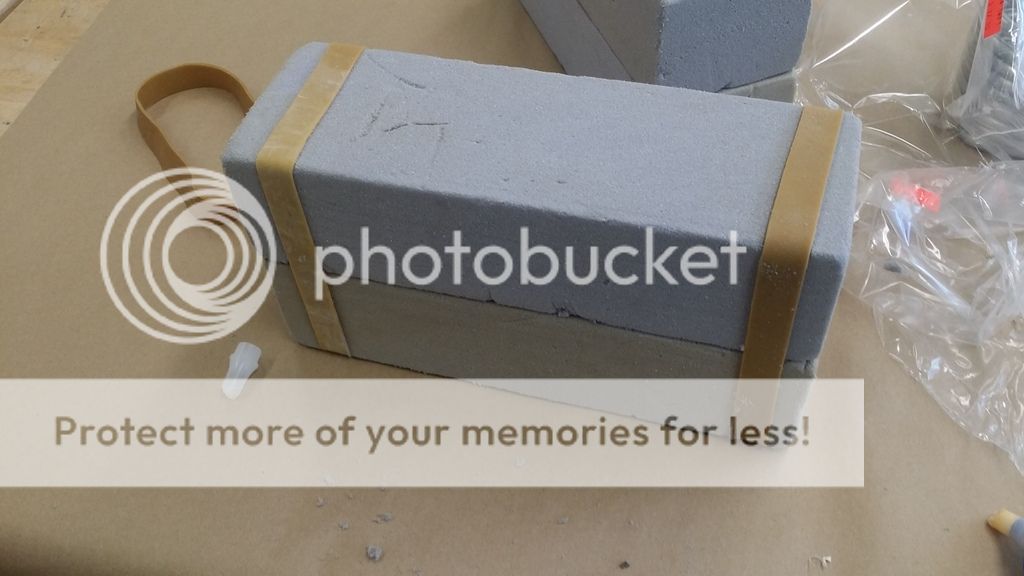
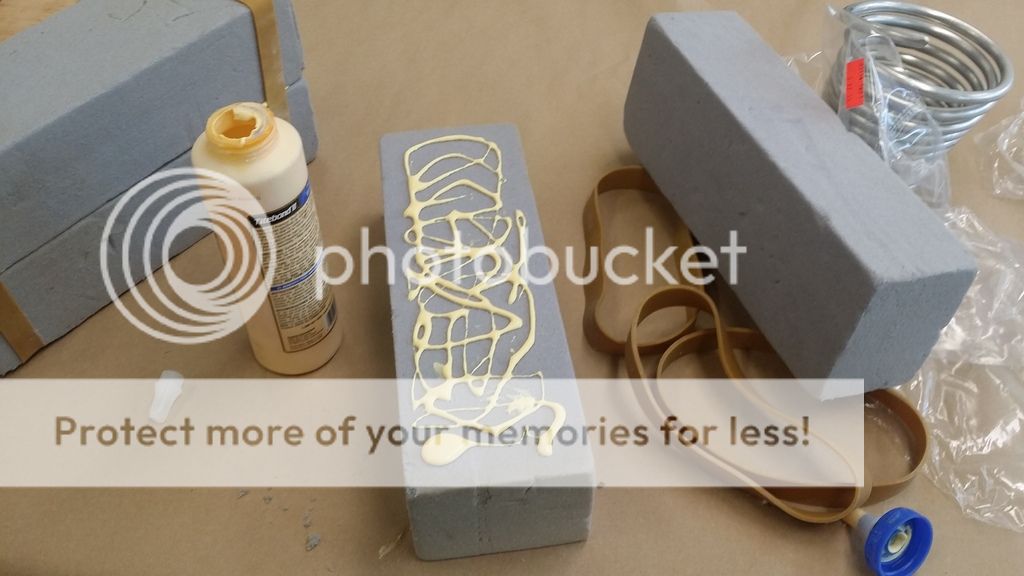
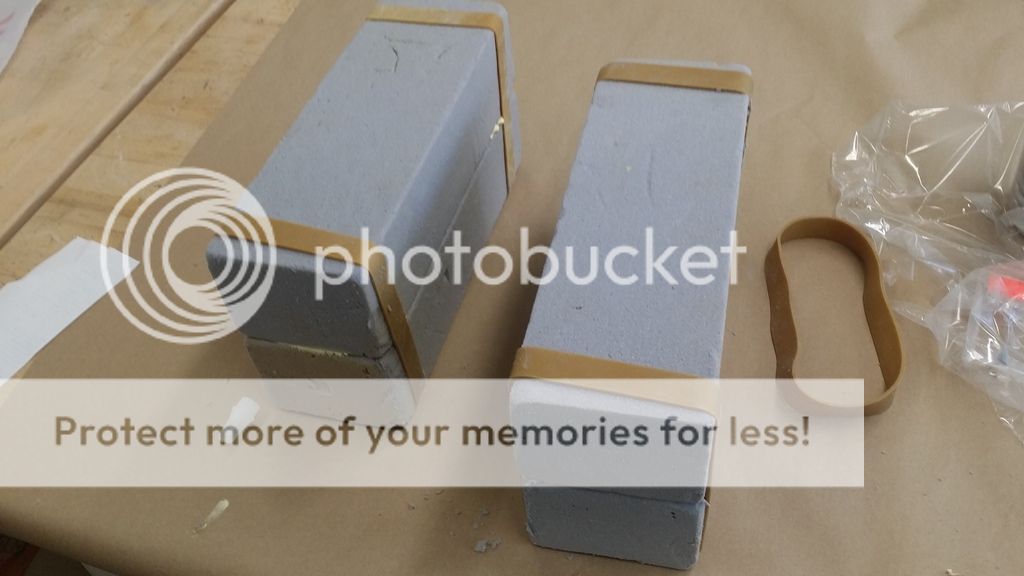
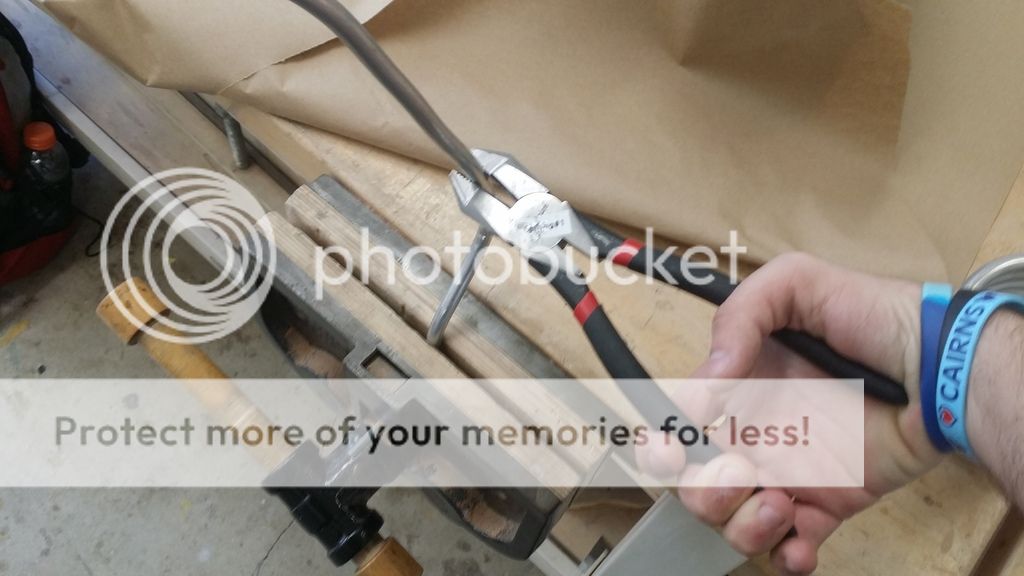
So, while i waited for those to dry with the GIANT RUBBER BANDS holding them together, i grabbed the biggest, beefiest pliers i could scrounge up and started working with the thick gauge wire. First, the tail:
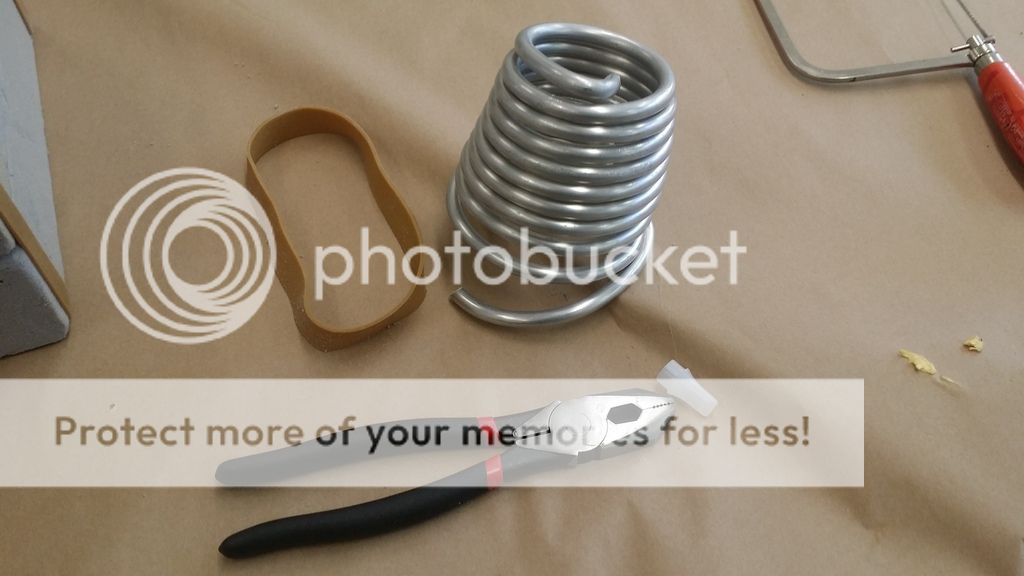
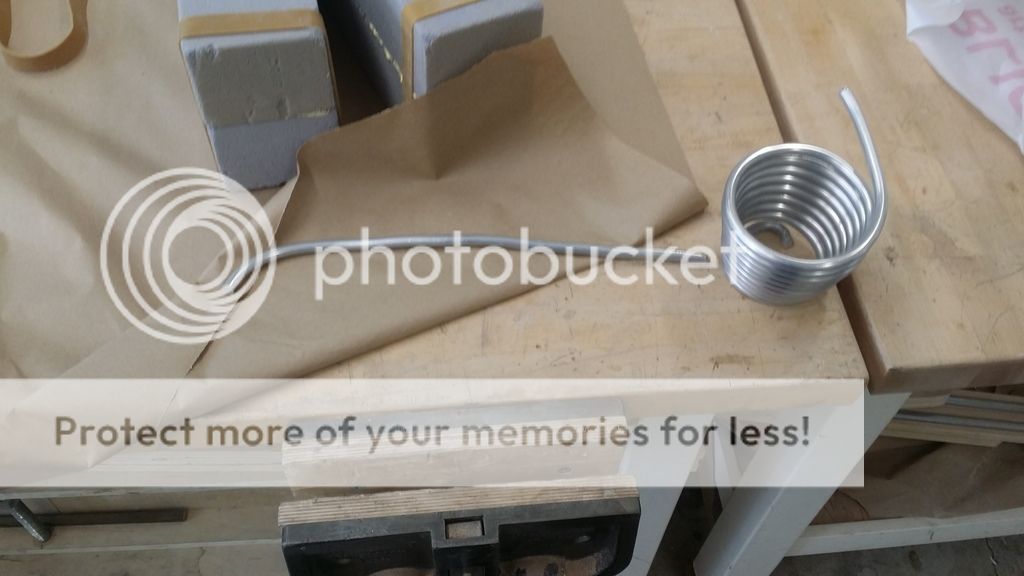
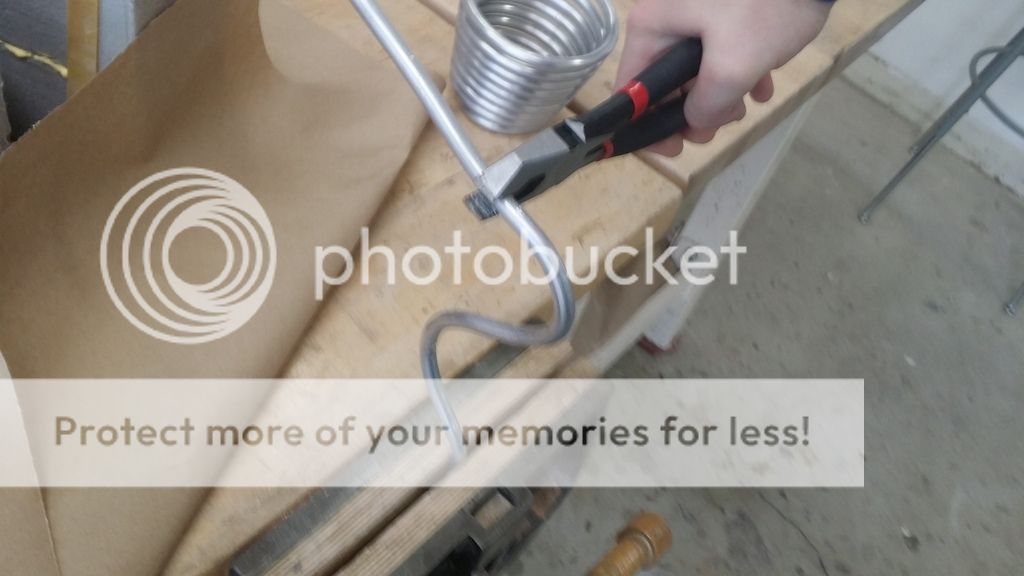
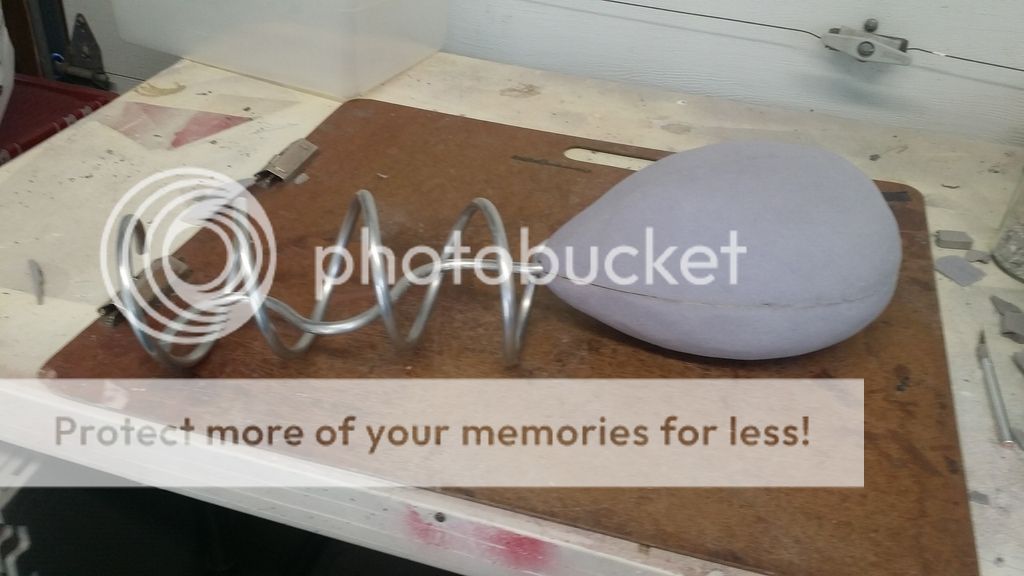
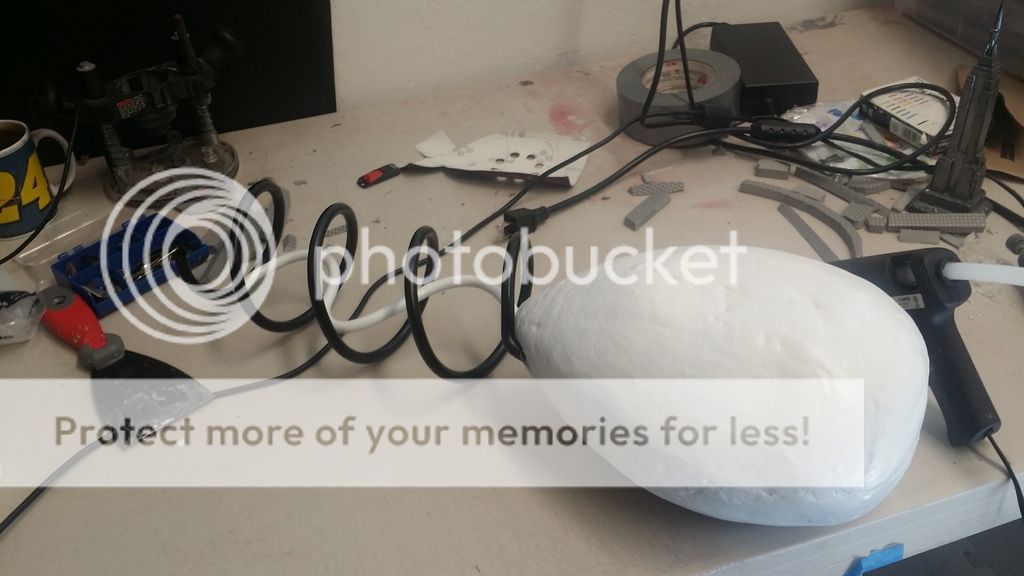
Well that was easy! next, the corkscrew "cyborg" bit. turns out that was even easier! the wire came in a coil shape, so all i had to do was just tease it out a bit:
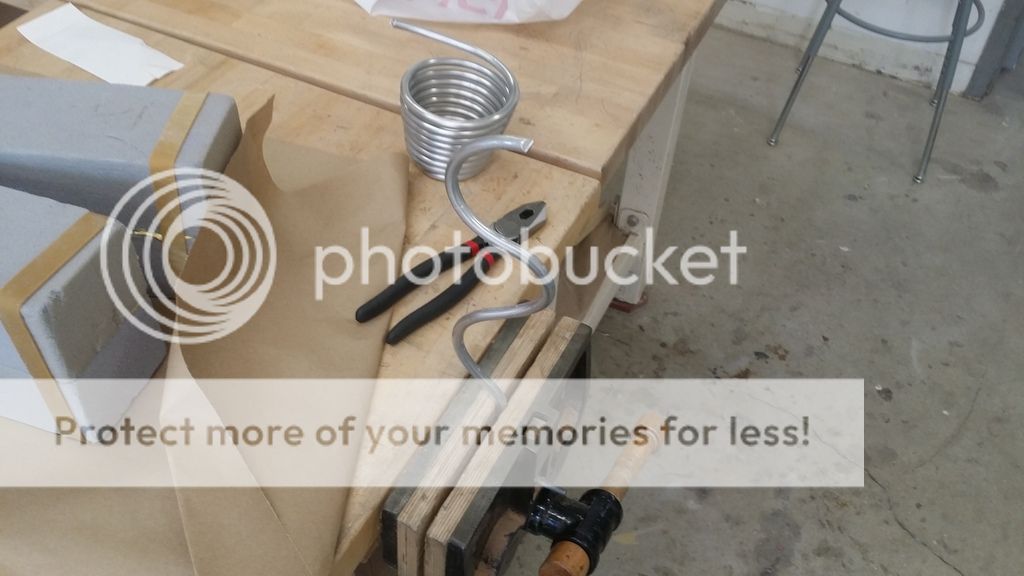
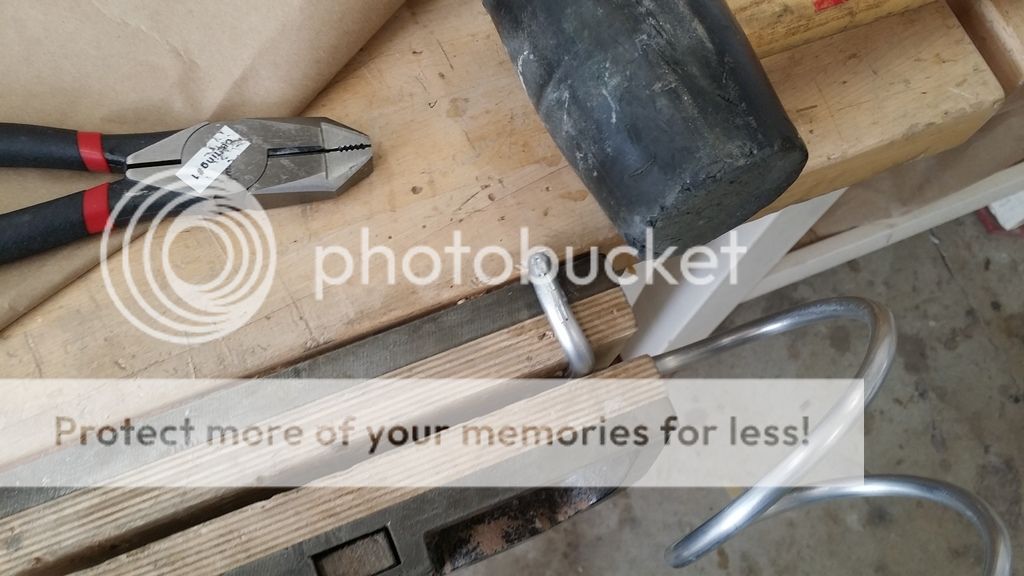
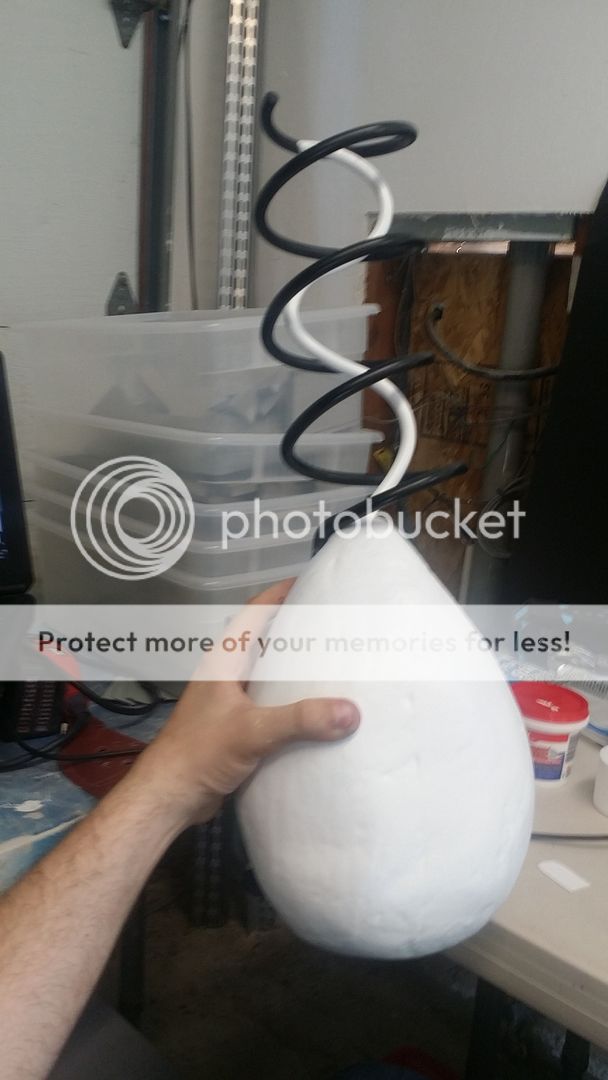
Next, i had to kinda tweak the end sideways so i can stick it into the foam to attach it to the sperm body
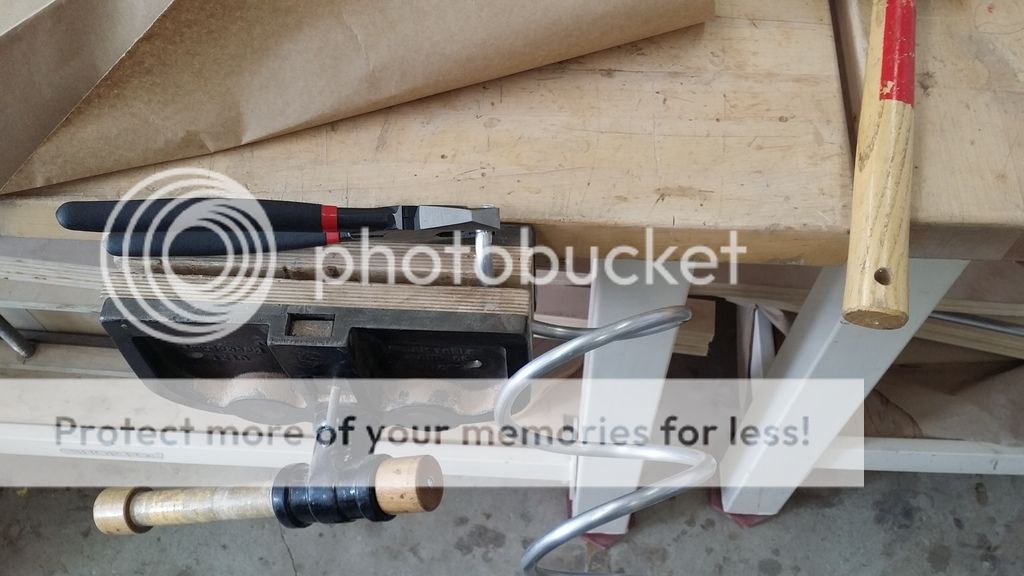
The glue was taking FOREVER to dry, so i kinda tested the metal bits in the foam, which consisted of just poking them into the foam (a bit i knew i was gonna end up cutting off)
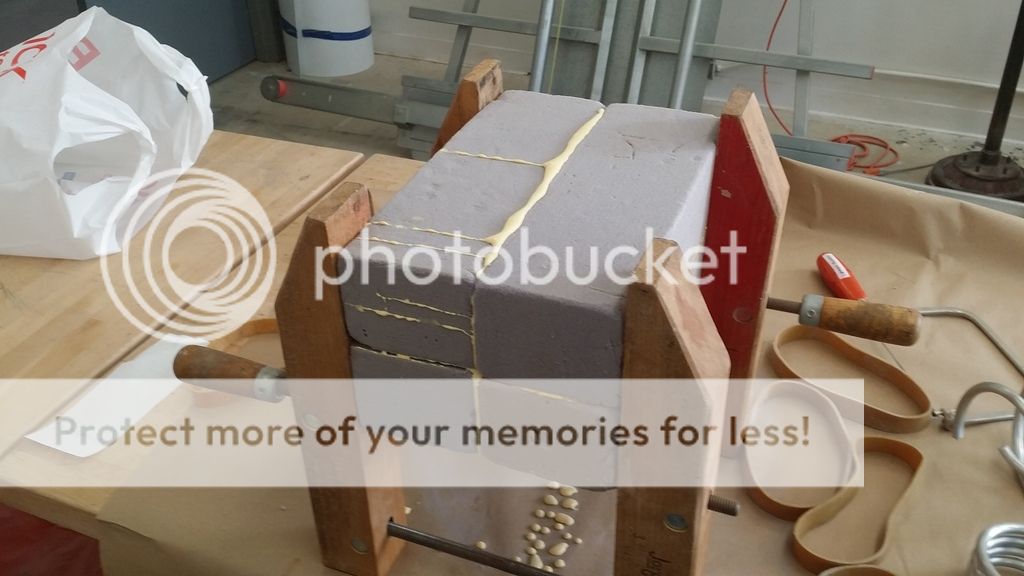
so, uhh... wood glue is a slow bitch. so let's fast forward a couple hours:
Took the rubber bands off, tested the strength, everything was good! now, time to smush the double-blocks together:

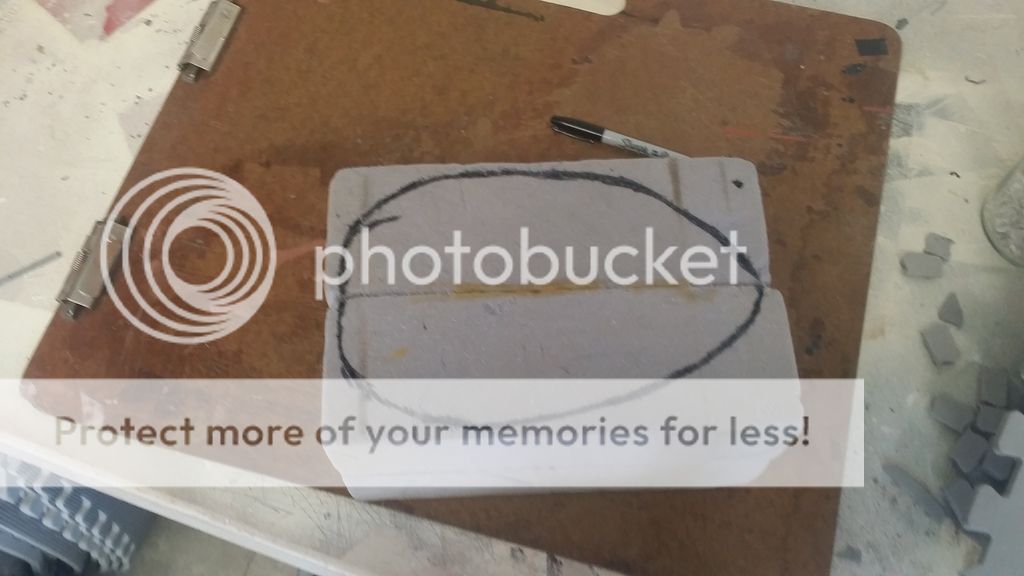
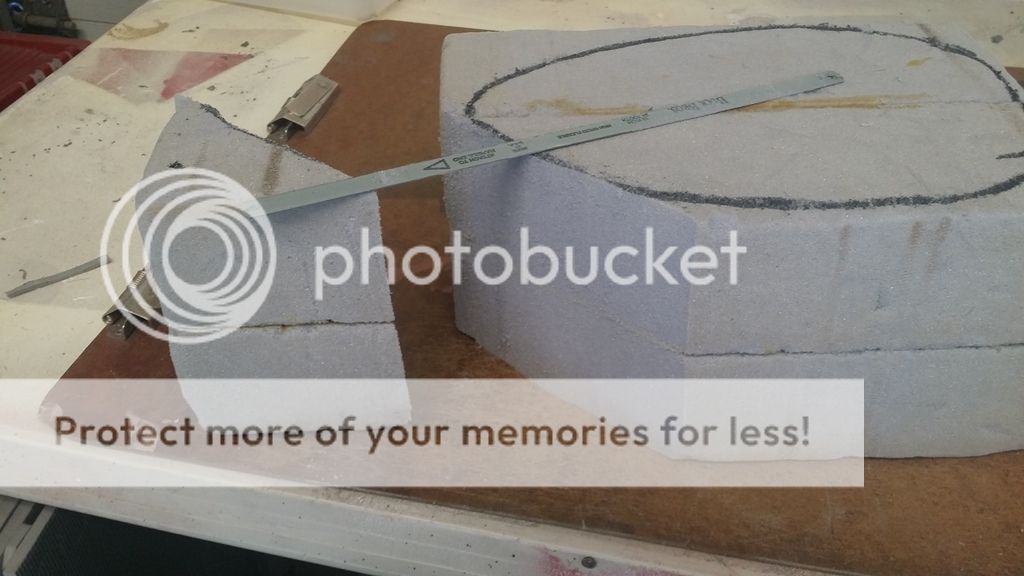
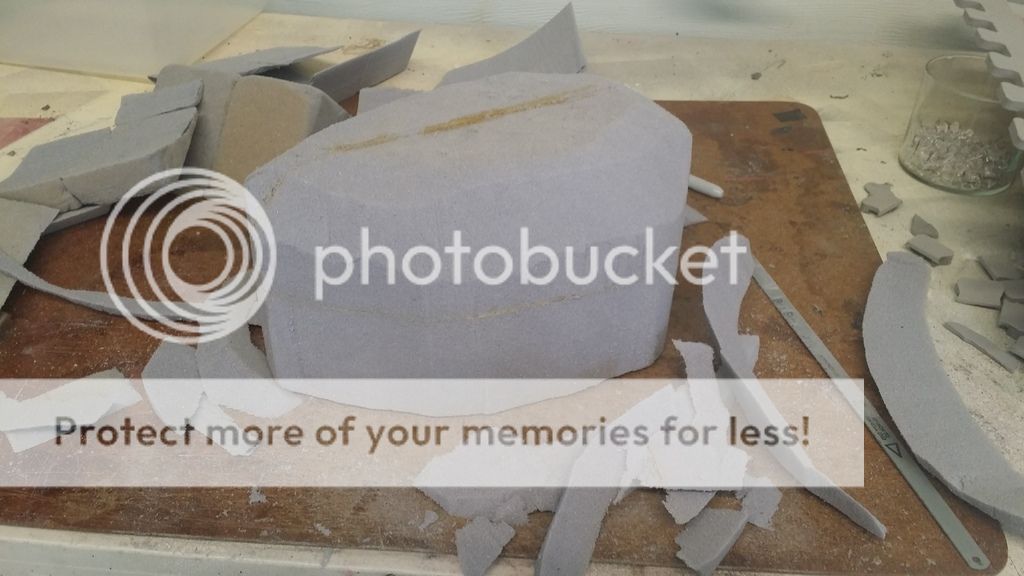
Once it was all viced up, i tucked it away for a couple days to dry, and once it was ready, i brought it back to my garage workshop to cut and shape (turns out Styrofoam is VERY crumbly and dusty, and styrofoam dust + Human lungs = Mucho no bueno, so the school was like "take a hike, bub")

i grabbed a sharpie, a hacksaw blade (minus the hacksaw), and my trusty respirator, and got to work shaping:
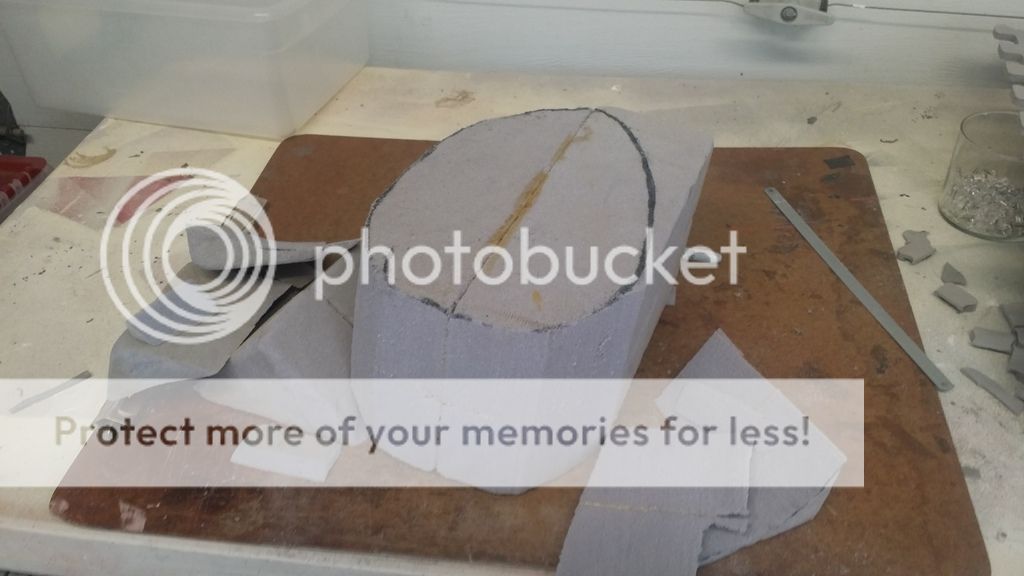
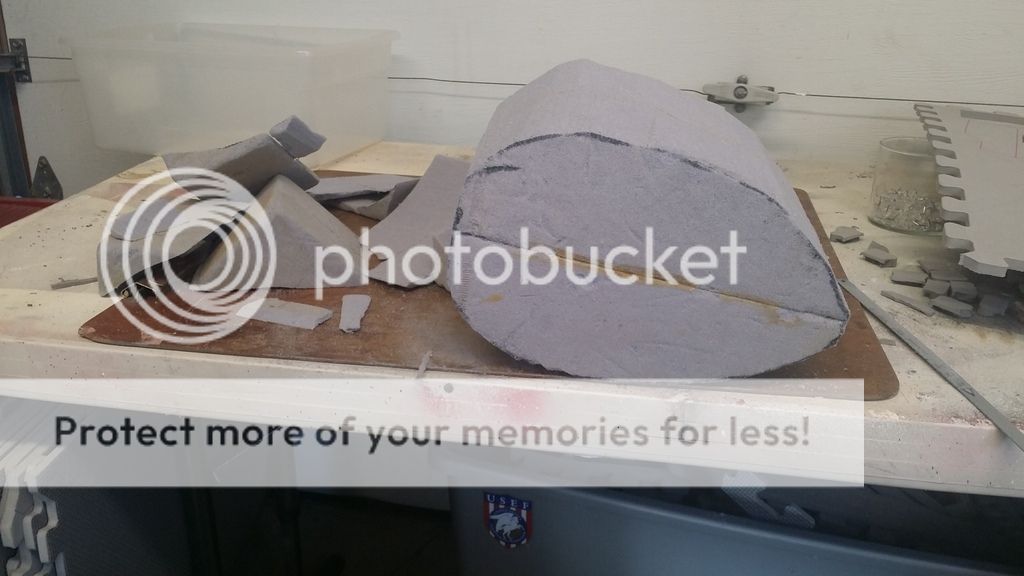
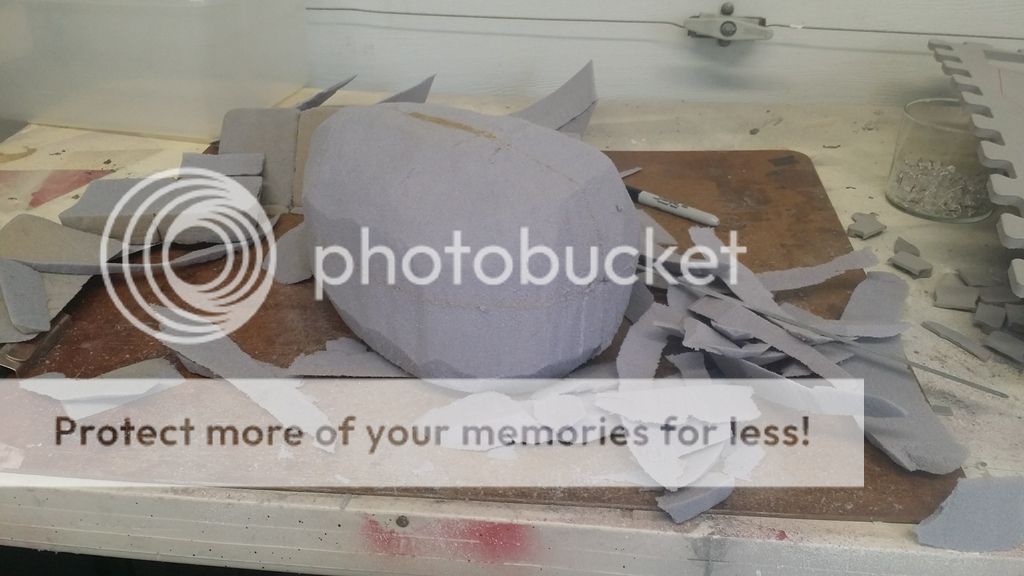

The Aftermath (turns out the school was right! imagine that!):
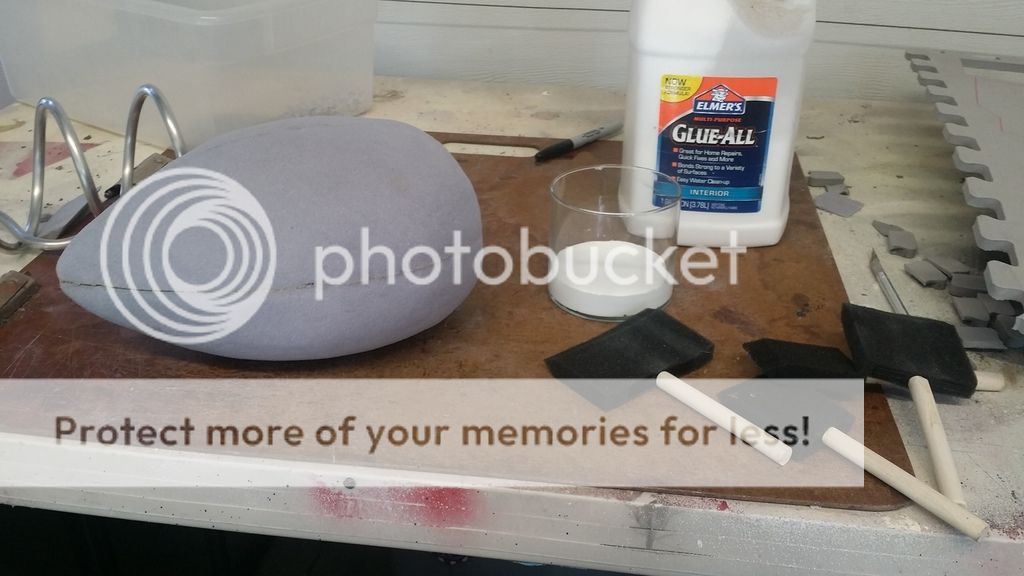
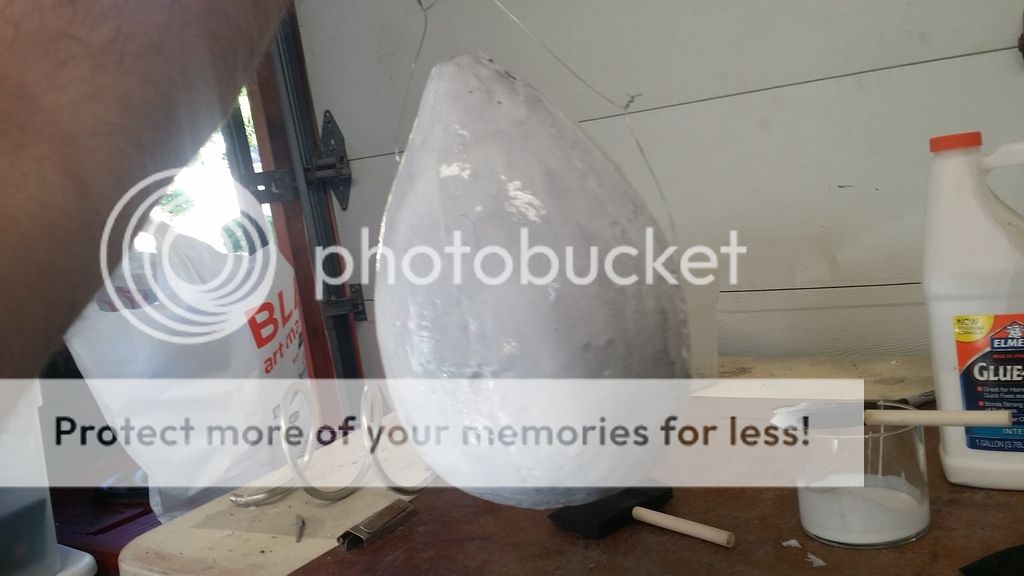
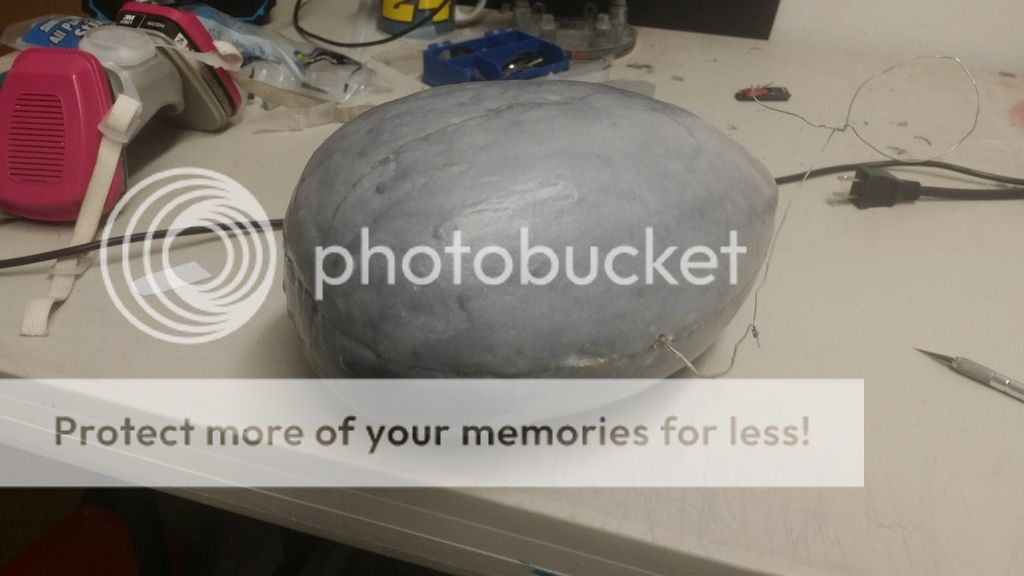
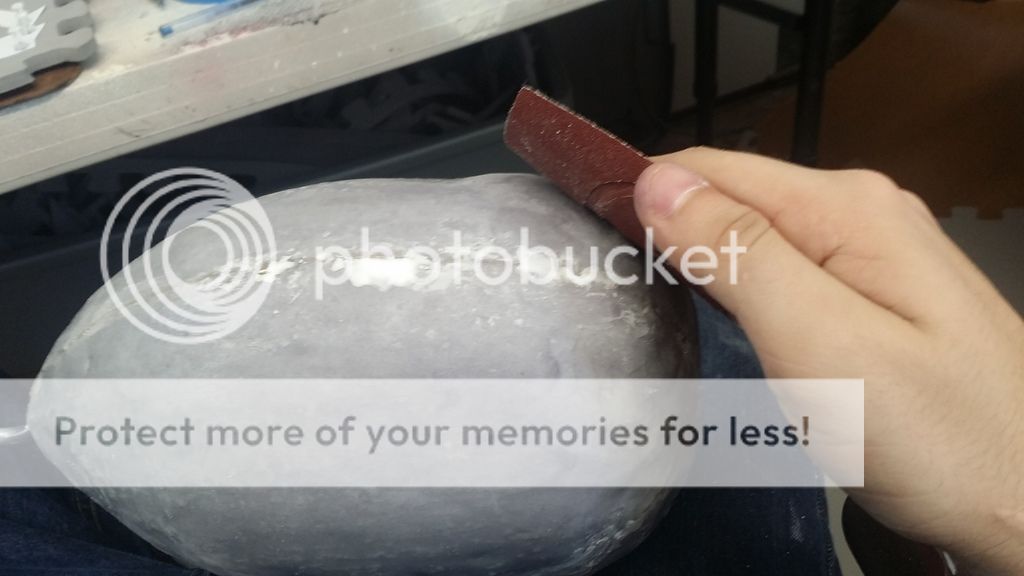
So, the shaping was done, and looked pretty great considering it was 100% eyeballed and improvised in about 5 minutes. next up was poking the metal bits into the proper places, and then sealing the foam body with elmer's glue (because styrofoam does NOT like any sort of aerosol, or epoxy, or anything, really.) and it also needed to be smooth as well:

looking lovely! (this was just a dry run, since the coil needs to be black) so time to break out the elmer's glue and brushes!
I stuck a wire through the middle of it after realizing (far too late) that i can't hold it and paint glue all over it at the same time. i also dropped it and watched it roll RIGHT through the BIGGEST dog hair tumbleweed. so that's why there's tons of black hairs all over it. (sorry)
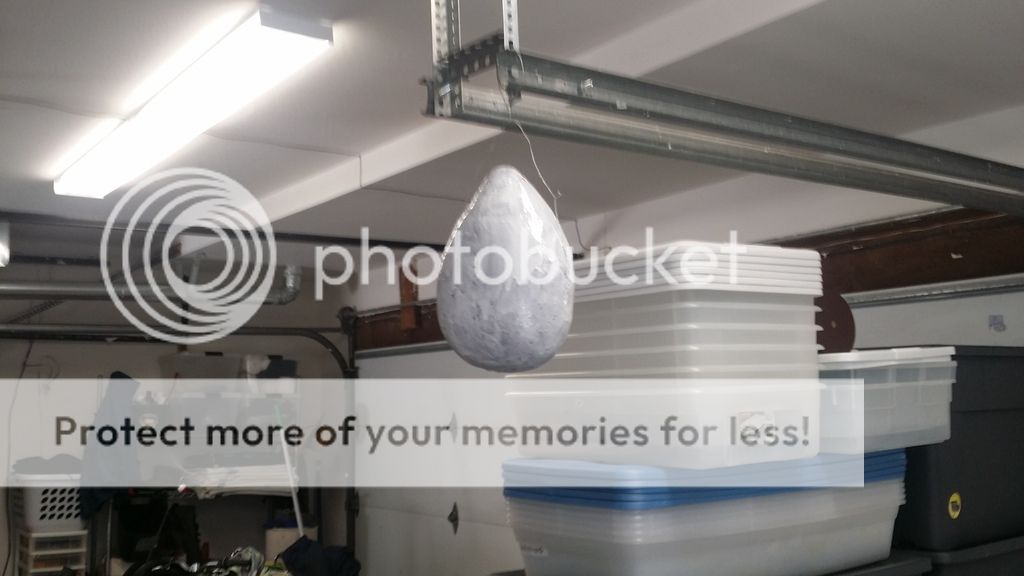
Fast forward a few hours, and its ready for another layer! i tried sanding it in preparation for the next layer, and, well...

So... maybe a little too thin for sanding? yeah. anyway, onto the next few layers:

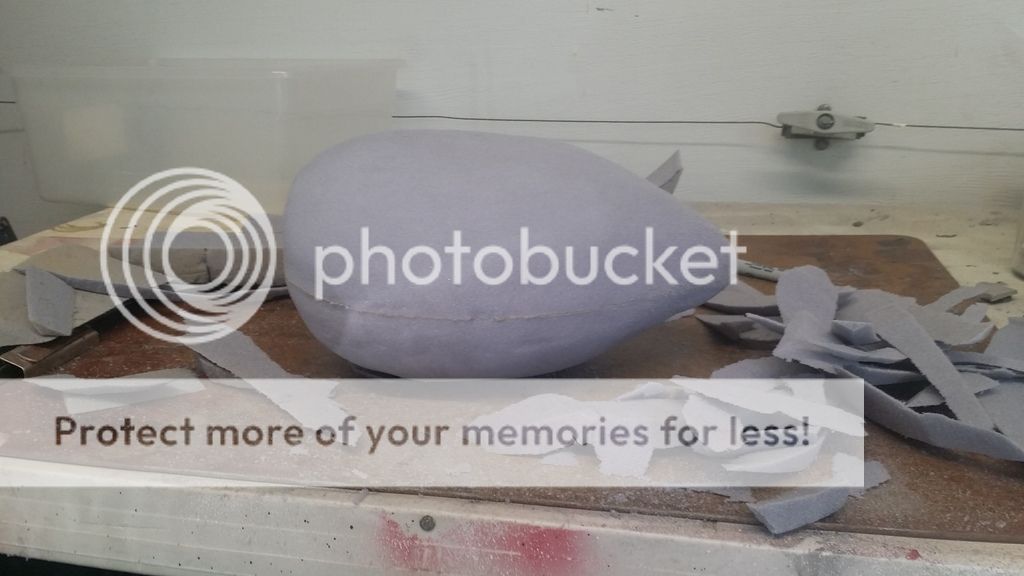
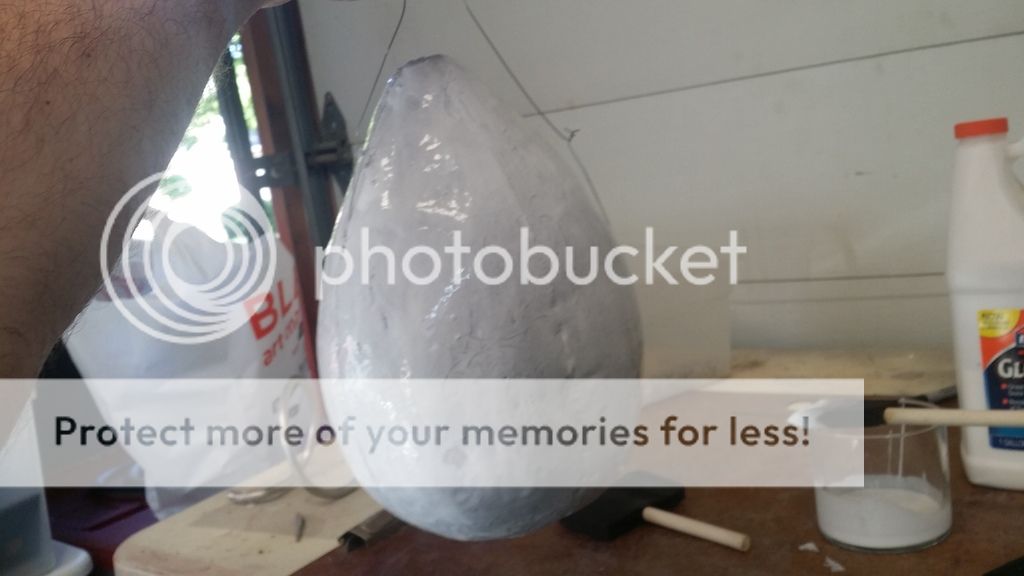
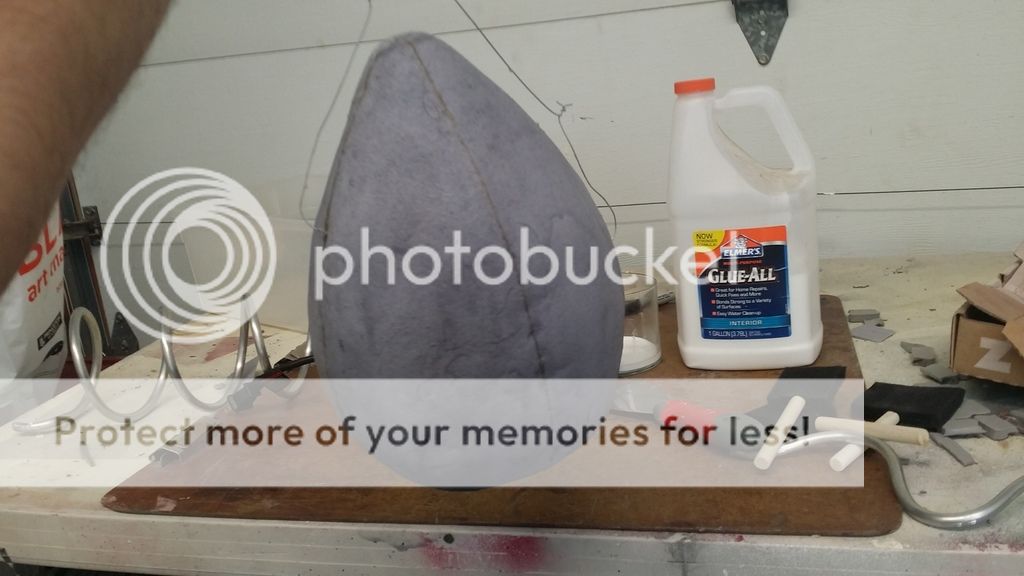
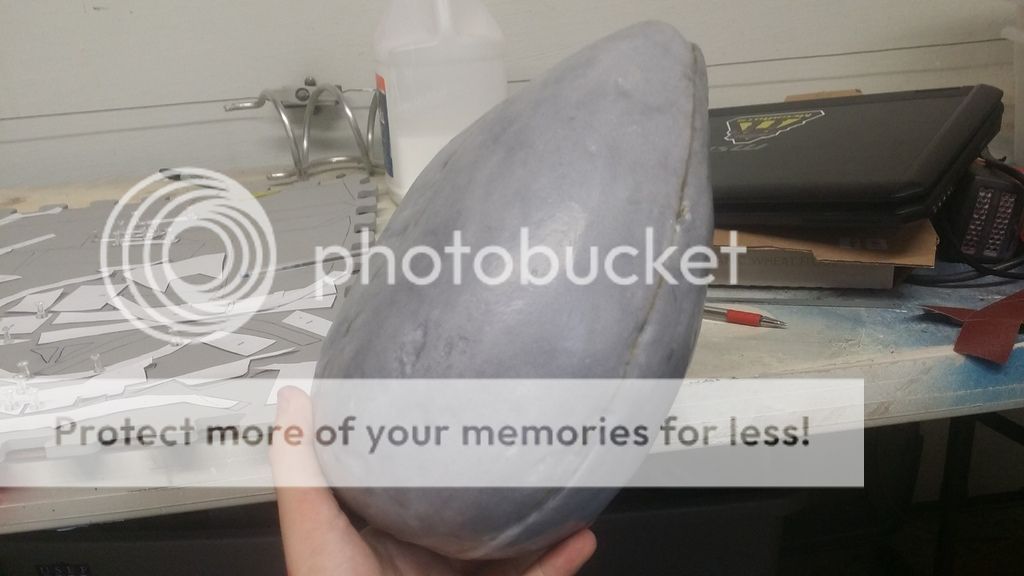
Fast forward about 5 or 6 layers of pretty much the same thing you just saw, and we had a nice thick shell!
Pulled the wire out and tried to mend the holes and bumps:
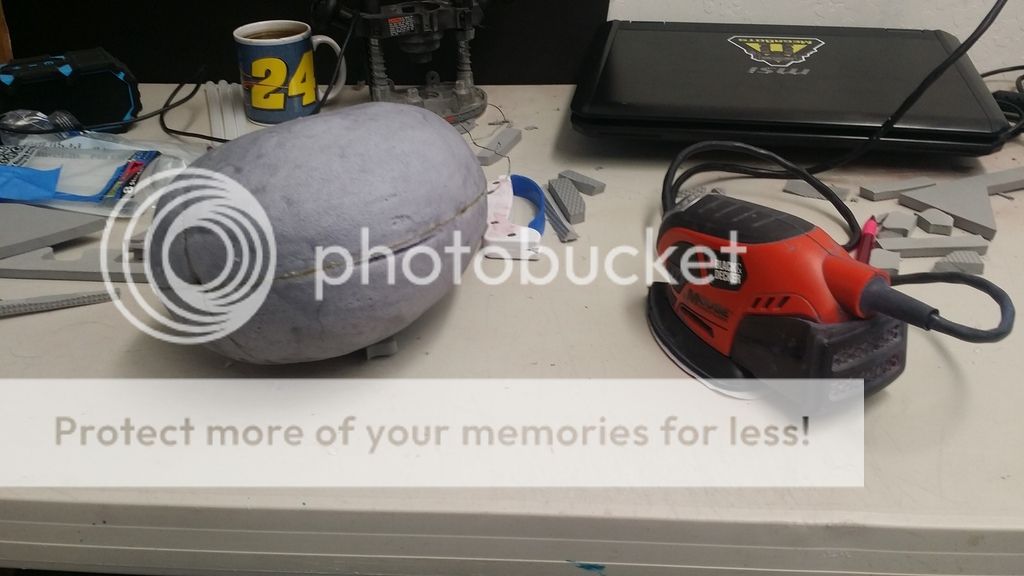
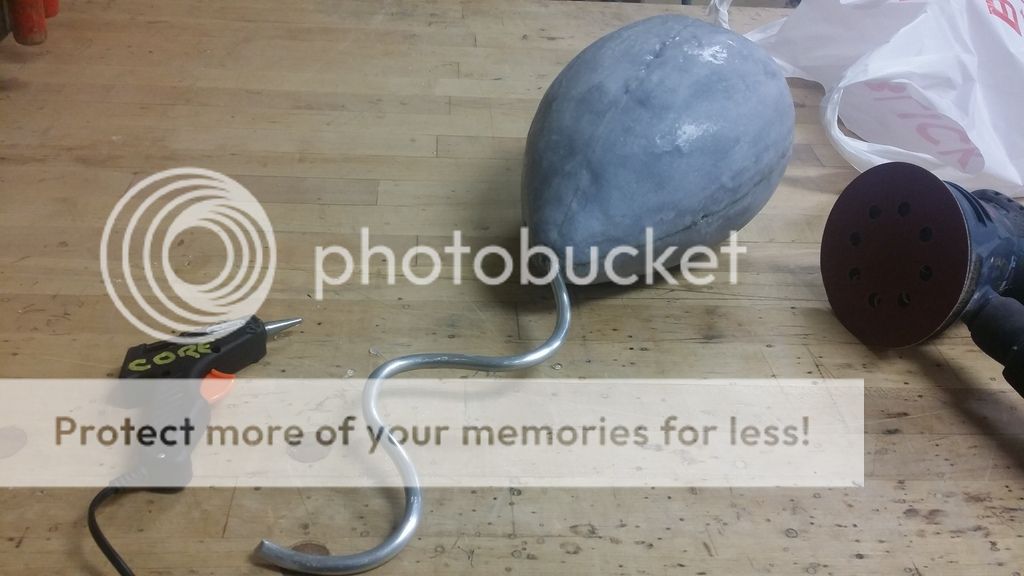
Next up: smoothing out the coating (back at the school's workshop)

With the body all smoothed out, i could finally attach the tail! i had to use hot glue (because of the aforementioned "I hate everything" foam that'd melt with epoxy) so let's hope this thing survives all the way to RTX...
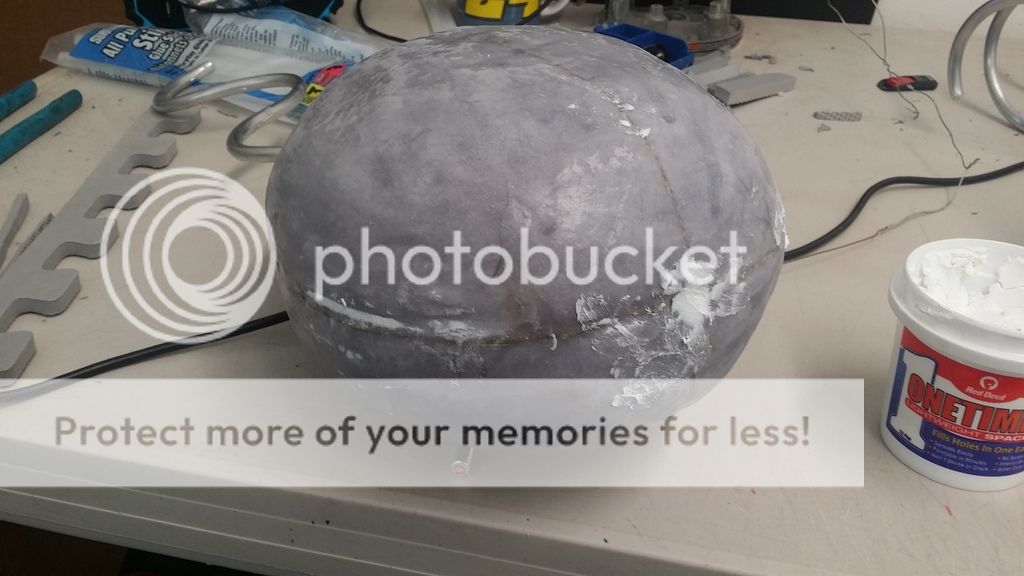
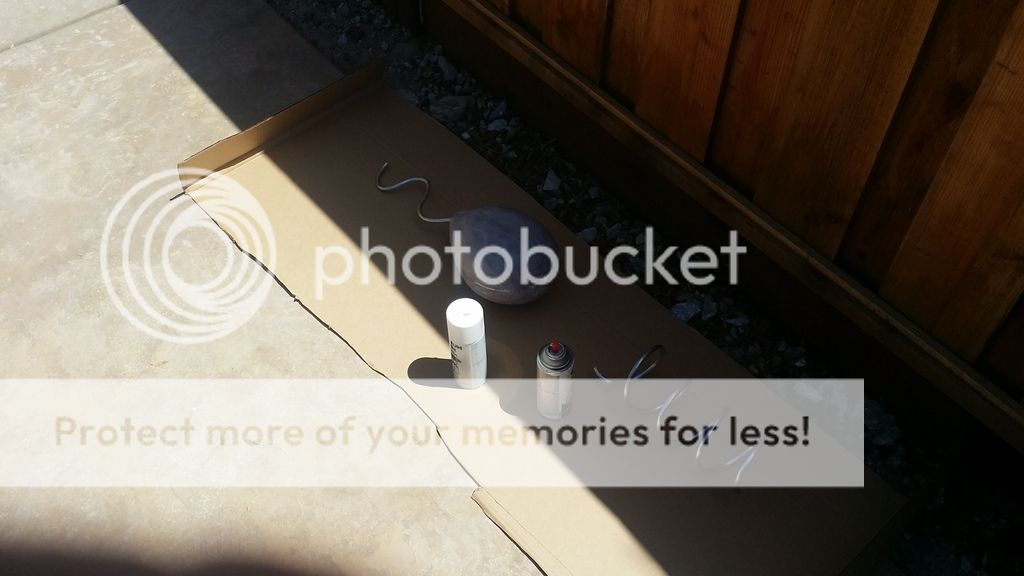
So, with the building done, it was time to paint! the pieces were still seperate, since they were gonna be two different colours. i also broke out some spackling (bondo is currently MIA) to fix the pretty glaring holes n stuff:


Sanding...
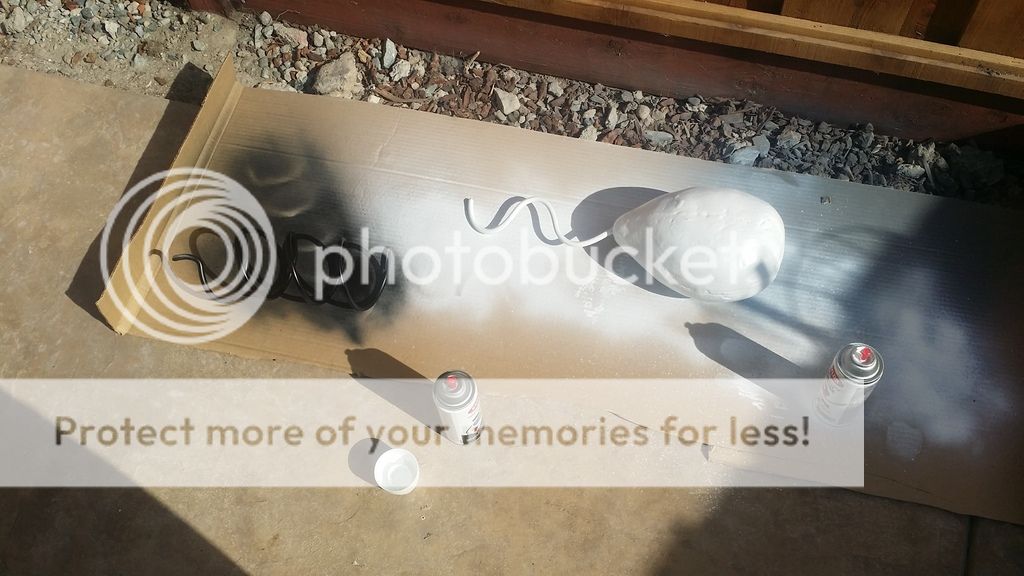
NOW it's time to paint:

The black spraypaint worked great, but when i went to start up with the white can... nothing.
WOULDN'T BE A MISTER CHIEF BUILD IF EVERYTHING WORKED PROPERLY!

Turns out the paint was OLD, and had dried up in the cap and neck of the can. a quick run to the hardware store and we were back in business!

First coat:
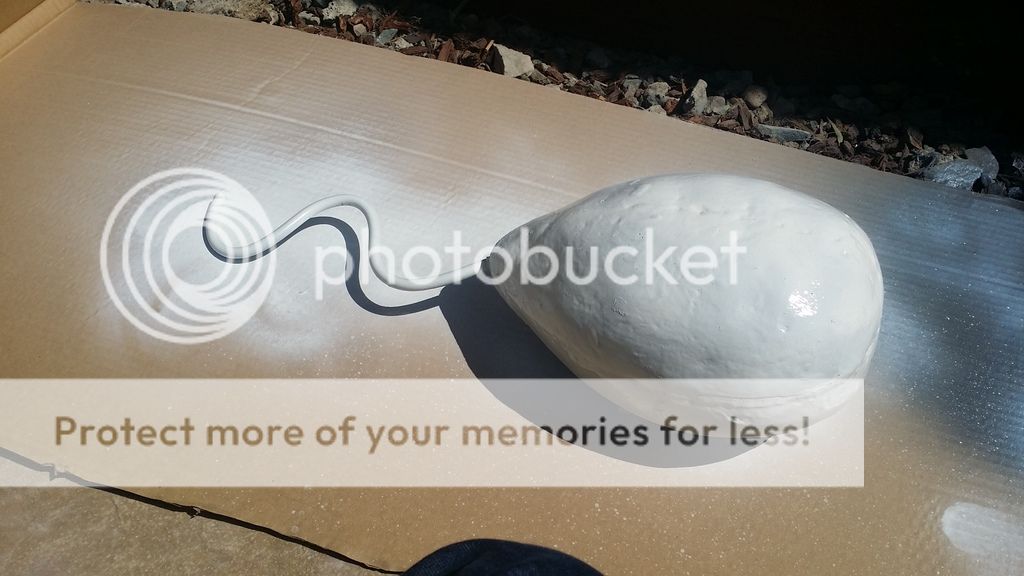
Aaaand second coat of both:
Finally.... it's time... we are about to combine machine with not only man, but man's origin. gentlemen, we are playing god here...
nah just kidding i just glued the little metal thing into the hole:
aaaand DONE! this was a fun little side project! hope Burnie likes it!
No comments:
Post a Comment