Hello once again! I know, my posting is piss poor, but i'm working on it! Instead of shooting my wad early by releasing a bunch of updates as I write them, i'm gonna try saving them as drafts and releasing them daily
*Cricket chirp*
BUT! (and this is a pretty big butt) I'm back with a brand spankin NEW project!
*Cricket chirp*
Awesome! This one is actually a comission of sorts. Well, a trade-off really. I made this for a fellow costuming friend in return for some more sewing-heavy pieces for ANOTHER upcoming project!
Anyway, in case you can't tell from the title, what I'll be making is indeed from an anime...
*Cricket chirp*
BUT! (and this is a pretty big butt) I'm back with a brand spankin NEW project!
*Cricket chirp*
Awesome! This one is actually a comission of sorts. Well, a trade-off really. I made this for a fellow costuming friend in return for some more sewing-heavy pieces for ANOTHER upcoming project!
Anyway, in case you can't tell from the title, what I'll be making is indeed from an anime...
I know nothing about anime.
I had to look it up but it's... uh... Homura's shield from Puella Magi Madoka Magica...
wut
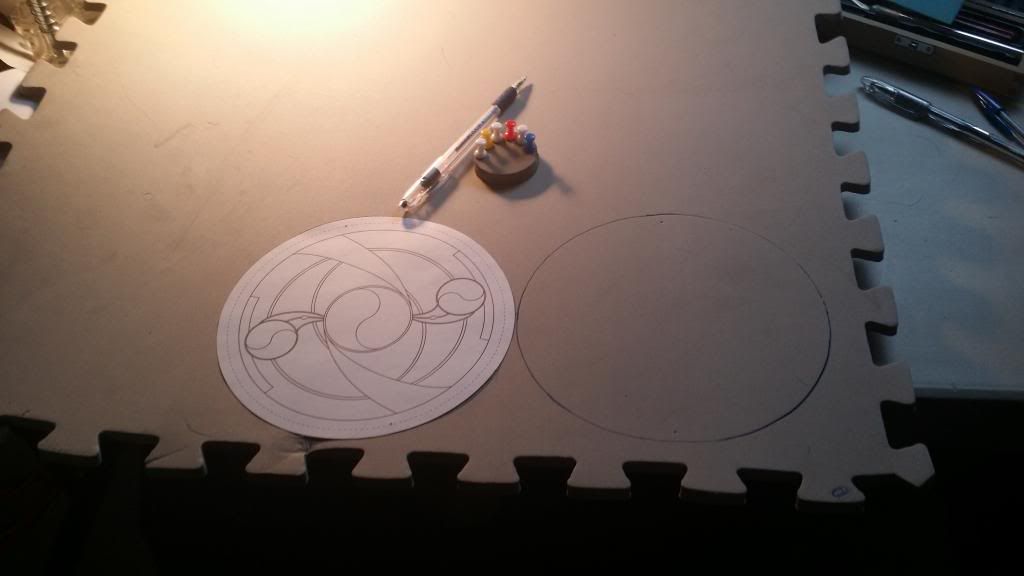
Anyway, onto the build! I started with a simple diagram and a couple reference pictures:


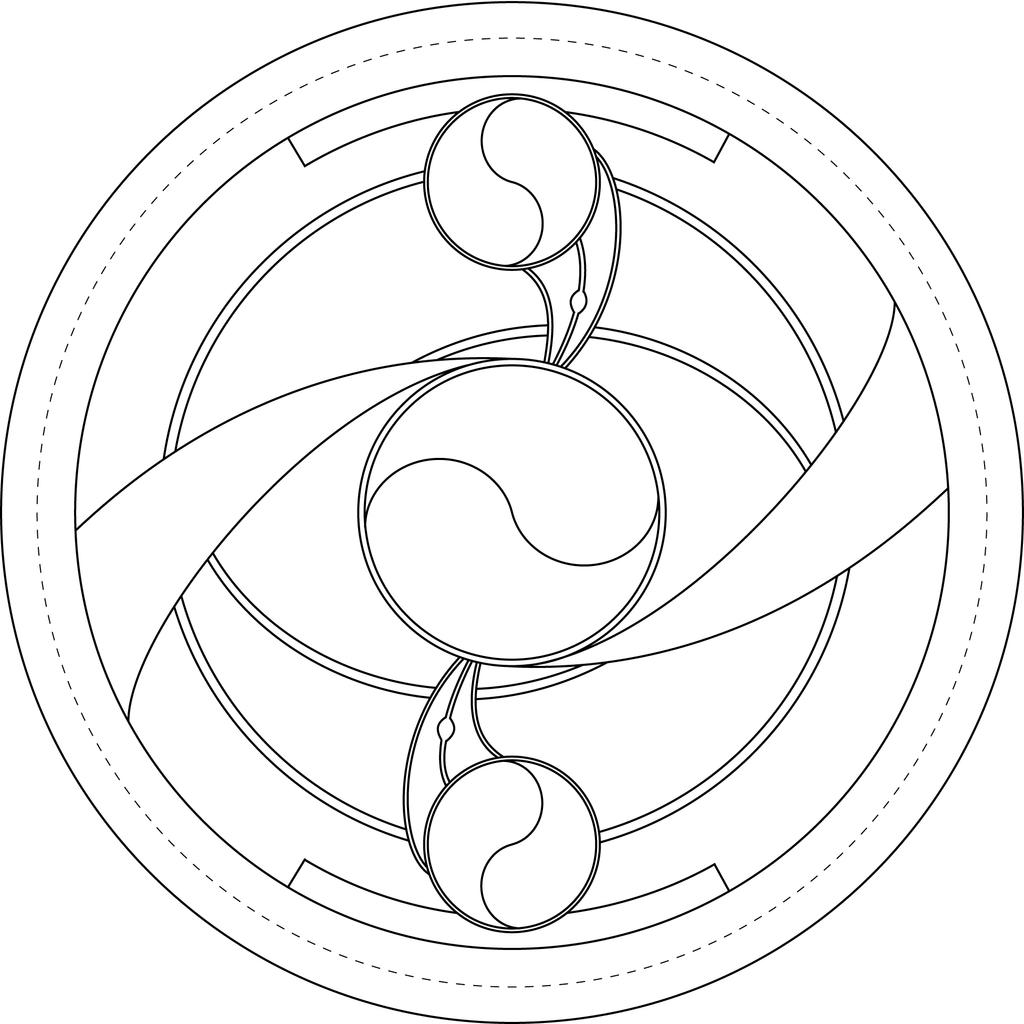
And, as it turned out, the above diagram was actually around 7 inches in diameter, which was apparently 1:1 scale!
Now, my first thought was "No way gun girl is blocking anything with that!" But according to a trusted source (read: weeaboo friend), it's actually a time machine, teleportation device, and holds an entire arsenal of assault weapons...
WUT
Anyway, since the diagram was small enough to fit on printer paper, I printed it out and got started!
(Also, NEW PHONE UPGRADE!! So that means no more Parkinson's or potato quality, just 23 hot, juicy megapixels of face-melting cool!)
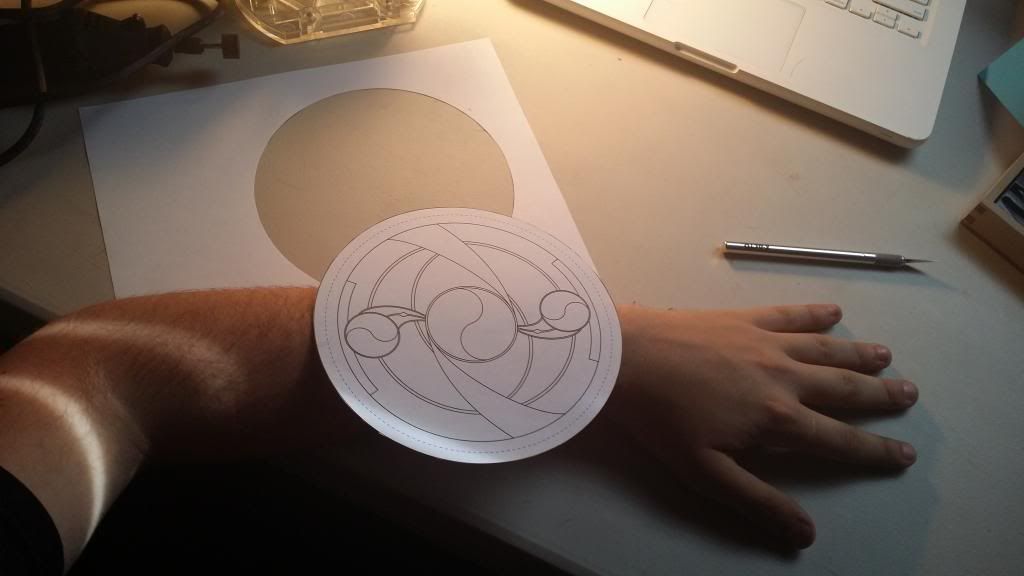

Better size!
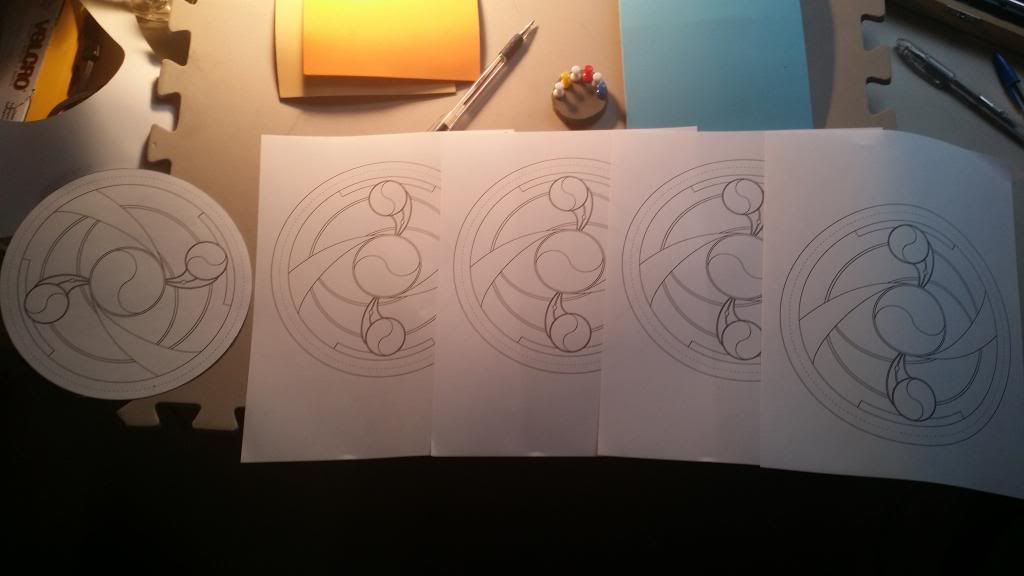
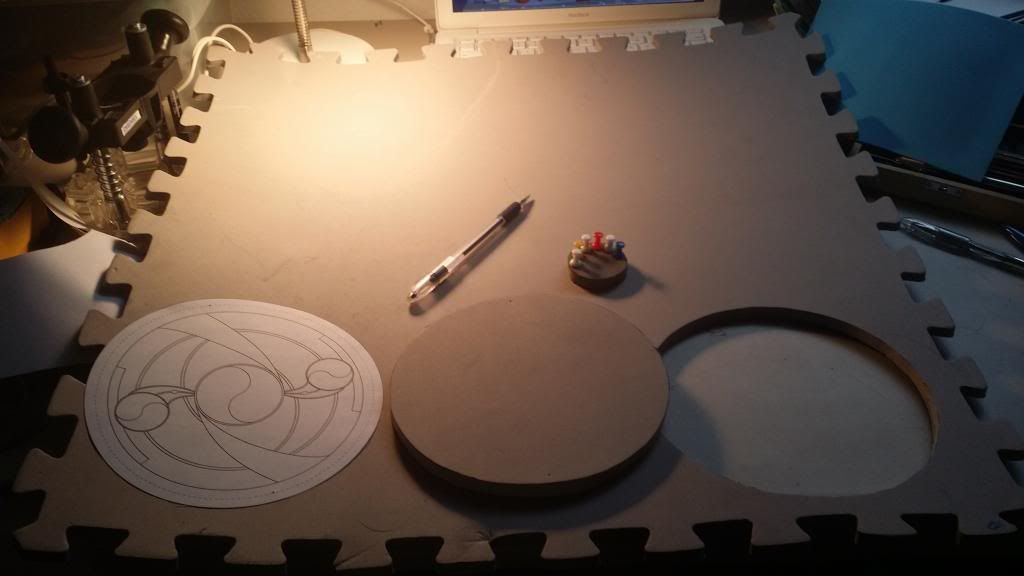
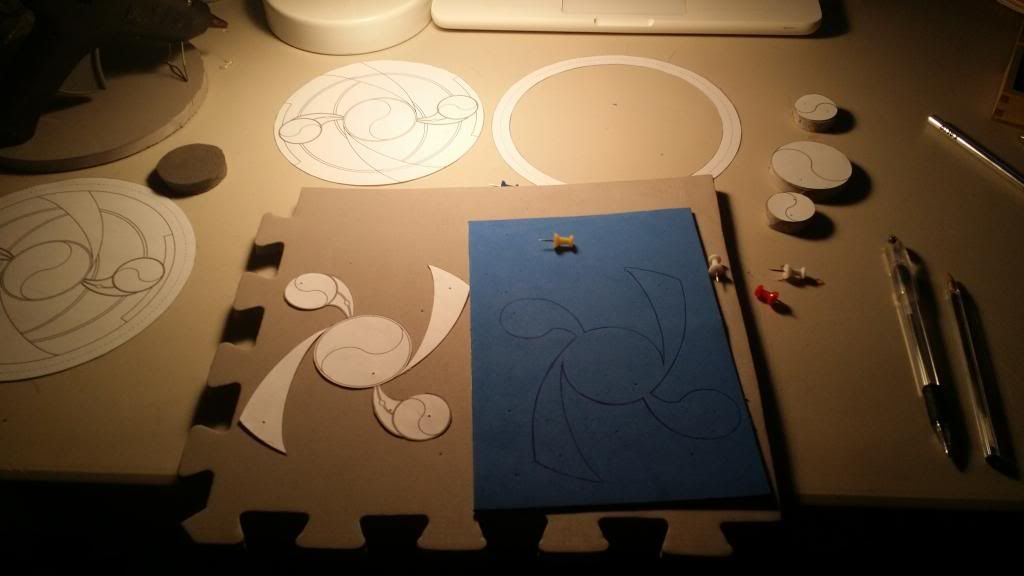
So, with the size down, next came figuring out how to, well, build it. Since it's so small and high detail, I started off by splitting it into 5 layers:
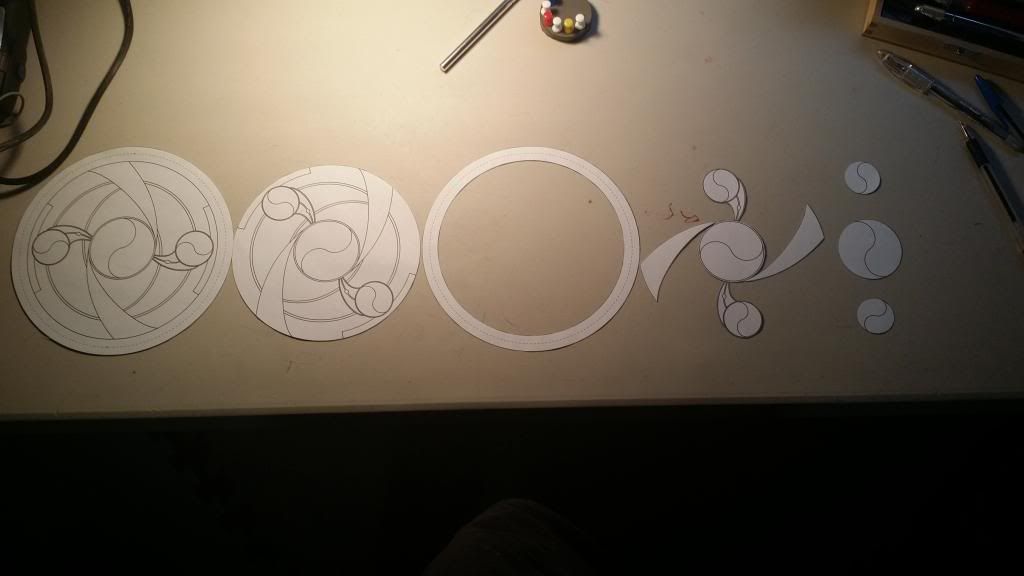 |
| Layer 1 Layer 2 Layer 3 Layer 4 Layer 5 |
And, as usual, the core material will be EVA foam. But for the high-detail parts (layer 2 and 5) I'm using craft foam, a lighter, thinner foam sheeting.
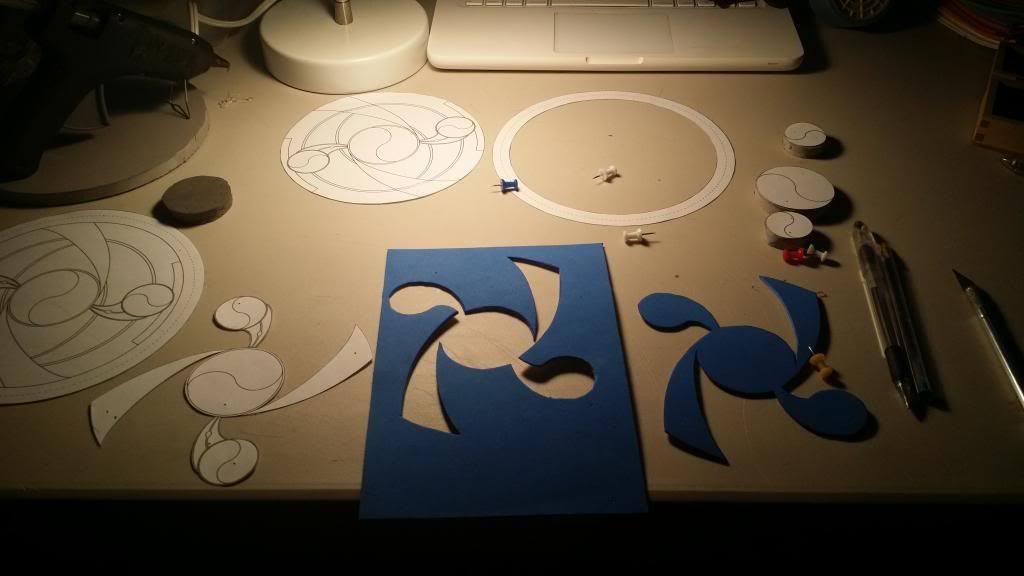
So, unsurprisingly, I started with layer 1:
Here's a good shot of the thickness of the EVA foam:
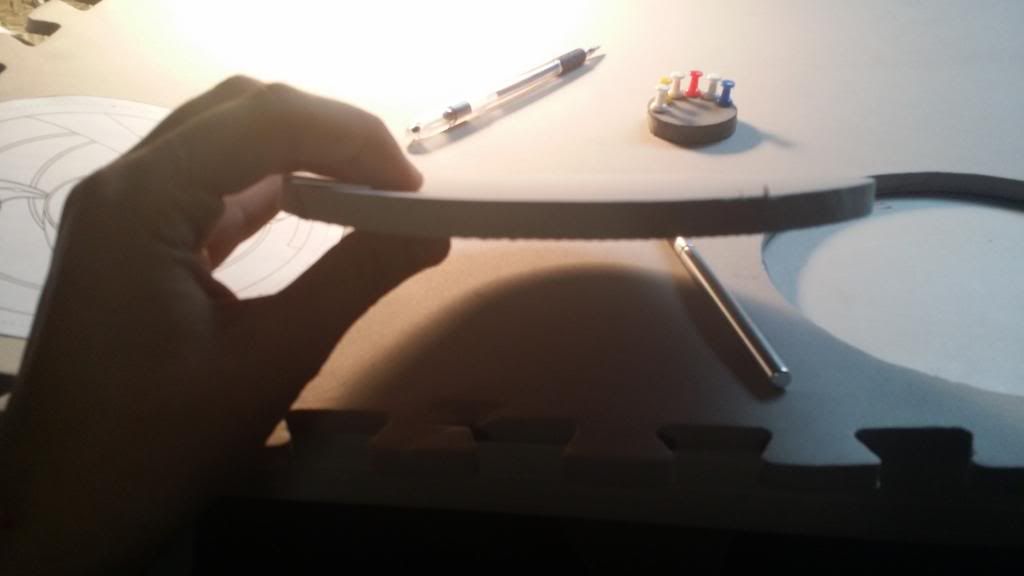
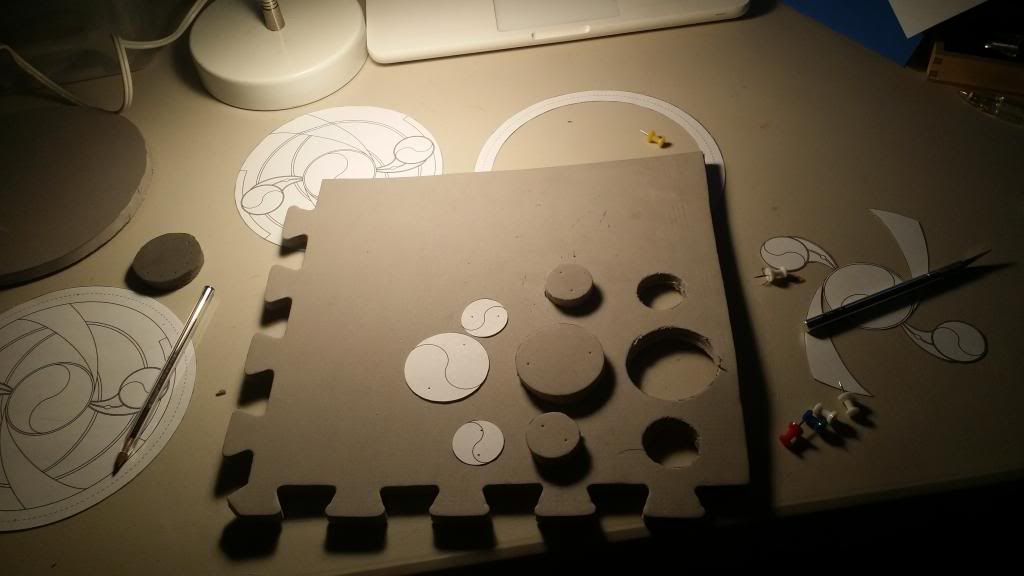
With the pieces cut out, next came the shaping:


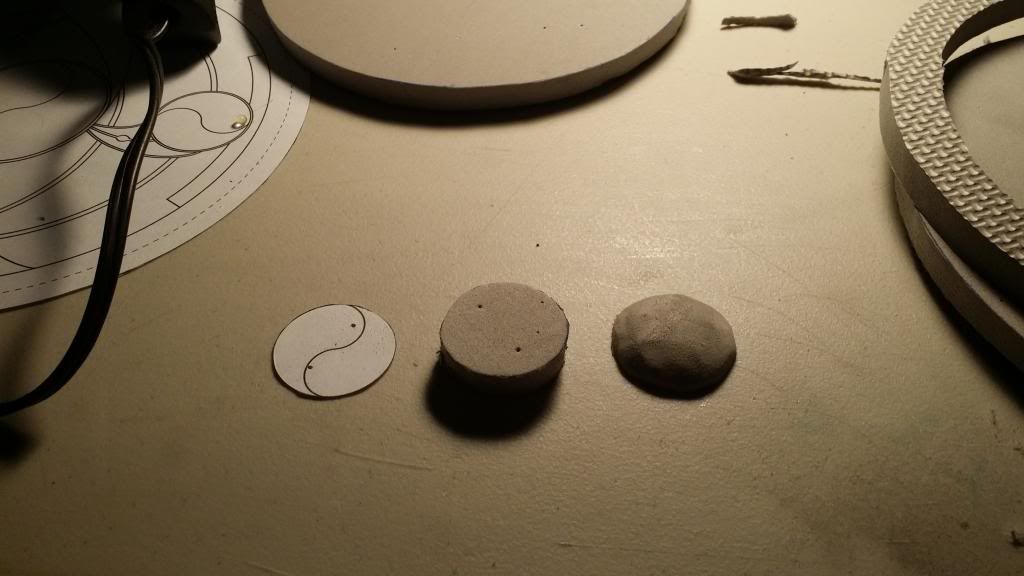
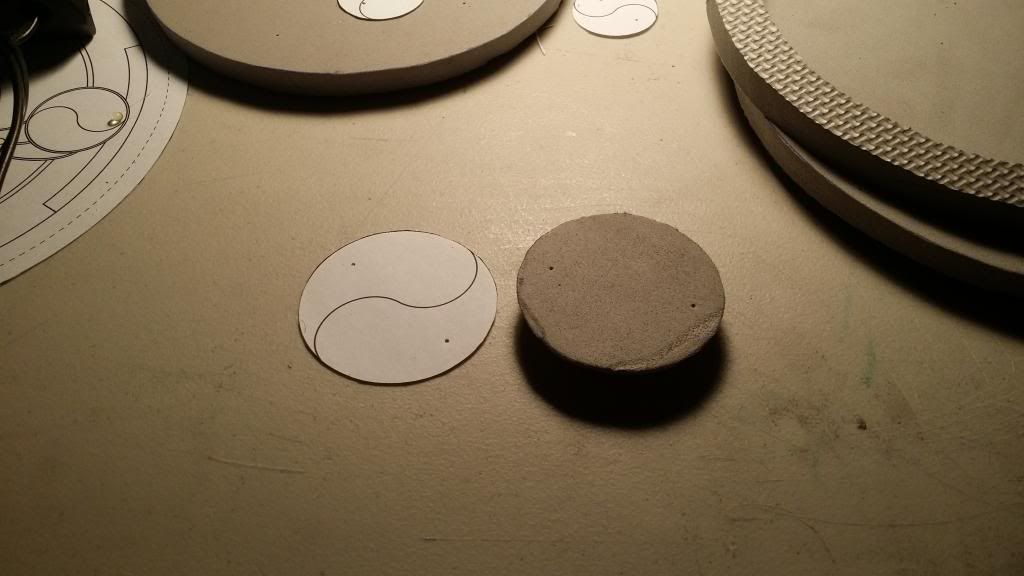
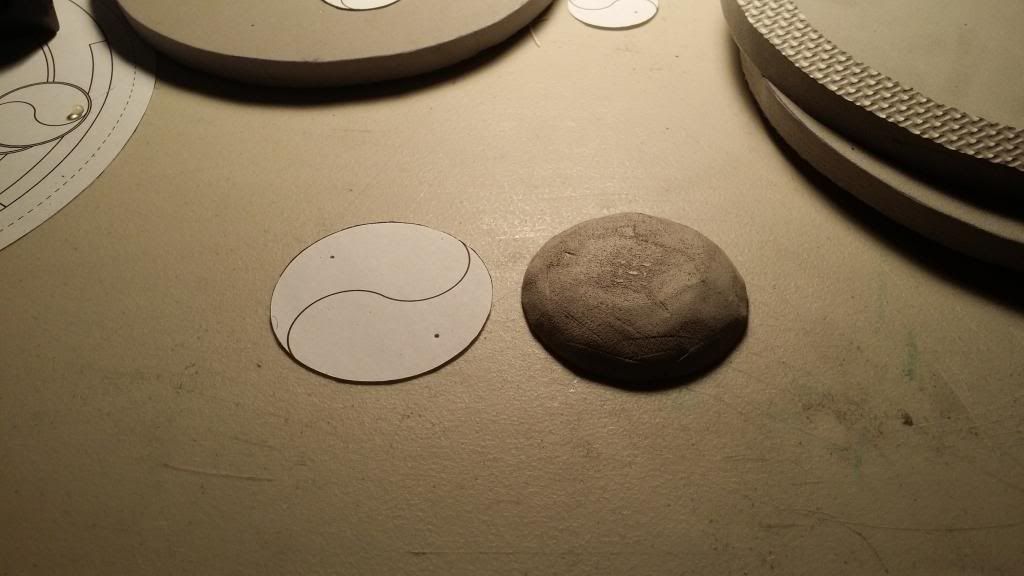
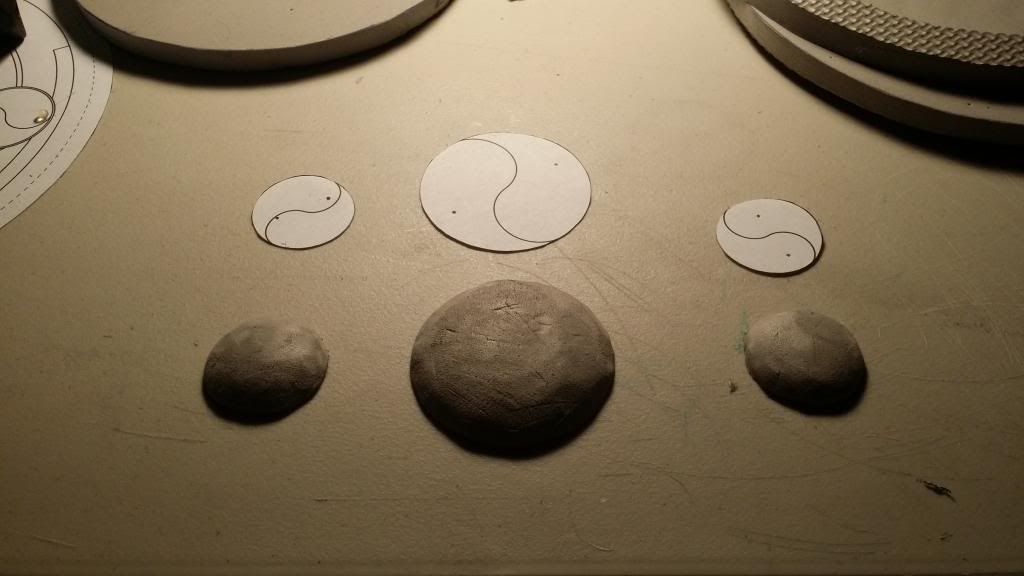
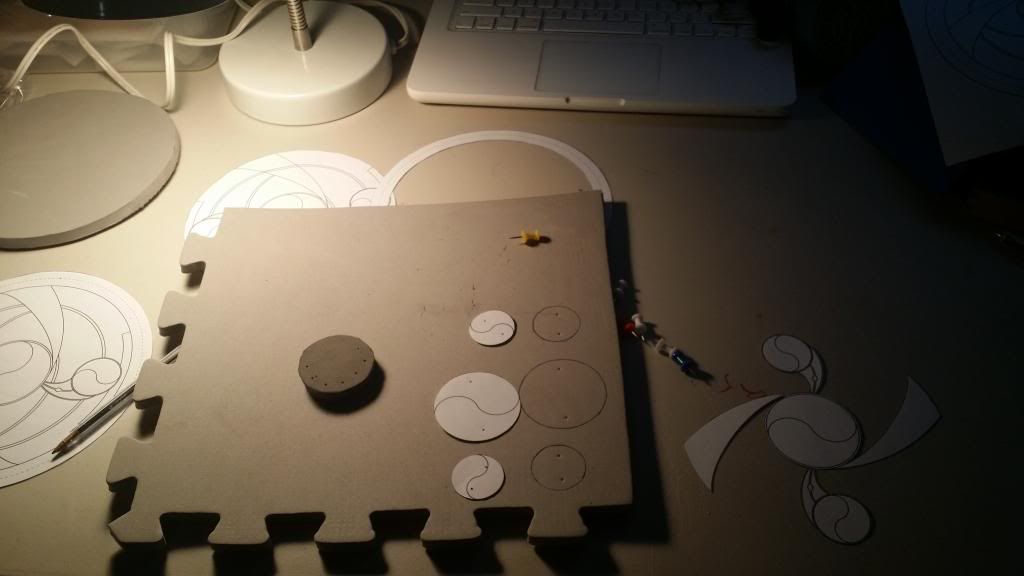
after that came the more difficult part, cutting the lines (paper and curved surfaces don't mix very well!):


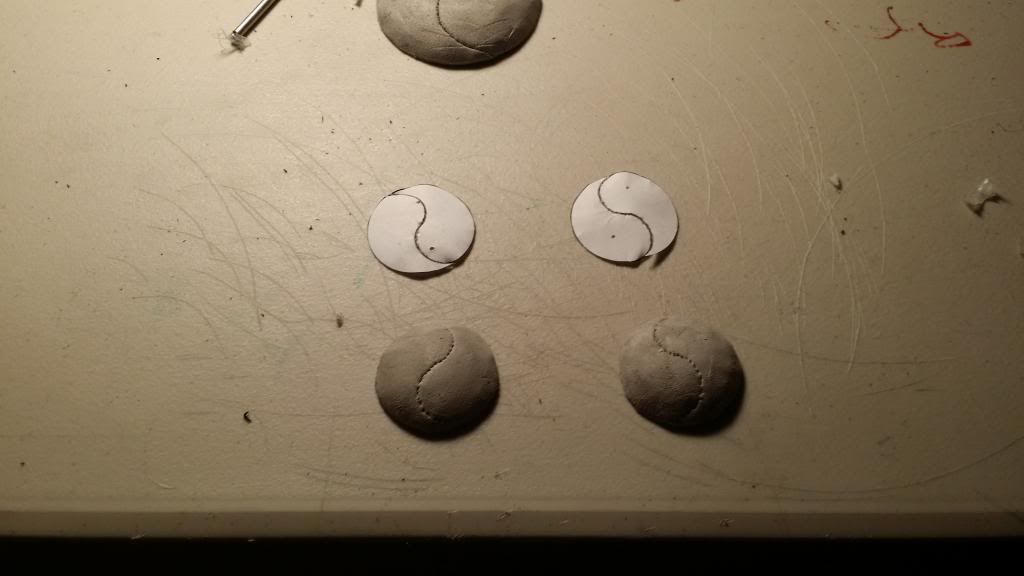

Go Go Gadget Layer 4!
Oh snap son! Part 1 over and out! Stay tuned!
No comments:
Post a Comment