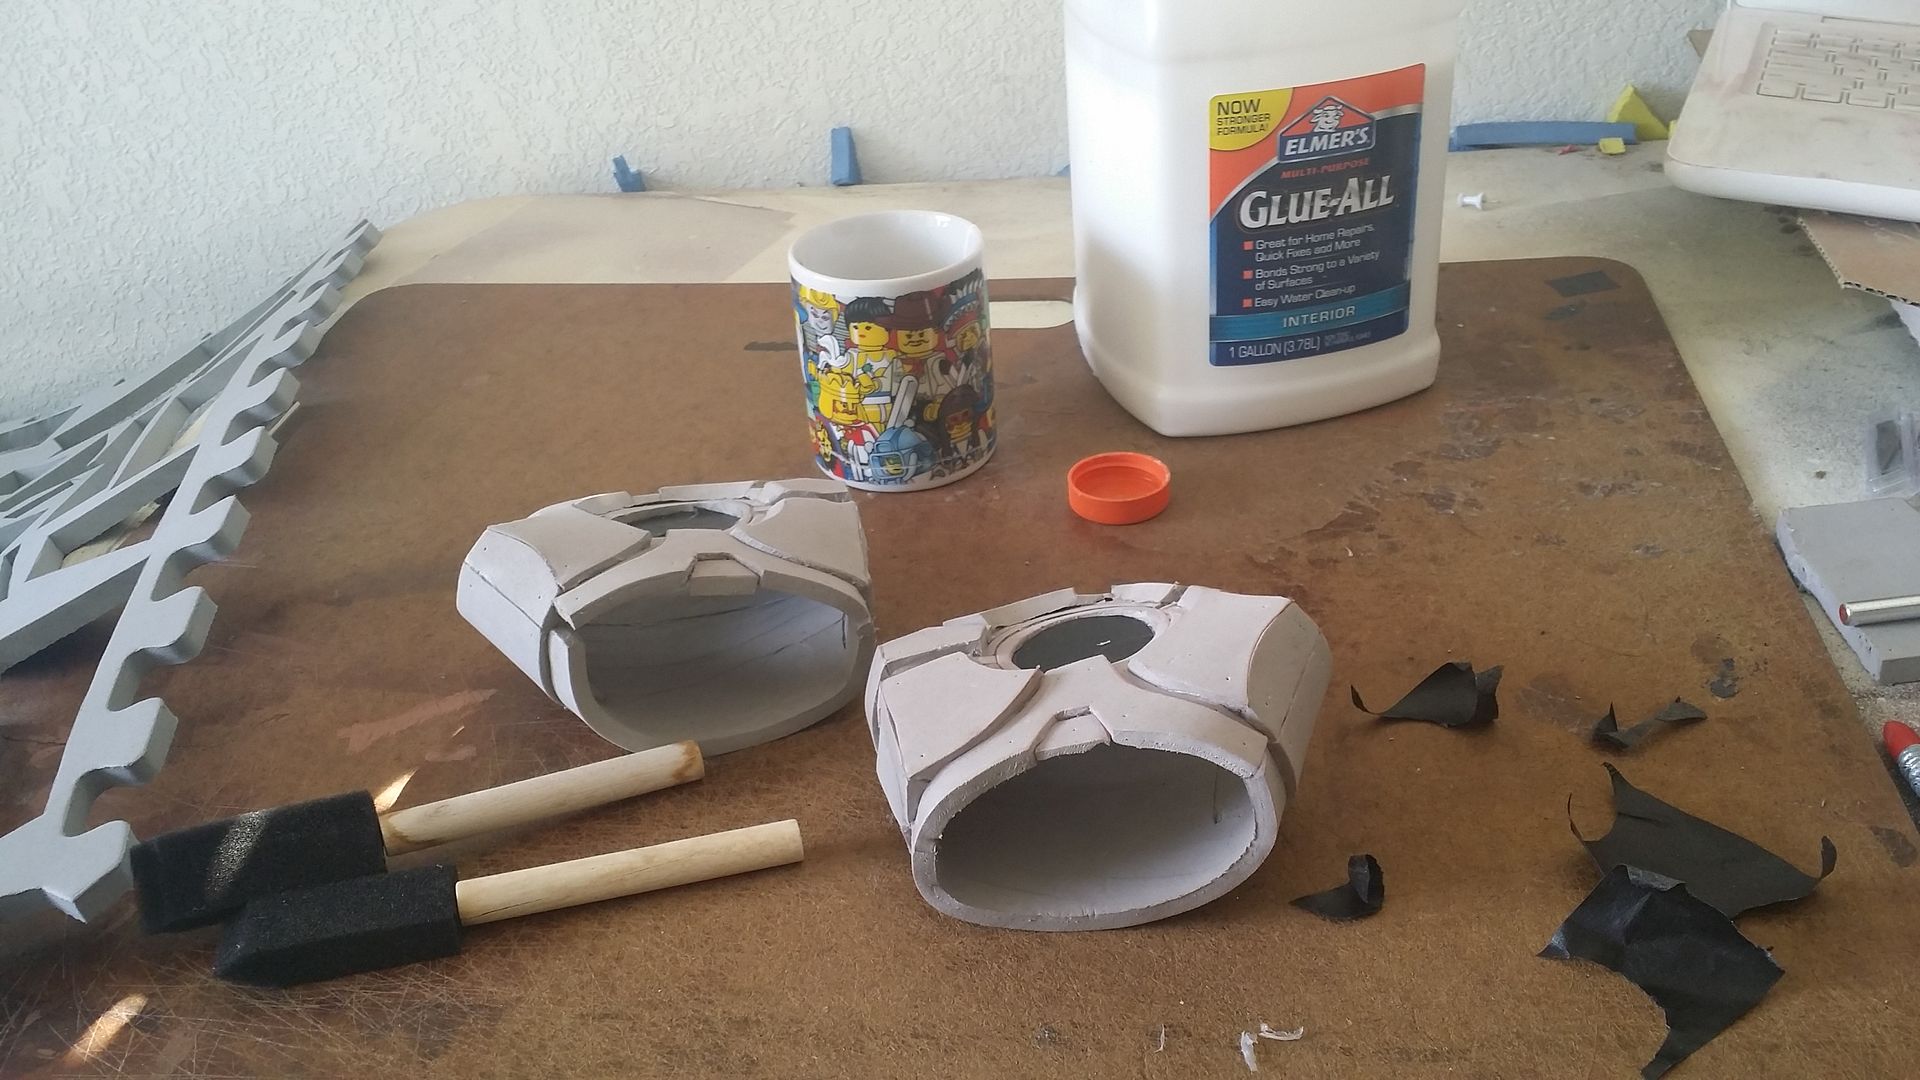
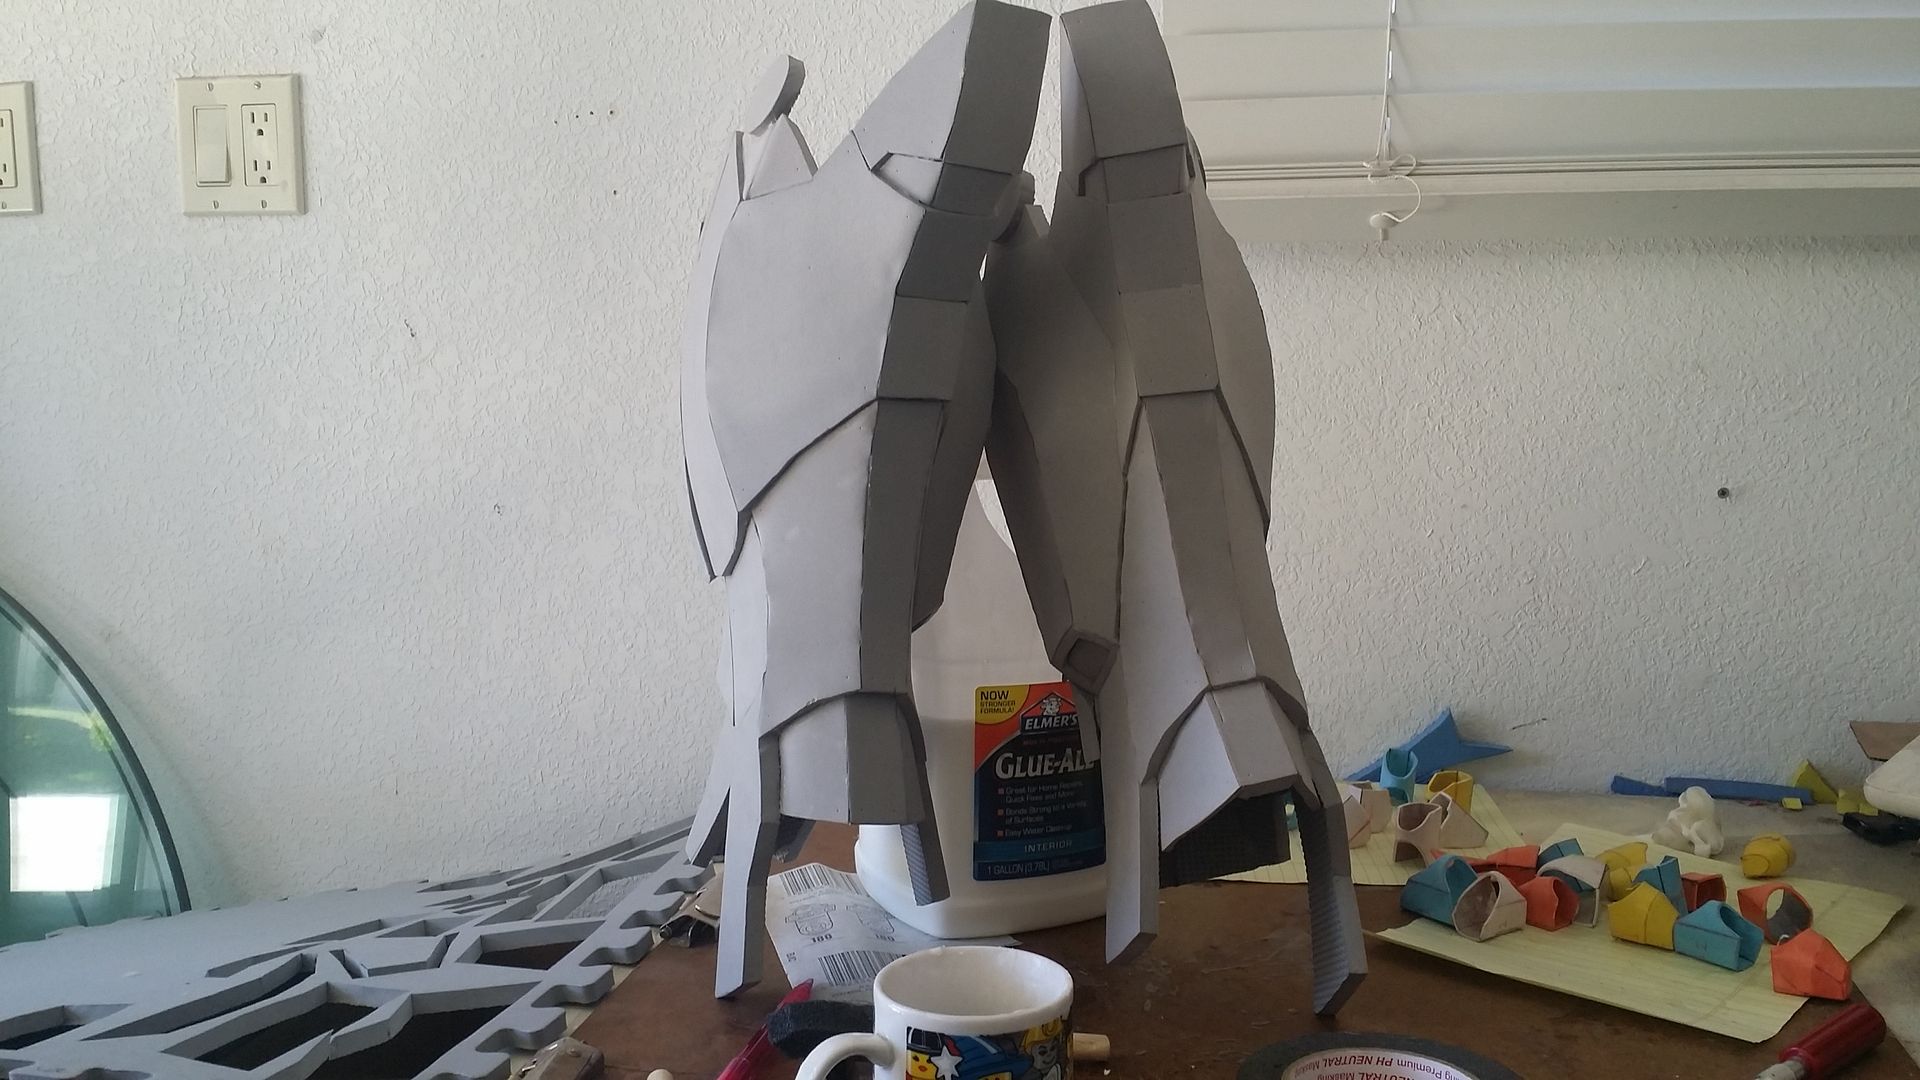
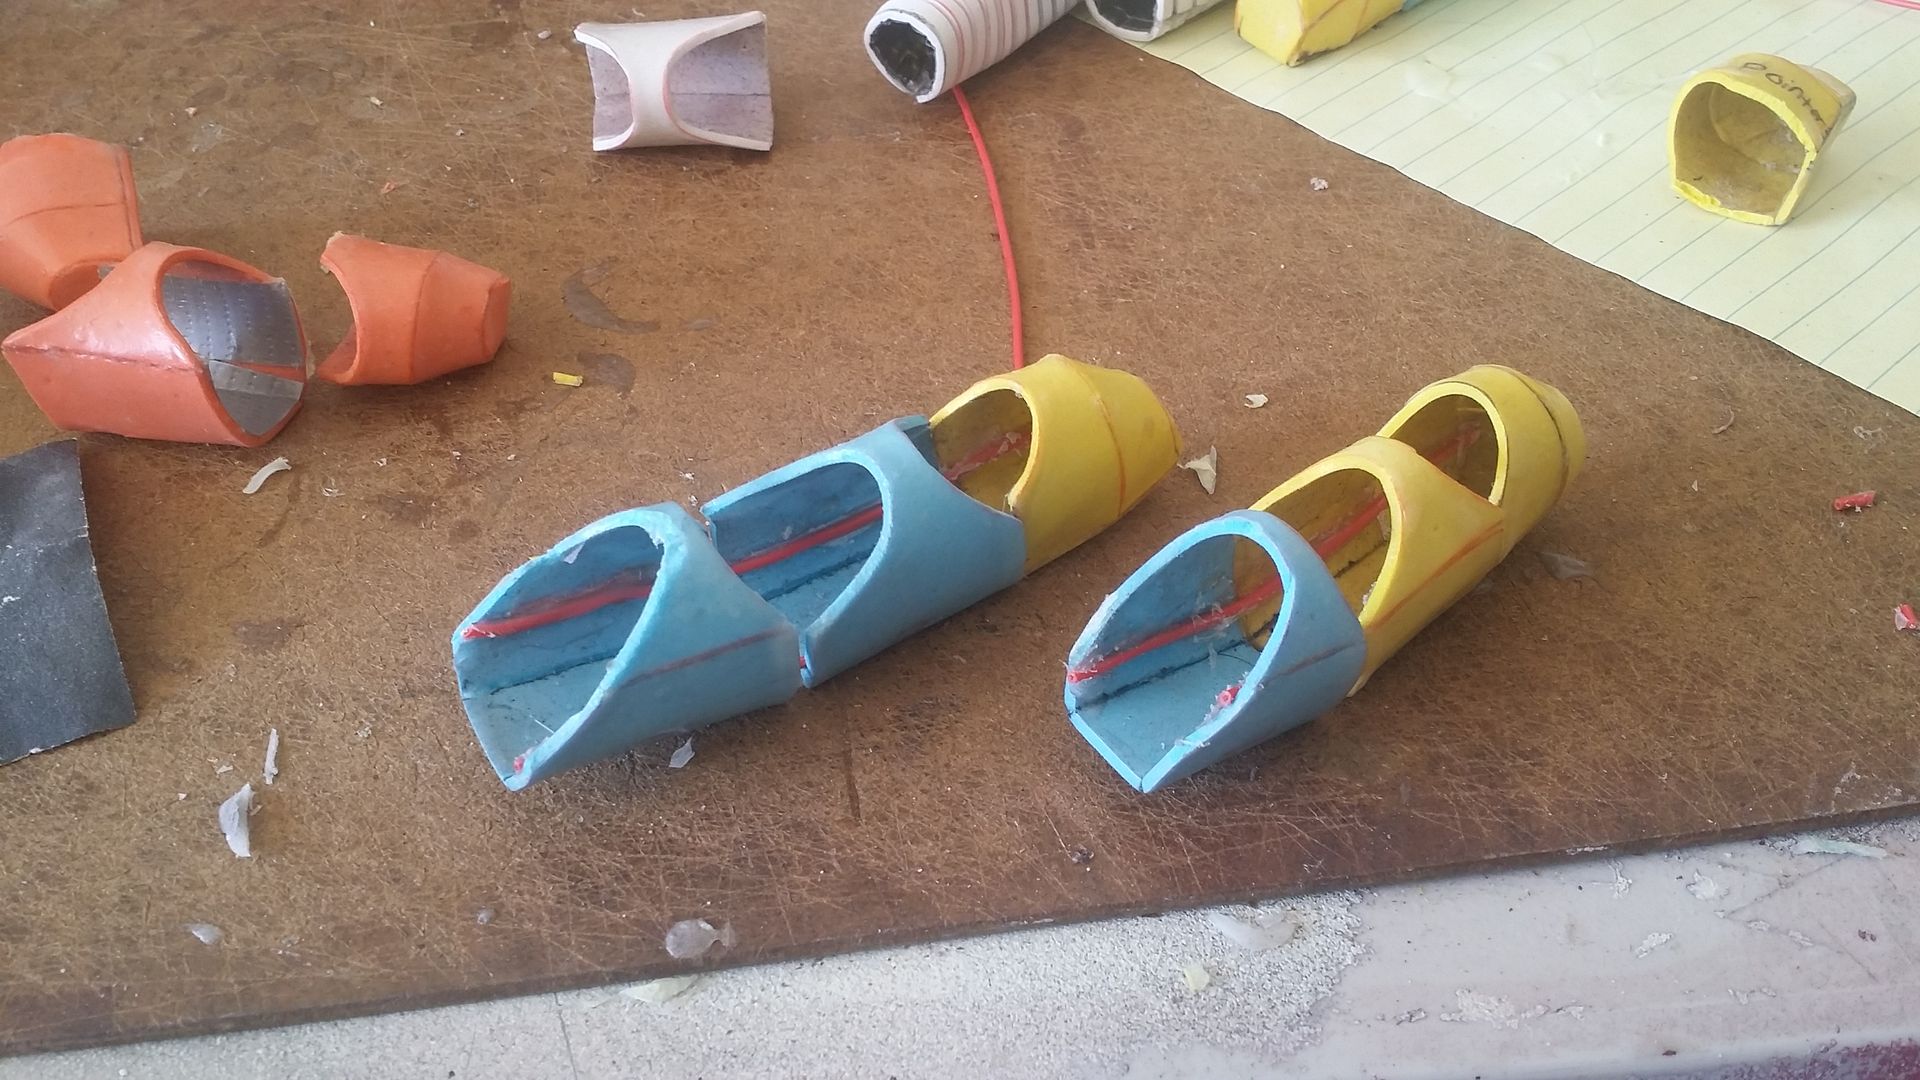
So! last update the building phase was finally done, and next up is the sealing phase. However, instead of using flex seal (like my past two builds) i'll be using elmer's glue as a hard plastic coating around the foam. the reason for this is that flex seal gives a rough, textured finish, which is not what i want for the smooth "metal" plating of the iron man suit. so, elmer's glue is a cheap, smooth-finish sealant that's easy to apply and sand. now, i've already done this with the costume during the initial build, so the only pieces that need to be sealed are the pieces that have been freshly made (the hands, fingers, helmet, and everything below the knee). without further ado, let's get to work, starting with the hands:
With the palms hung up to dry, the fingers were next:

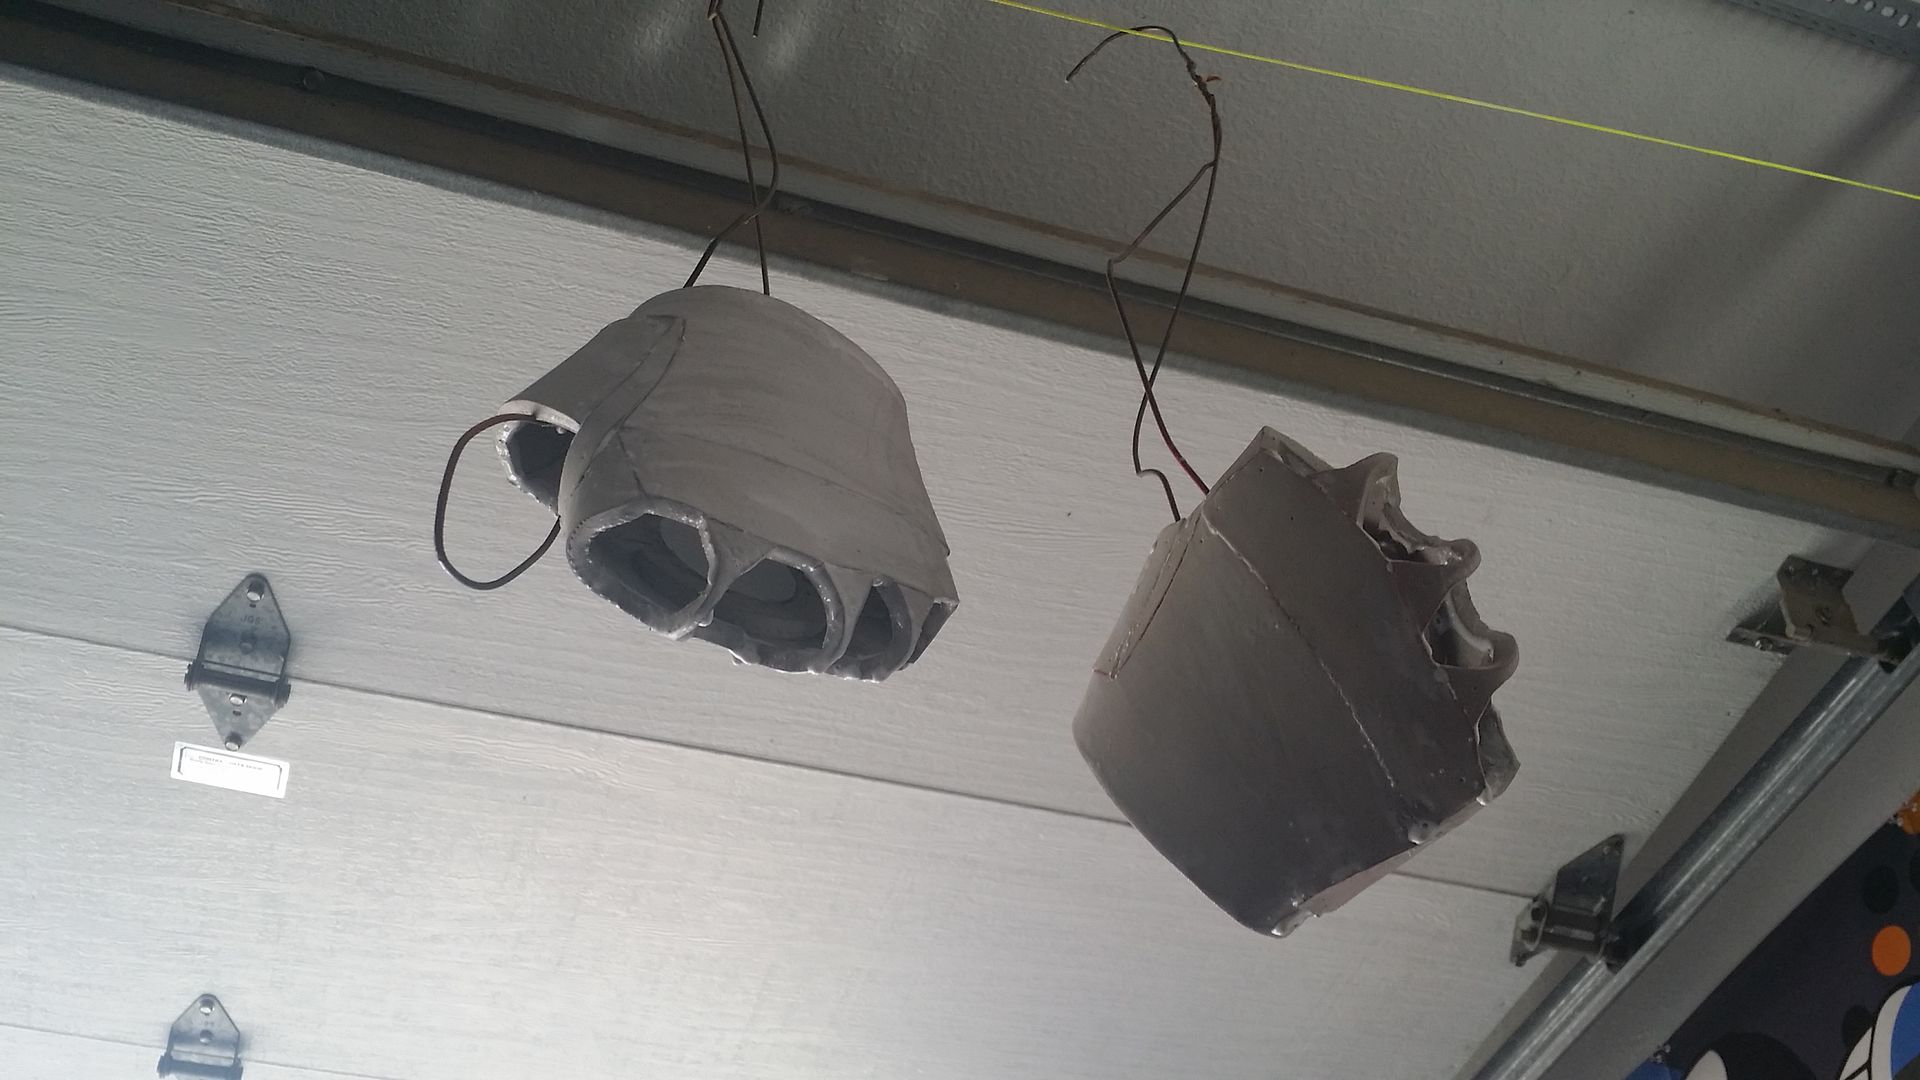
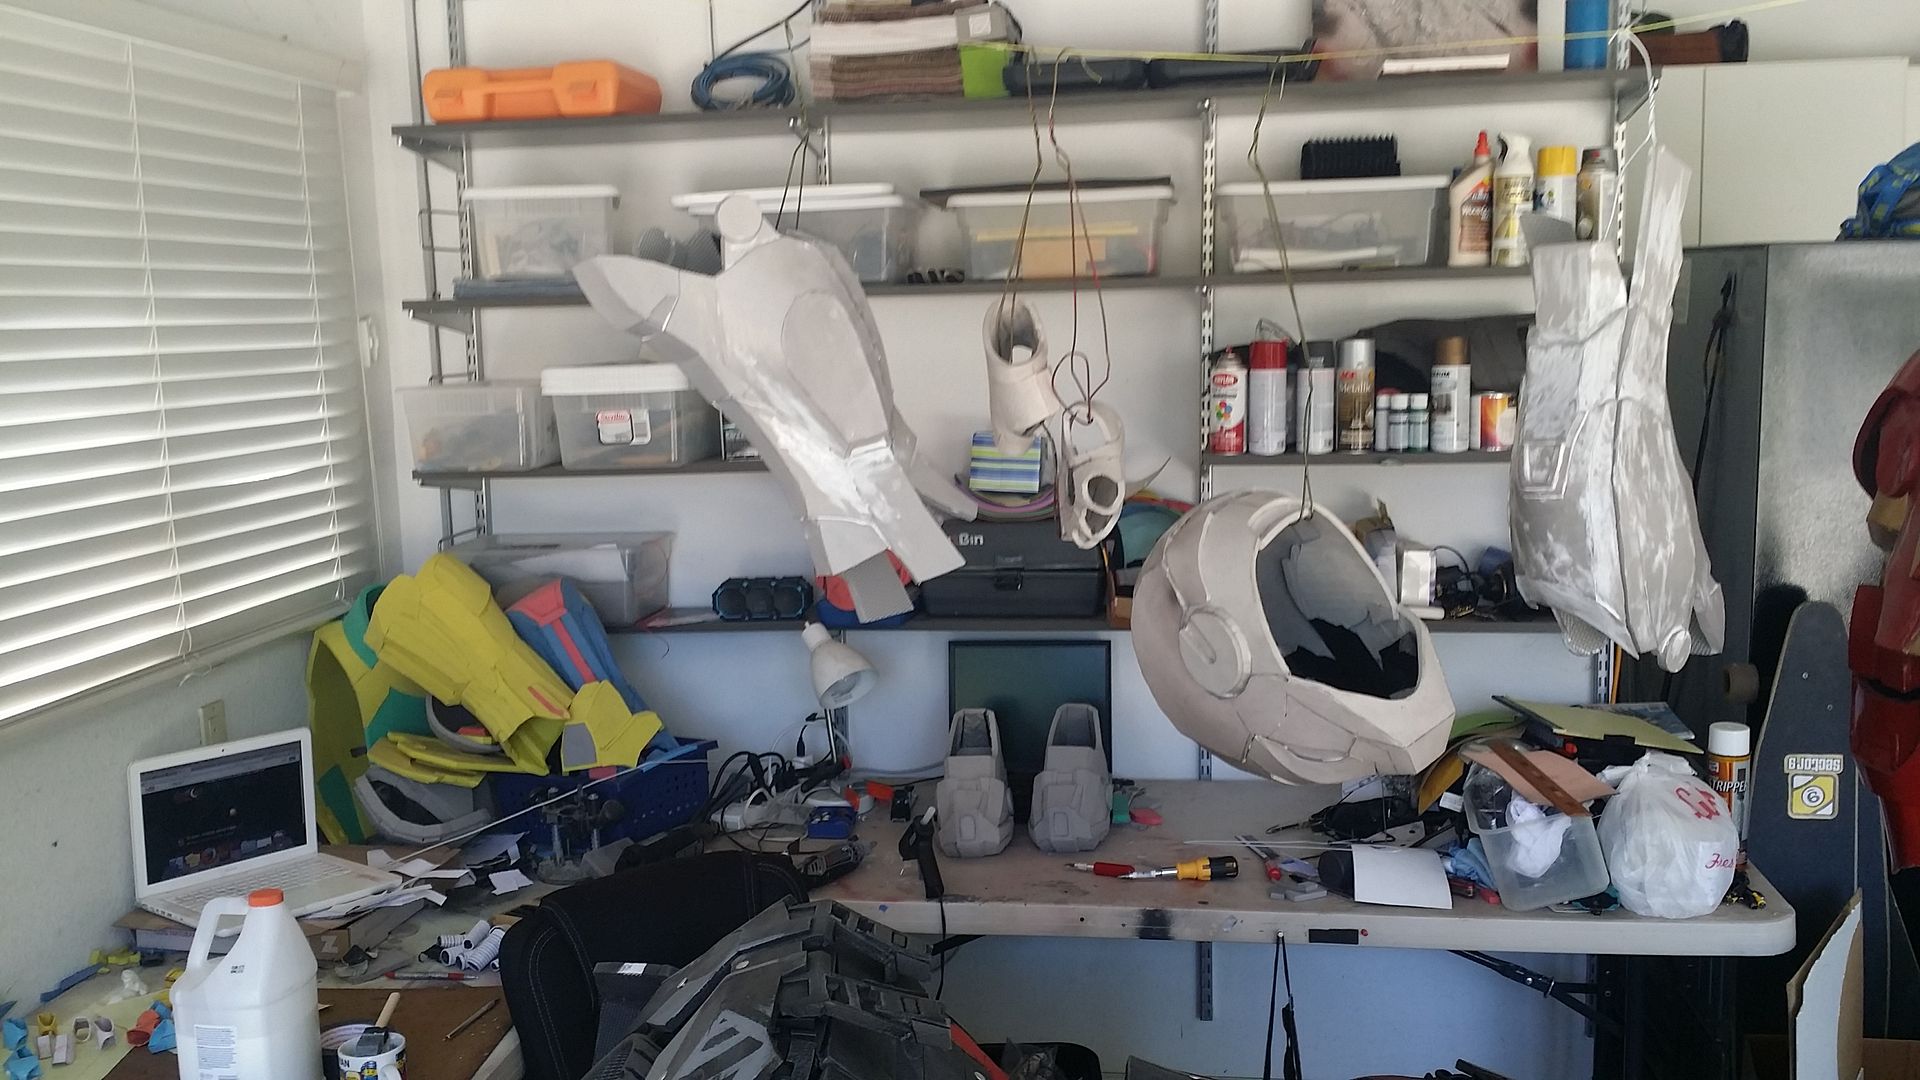
with those sealed, the helmet was next:
followed by the shins:
Everything dry and ready for a second layer:
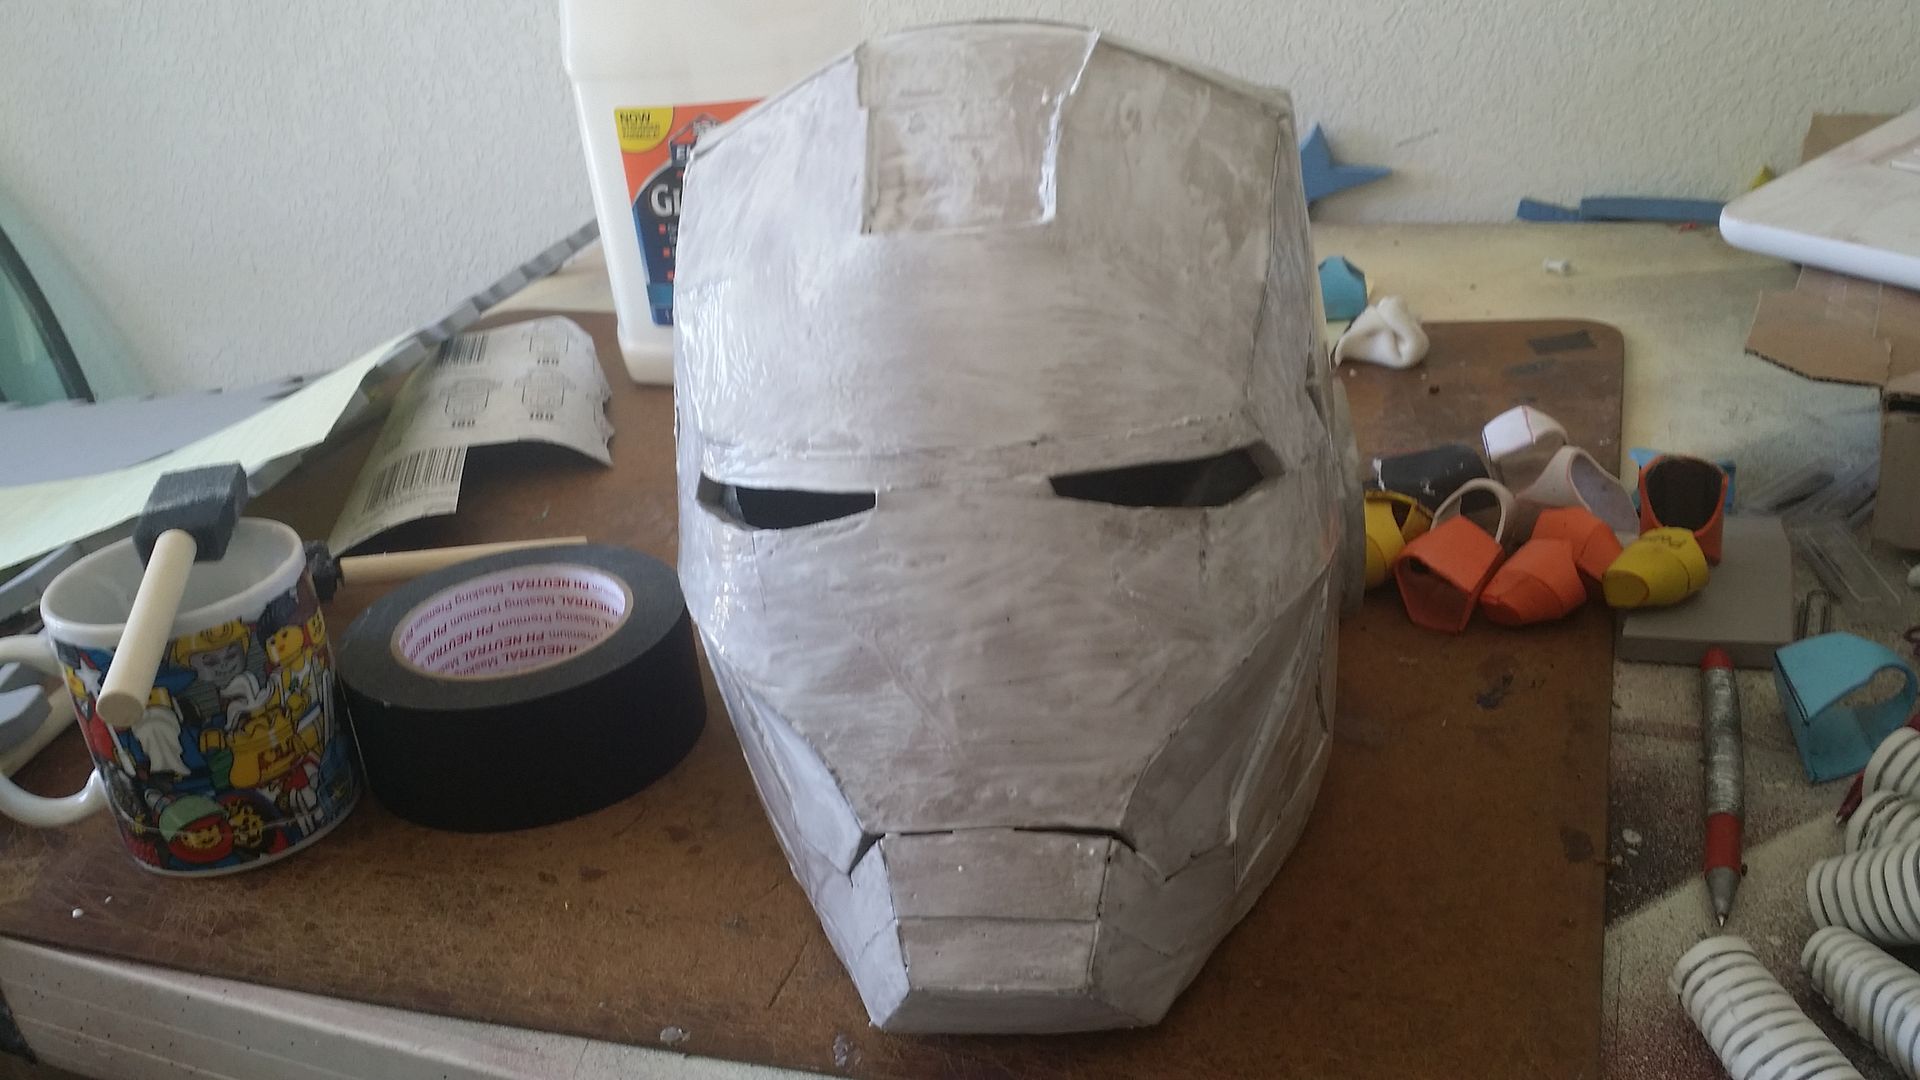
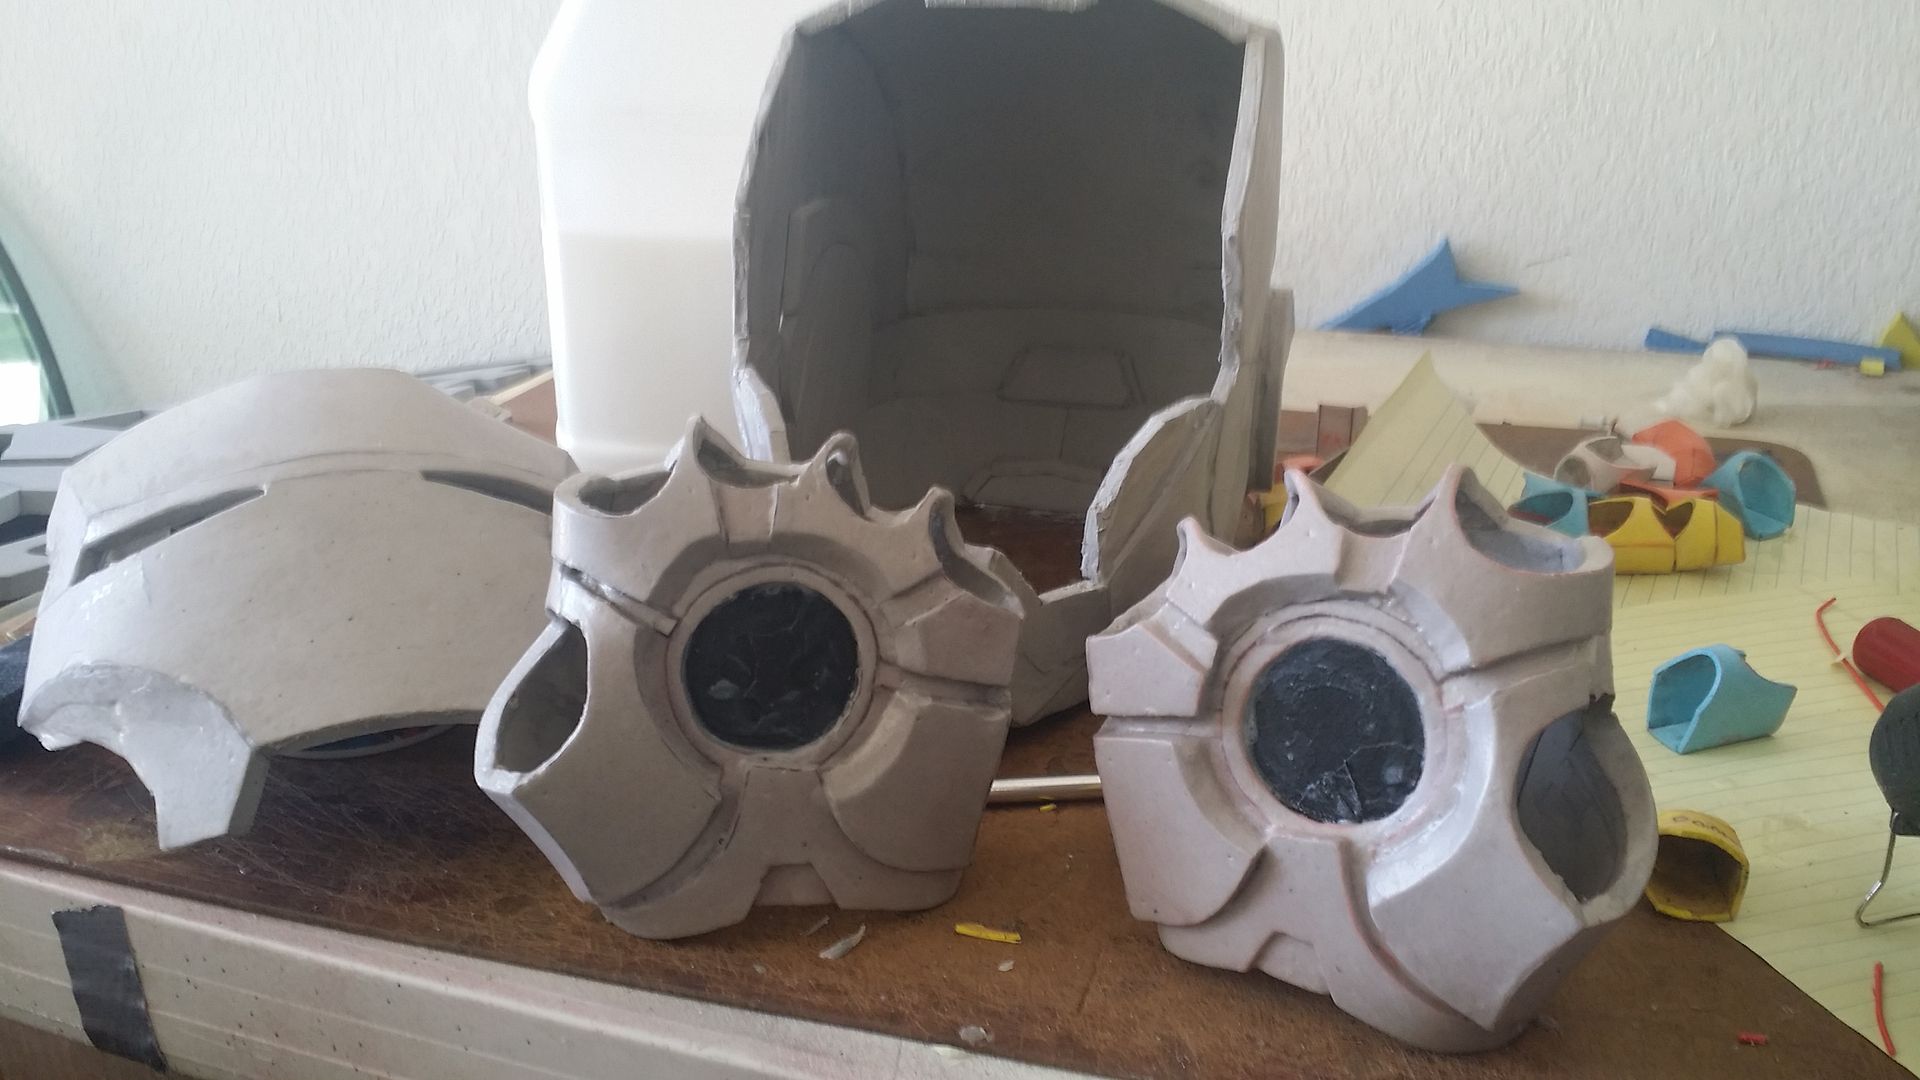
first, any blemishes or hardened brushstrokes had to be sanded. the faceplate also had to be cut out now that it could hold its shape with the first layer of sealant:


things were moving fast and messy at this point, so not many pictures were taken. just take my word for it, i applied a second layer of sealant (for added effect, go back up to the top picture and look at all of them again pretending i did that for a second time)
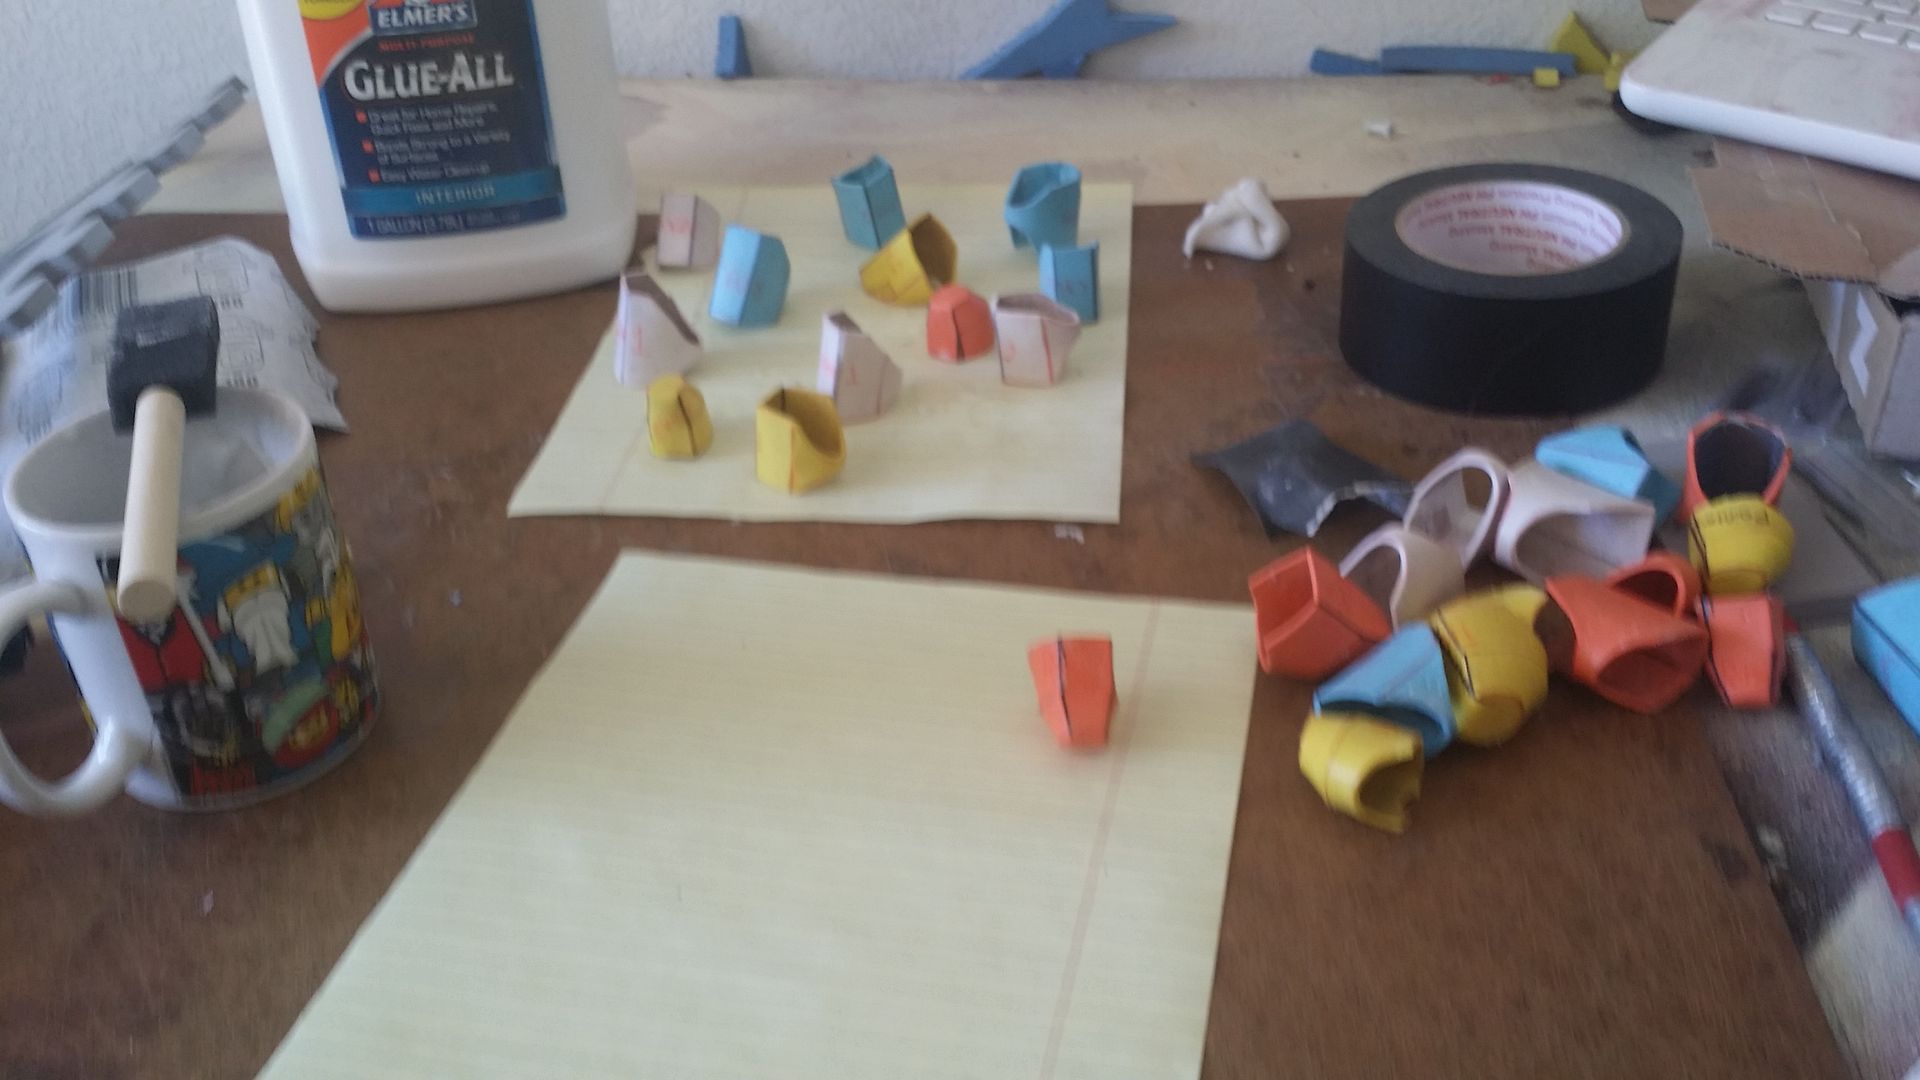
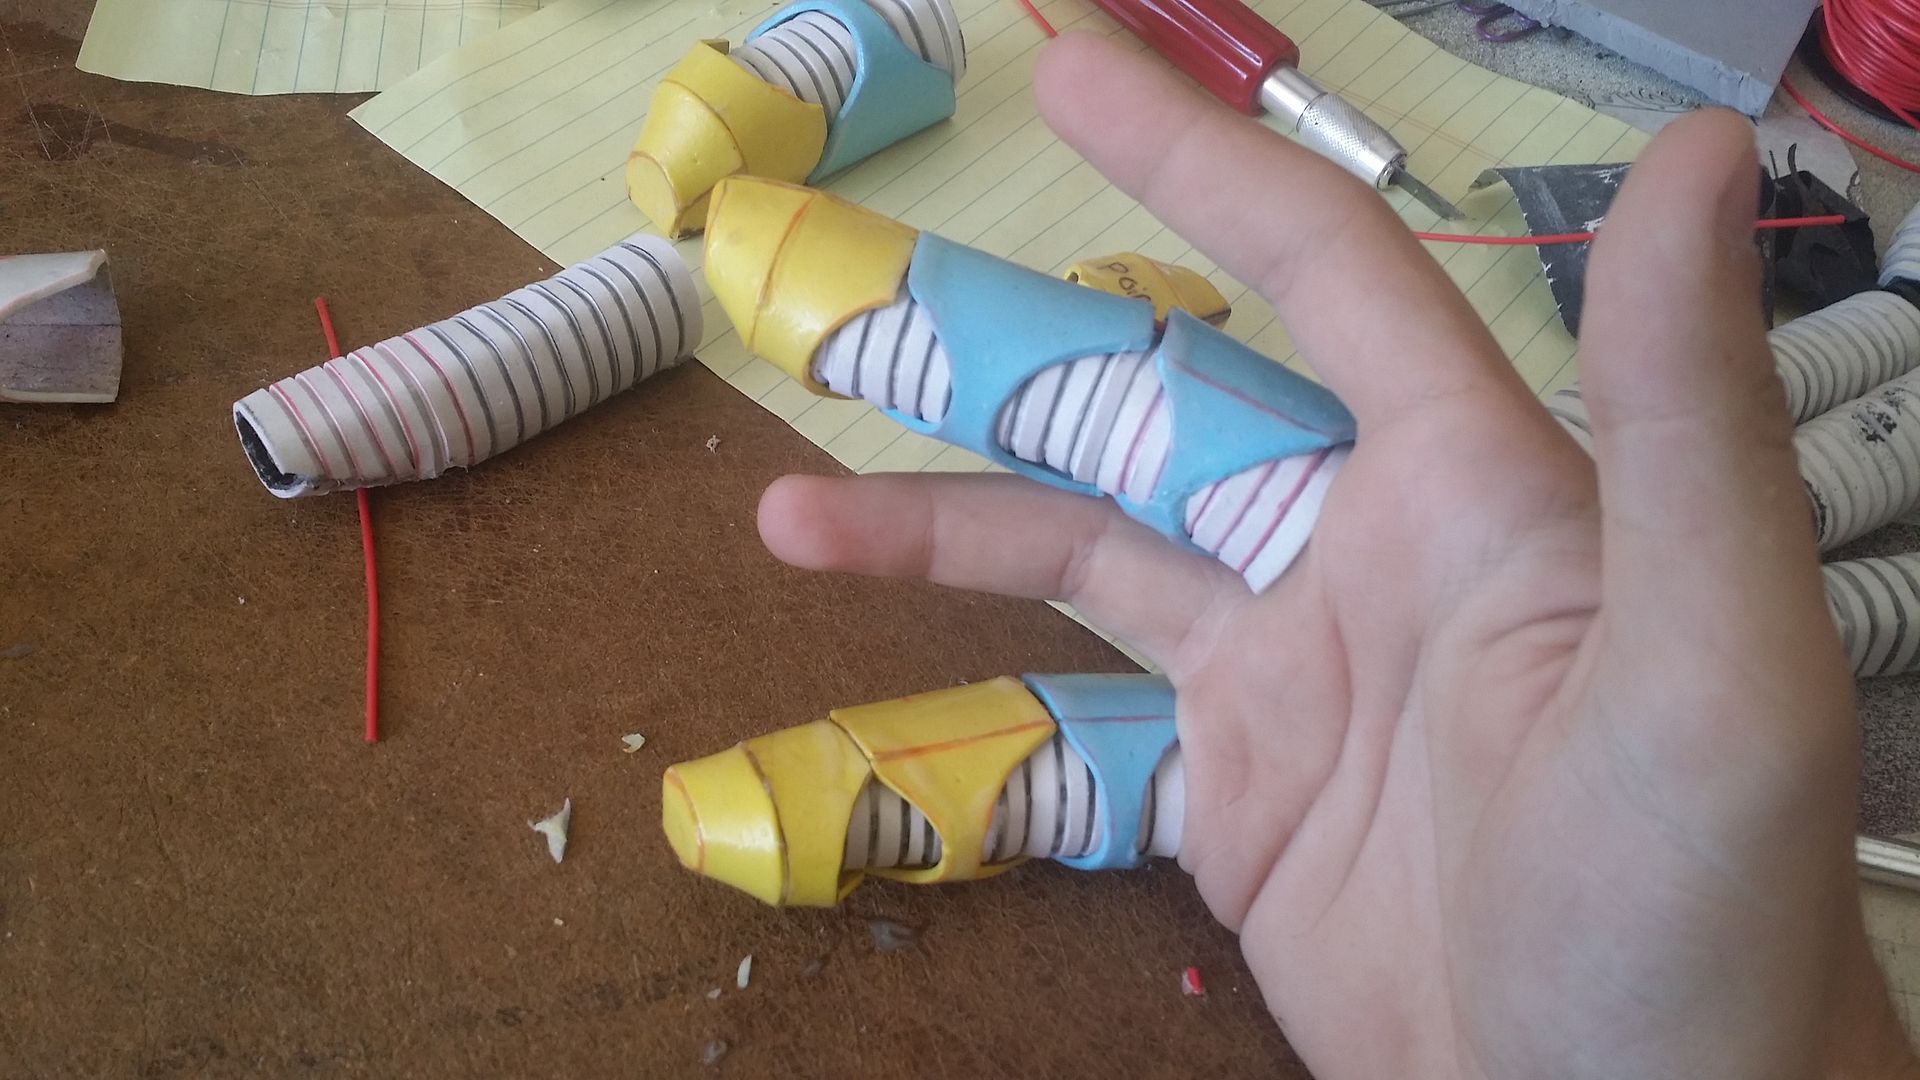
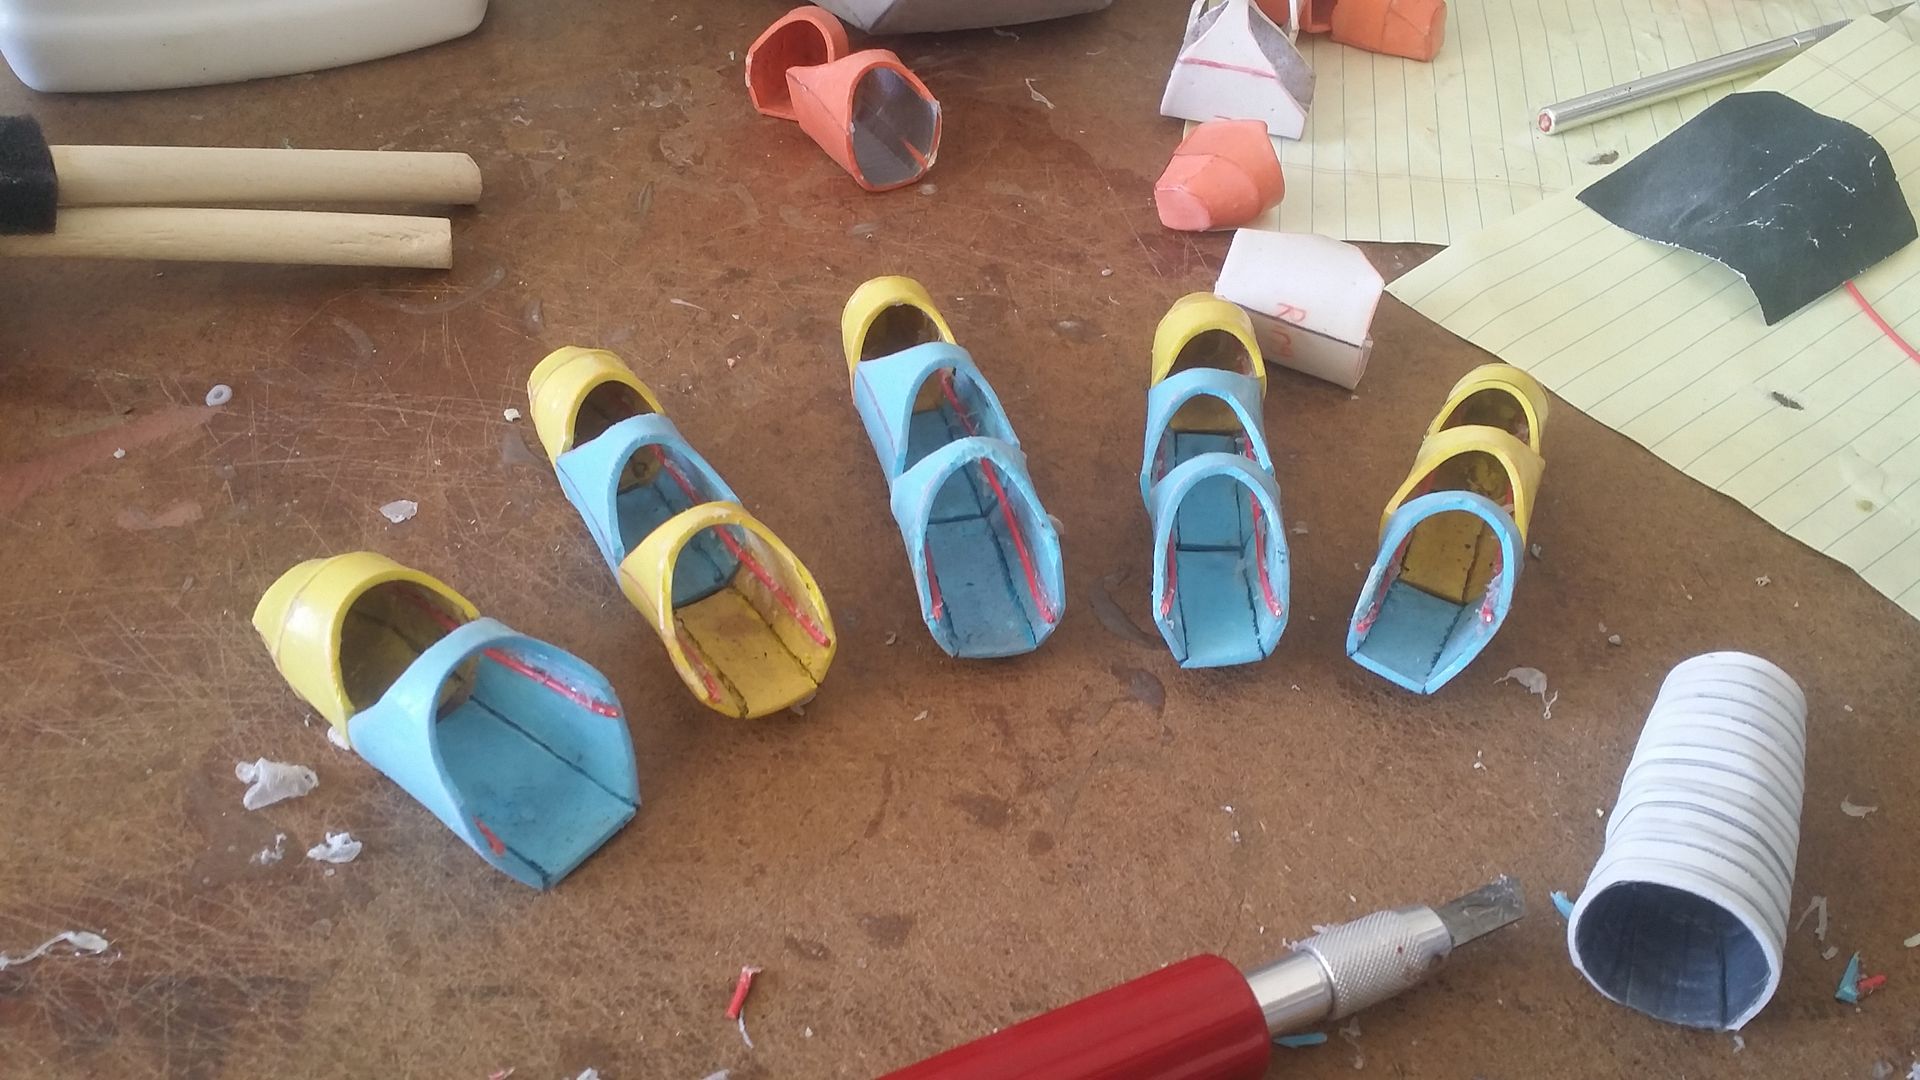
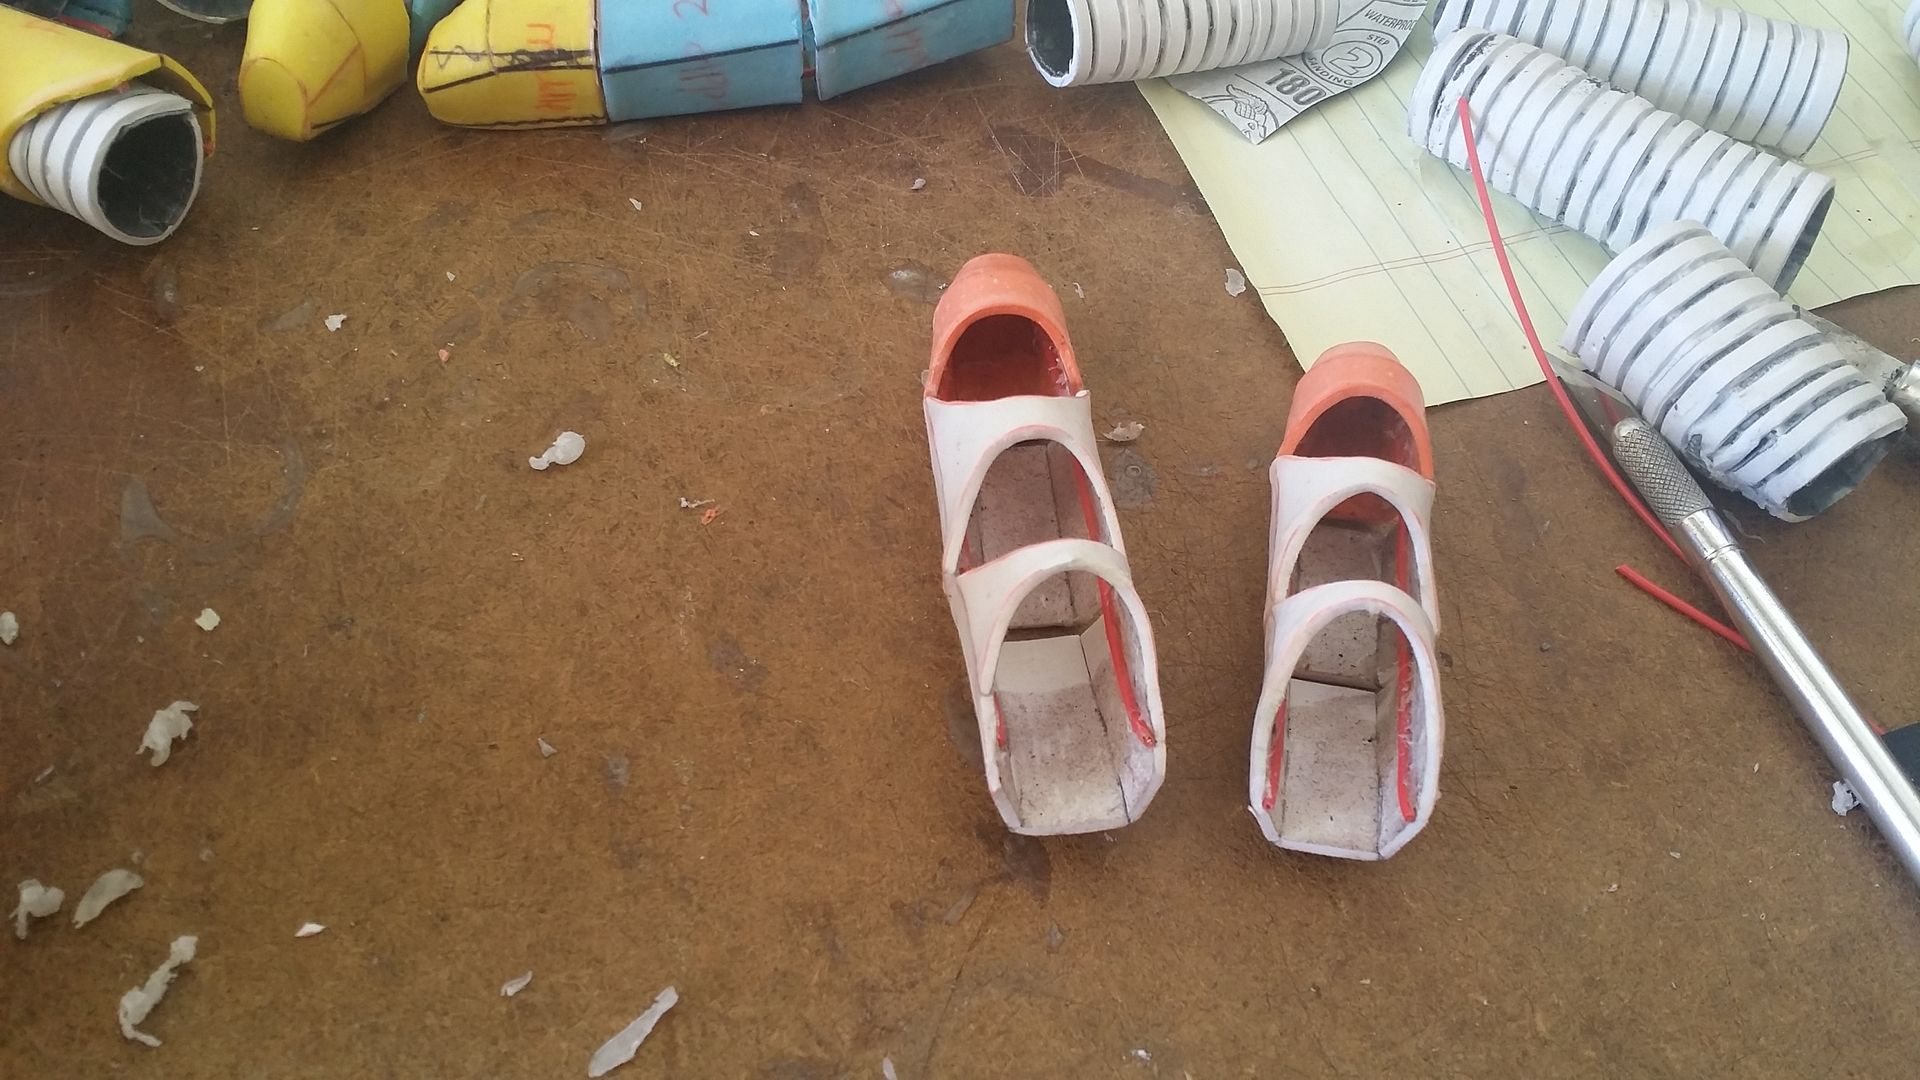
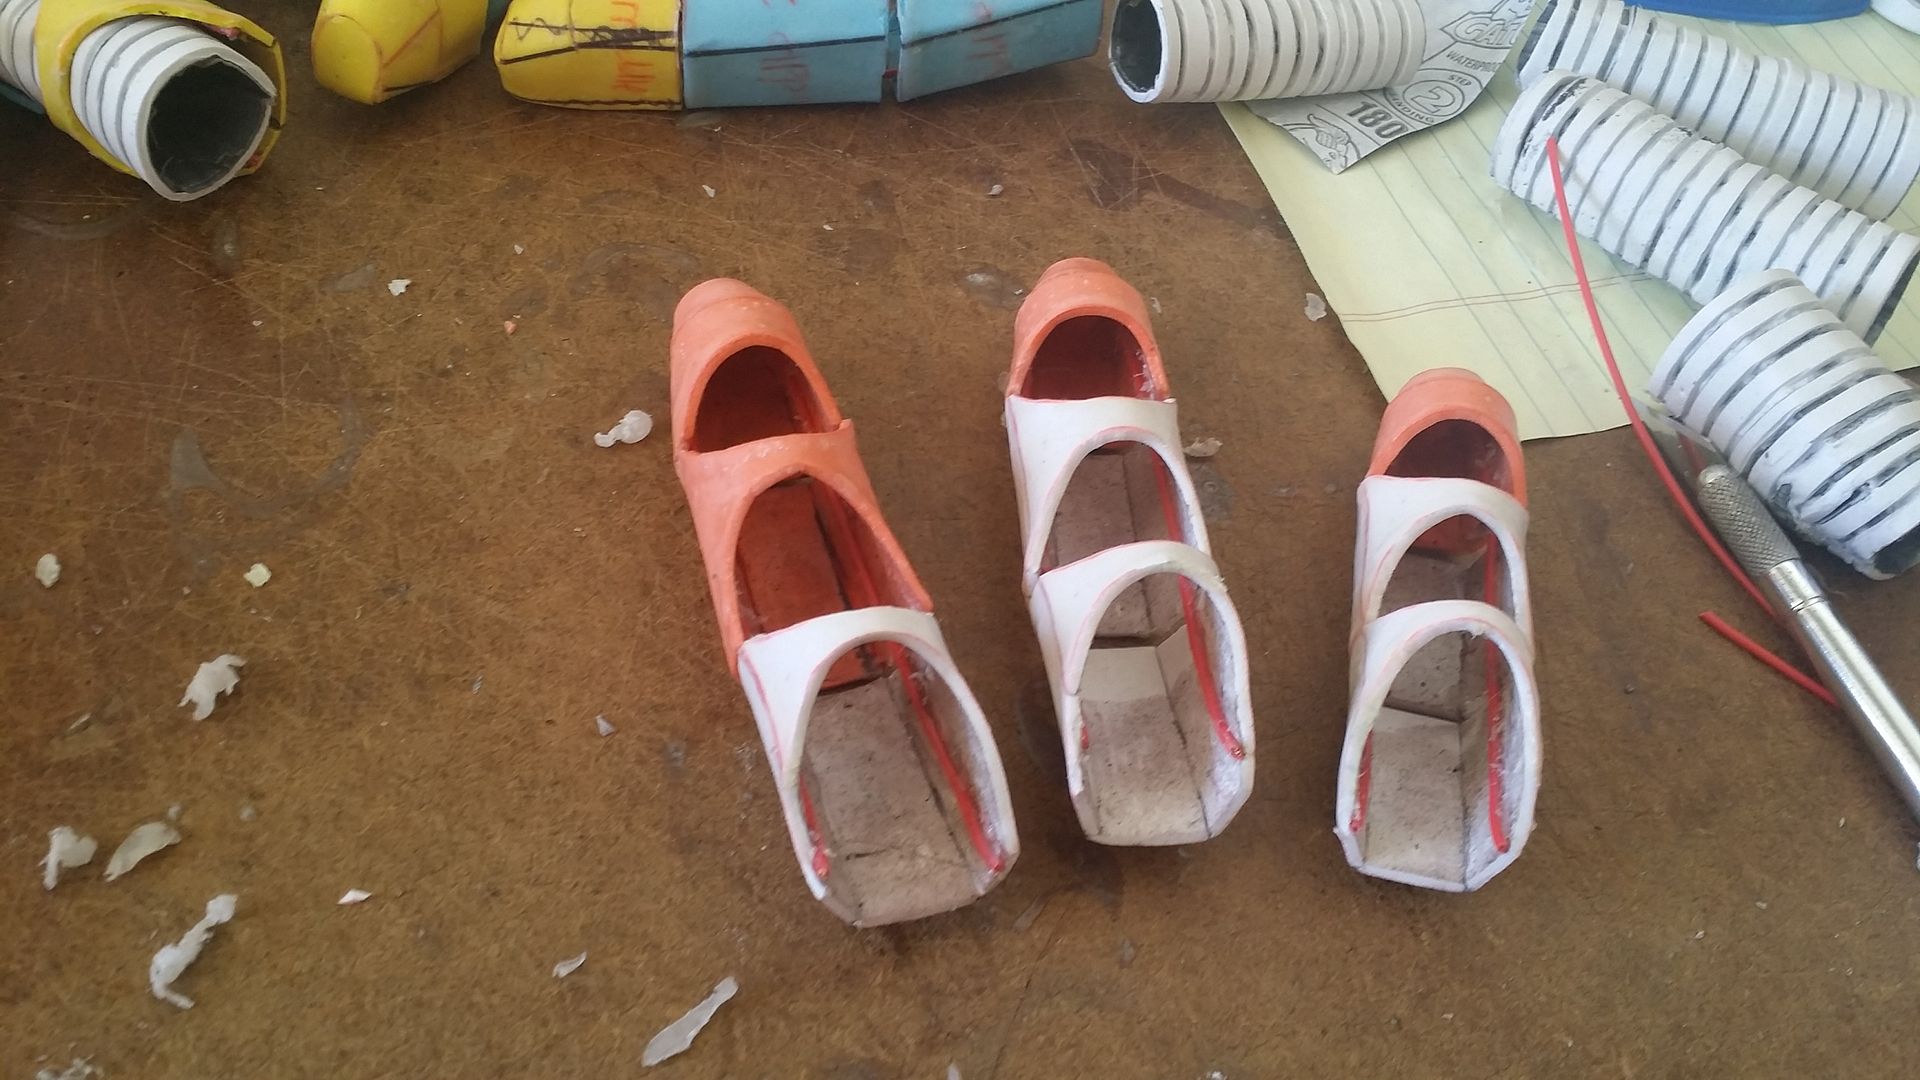
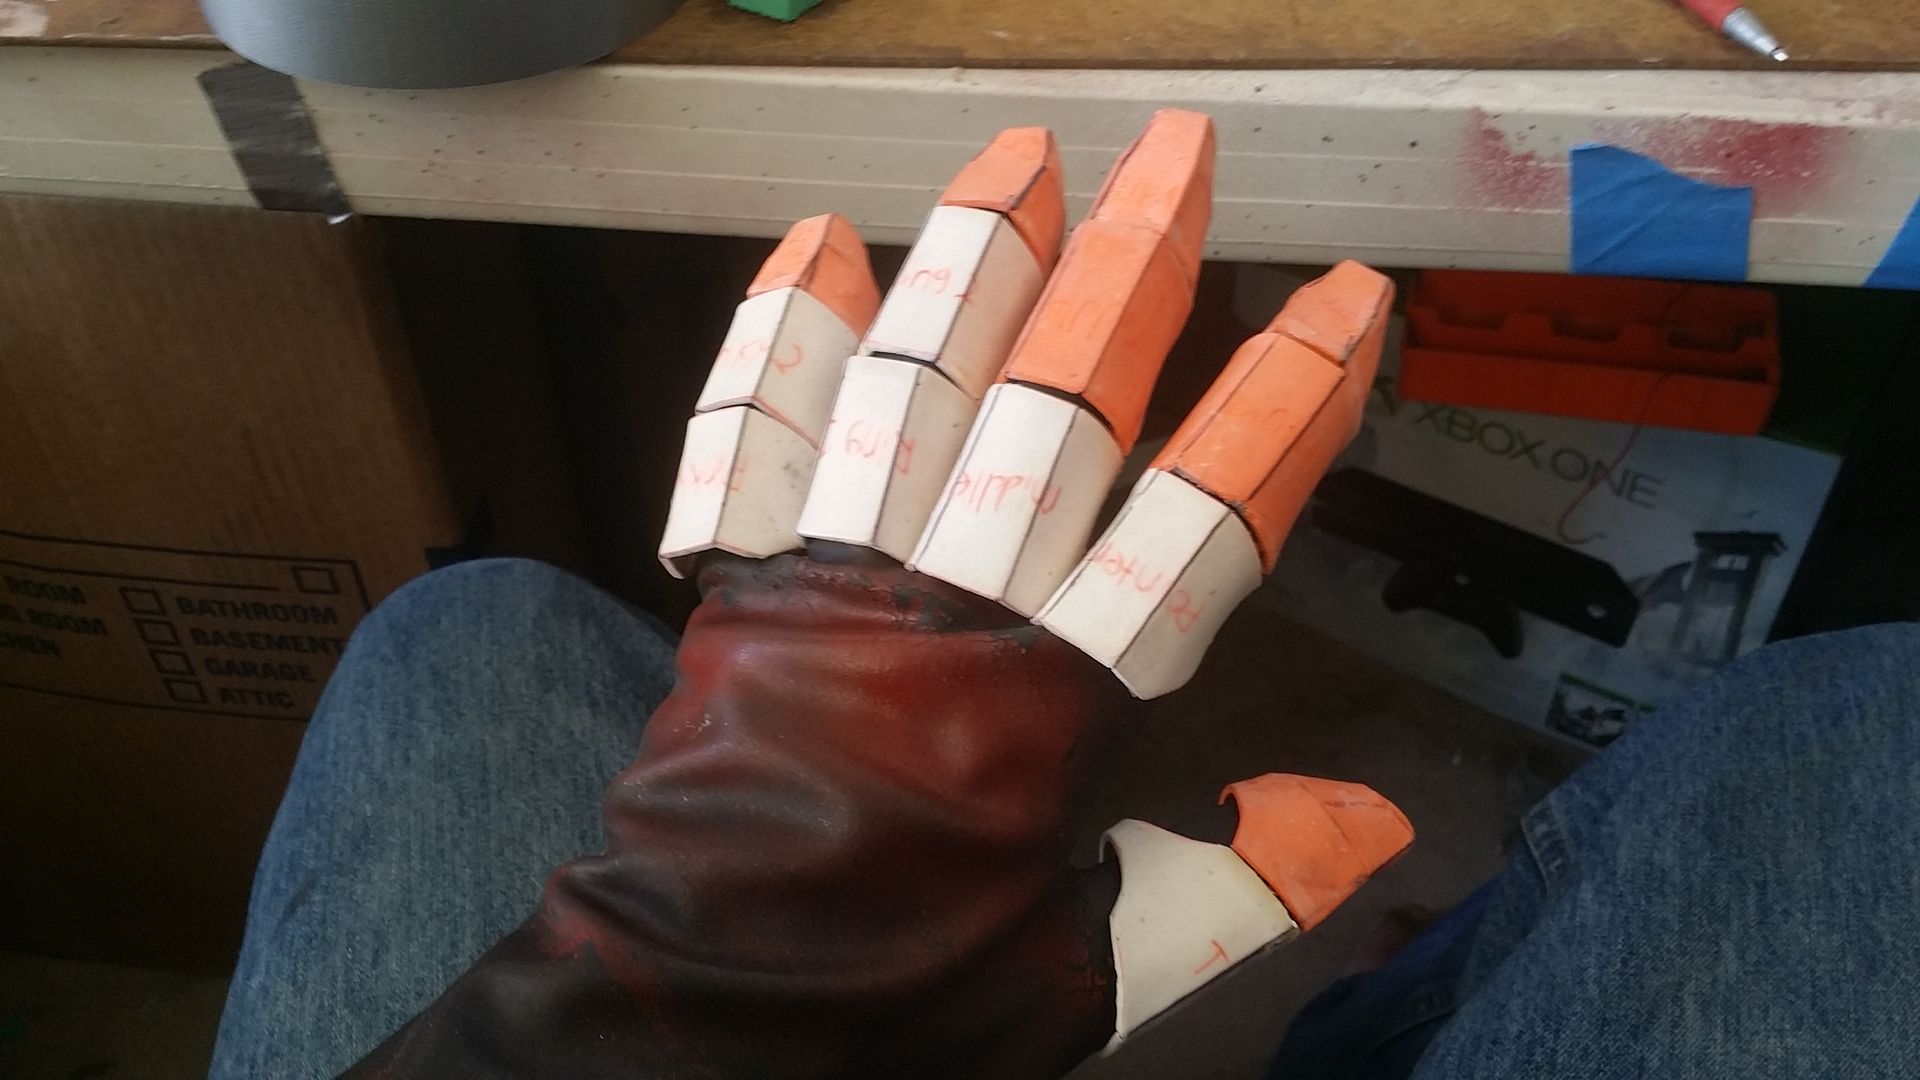
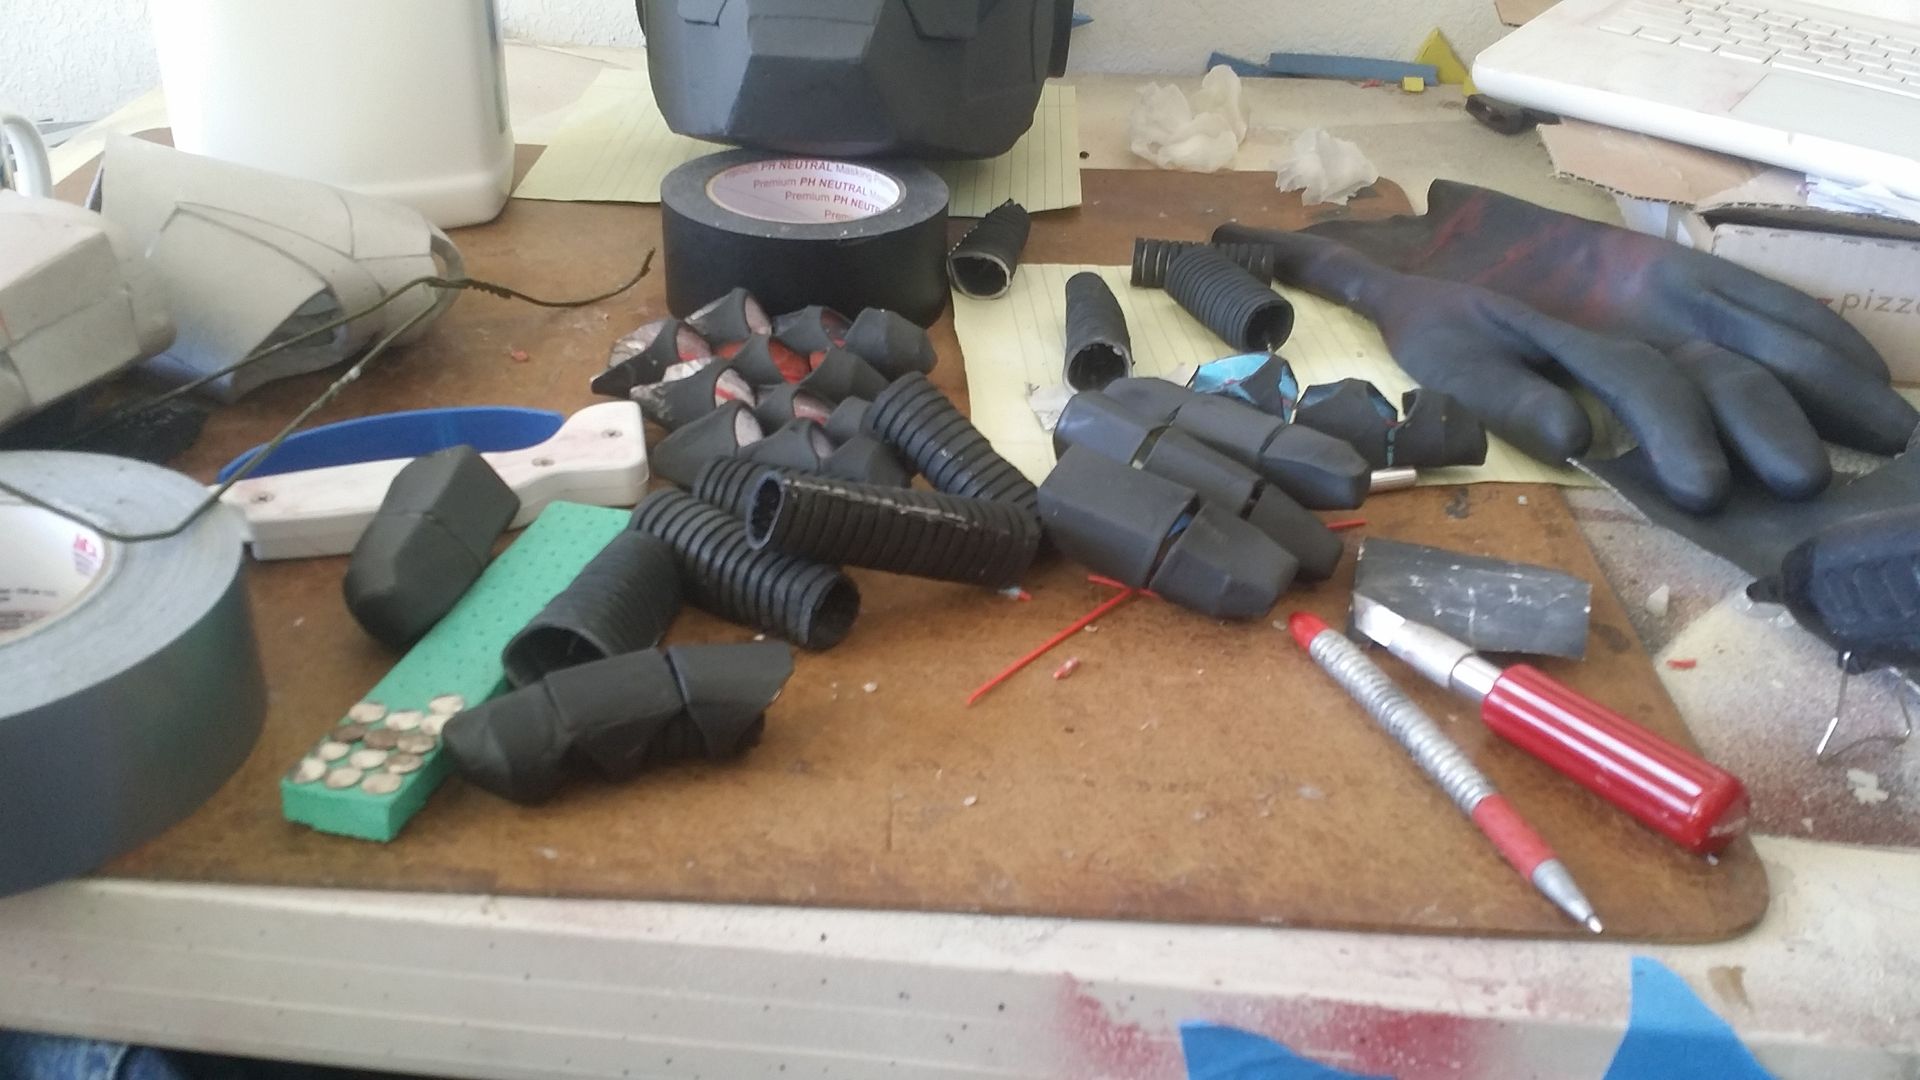
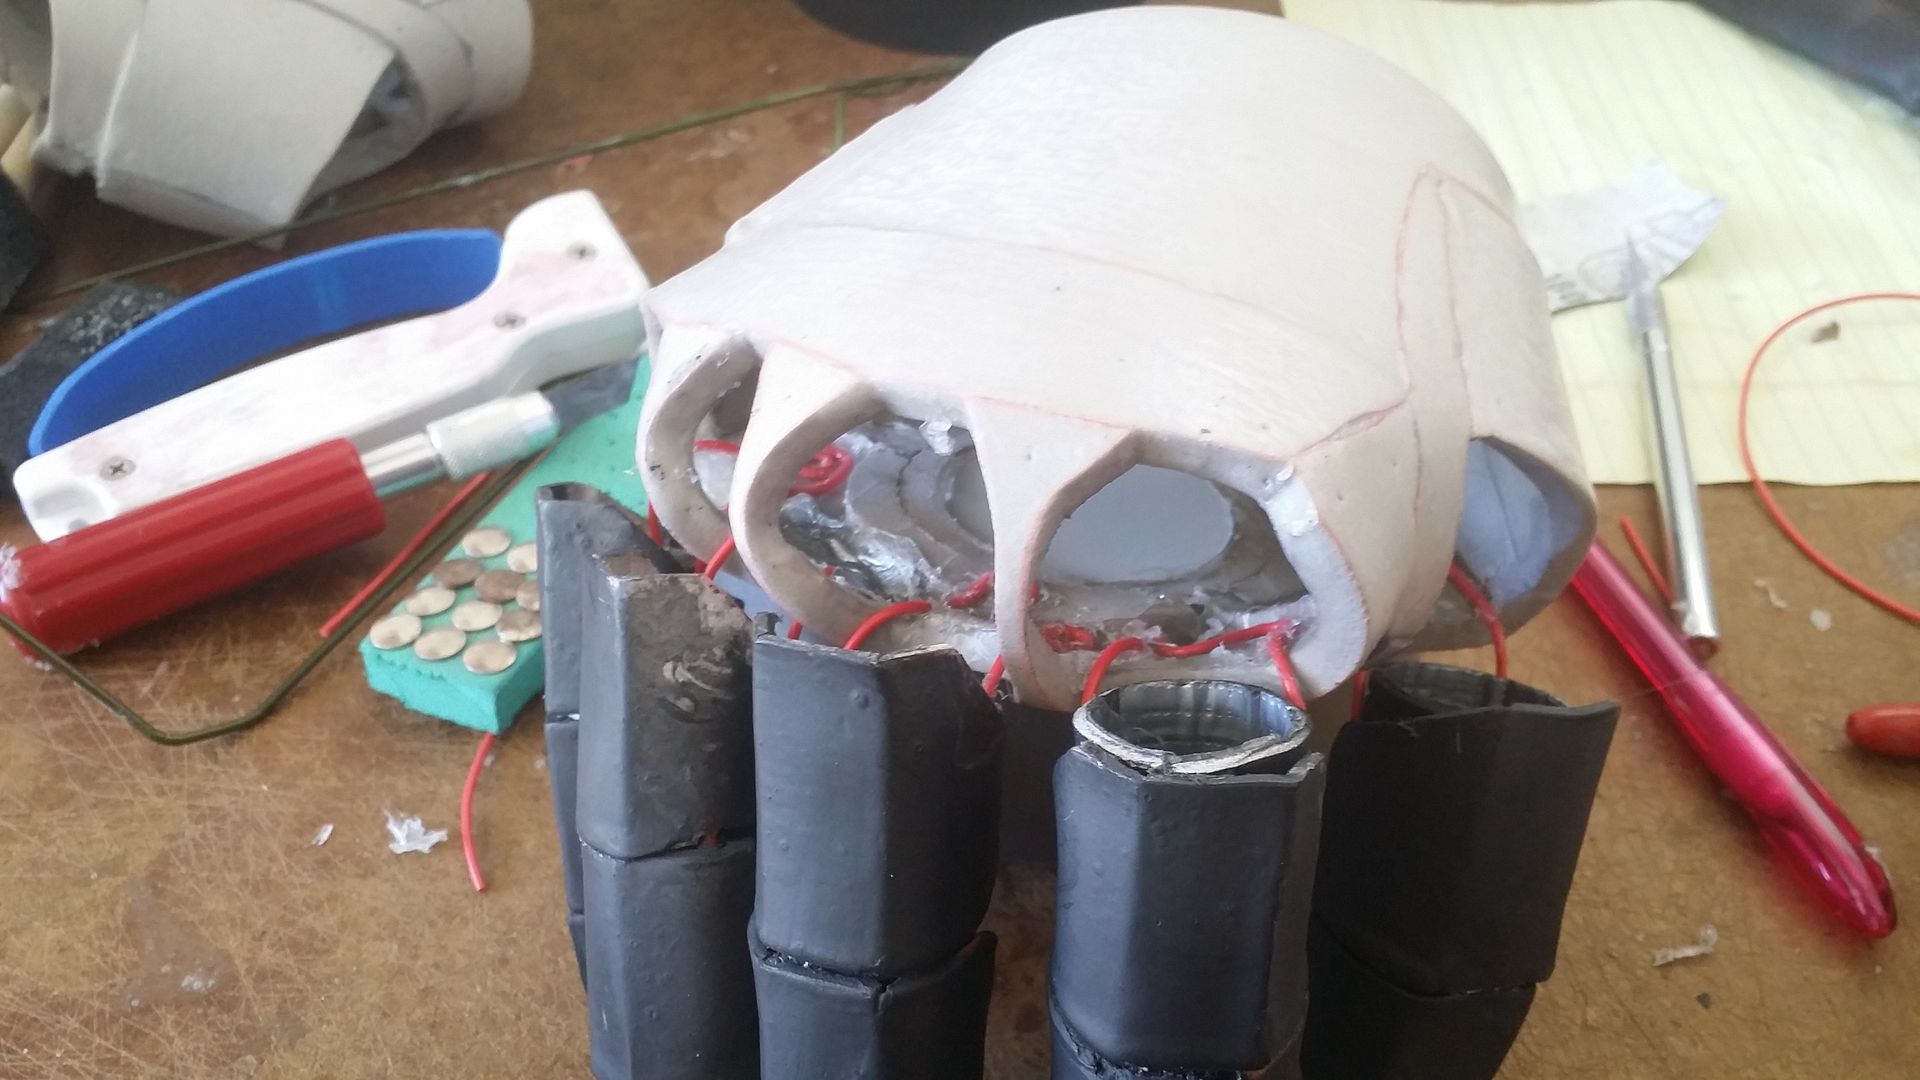
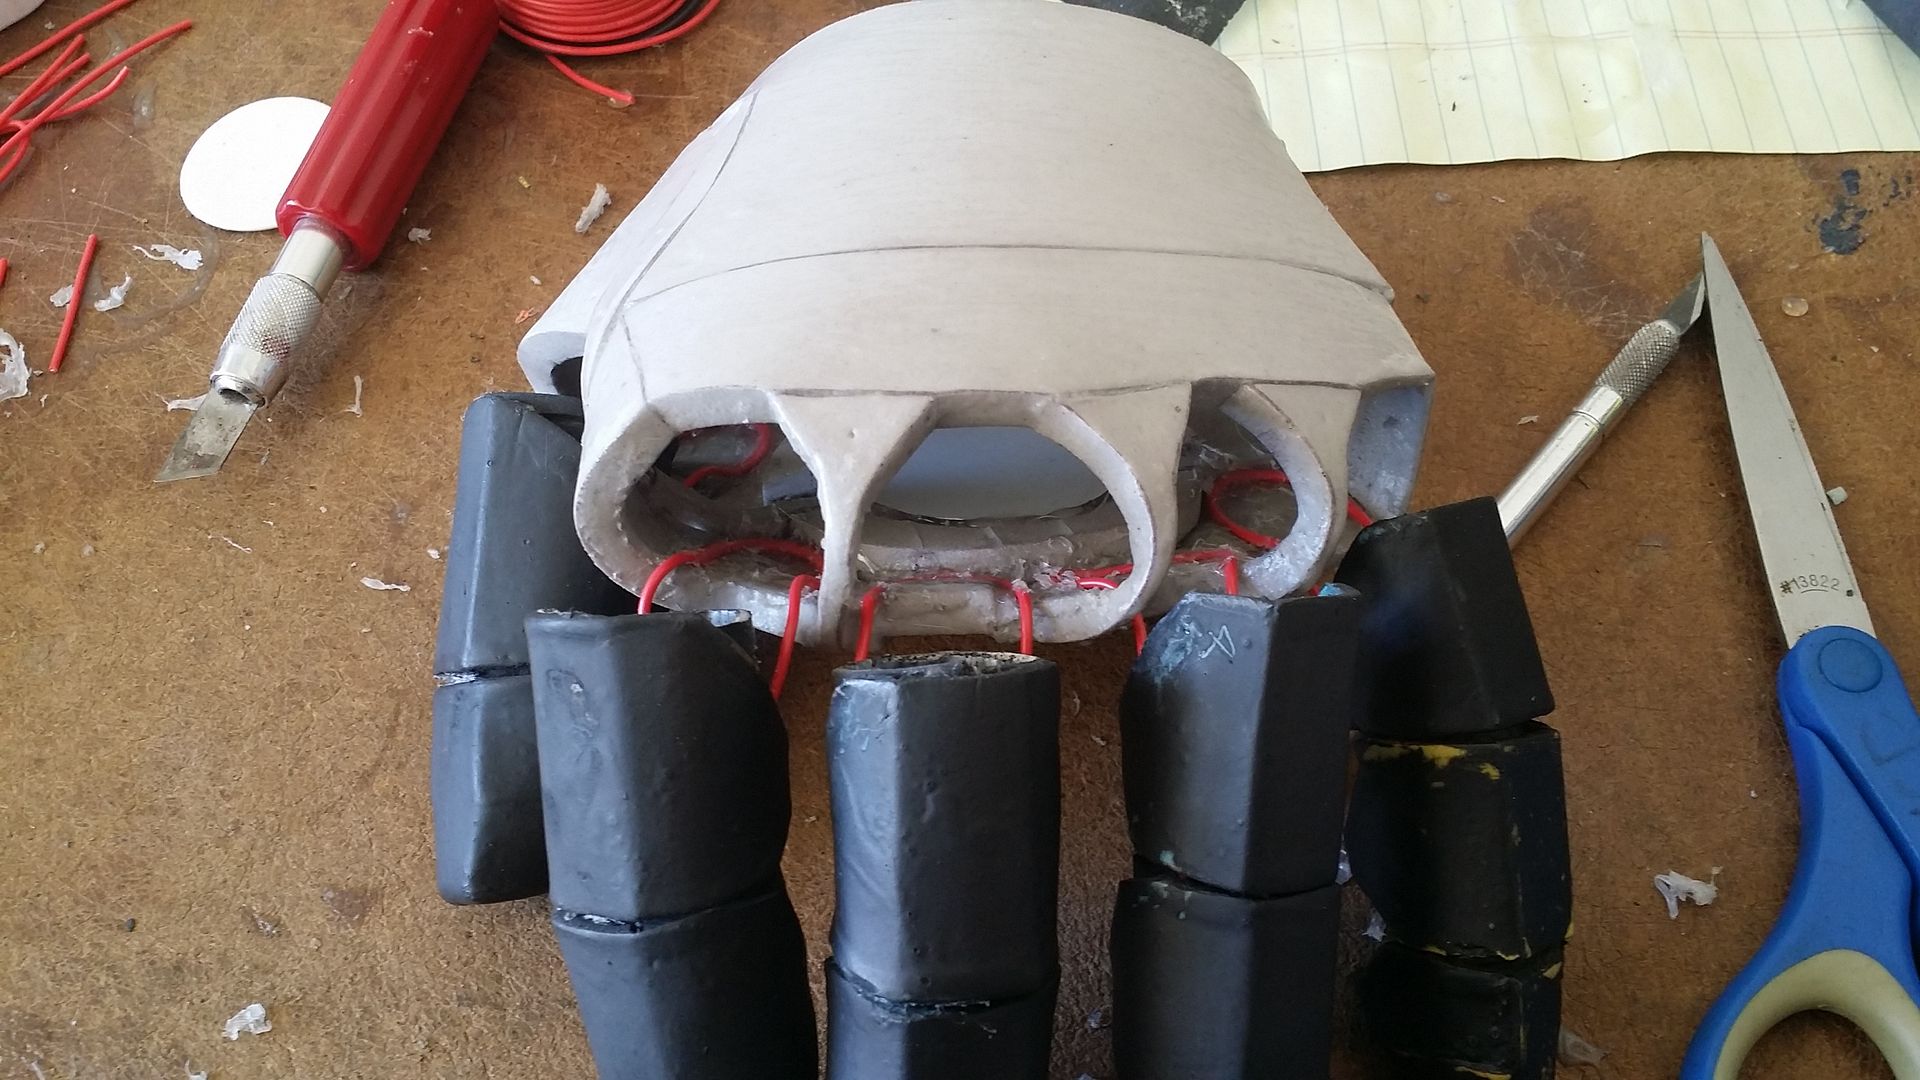
anyway, the next issue to tackle was the fingers. since i was going to be painting them, the labels for each of the segments would be covered up. therefore, i need to attach them together, AND attach them to their respective finger holes on the palms. with a little electrical wire and some McGeyvering, it can be done:
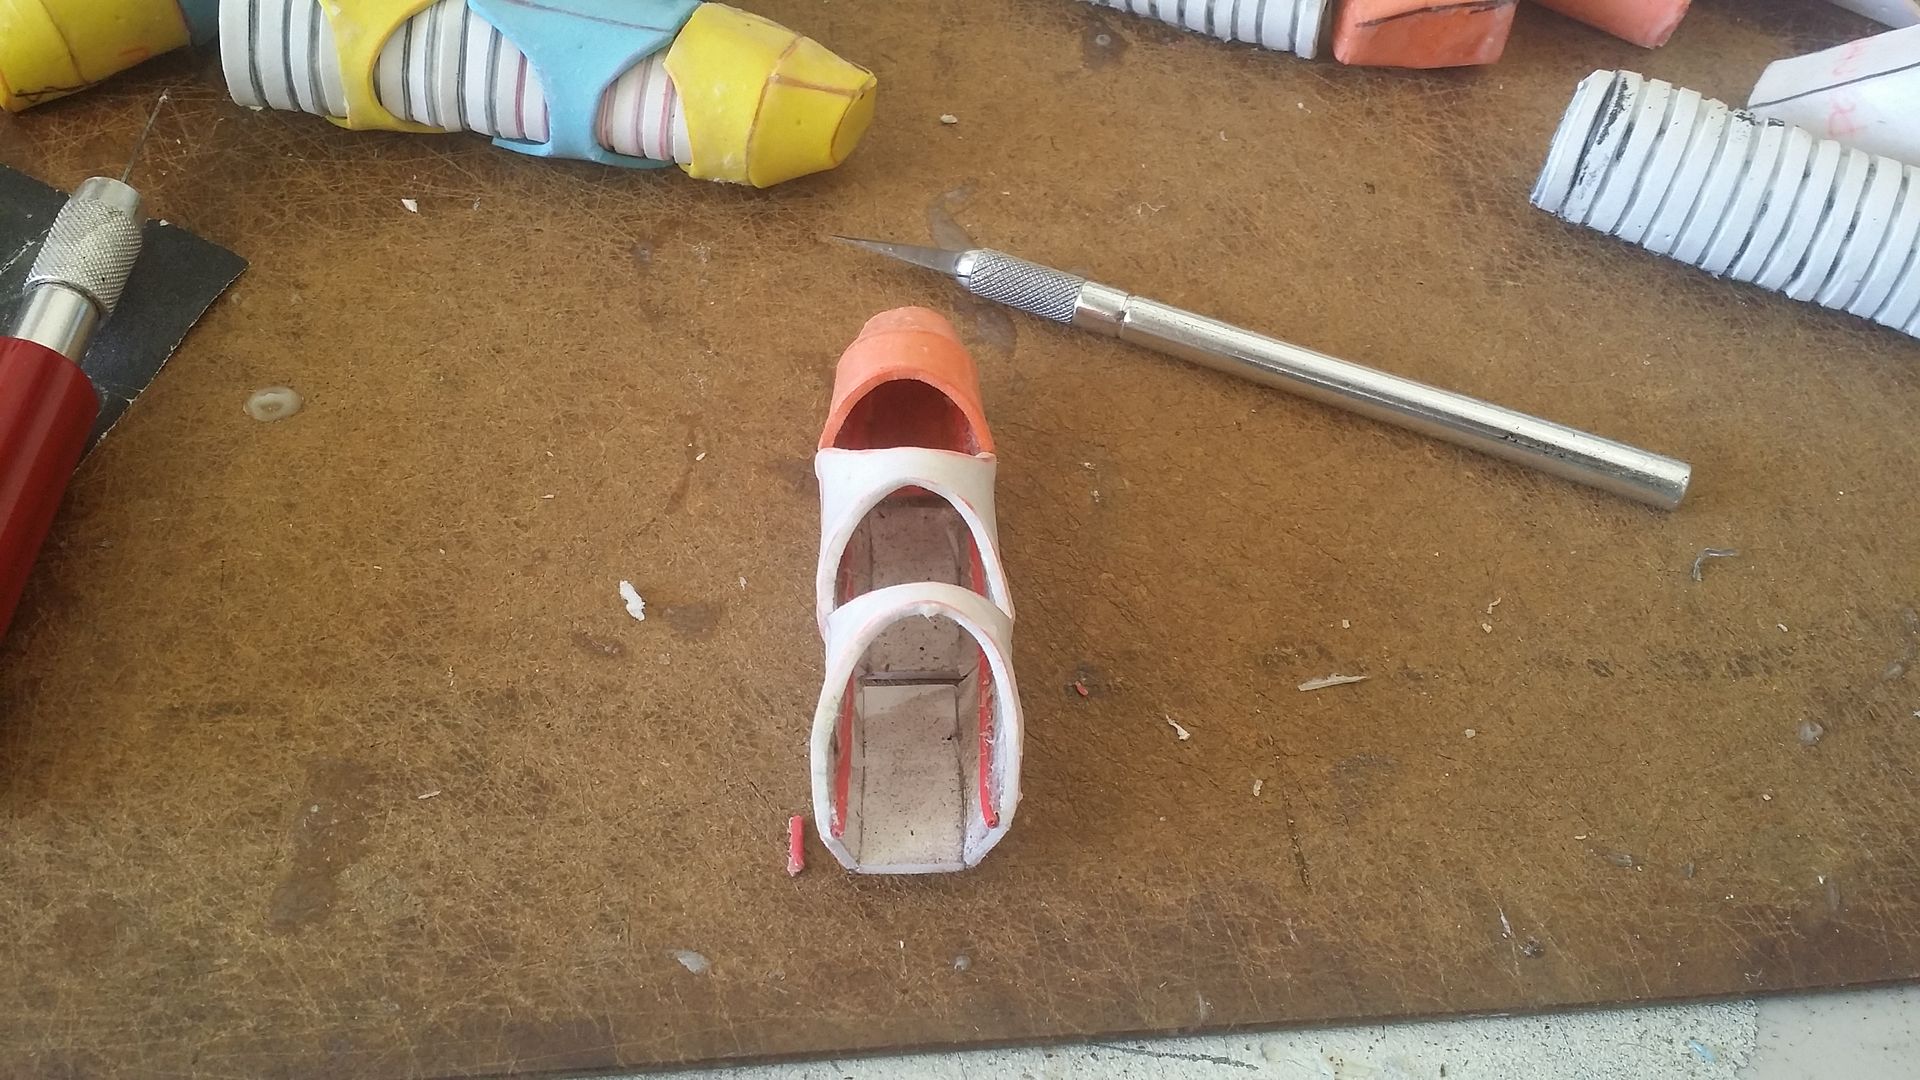
First, the finger segments needed to be attached to each other:
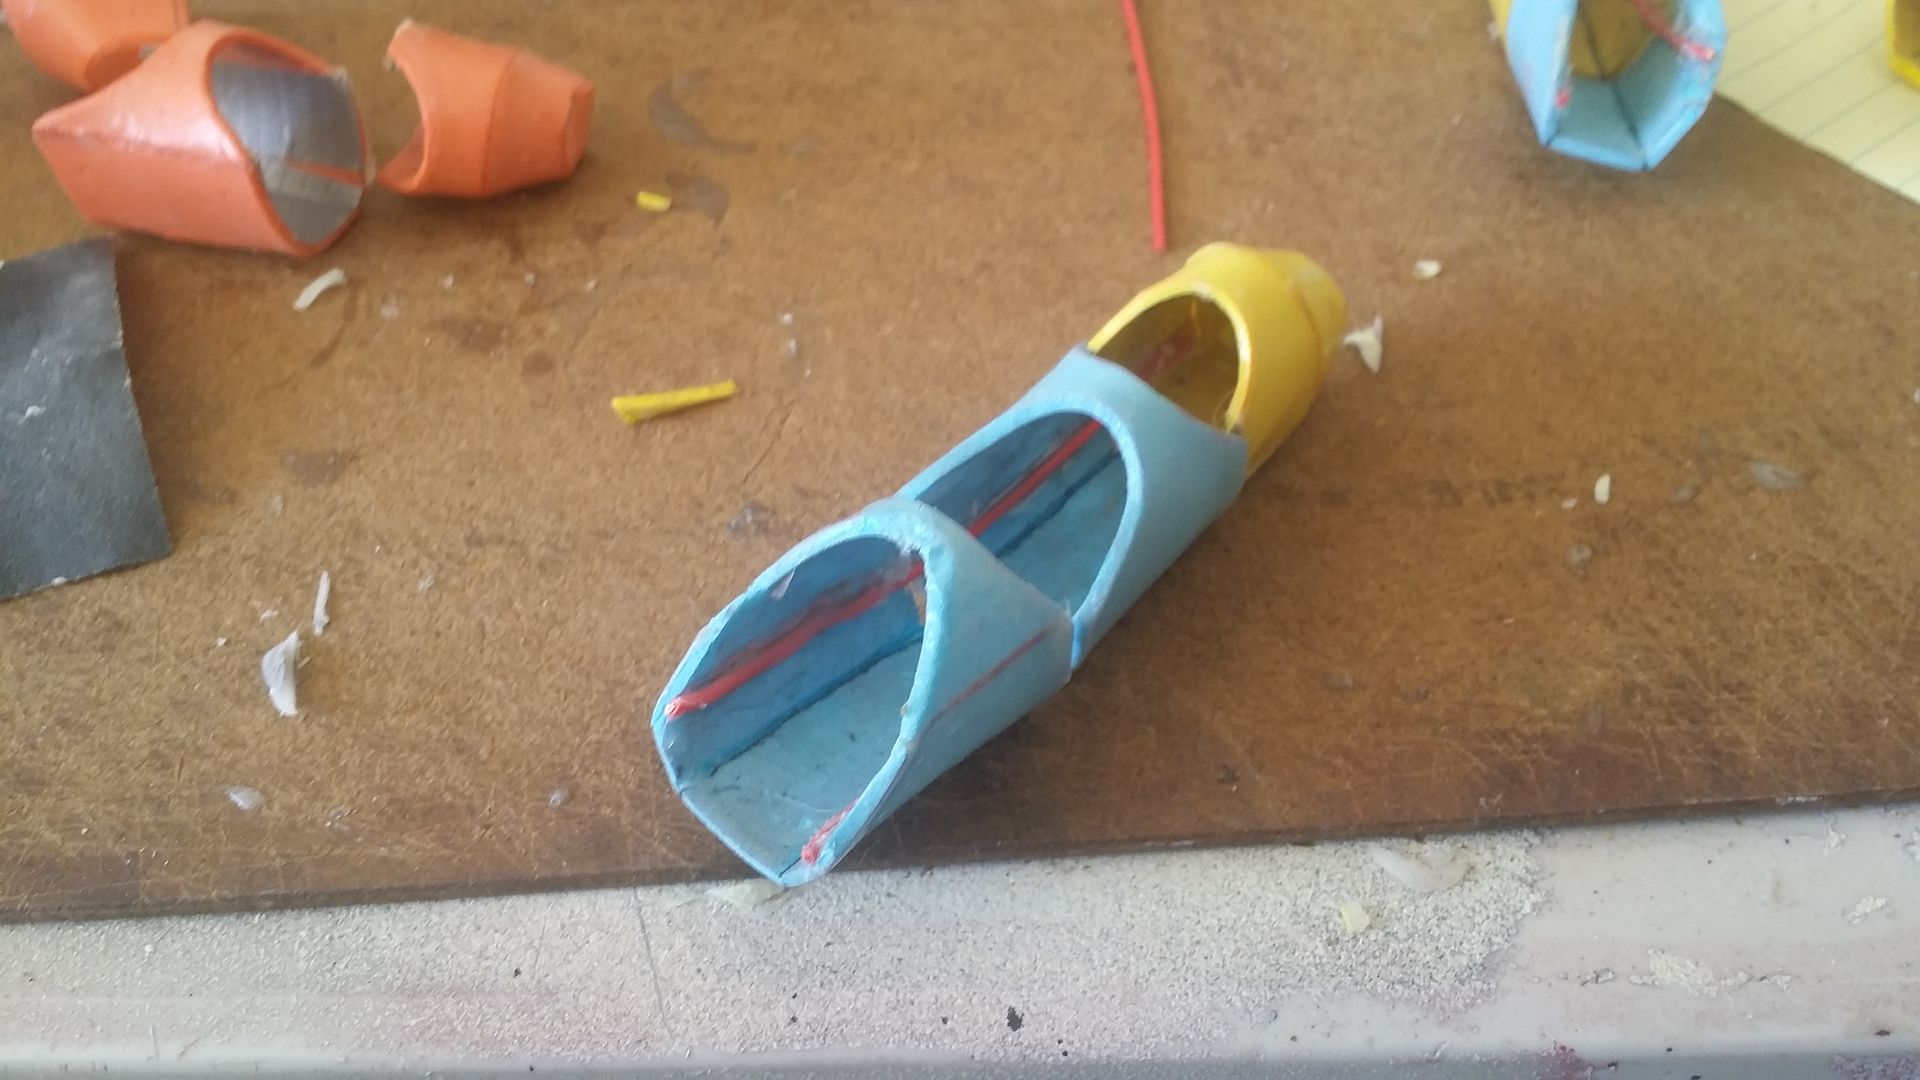
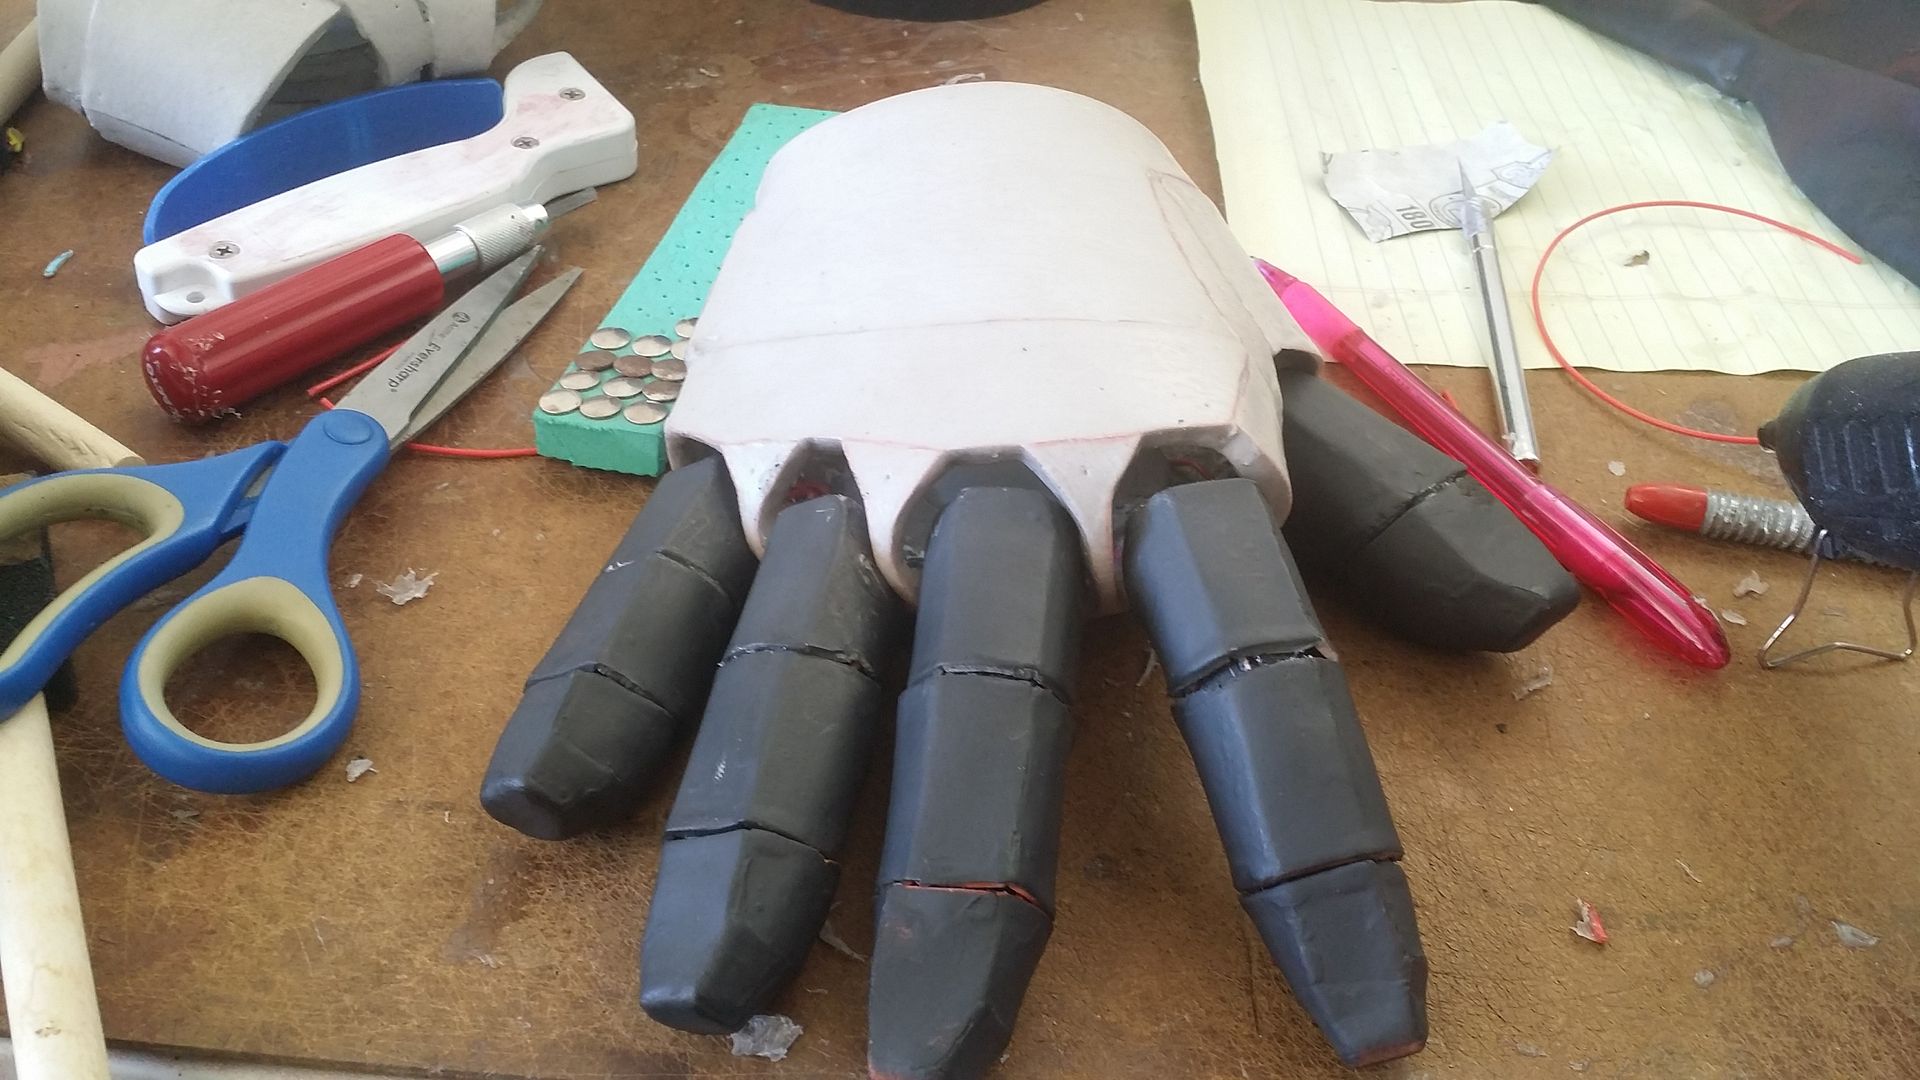
the wire wasn't even noticeable with the ribbing on, and didn't affect my ability to bend my fingers:

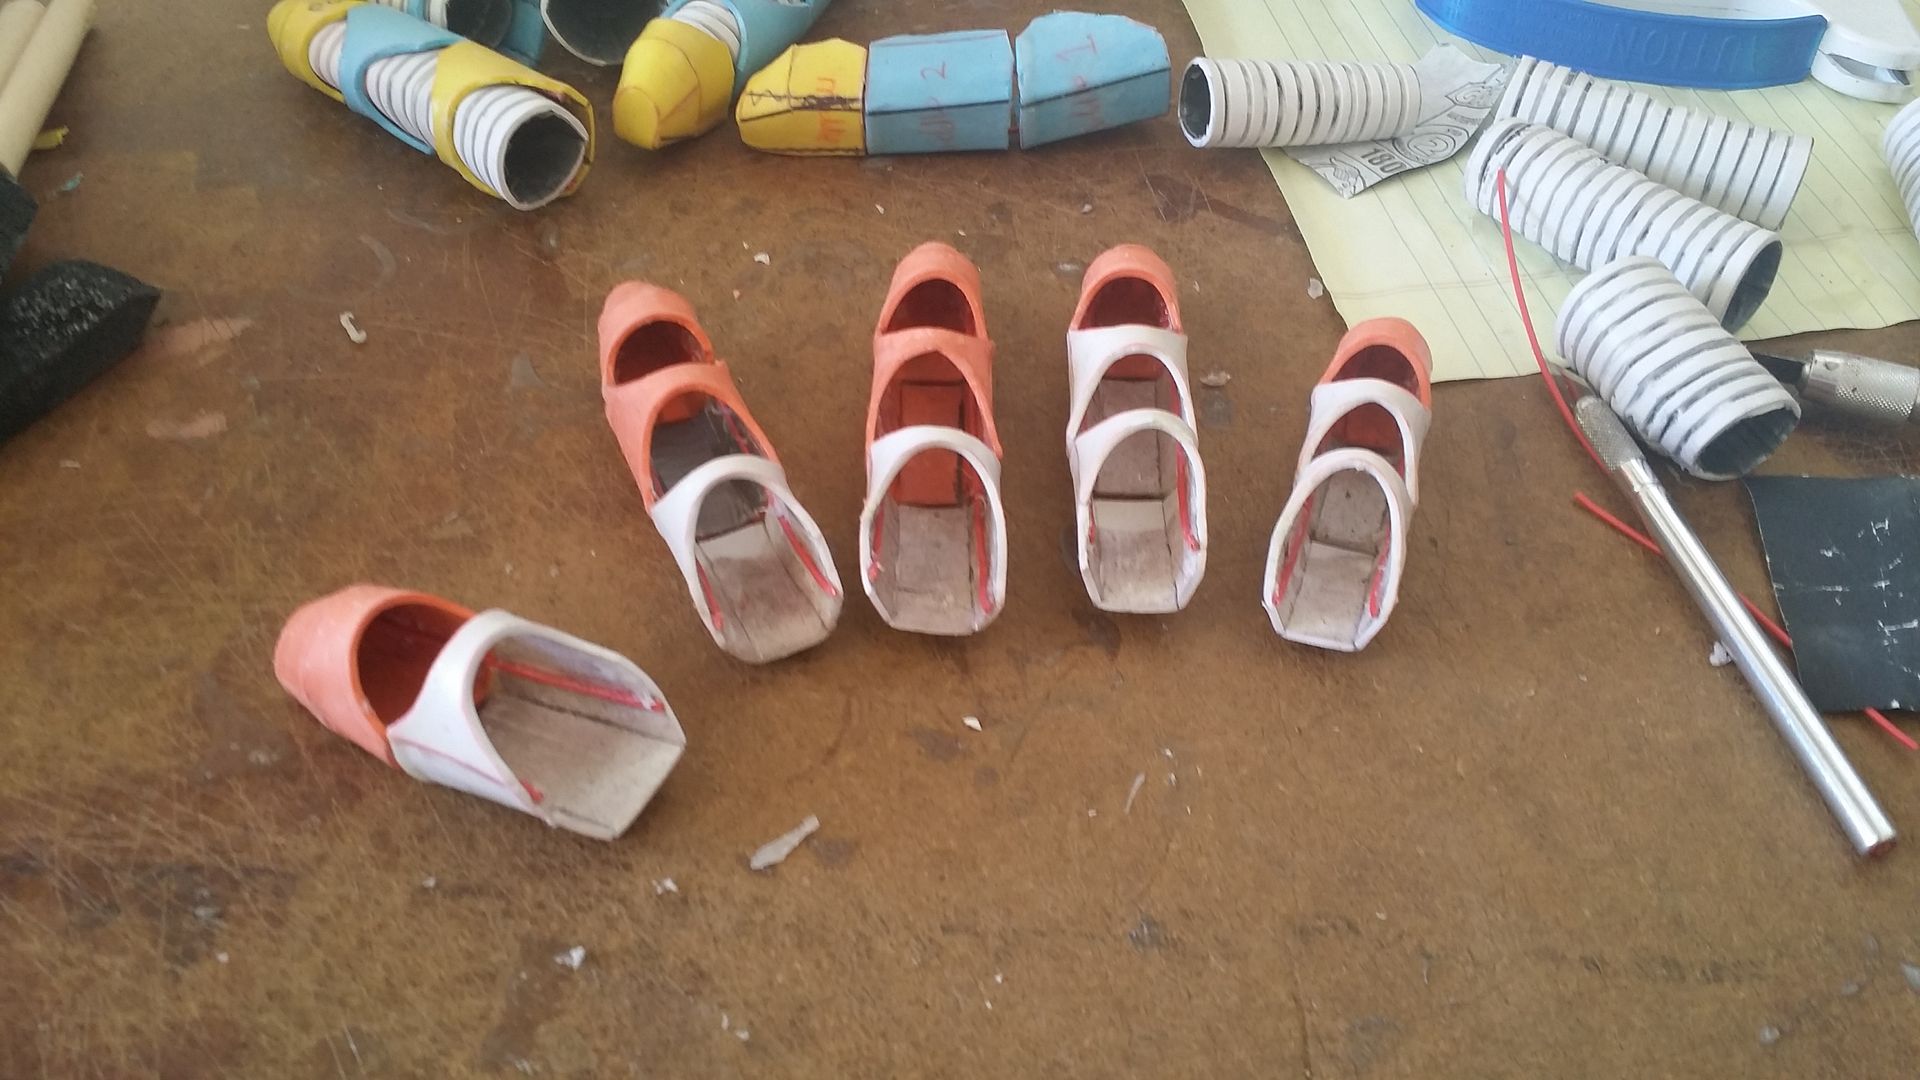
so, with that little test successful, it was time to do the rest:
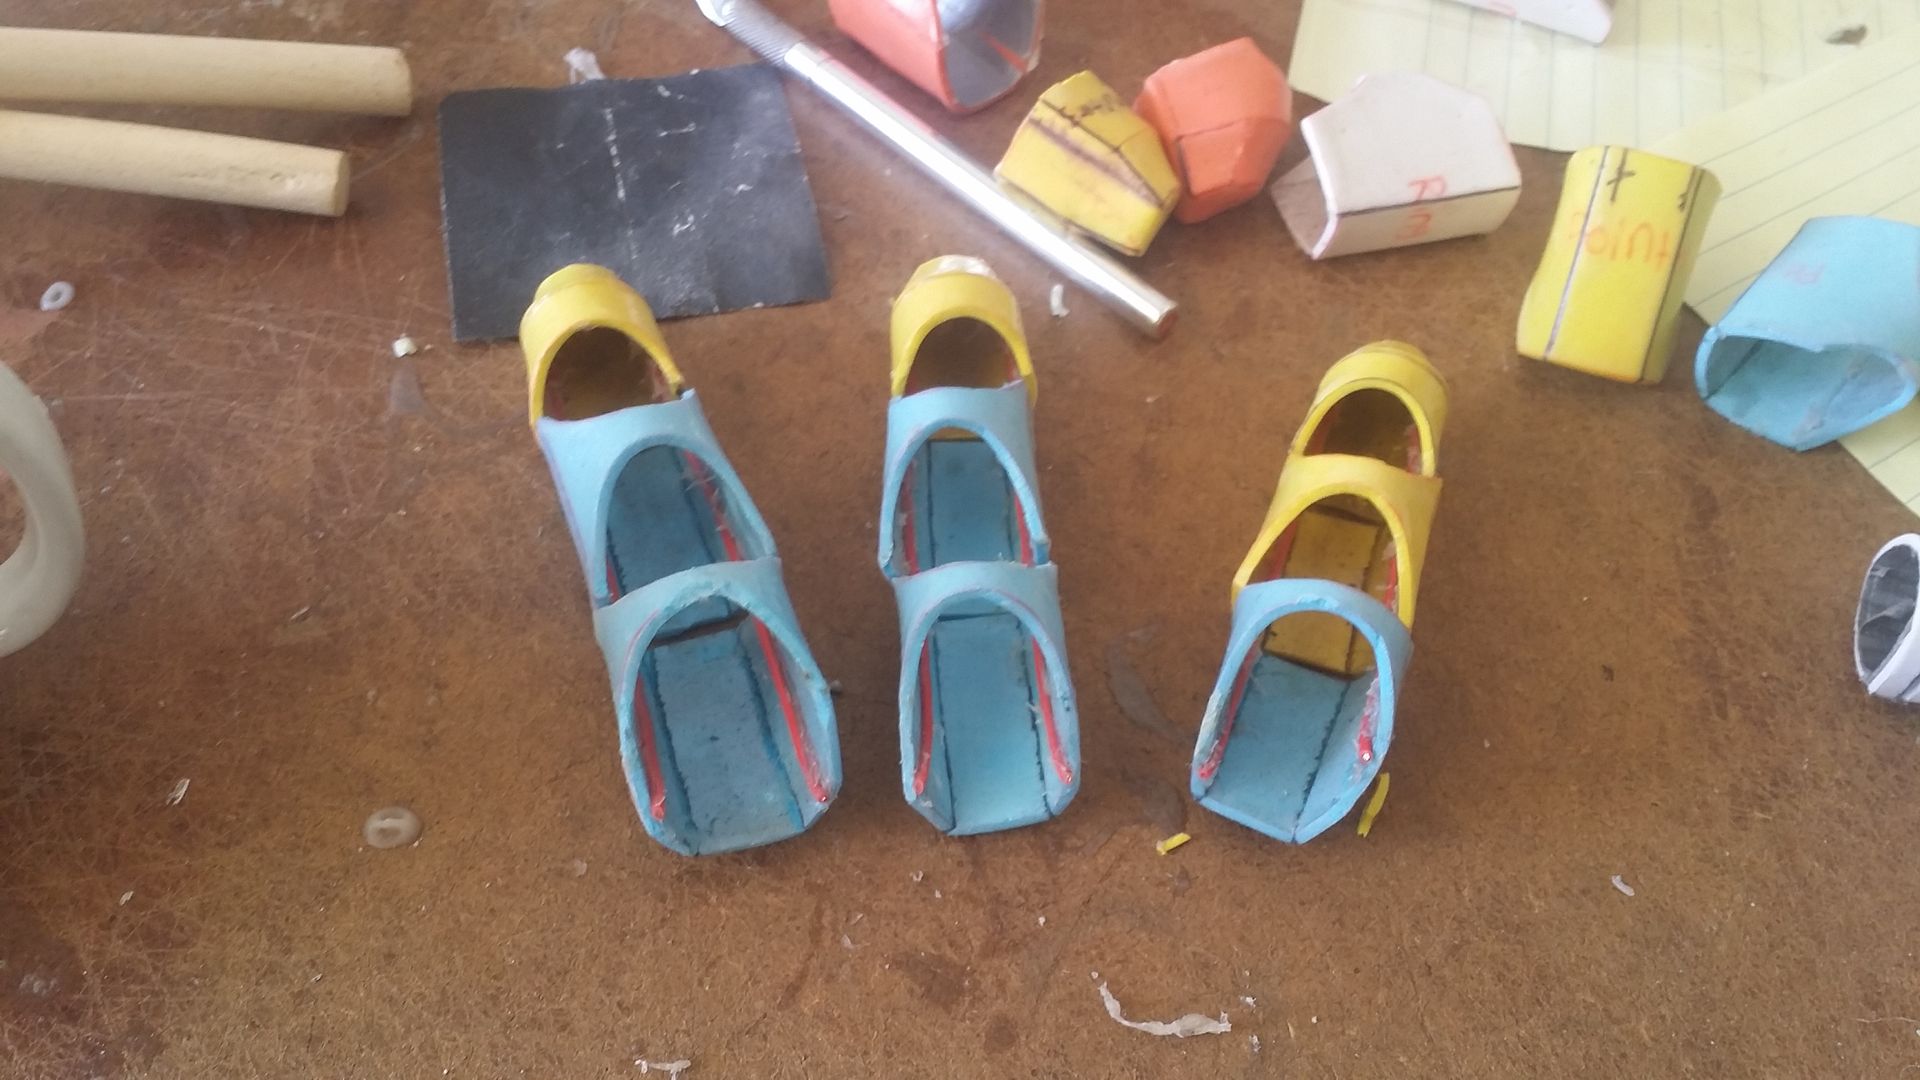
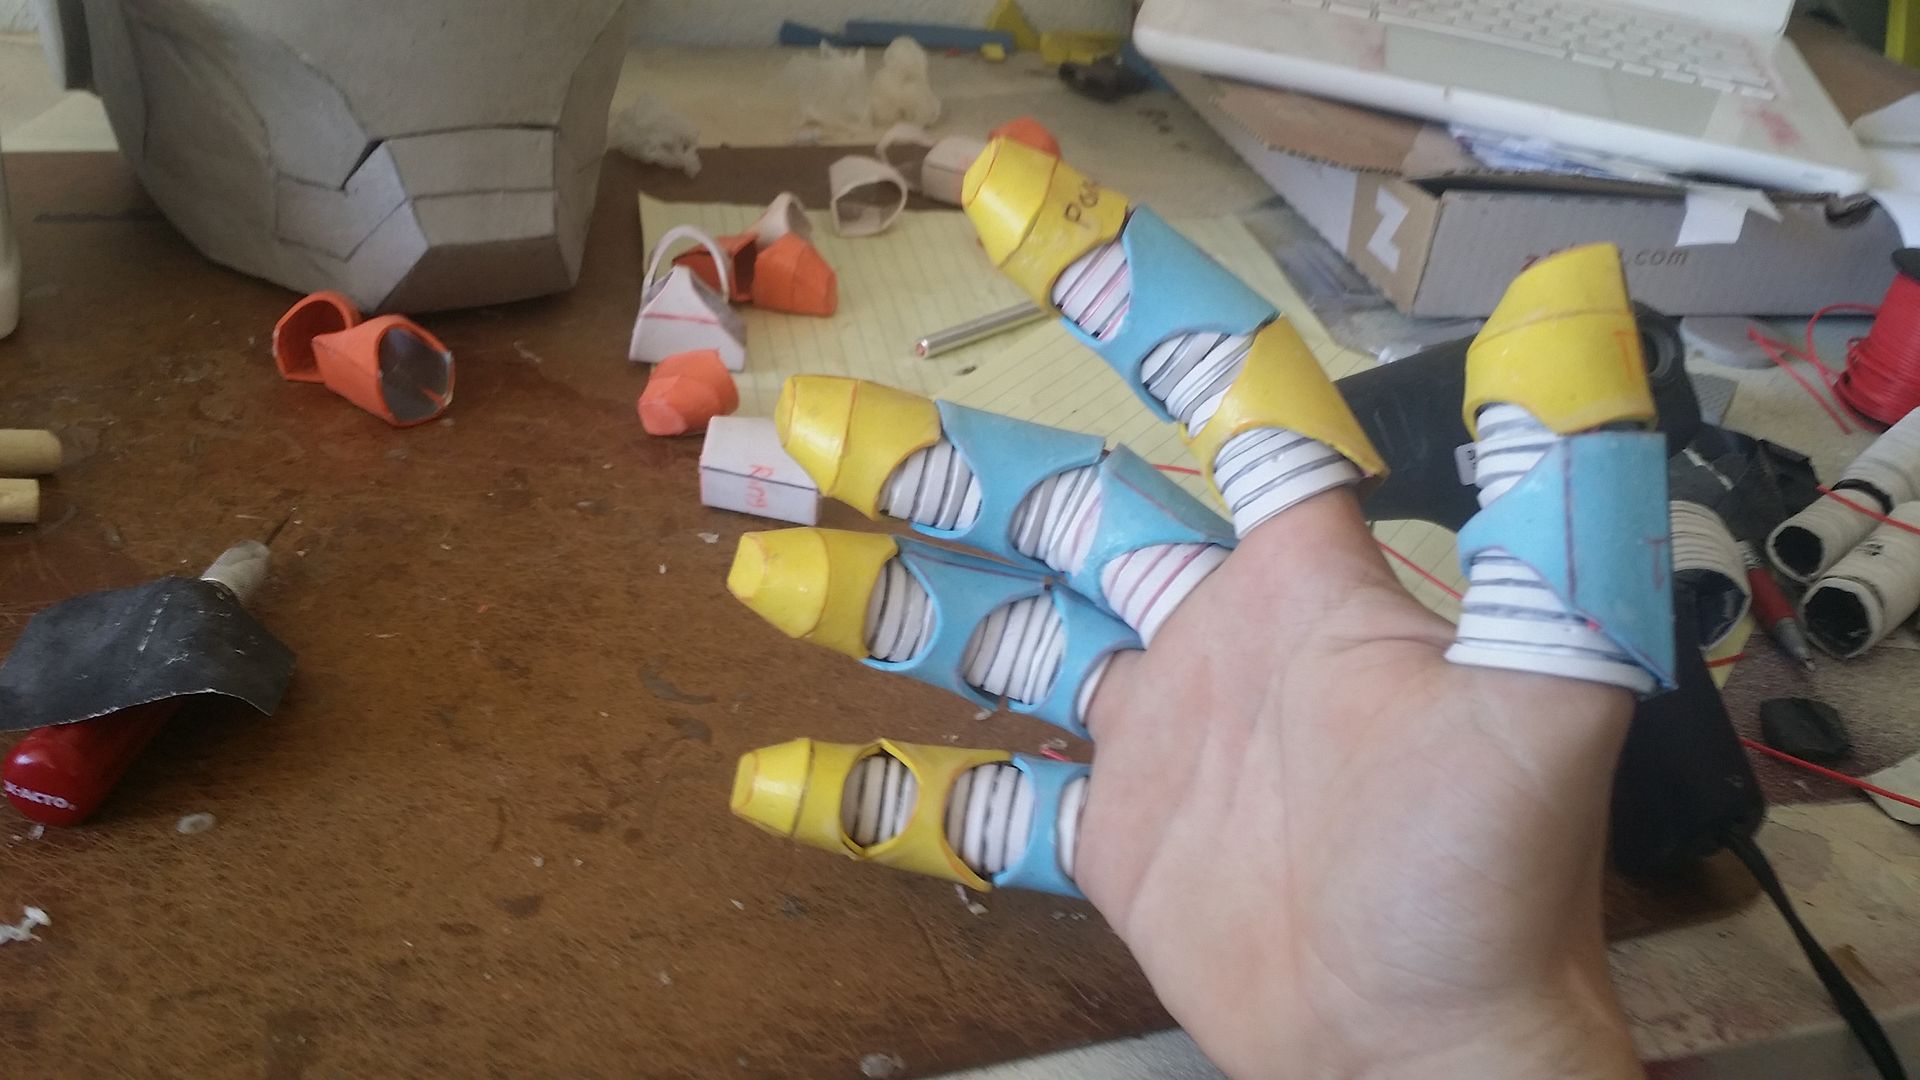
pretty seamless:
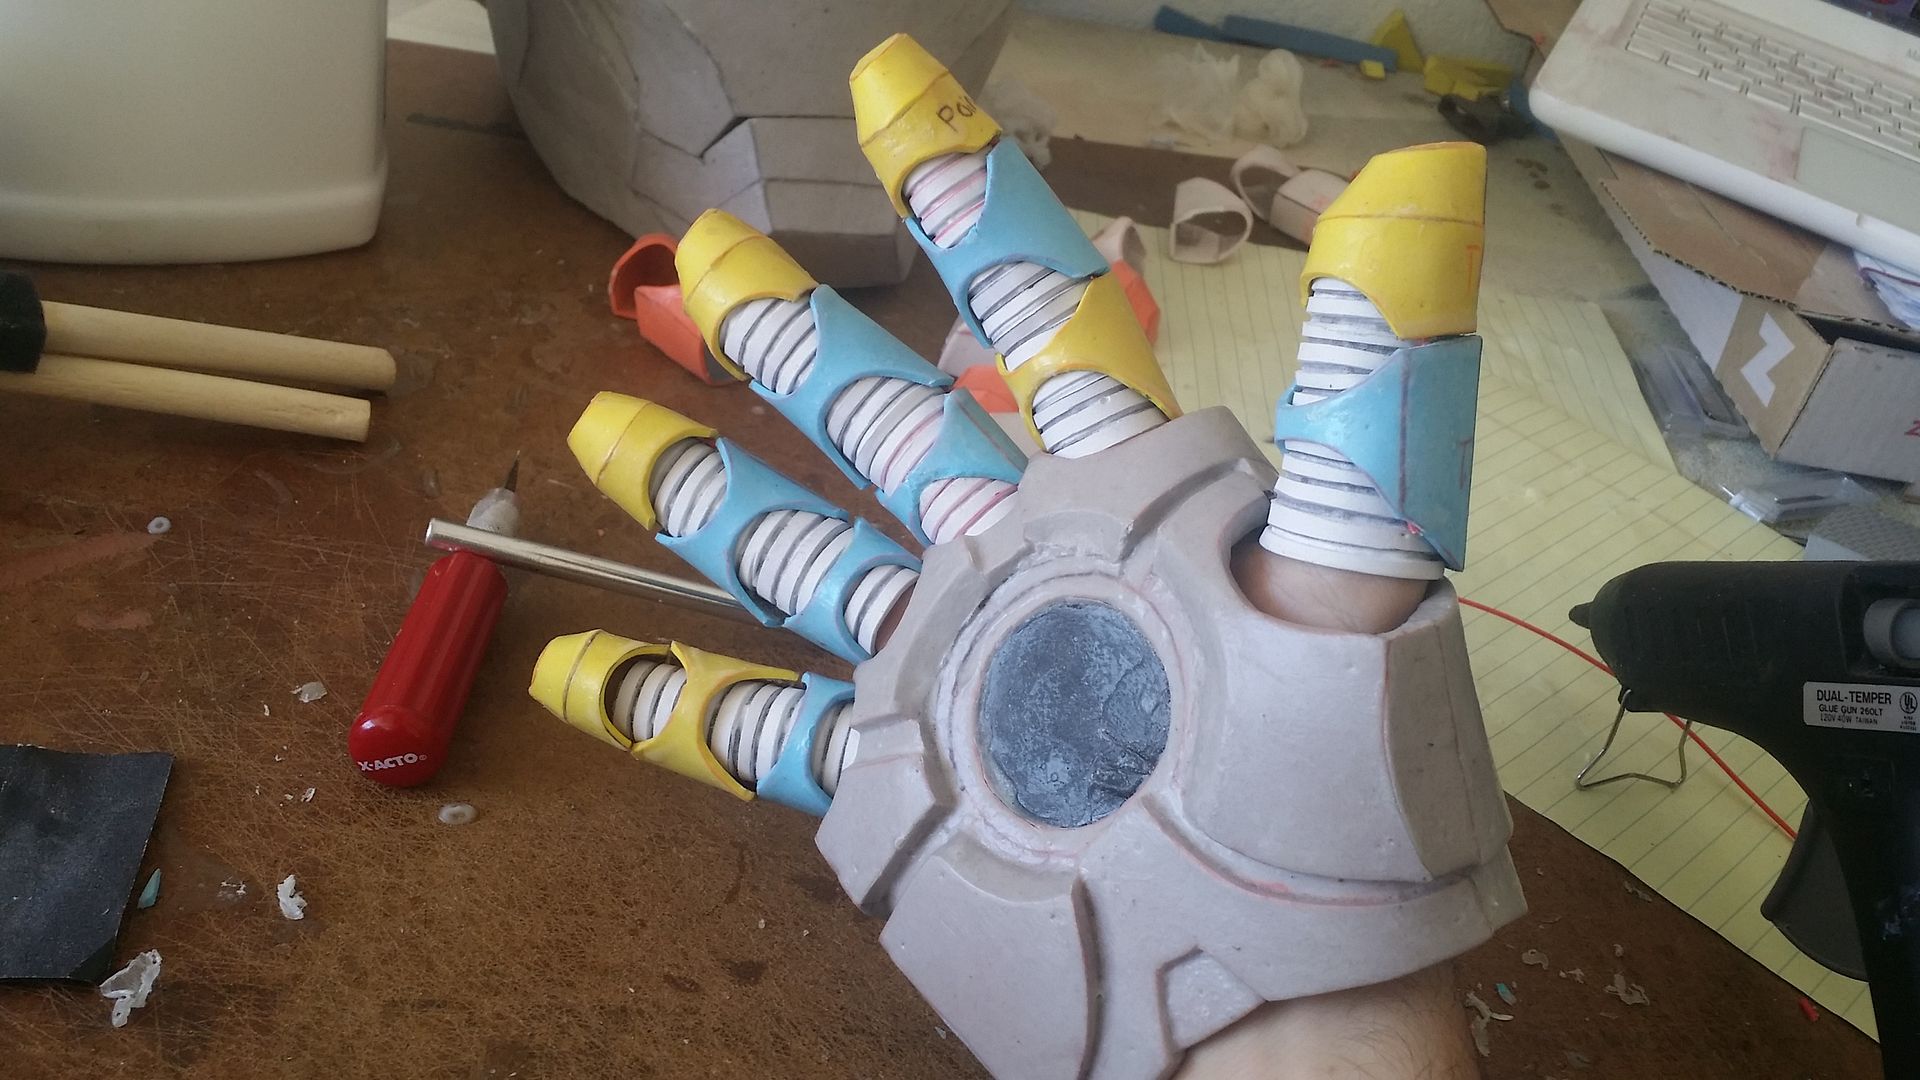
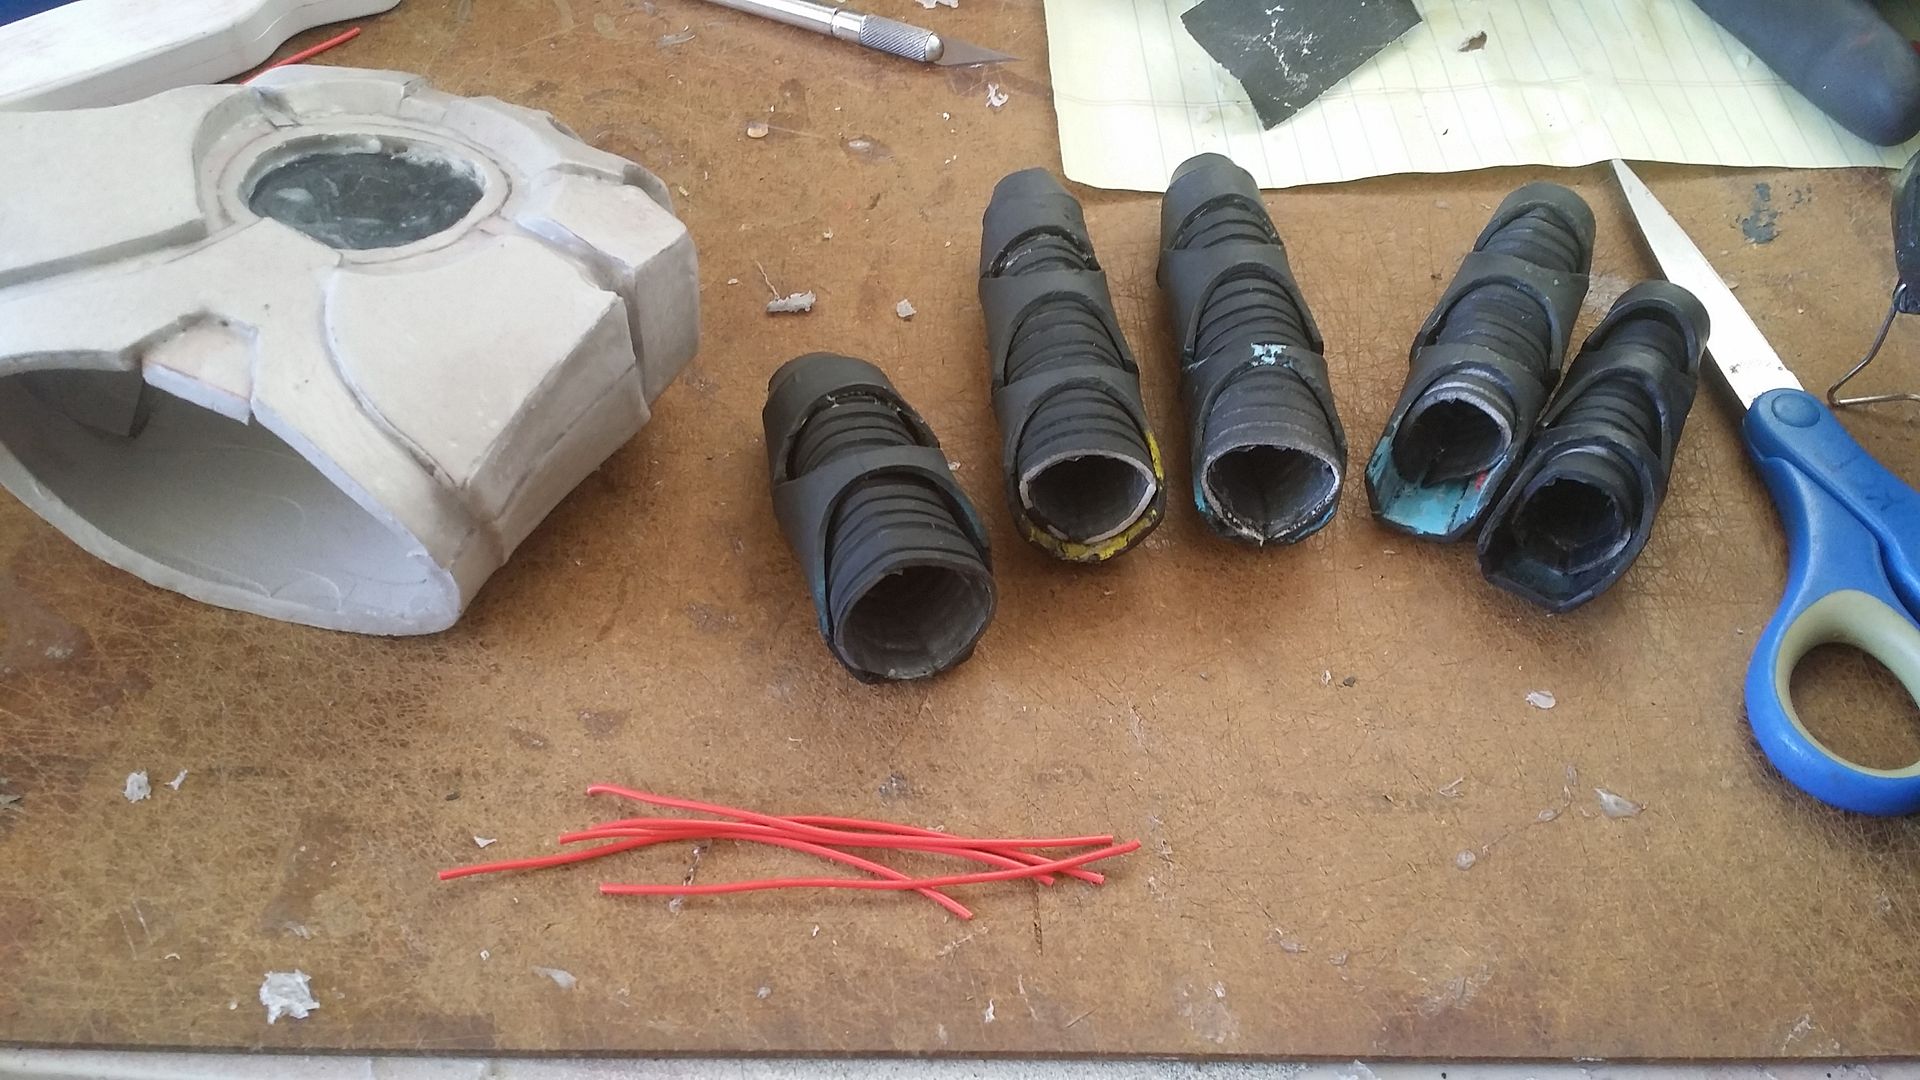
and onto the other hand:

with that done, it was time to start priming everything:
(old gloves came in handy when priming the fingers)

So, the fingers are done. however, before we primer the rest of the palms, we have to attach the fingers to their respective holes. same general method as before, a loop of electrical wire with one end glued under the bottom finger segment, and the rest glued into the inside of the finger hole (reinforced with the patented hot glue/duct tape combo) should work:
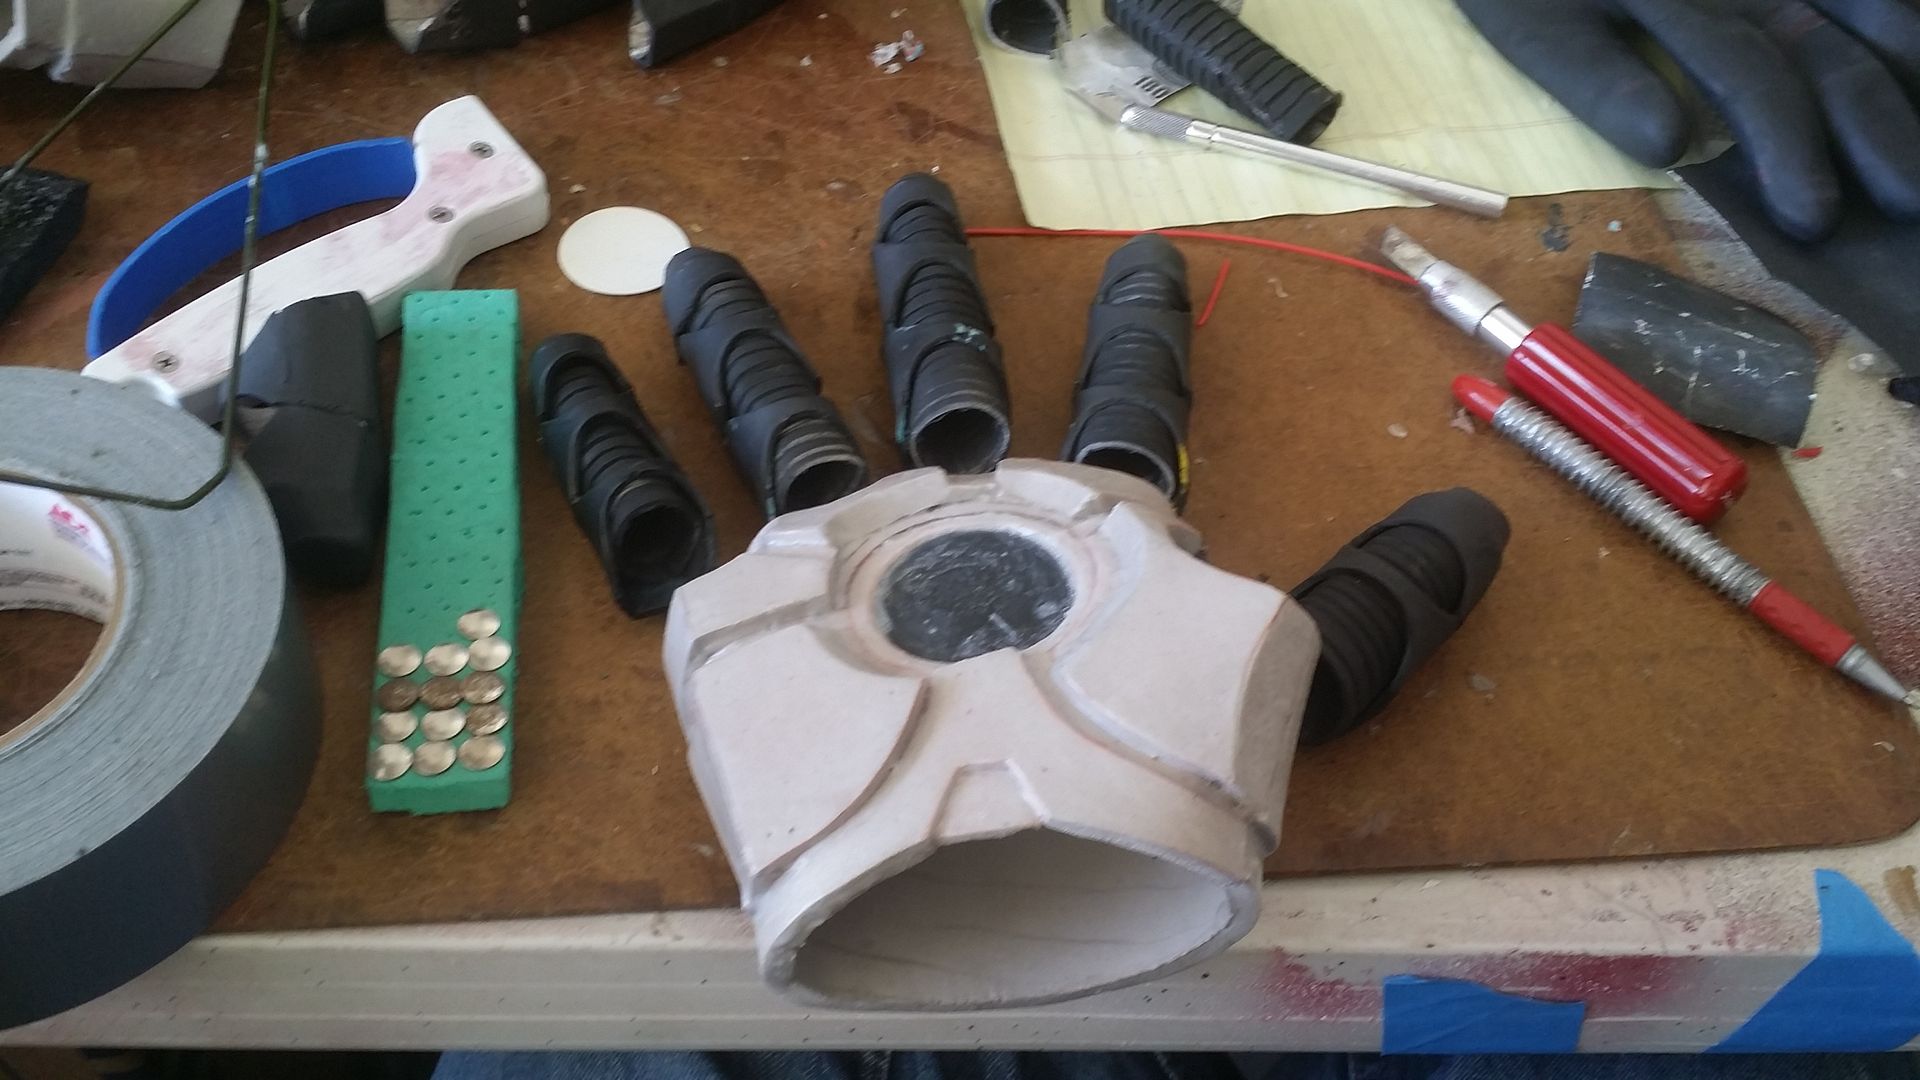
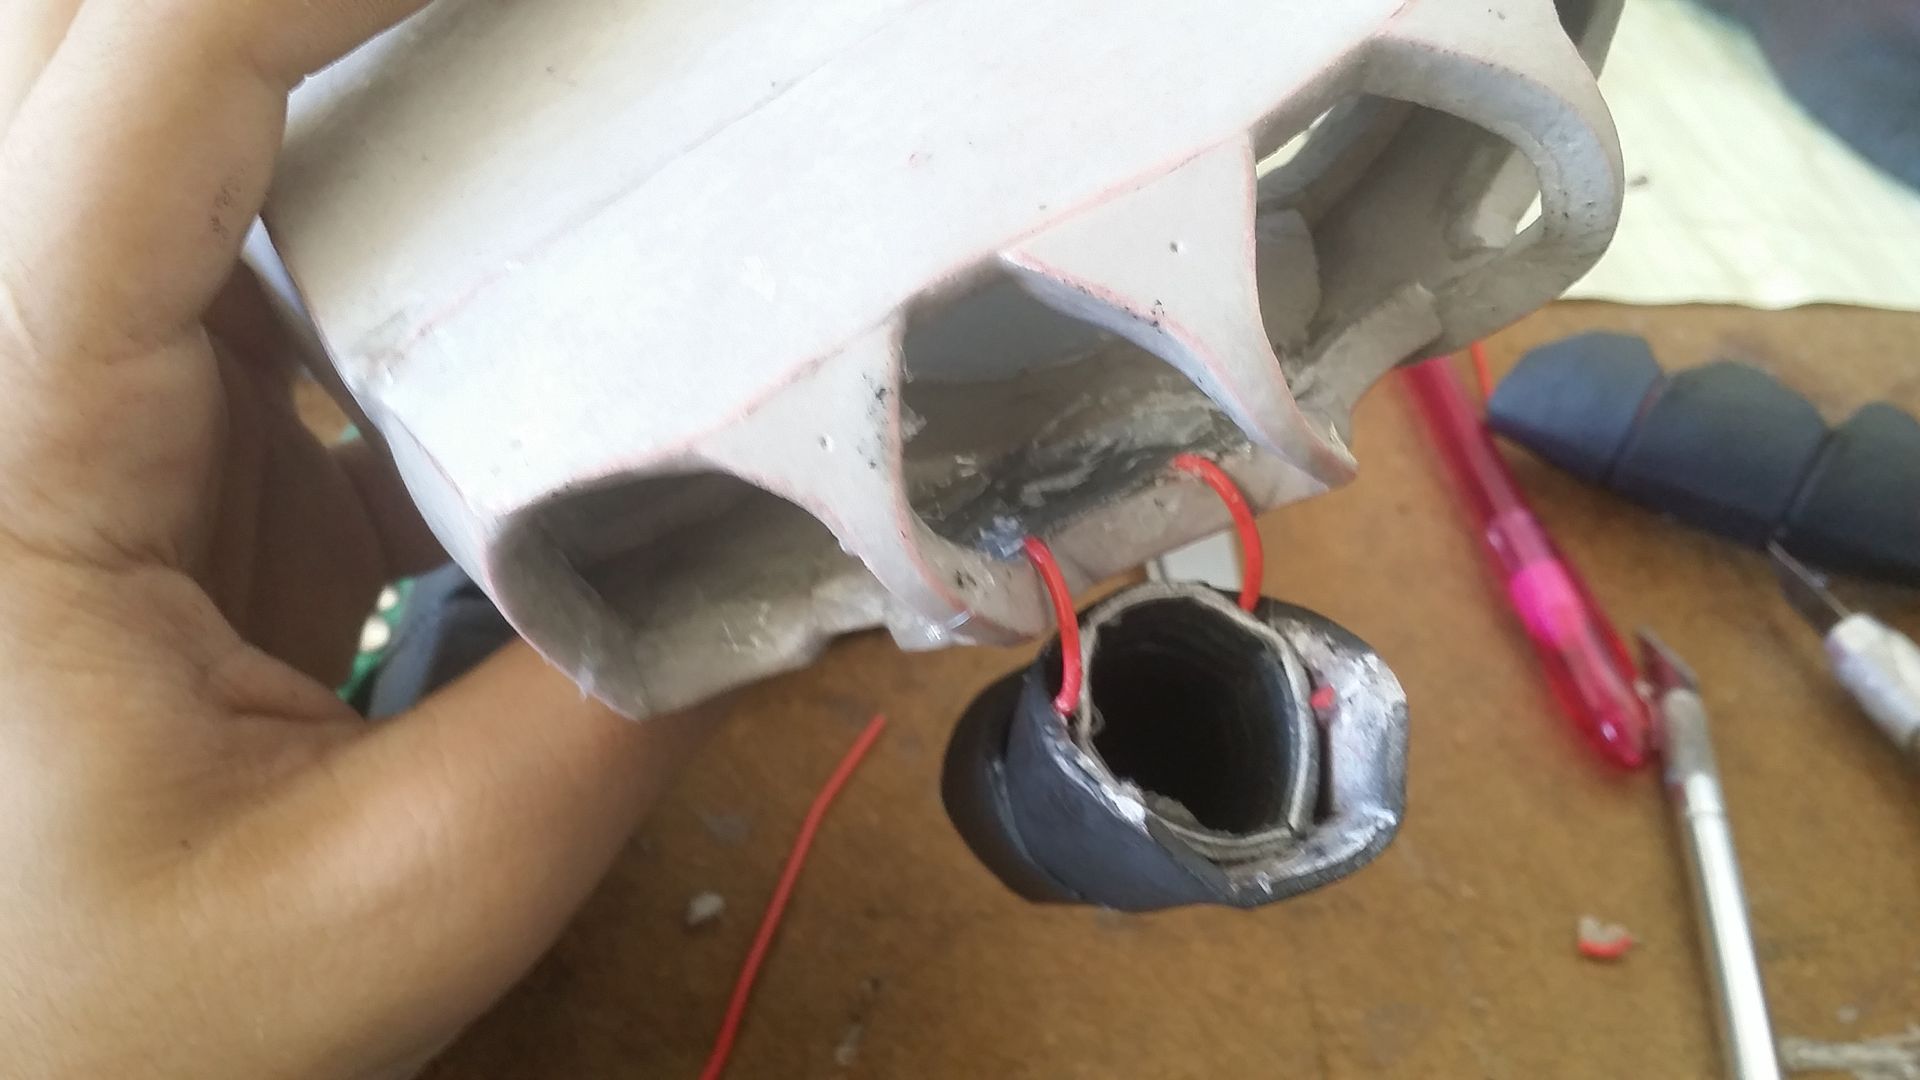


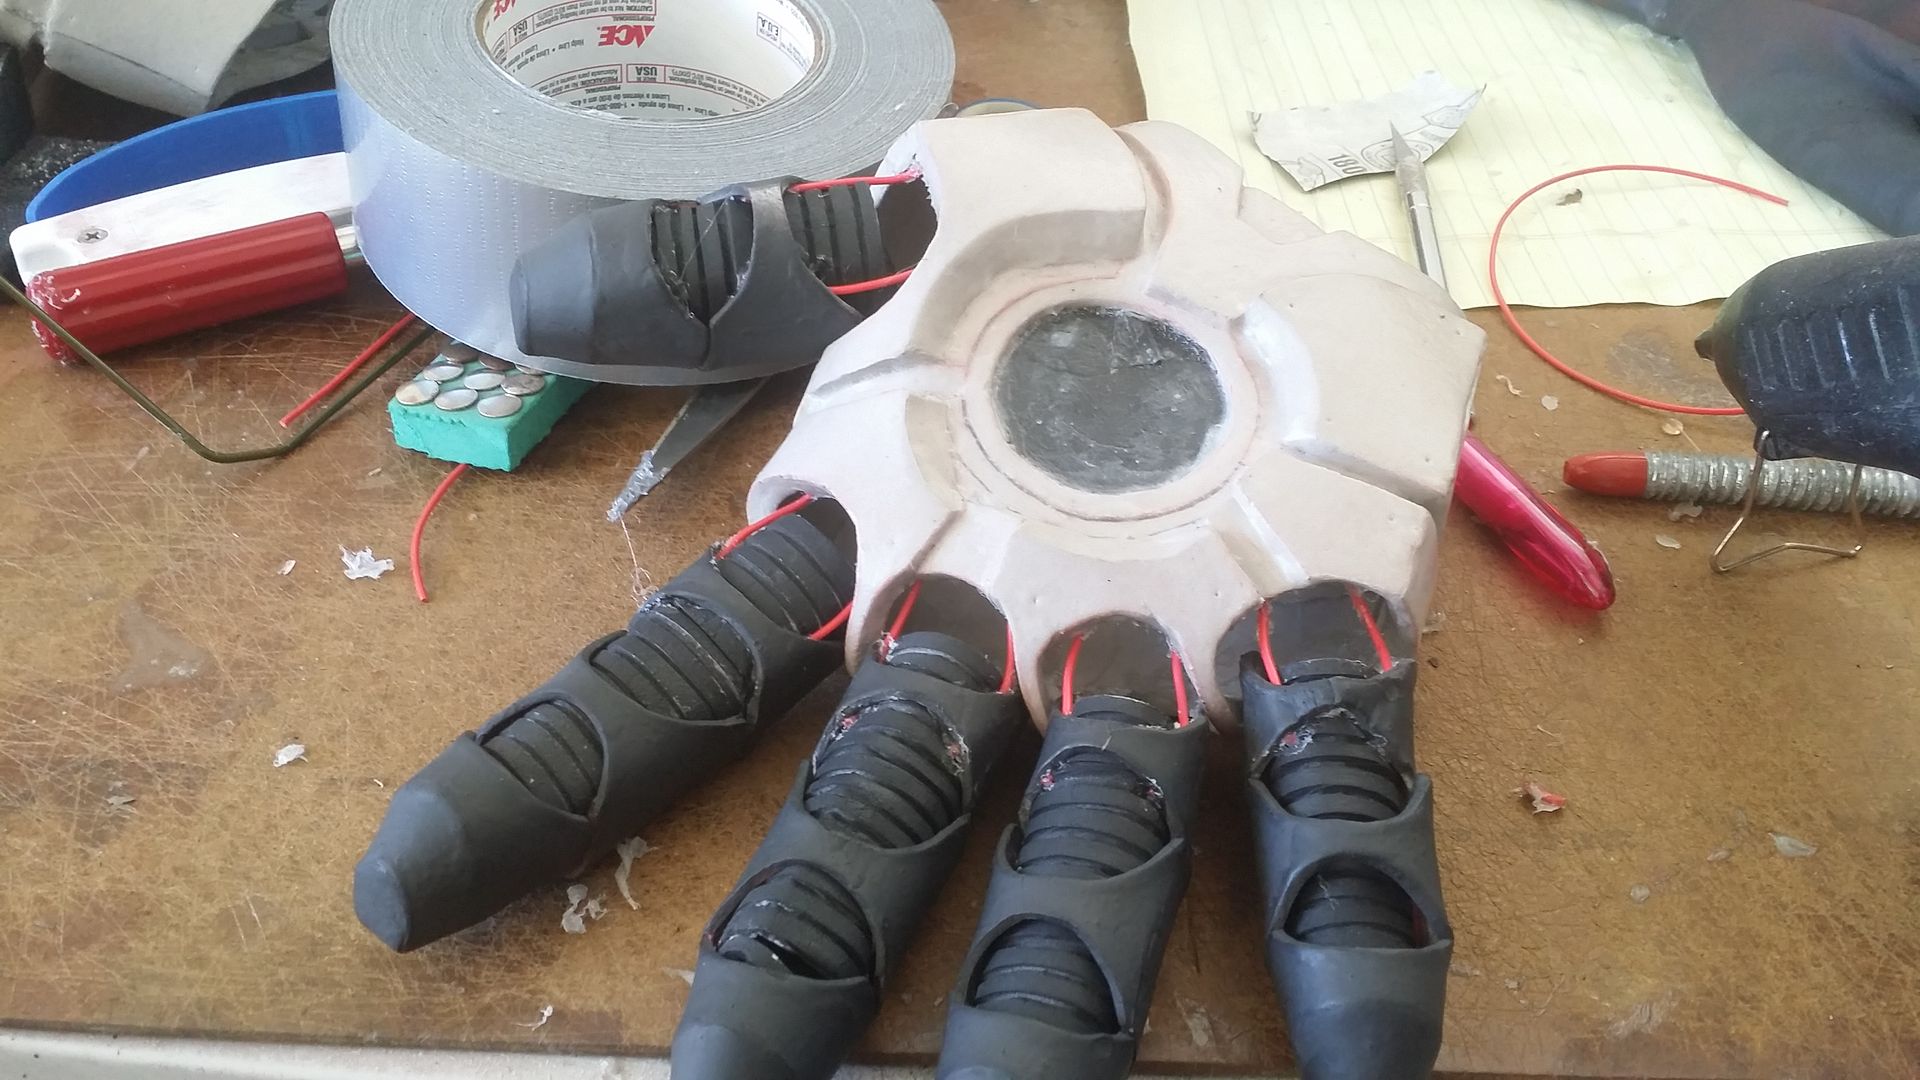
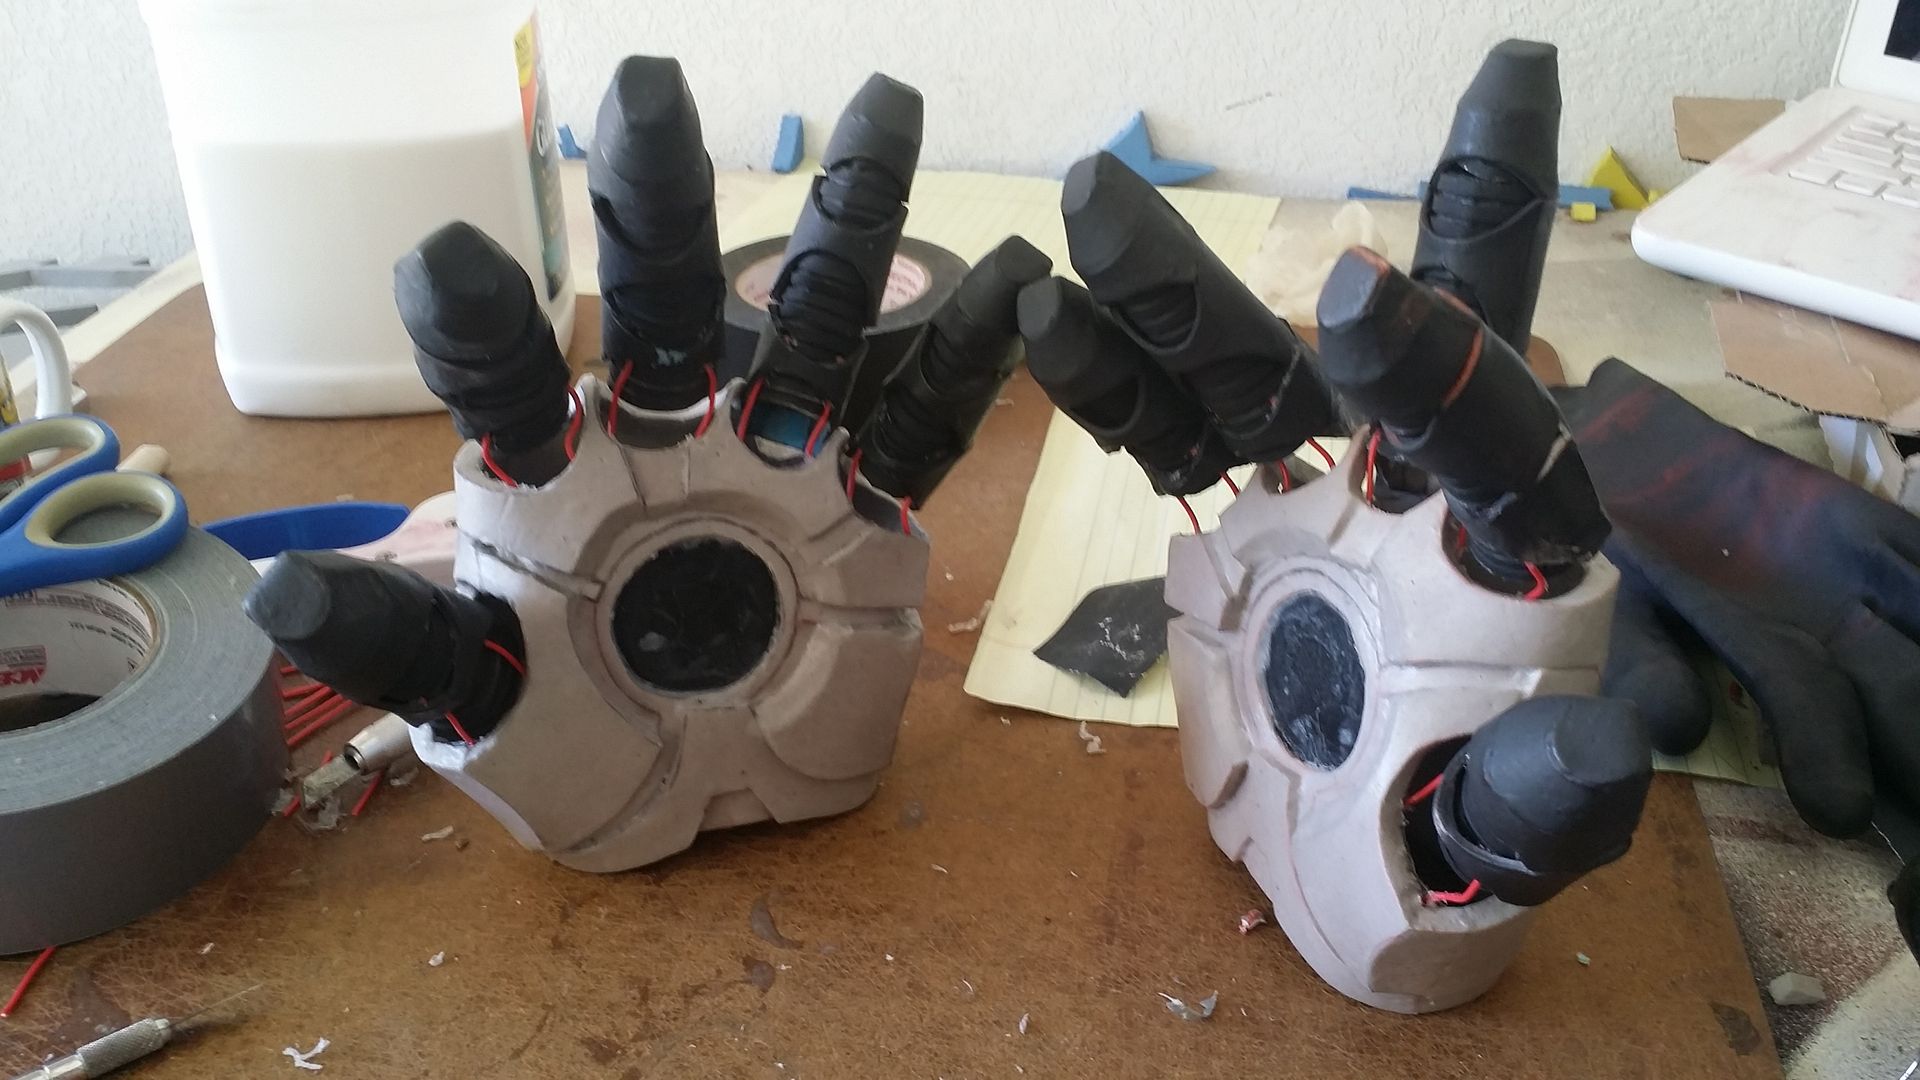
the wire worked great! the only thing left to do with the hands was primer and paint.
that's it for this update, but the light at the end of the tunnel is close on this build! next update we'll be putting magnet-joints into the knees of the calf piece, and then primering everything else.
stay tuned!
No comments:
Post a Comment