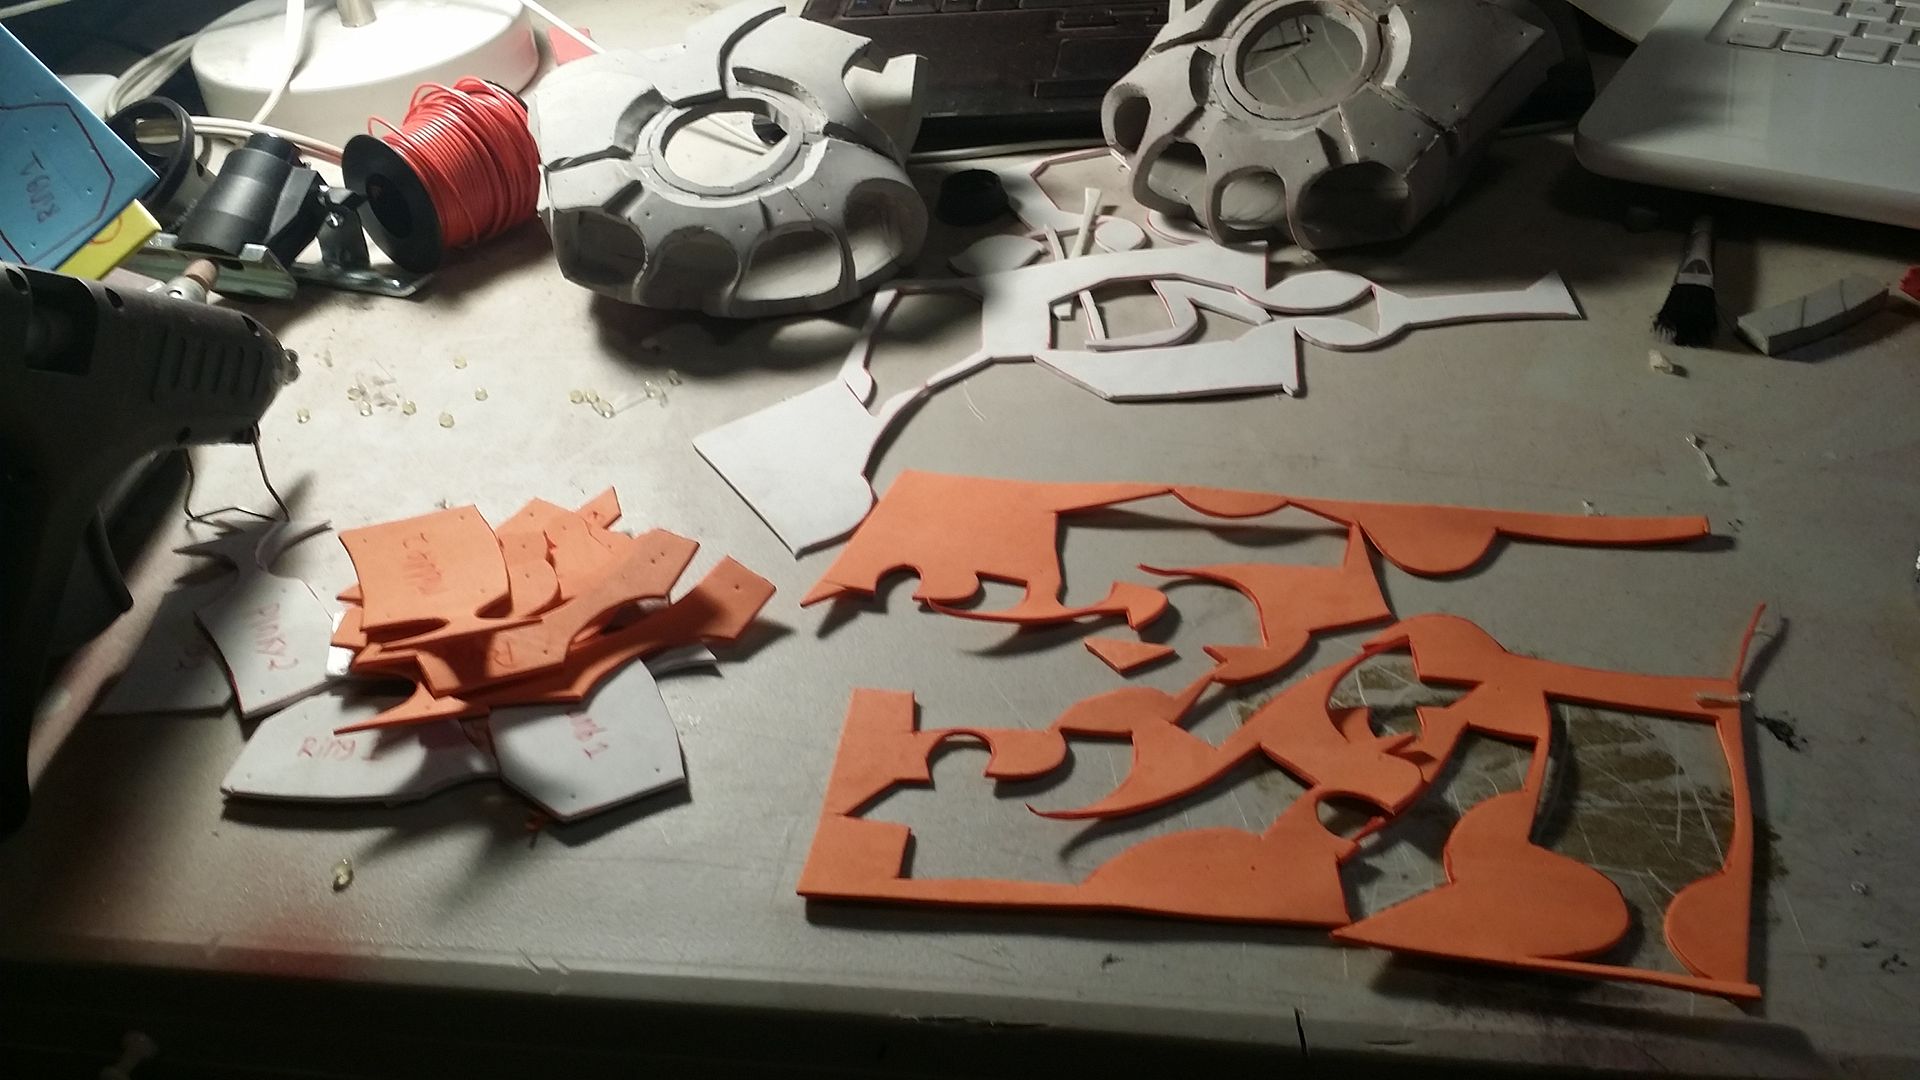
Welcome one, welcome all, to another installment of operation Shoot To Thrill! let's jump right into it! last we left off, my last-ditch, seat of my pants idea worked perfectly, and we had half-thickness foam for the hands, ready to be assembled:


right hand came out all but flawless, now it's time for the left


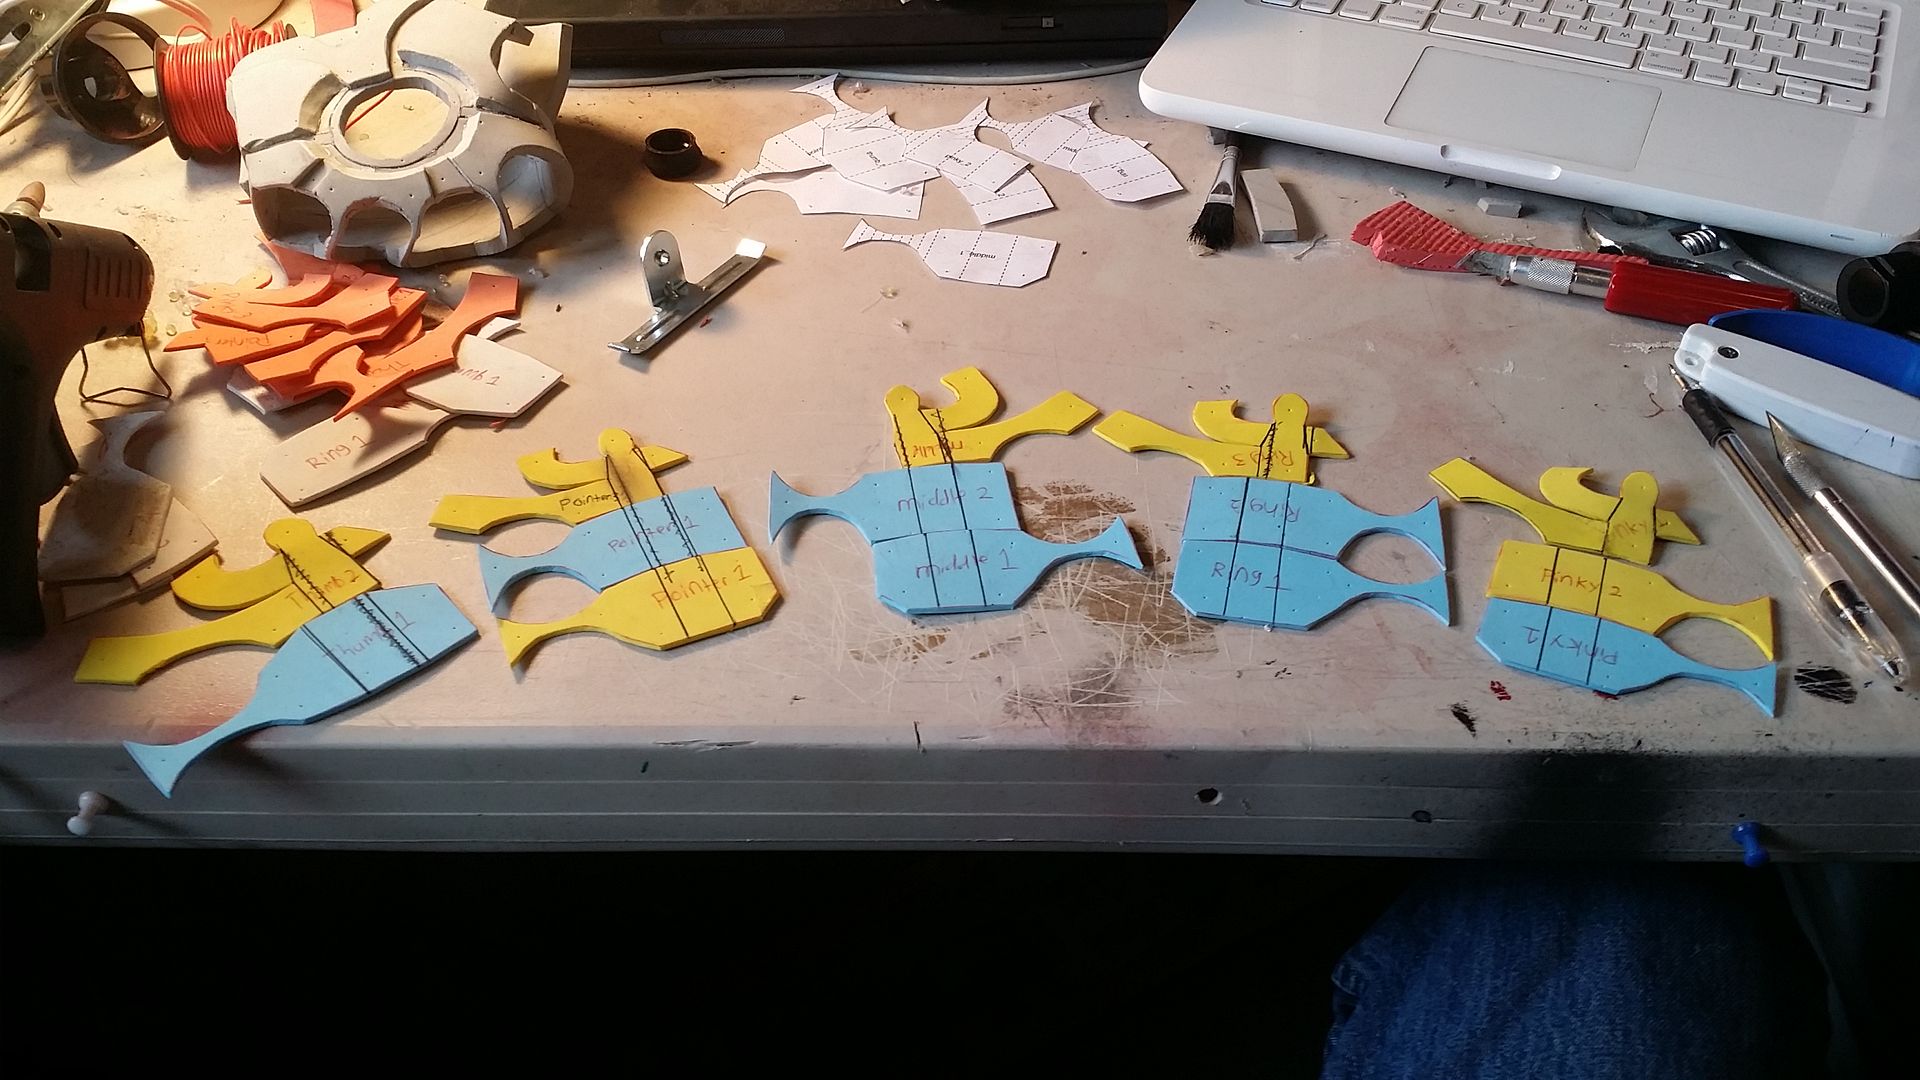
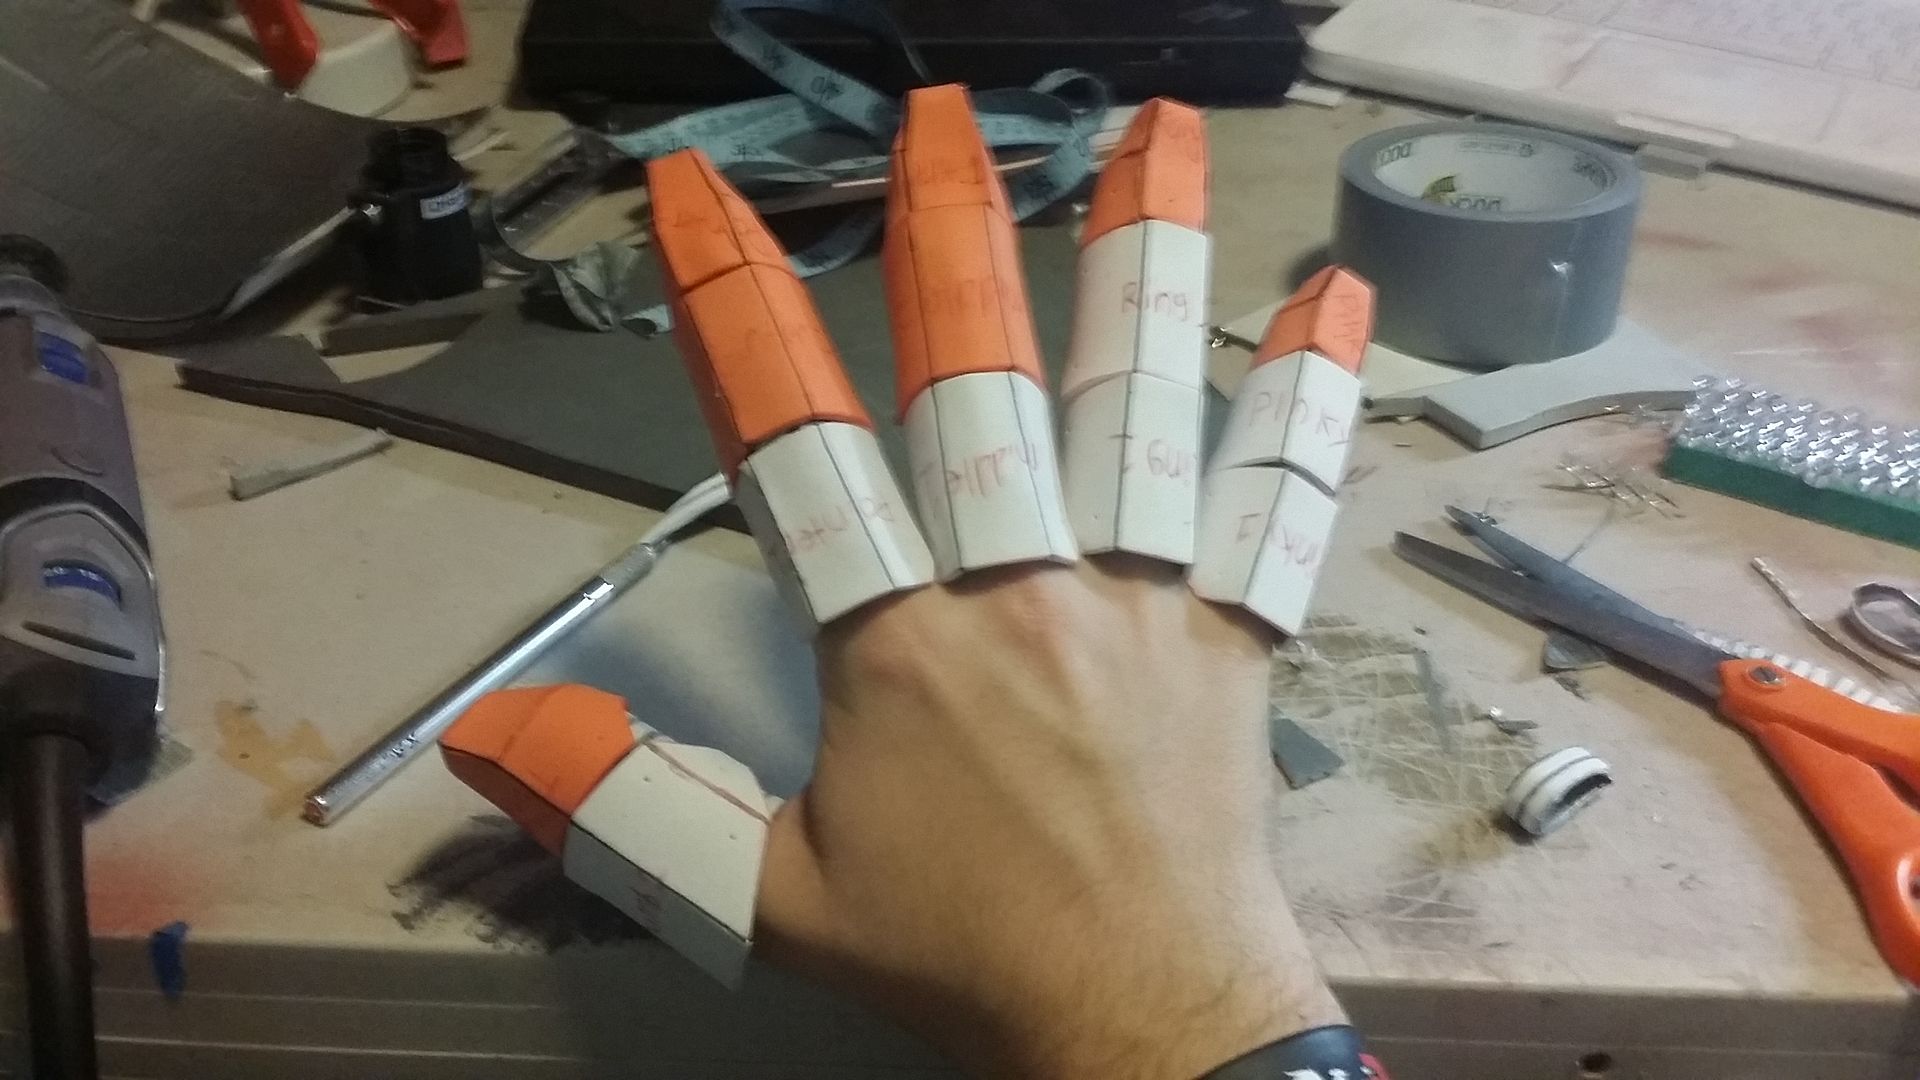
right hand fingers came out great, next came the left hand. lines were added to mark the areas to cut to create the sharp edges along the top
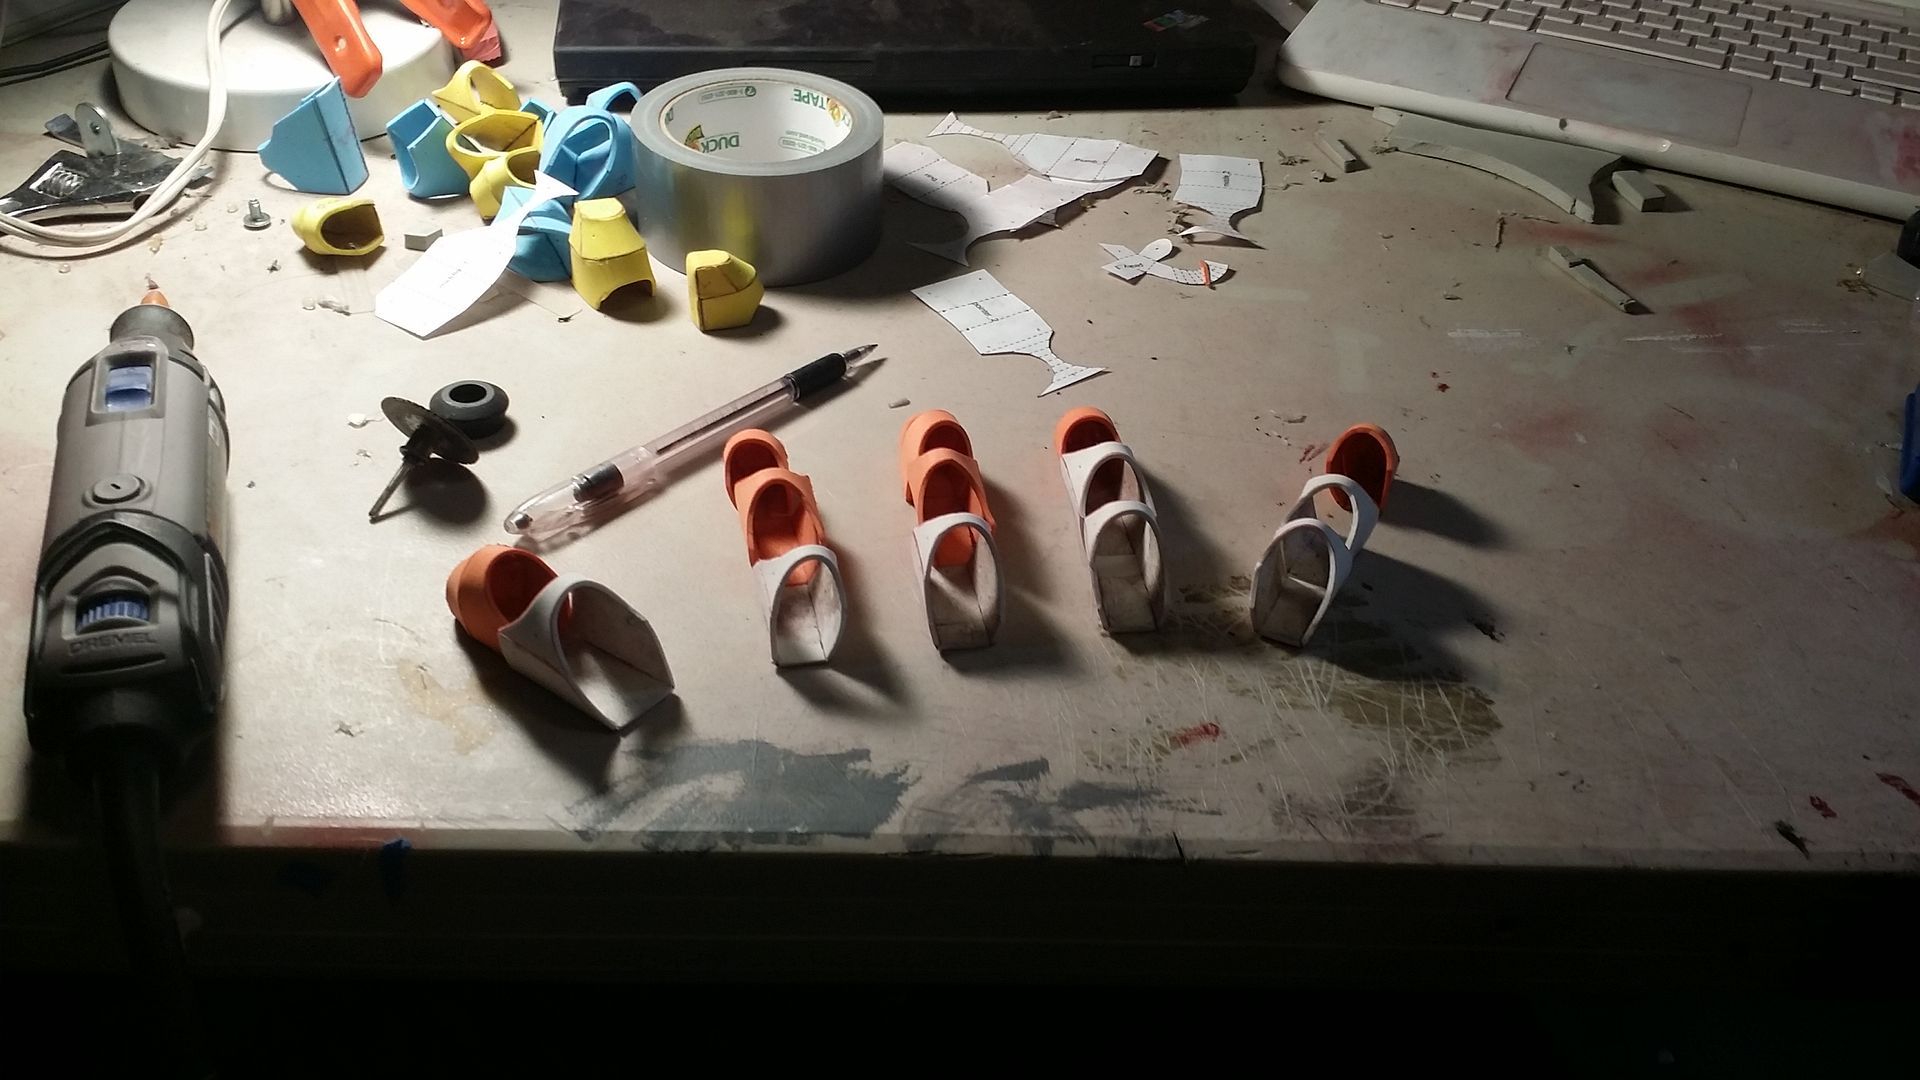

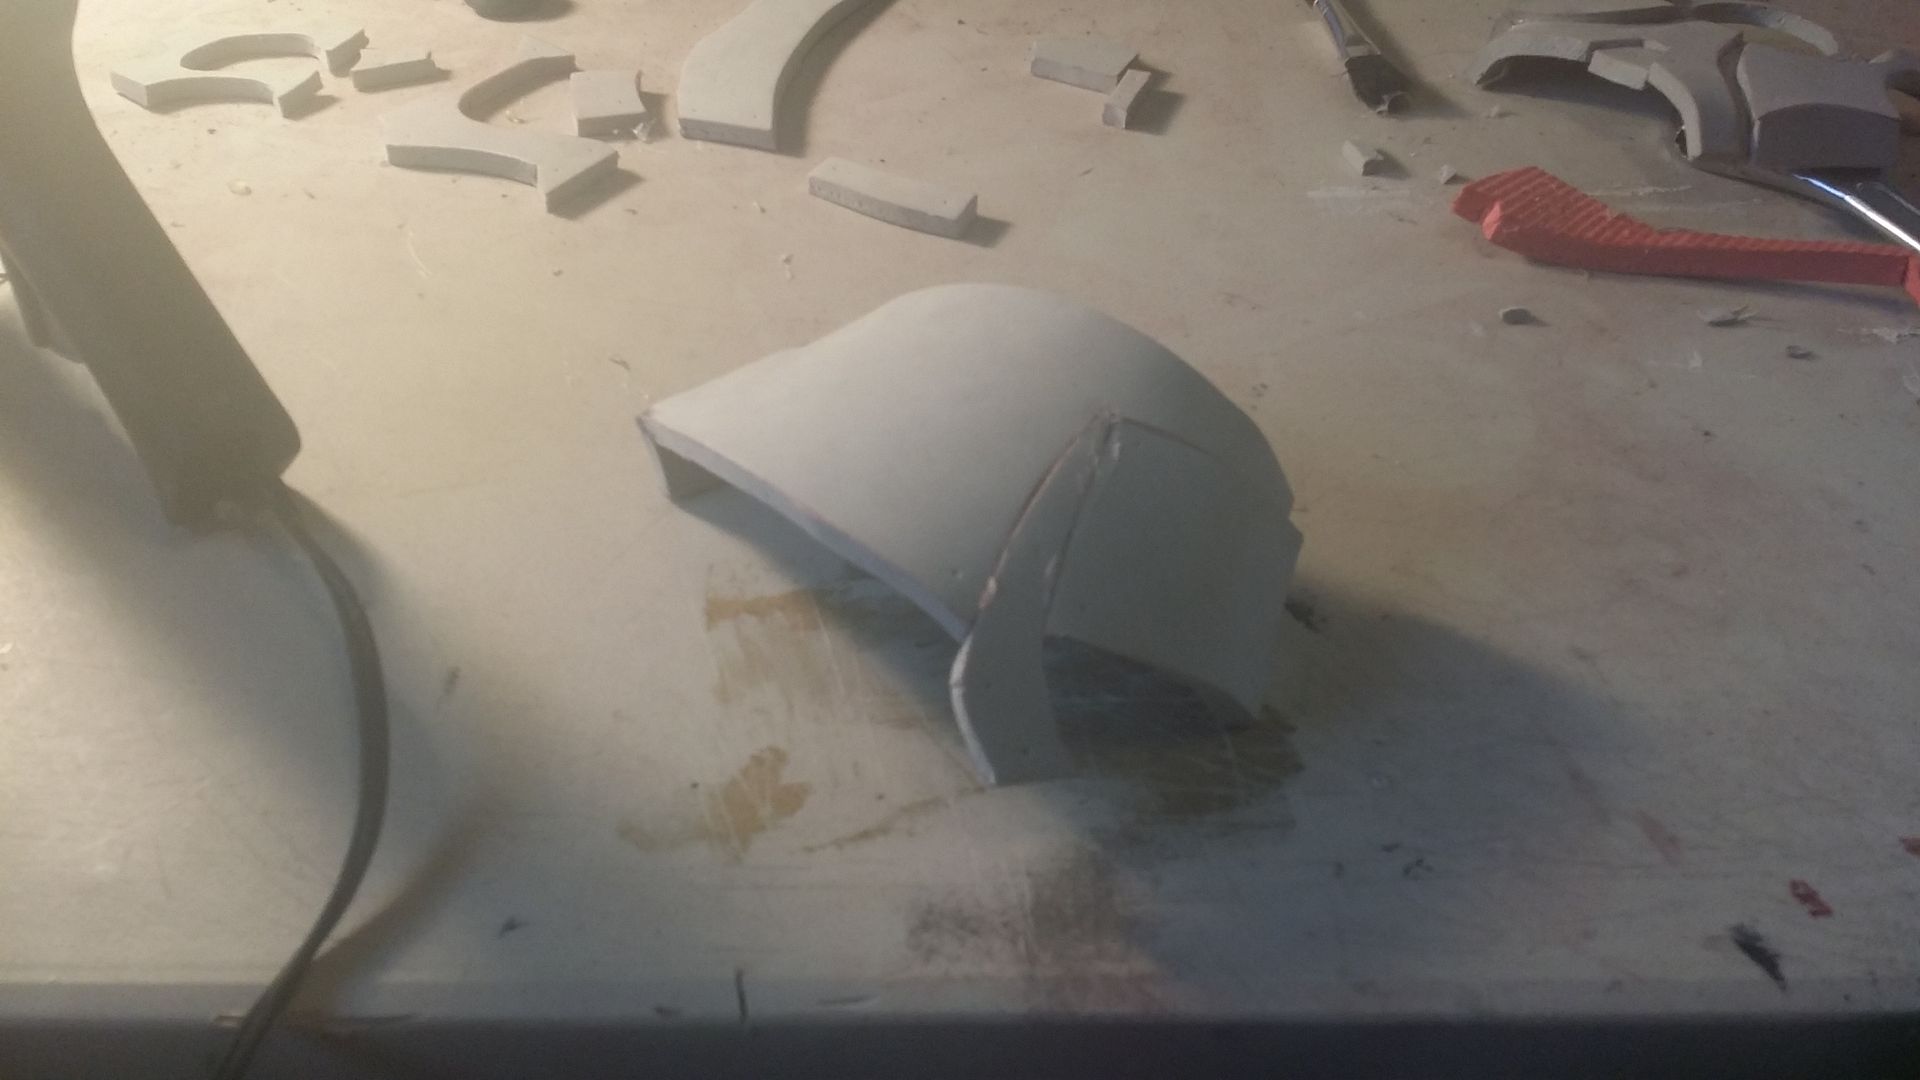
looking pretty damn awesome so far. But, this is where things get a little more complicated.
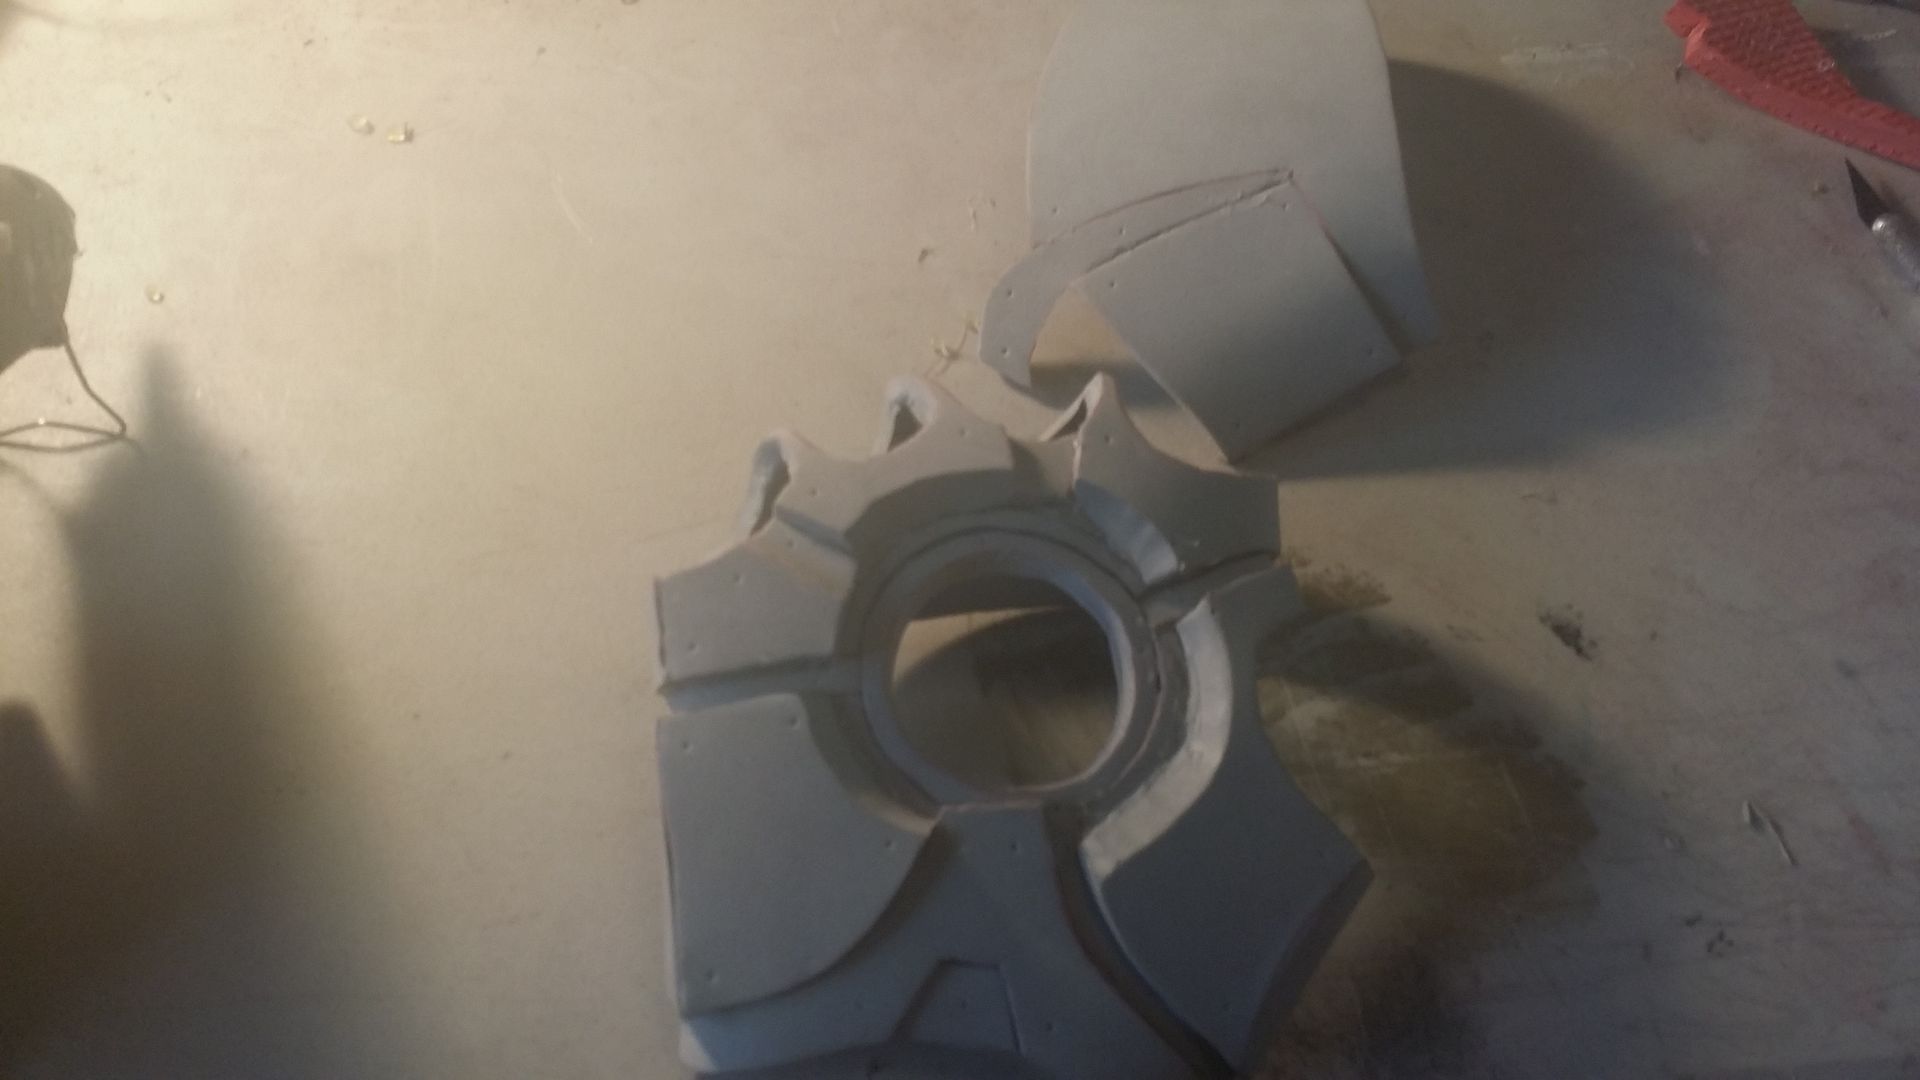
Iron man, unlike other popular costumes I've done, like Spartans or dumb cartoon robots, doesn't have a soft "undersuit" that the hard armour goes over. what this means is that every part of the suit, including bending and rotational joints, is covered in hard armor. Obviously hard armor doesn't bend. This problem was, thankfully, solved hundreds of years ago, in the middle ages, when plate-mail armour was first invented. the king wanted his pest warriors clad in head to toe in shining metal, but his blacksmiths and engineers ran into trouble when they pus a solid piece of armour around, say, a knee or an elbow, and suddenly the knight couldn't bend his knees or move his arms. after a lot of trial and error, the science of overlapping plates was discovered. using segments of hard armor that overlap each other, knights were able to have their joints protected, AND mobile at the same time, as shown:


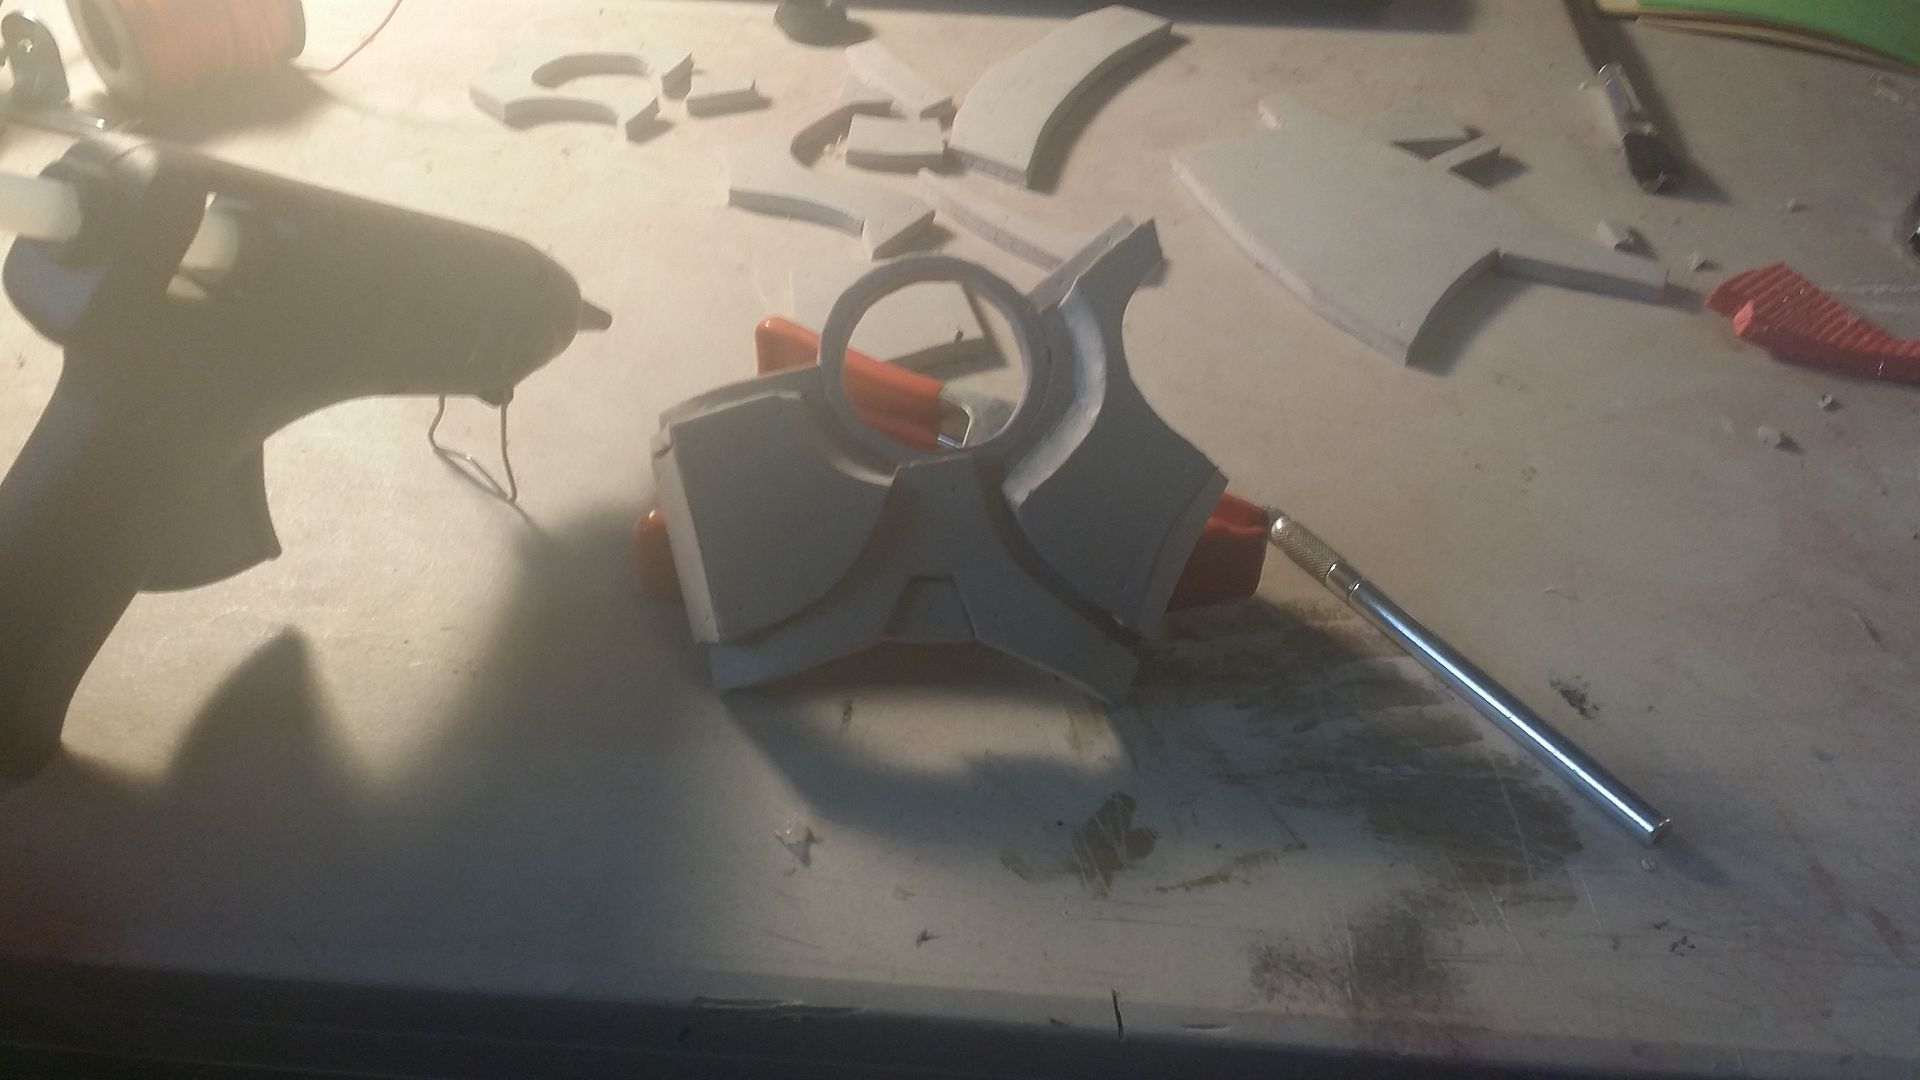
Mr. stark realized the advantage of this, and did much of the same, albeit with a little more technology behind it. it's very apparent in the fingers and wrists of his suit which, to tie this nerd rant back into the task at hand, is exactly what i'm working on now:
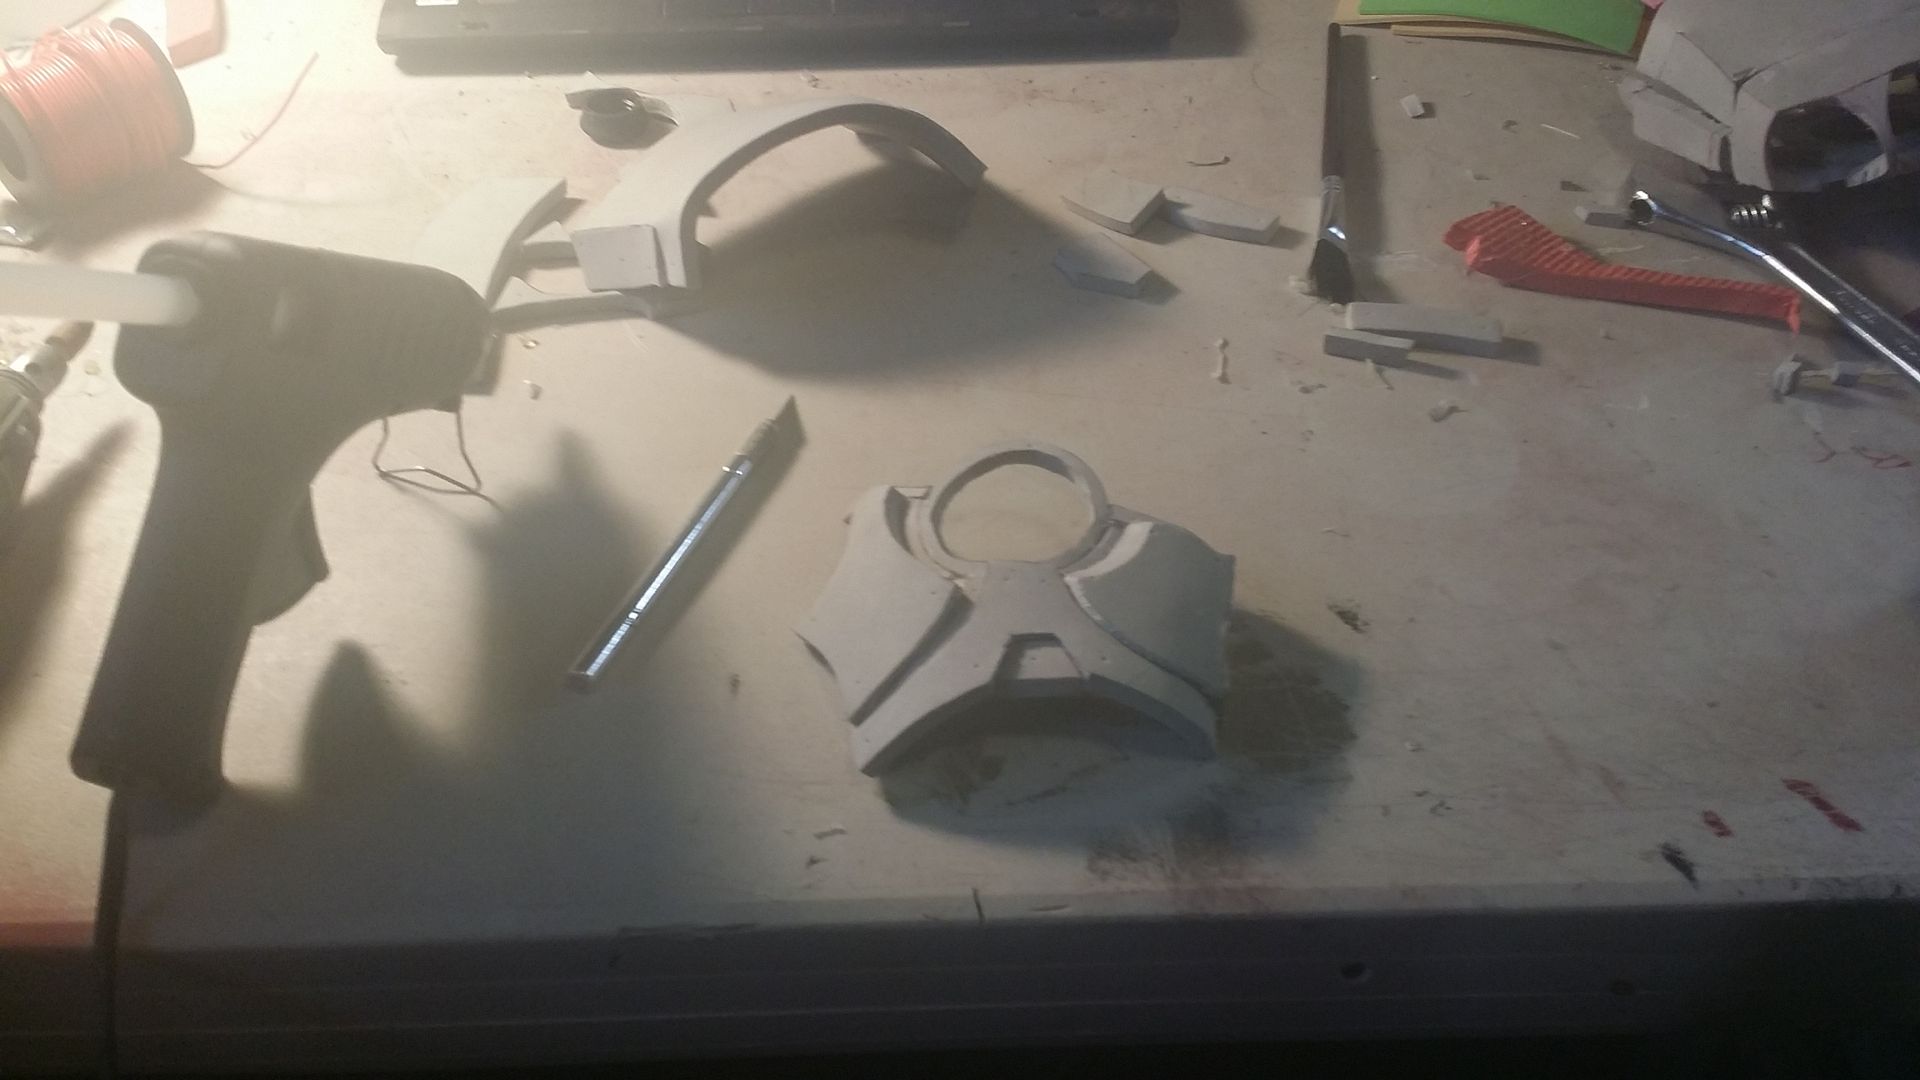
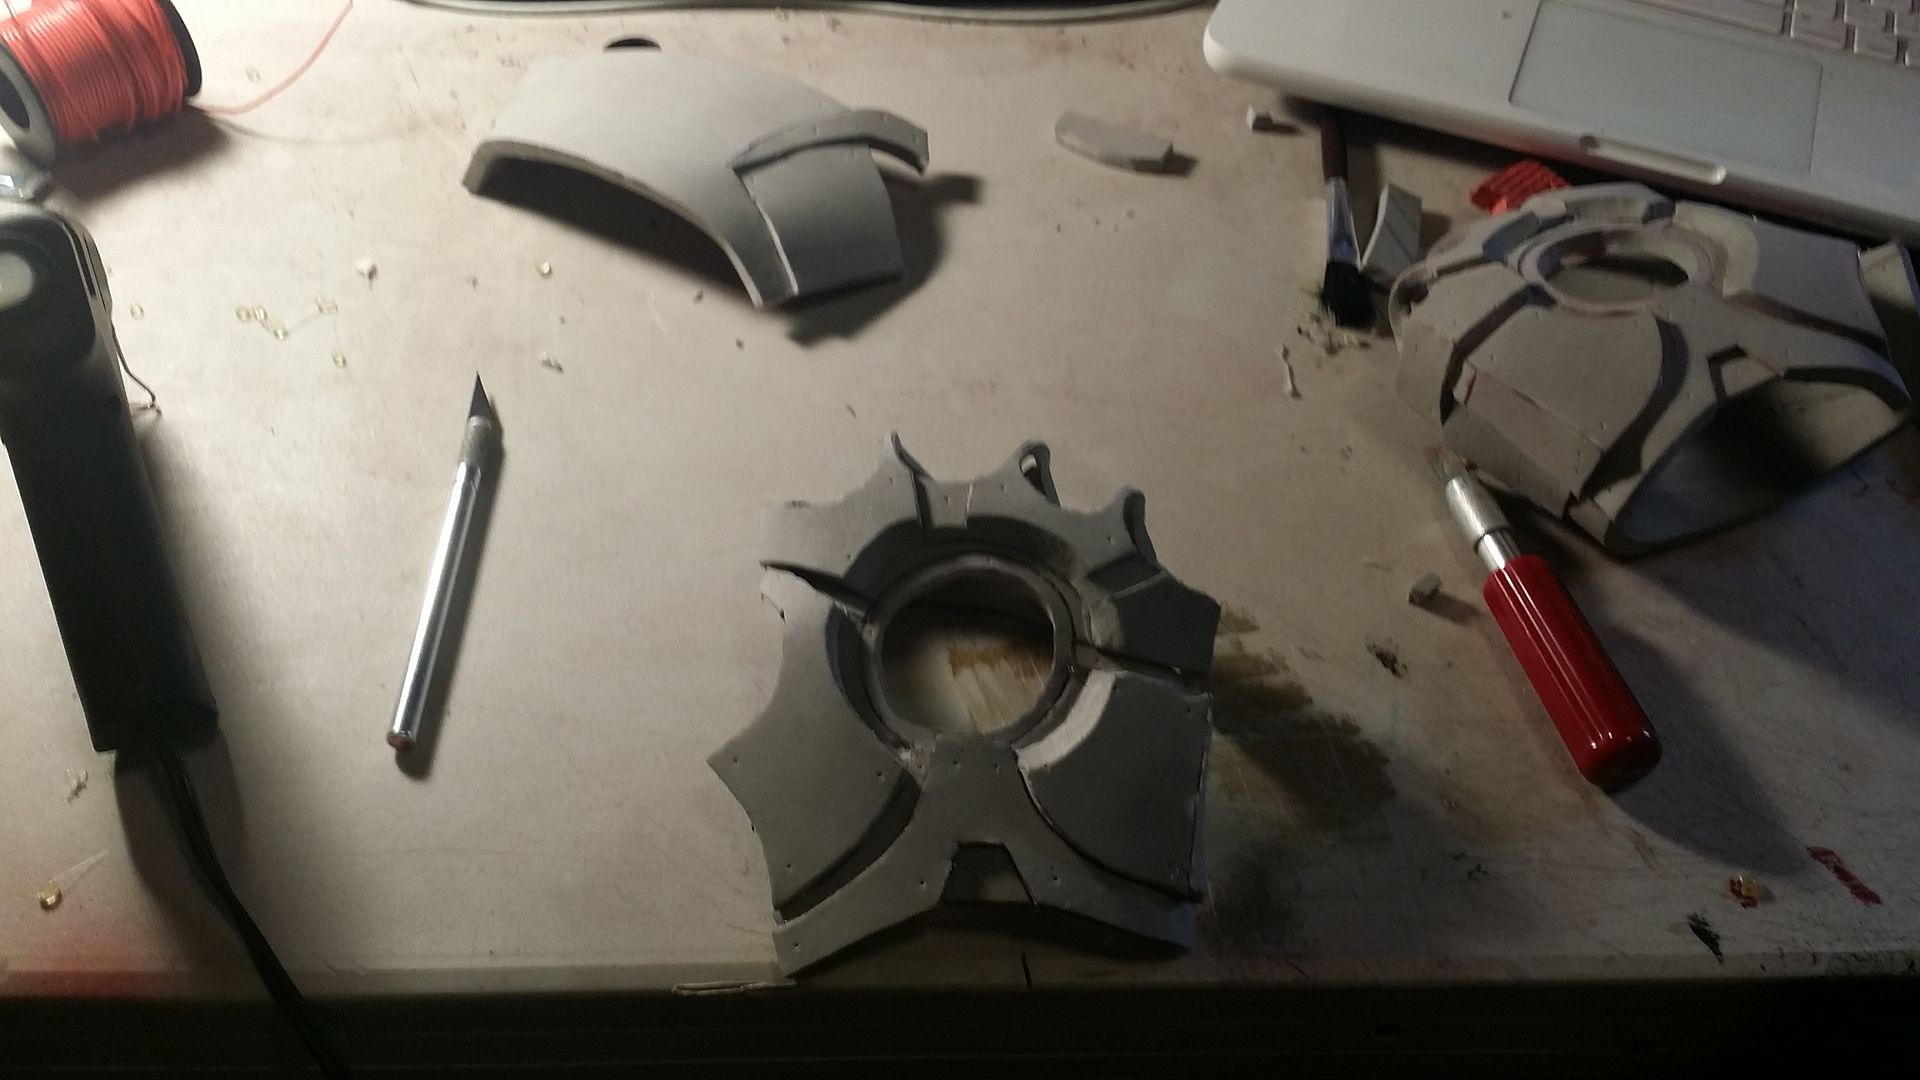
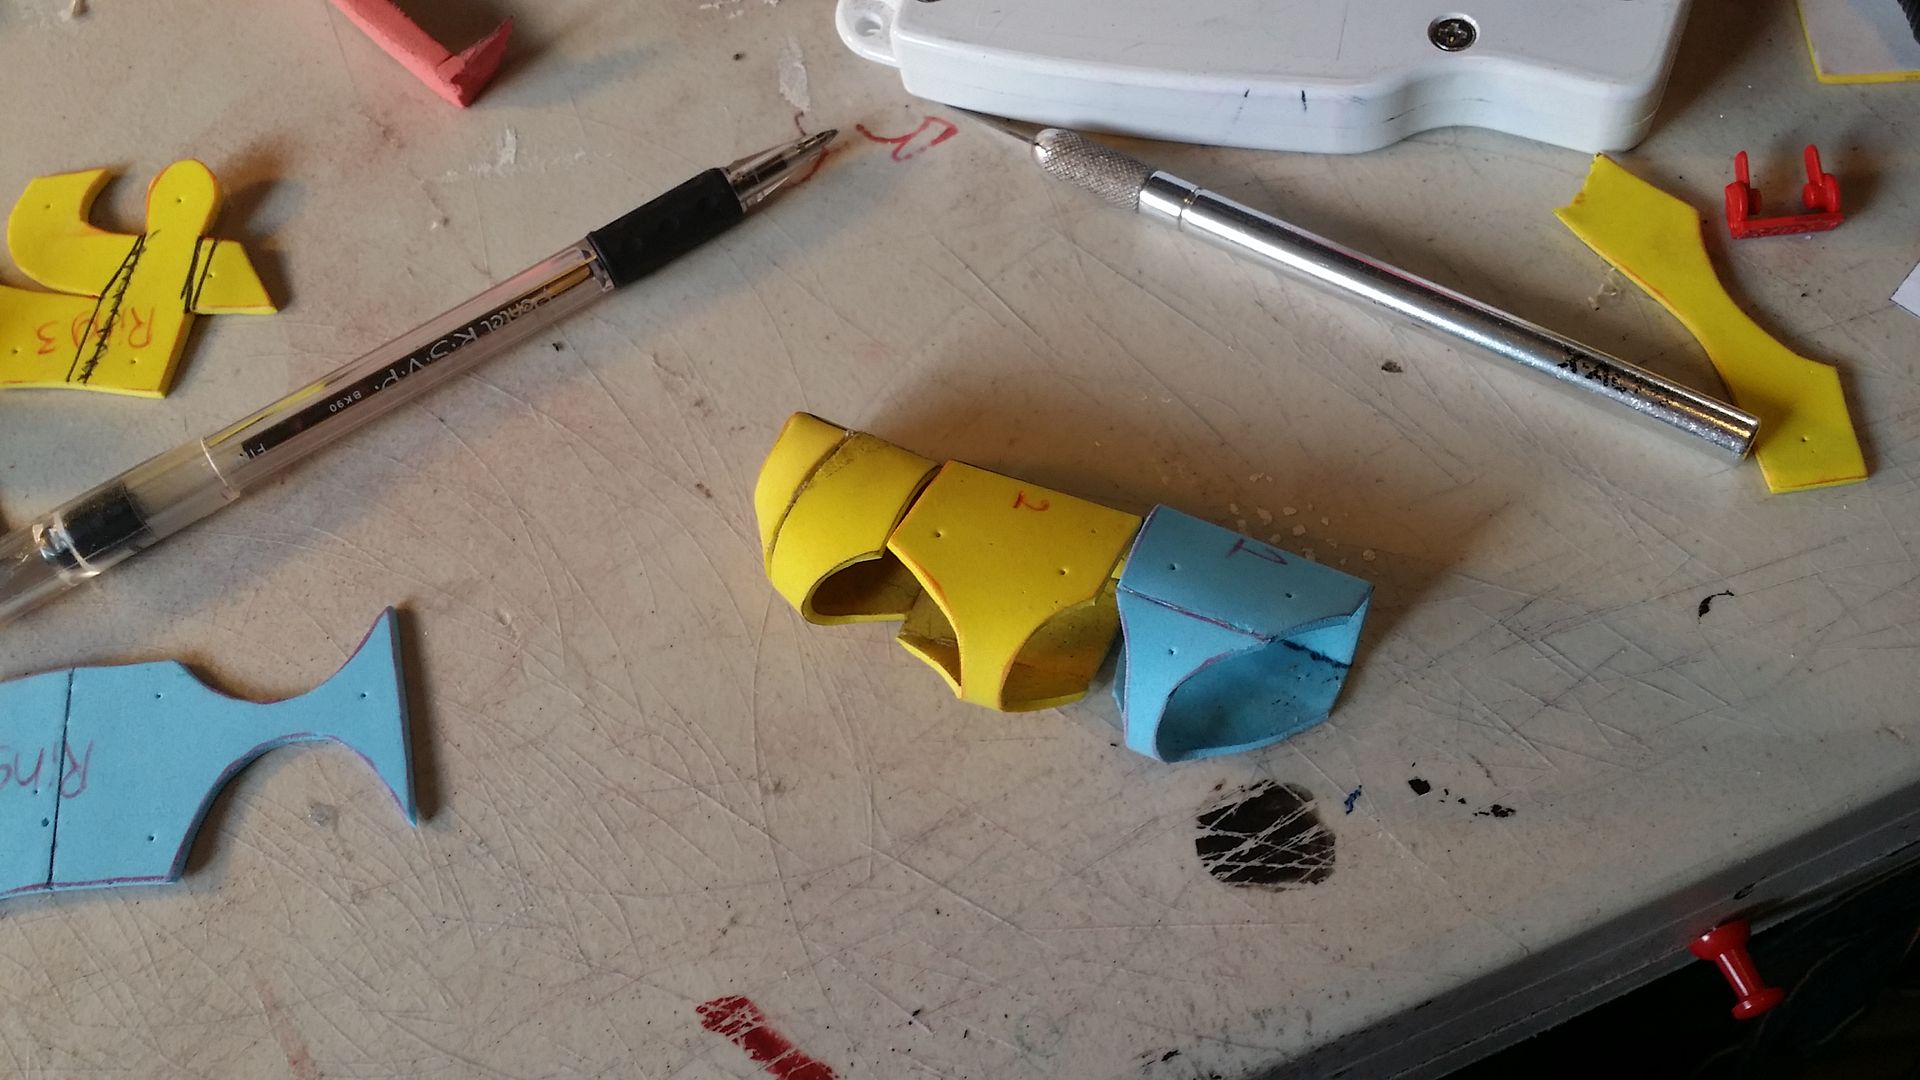
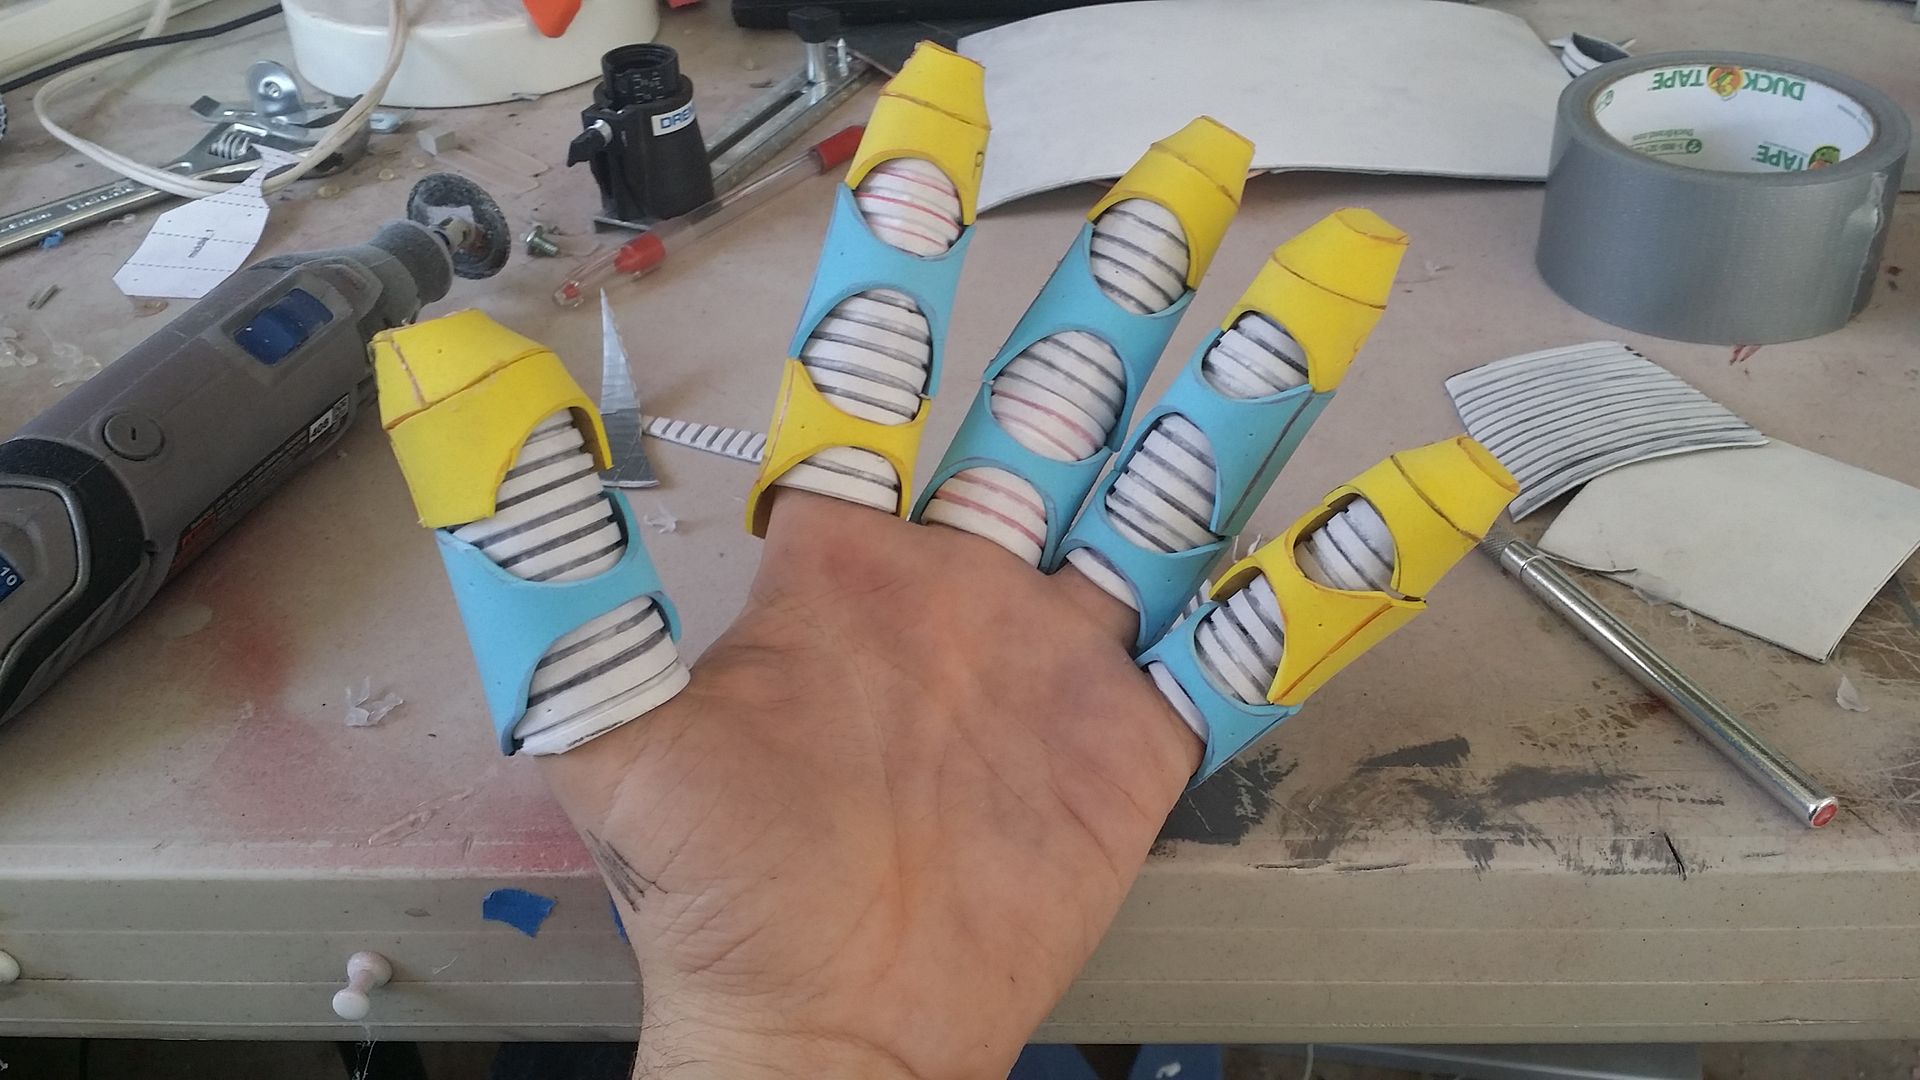
 you can see here that the "ribbed" pieces in the joints are where the flexibility comes from. now, where we run into issues is that the material i'm using (foam) 1. doesn't like to be thin, it tends to tear, and 2. doesn't like to hold a rigid shape or be bolted into place. it tends to tear. so, we can't faithfully recreate the engineering behind iron man's mobility. however, we can FAKE it.
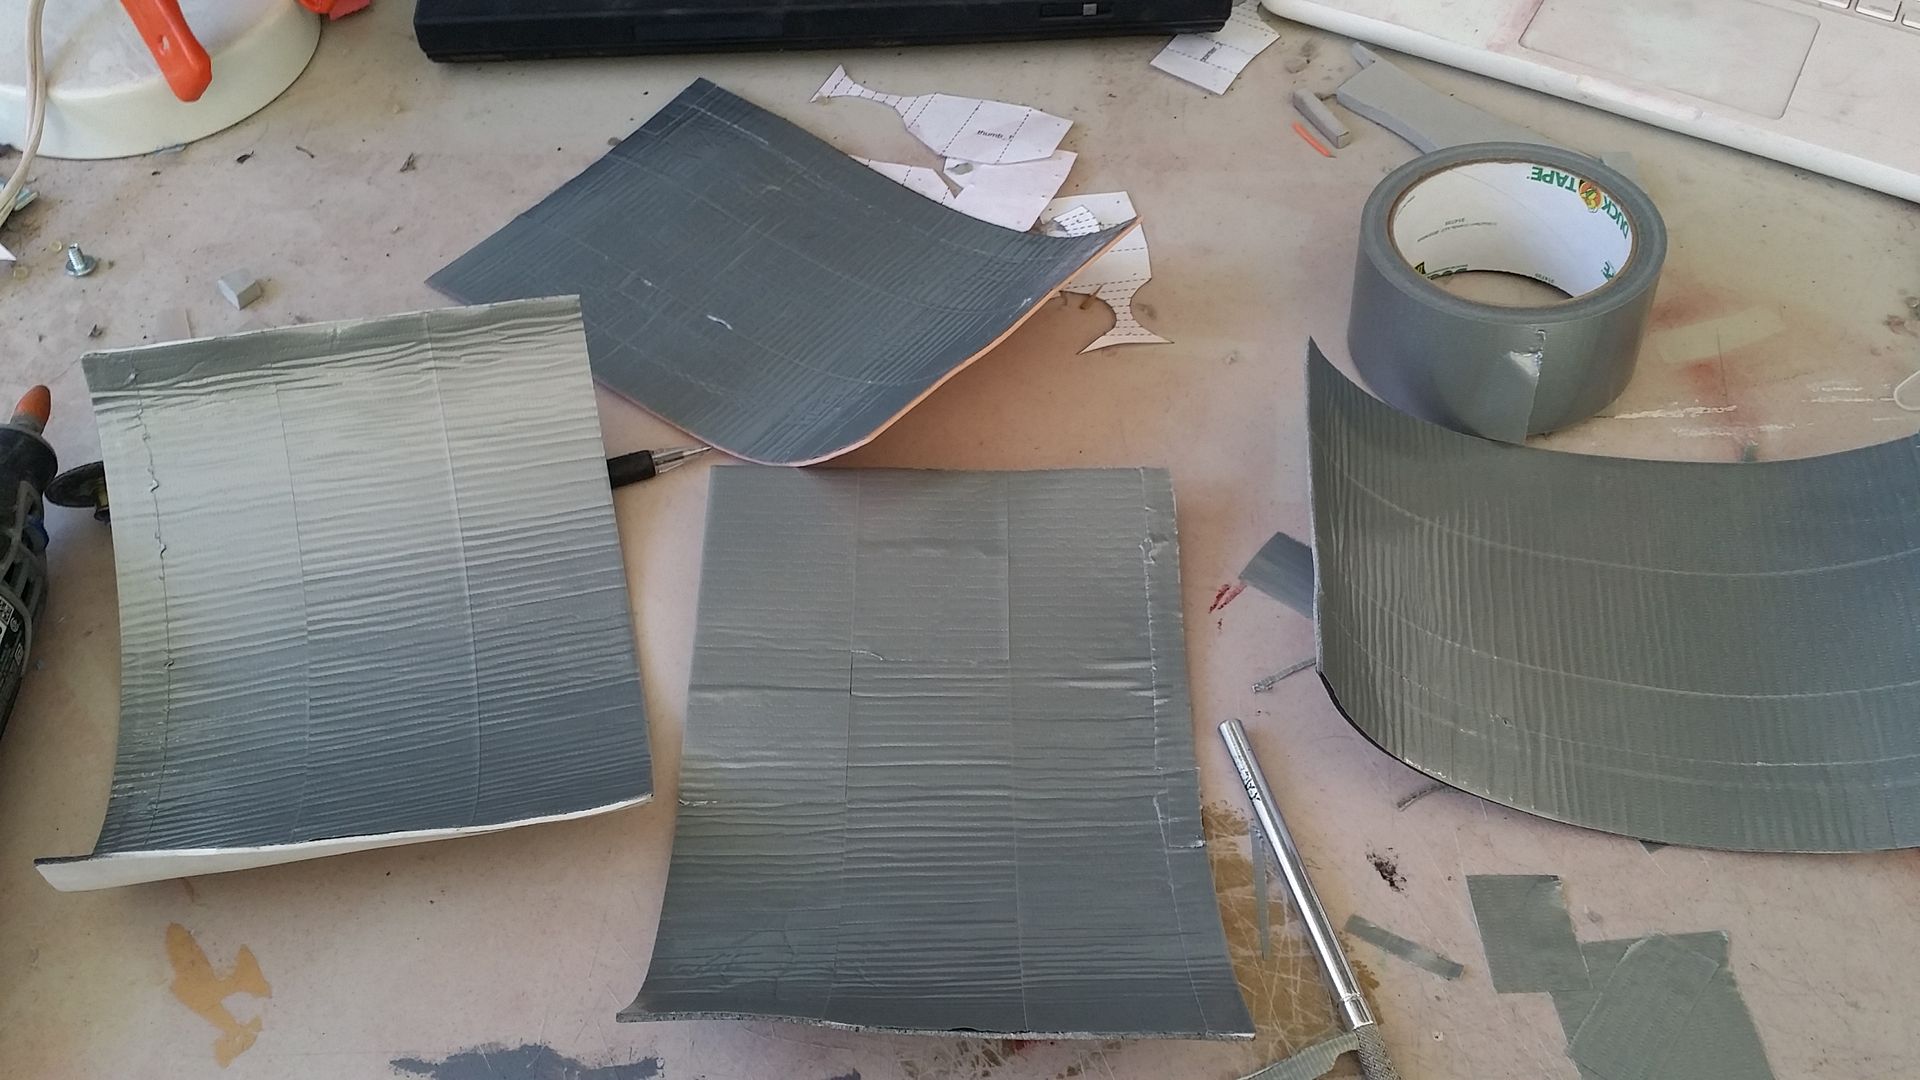
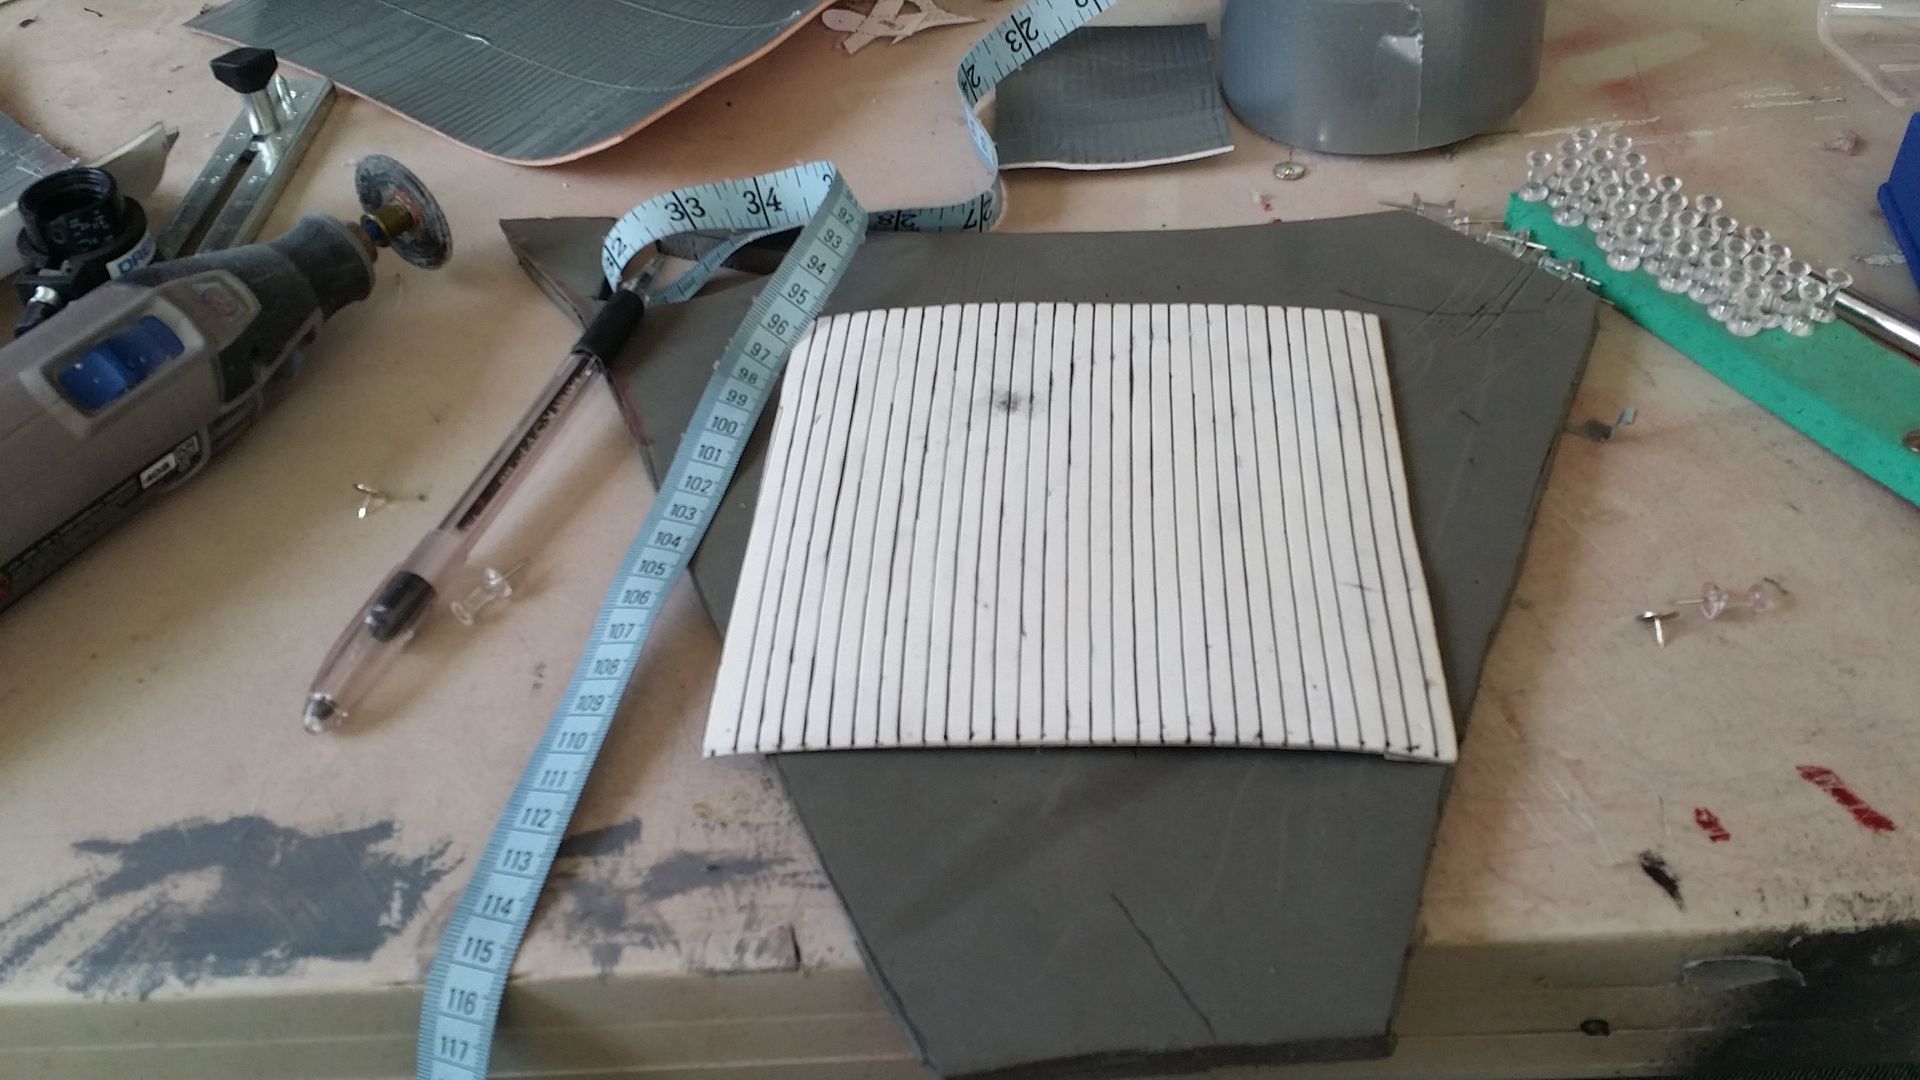
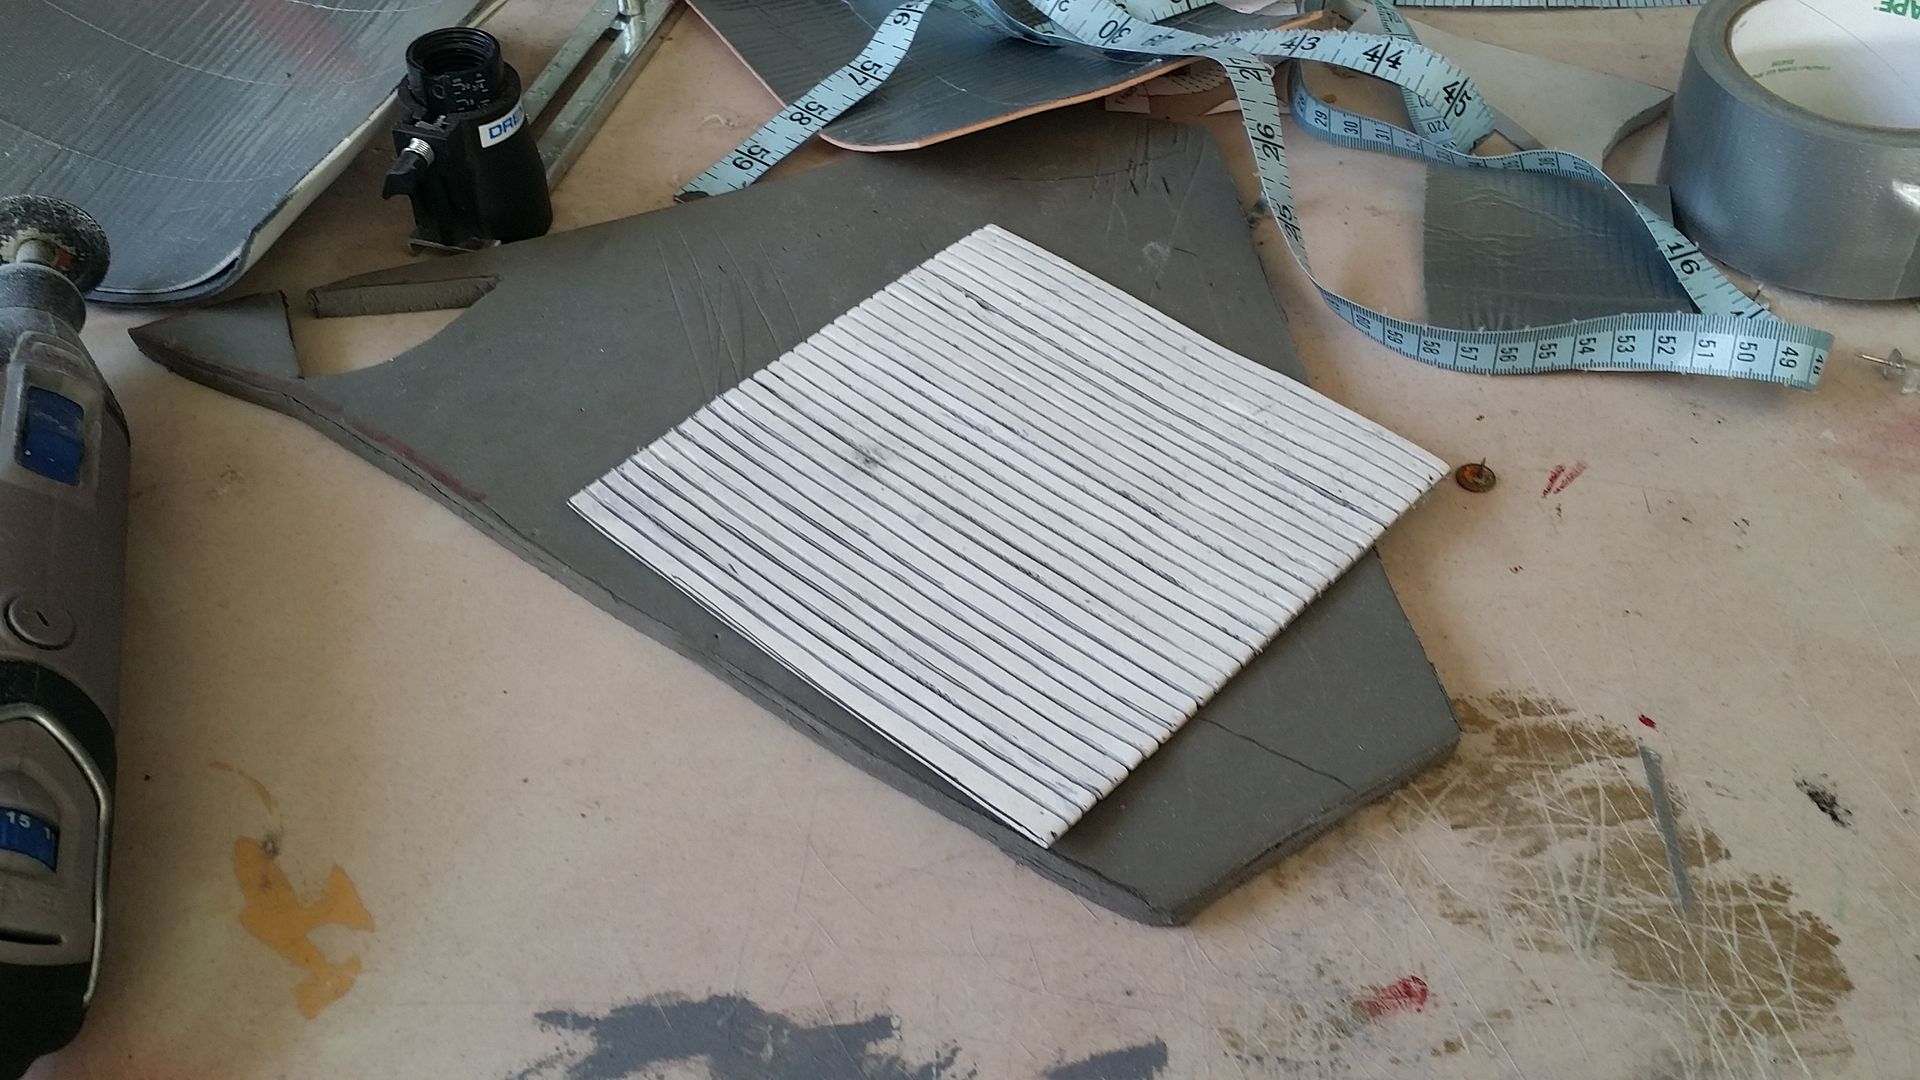
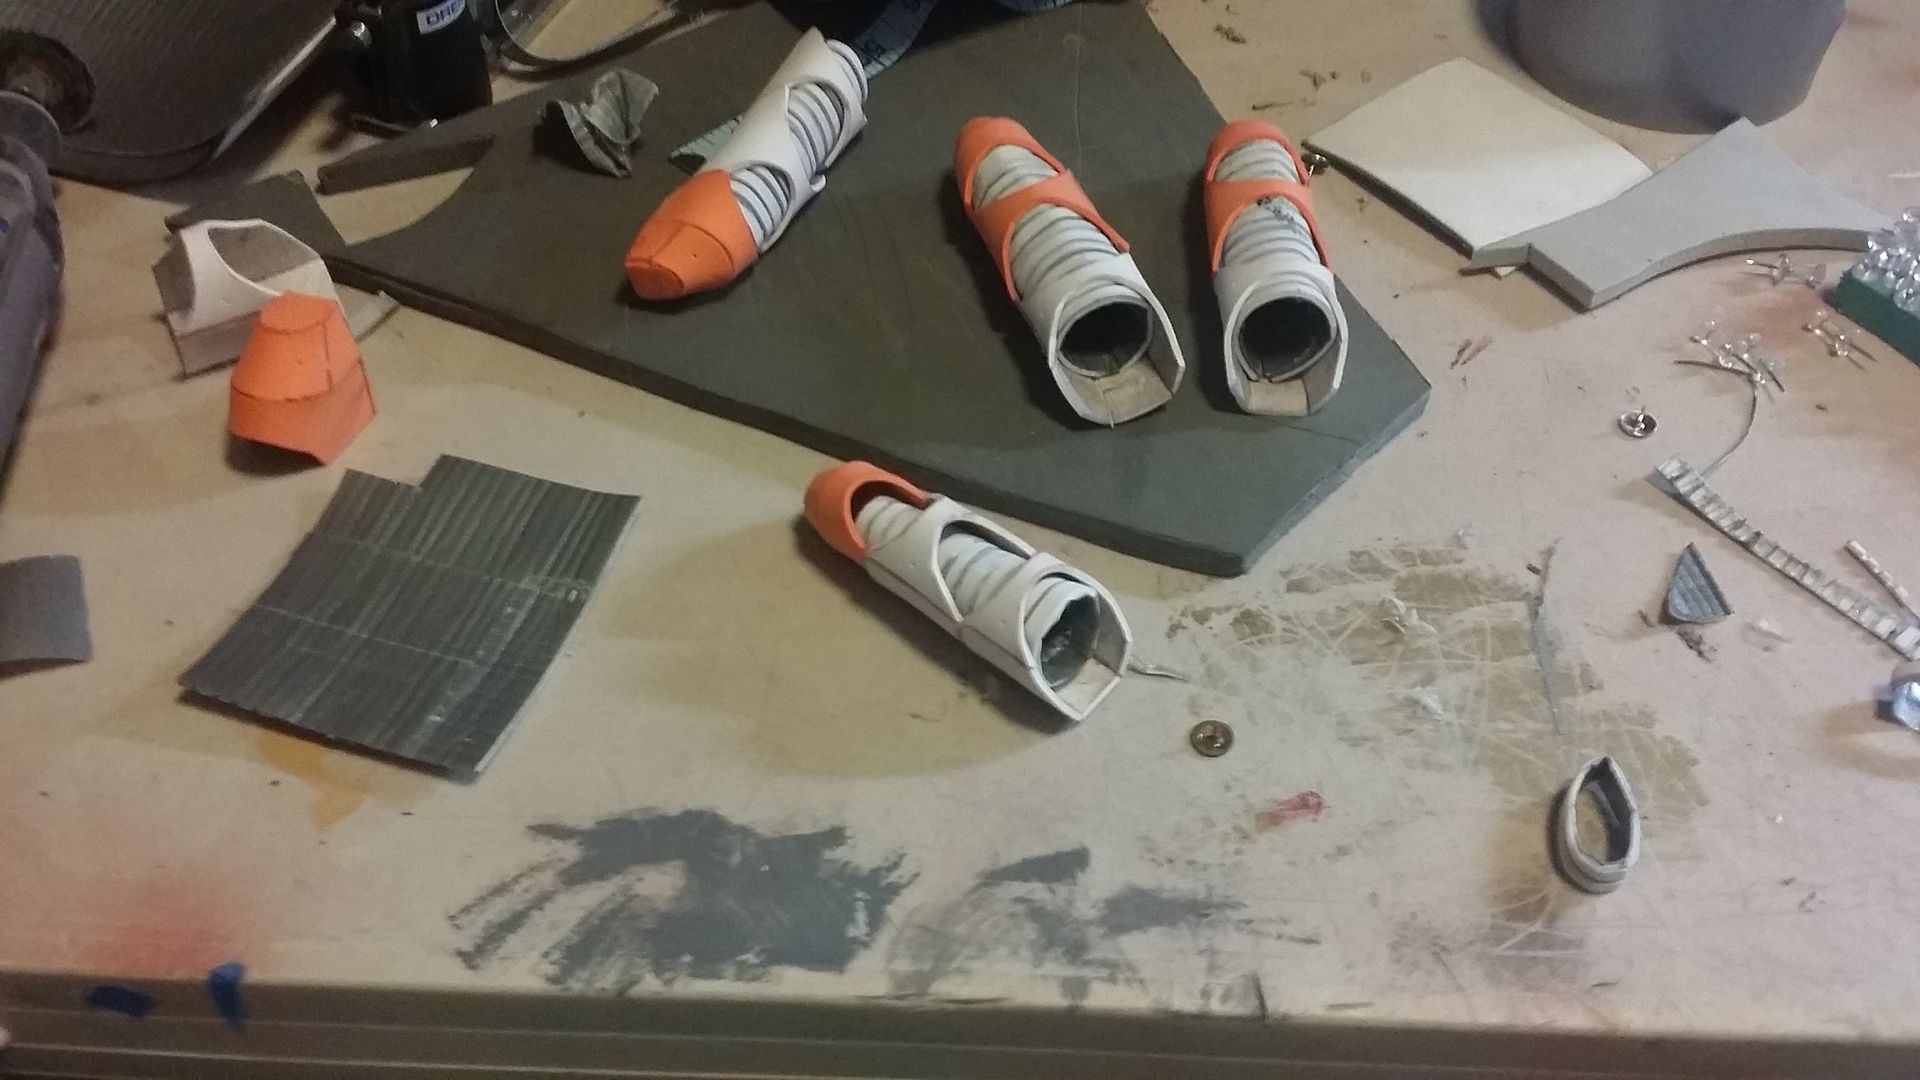
so, we'll start with a little testing with the materials we have. first, grab a few sheets of foamies, and reinforce them with a duct tape backing:
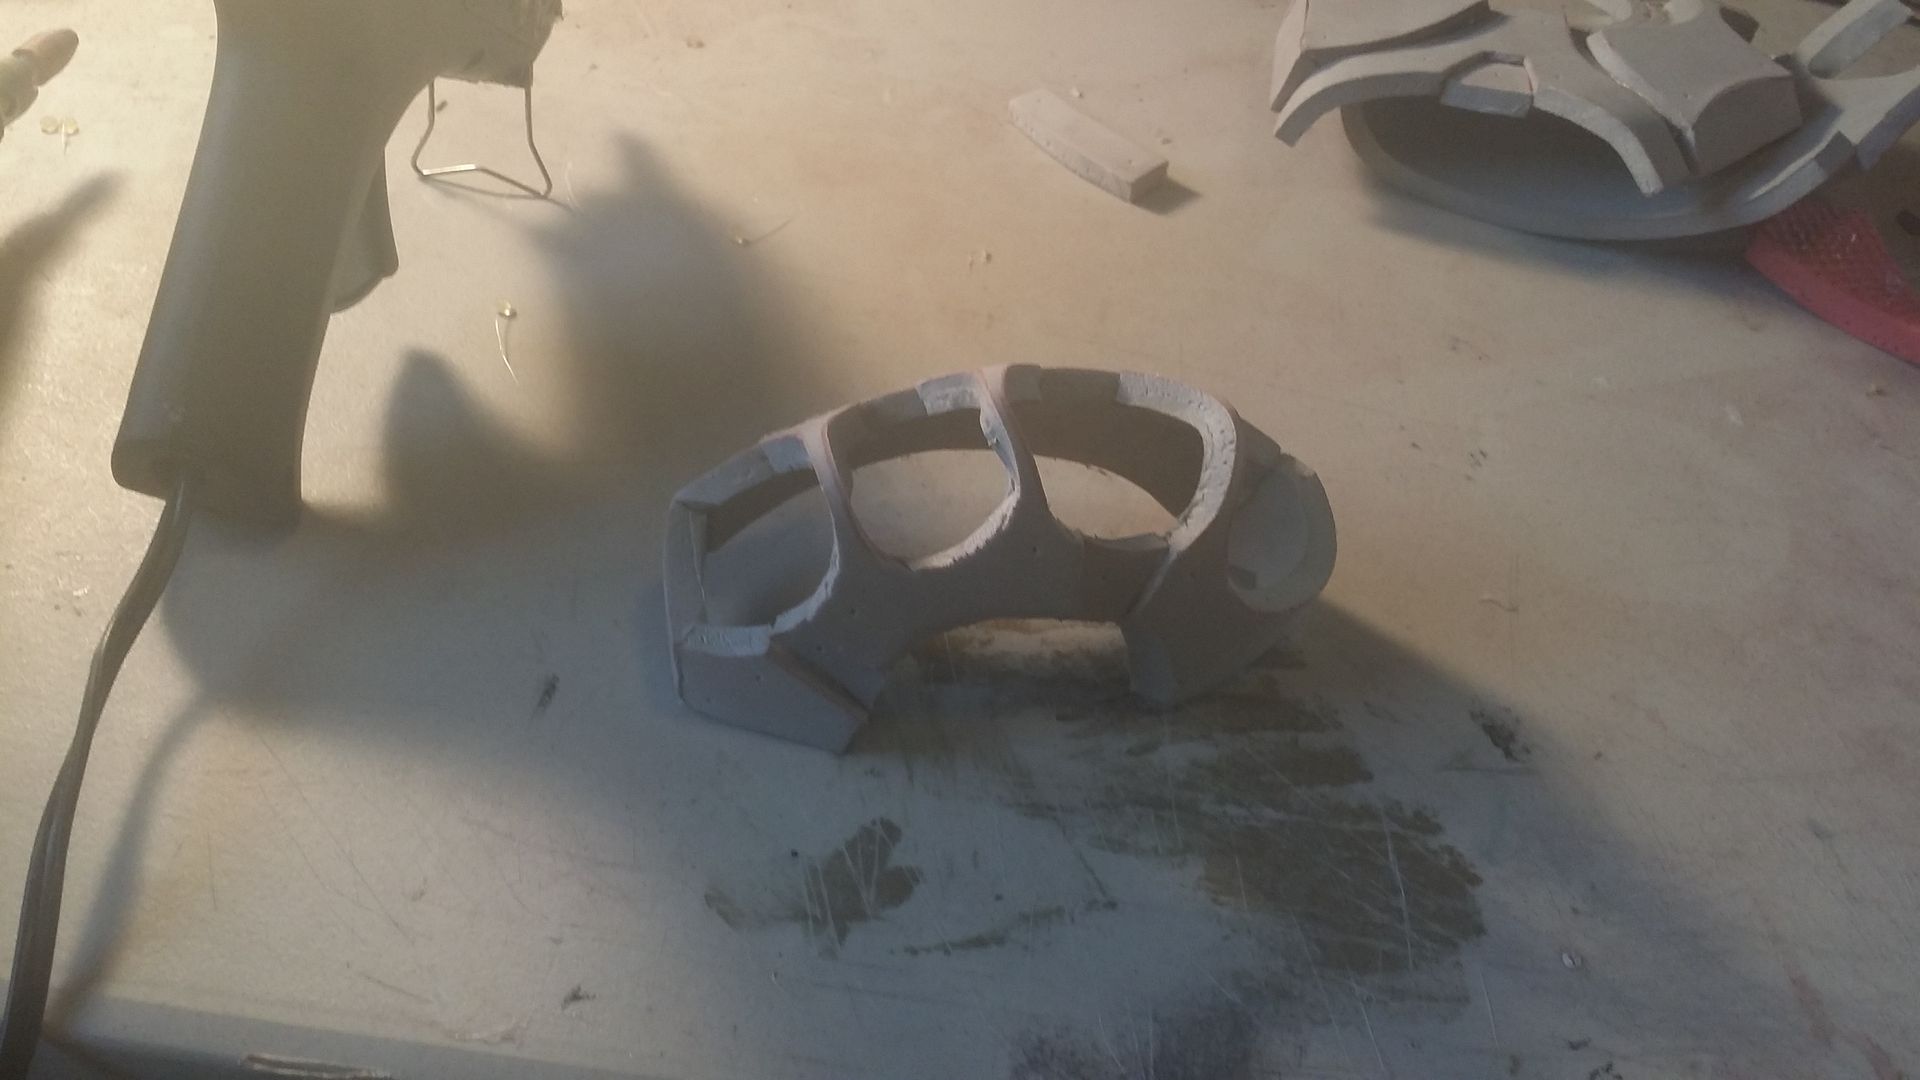
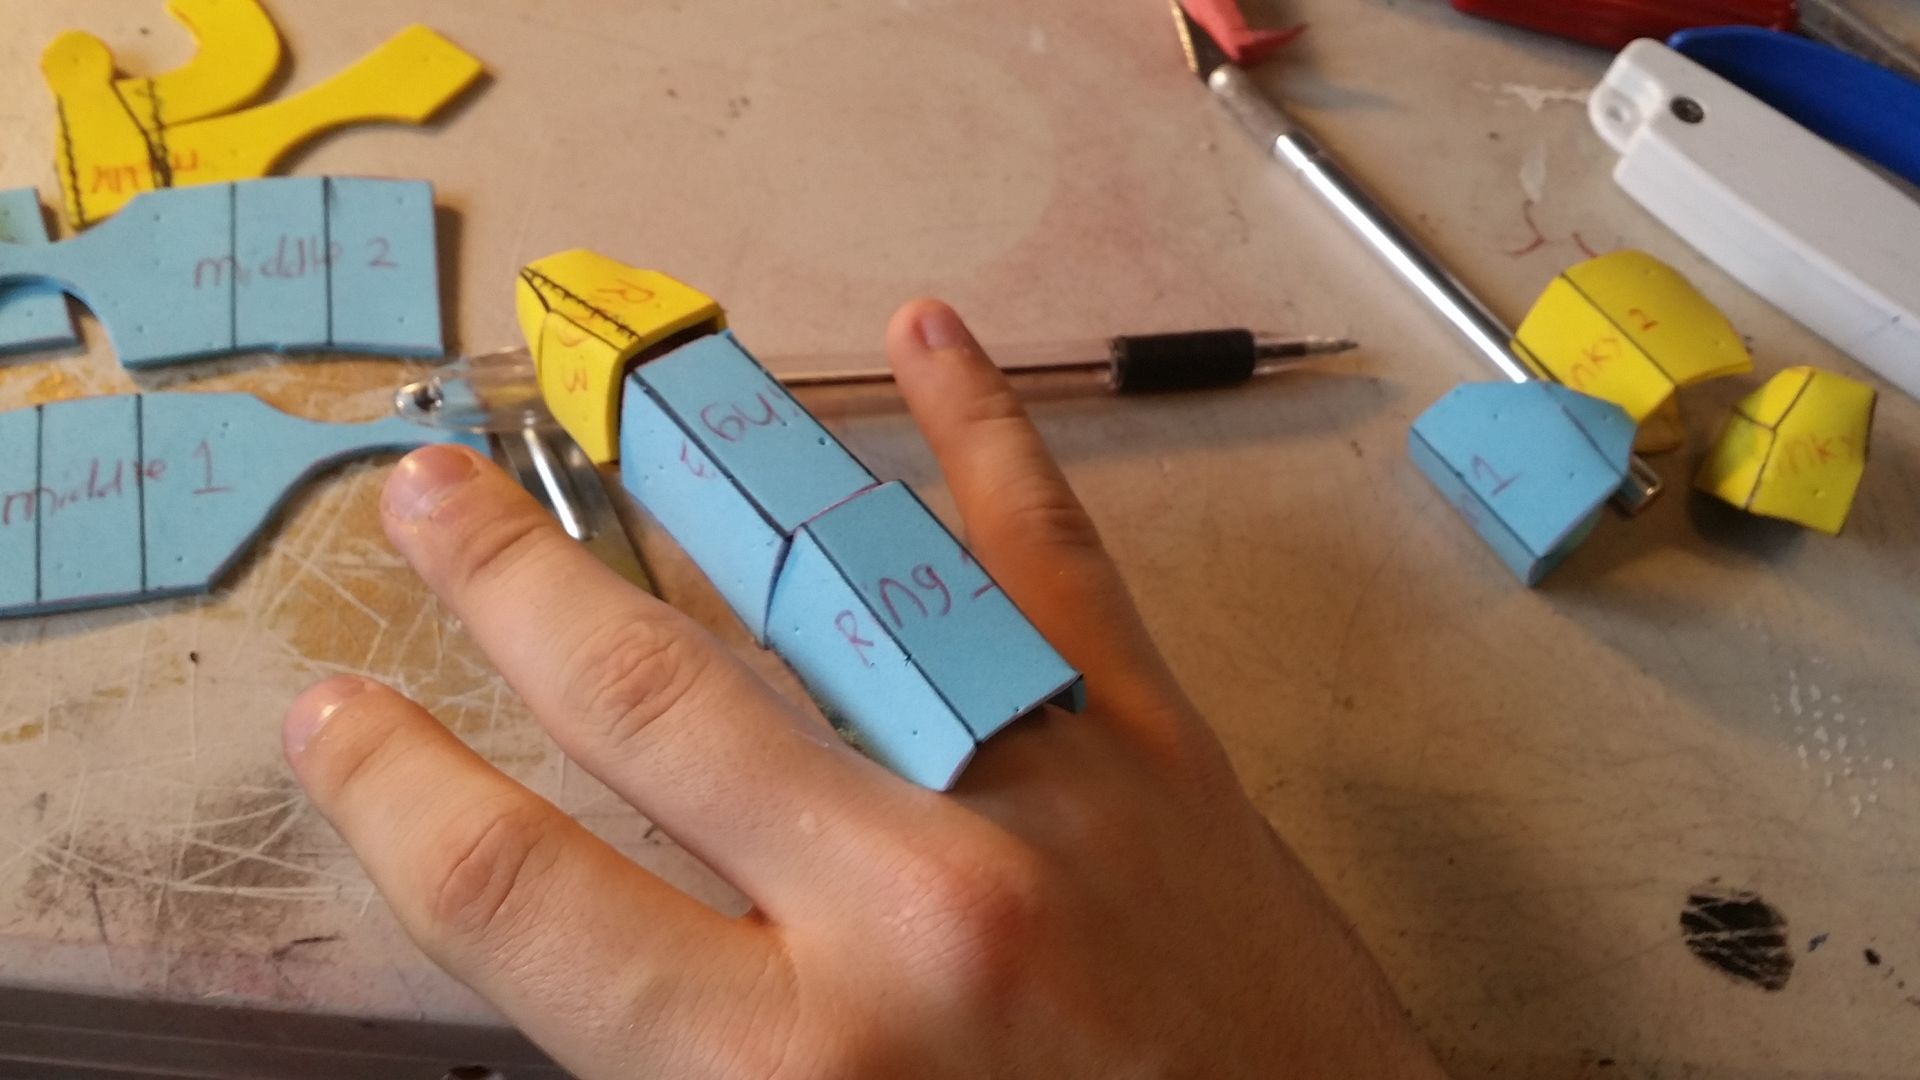
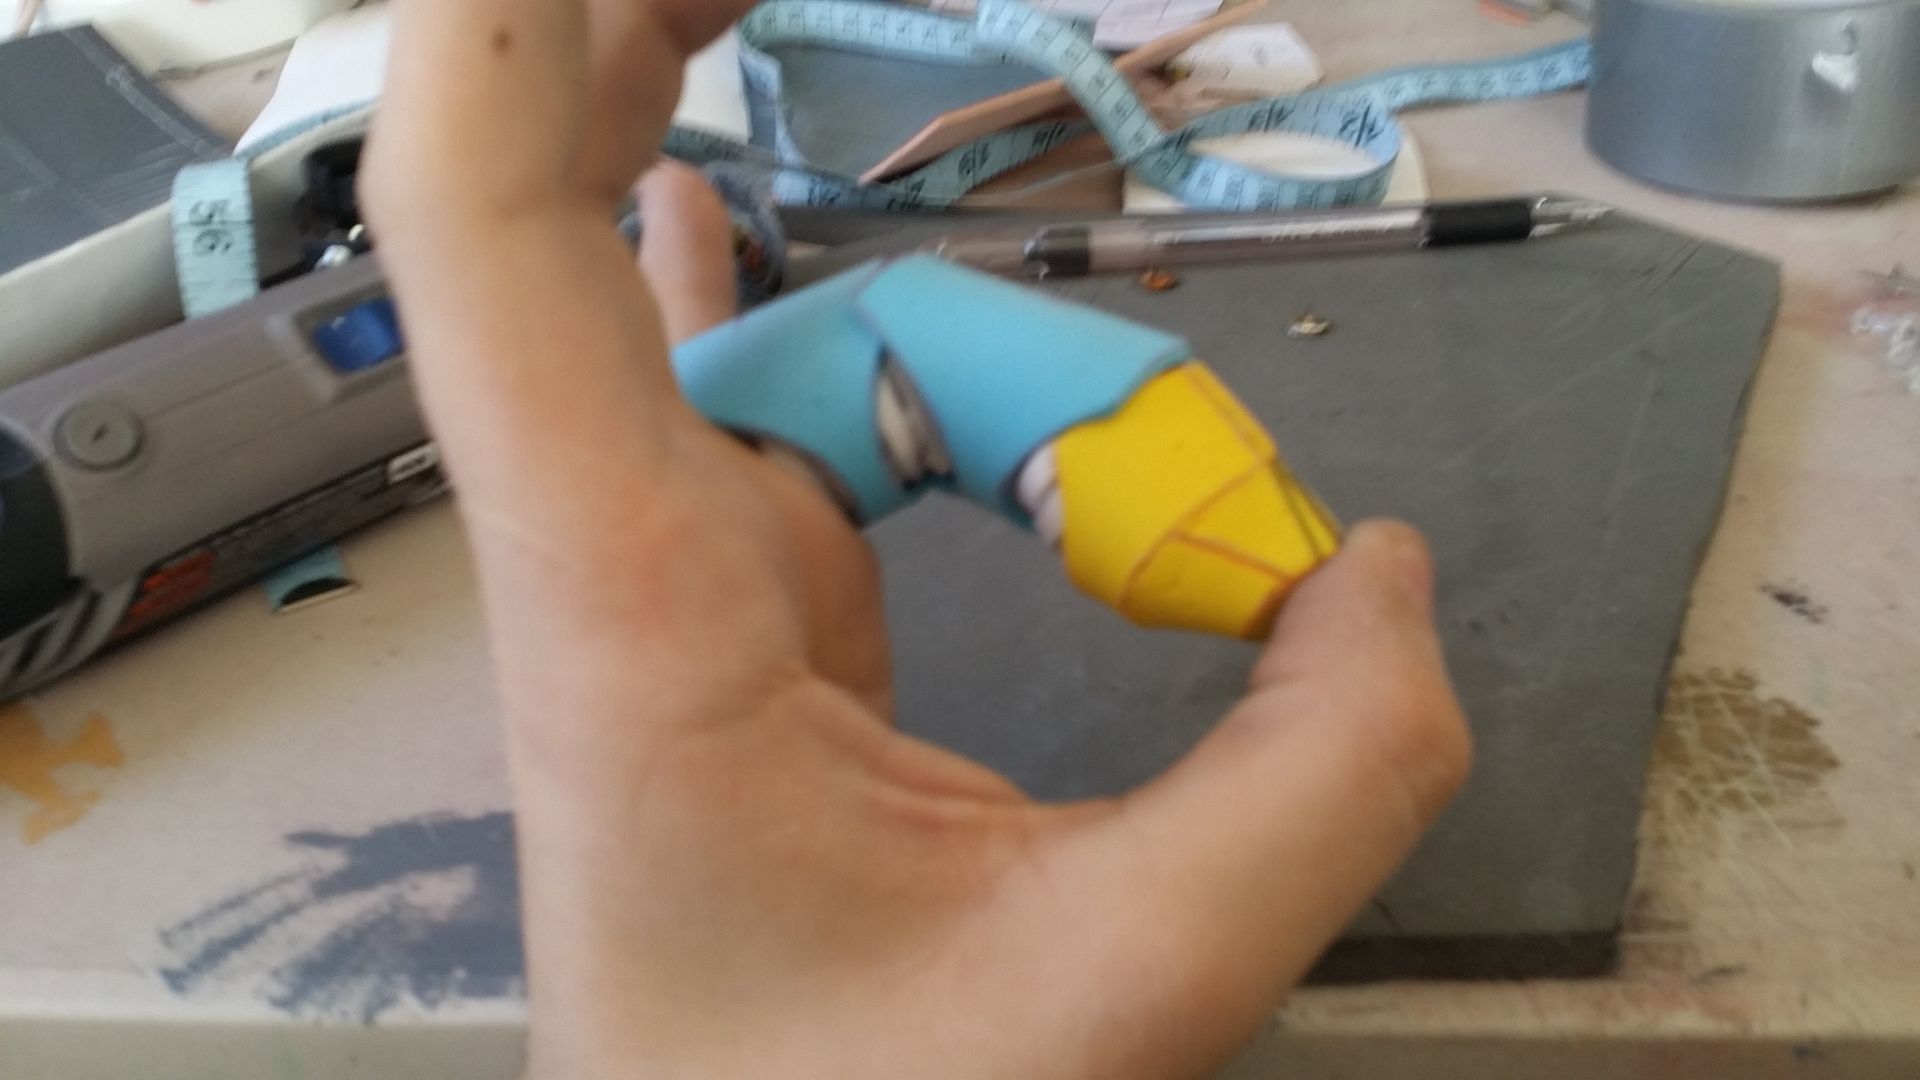
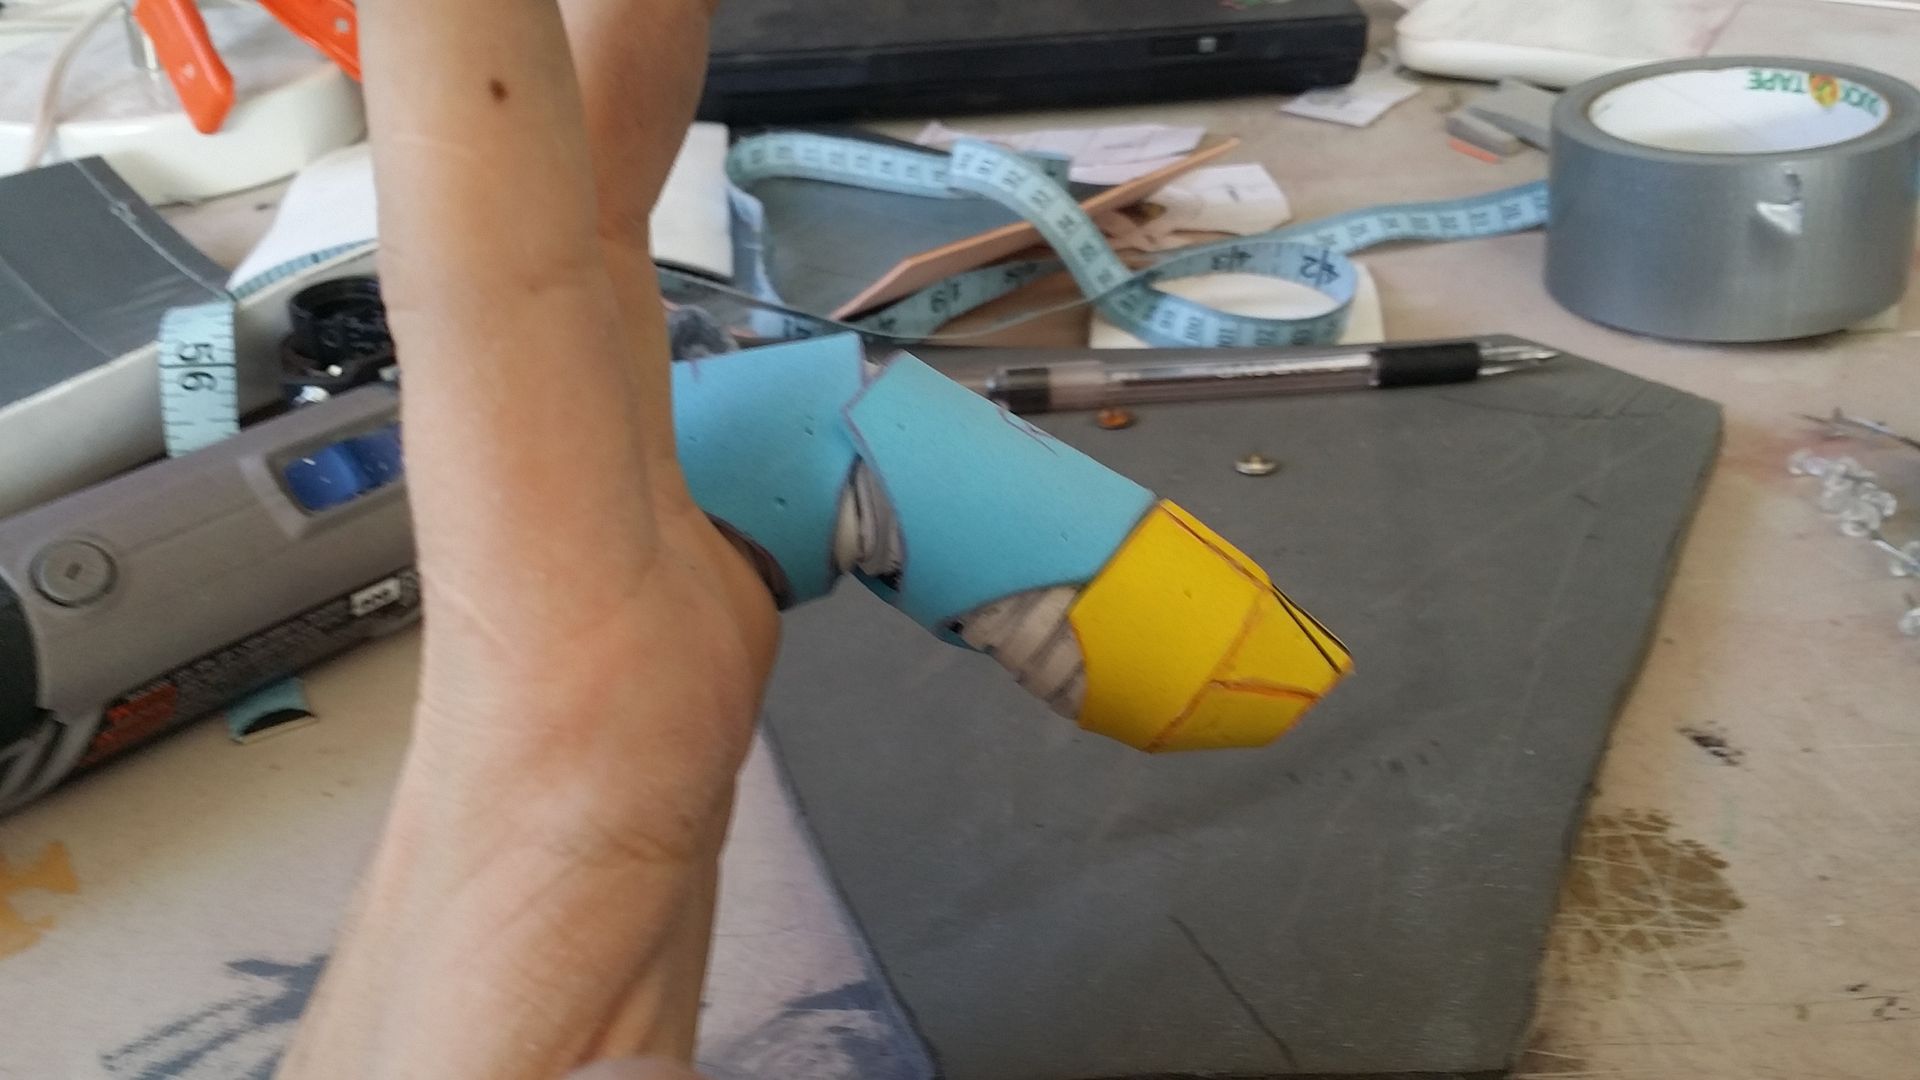
cut out a little test piece for the finger, and draw "ribbing" along it:

then cut along the lines to create the ribbing:
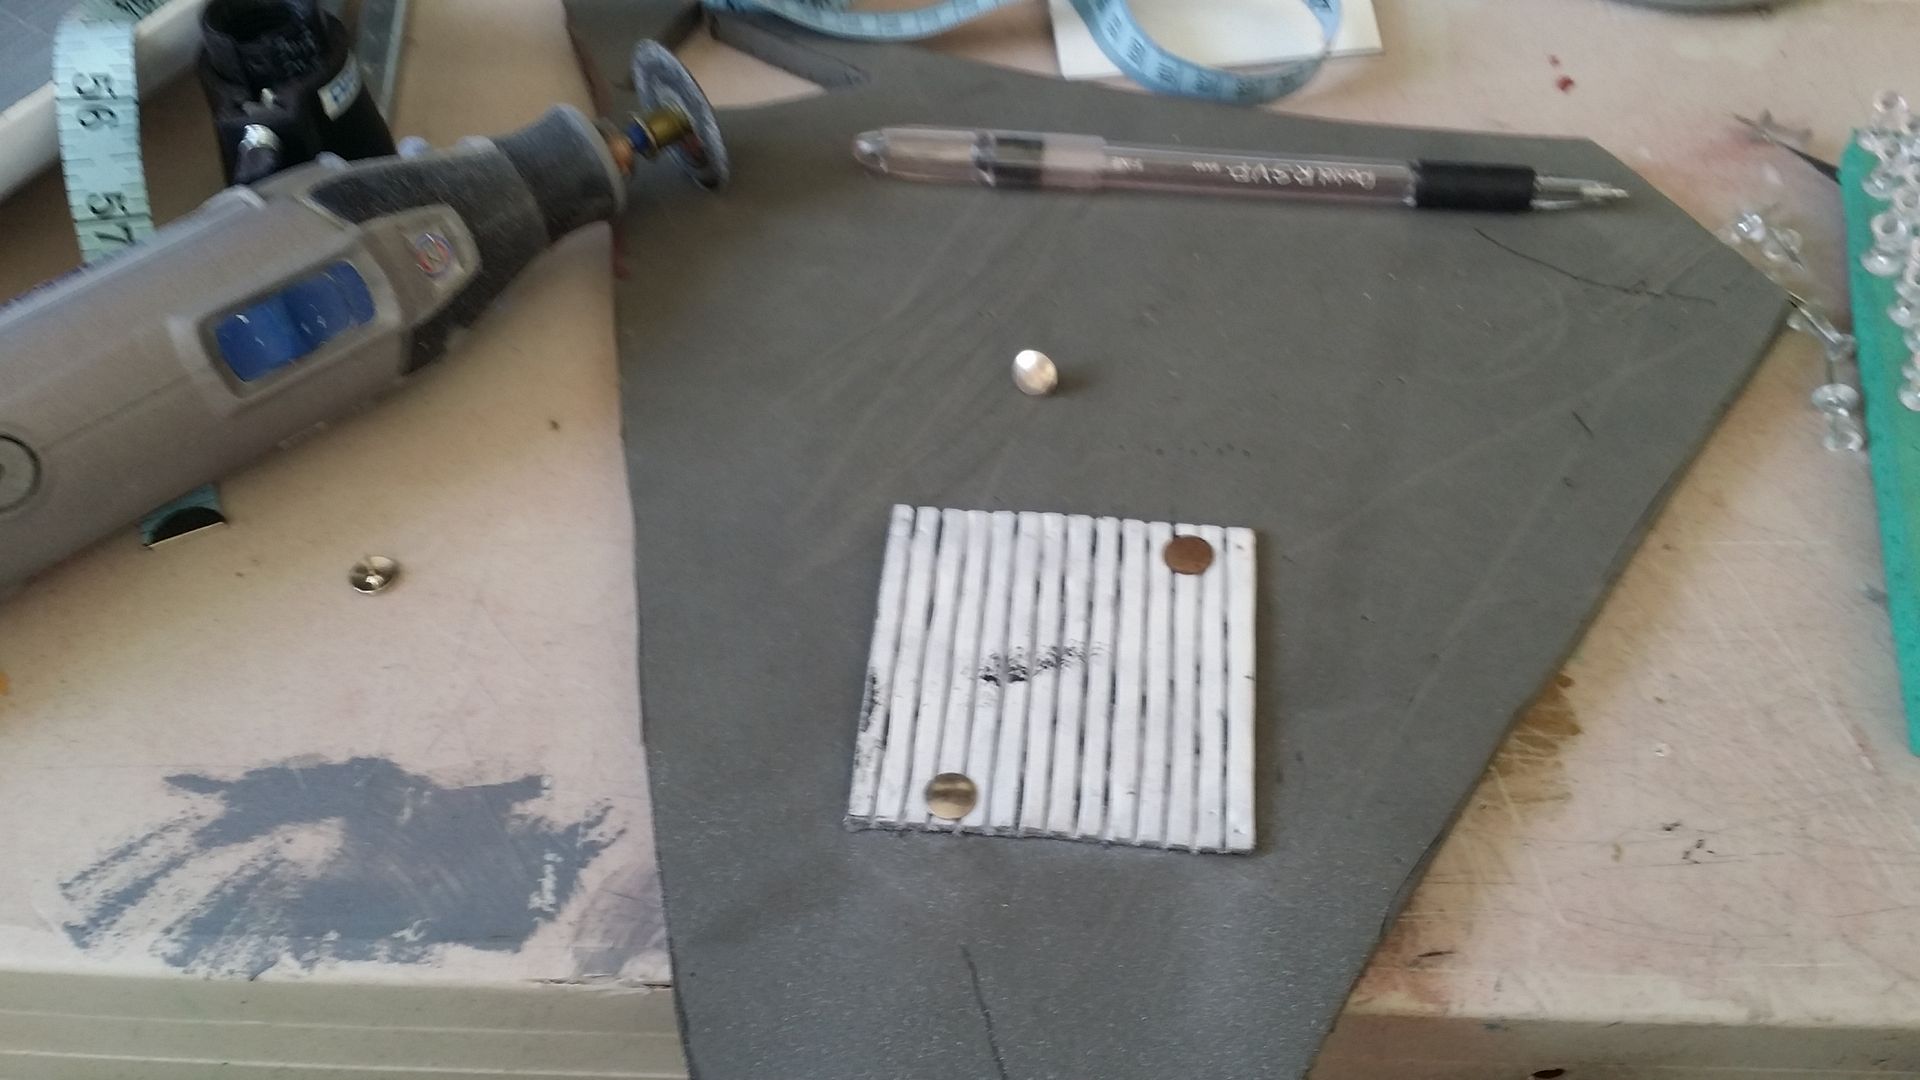
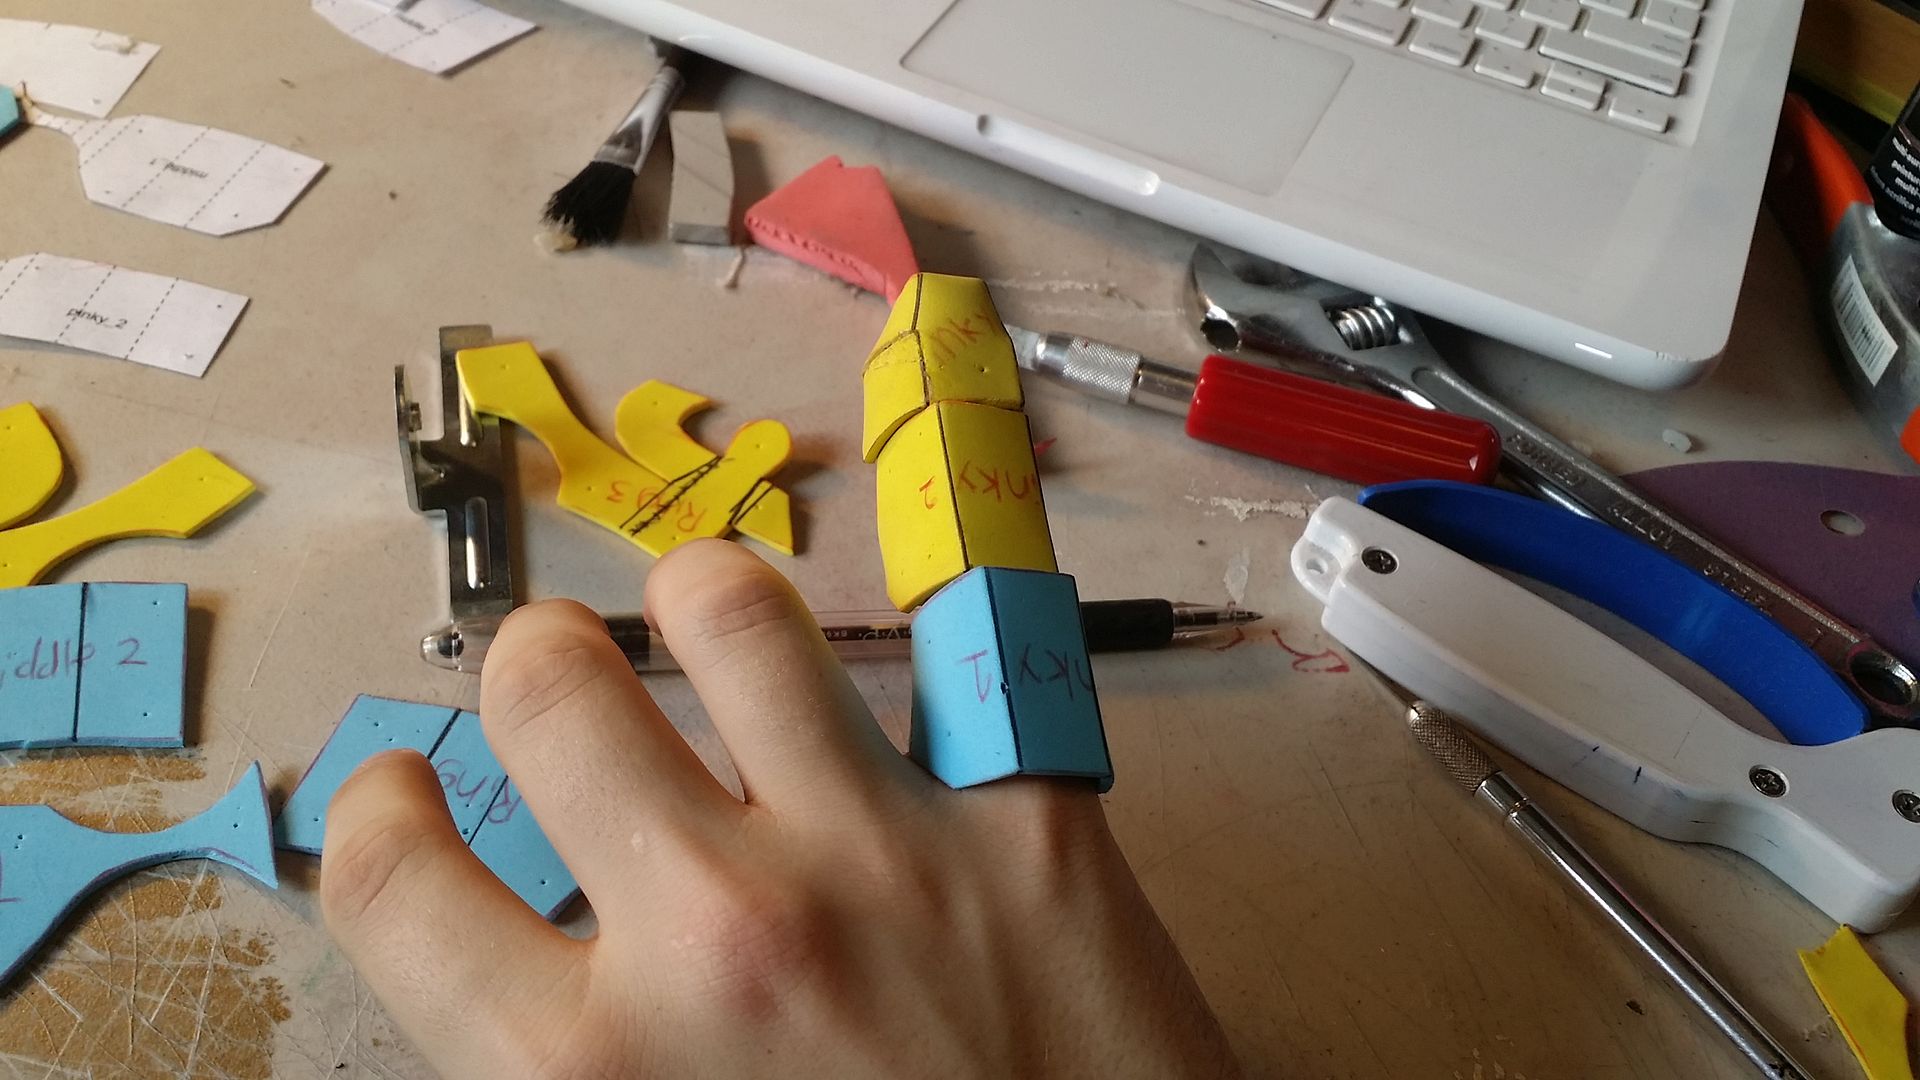
then glue the edges together to make a tube i can stick my finger through, and put the finger pieces over:
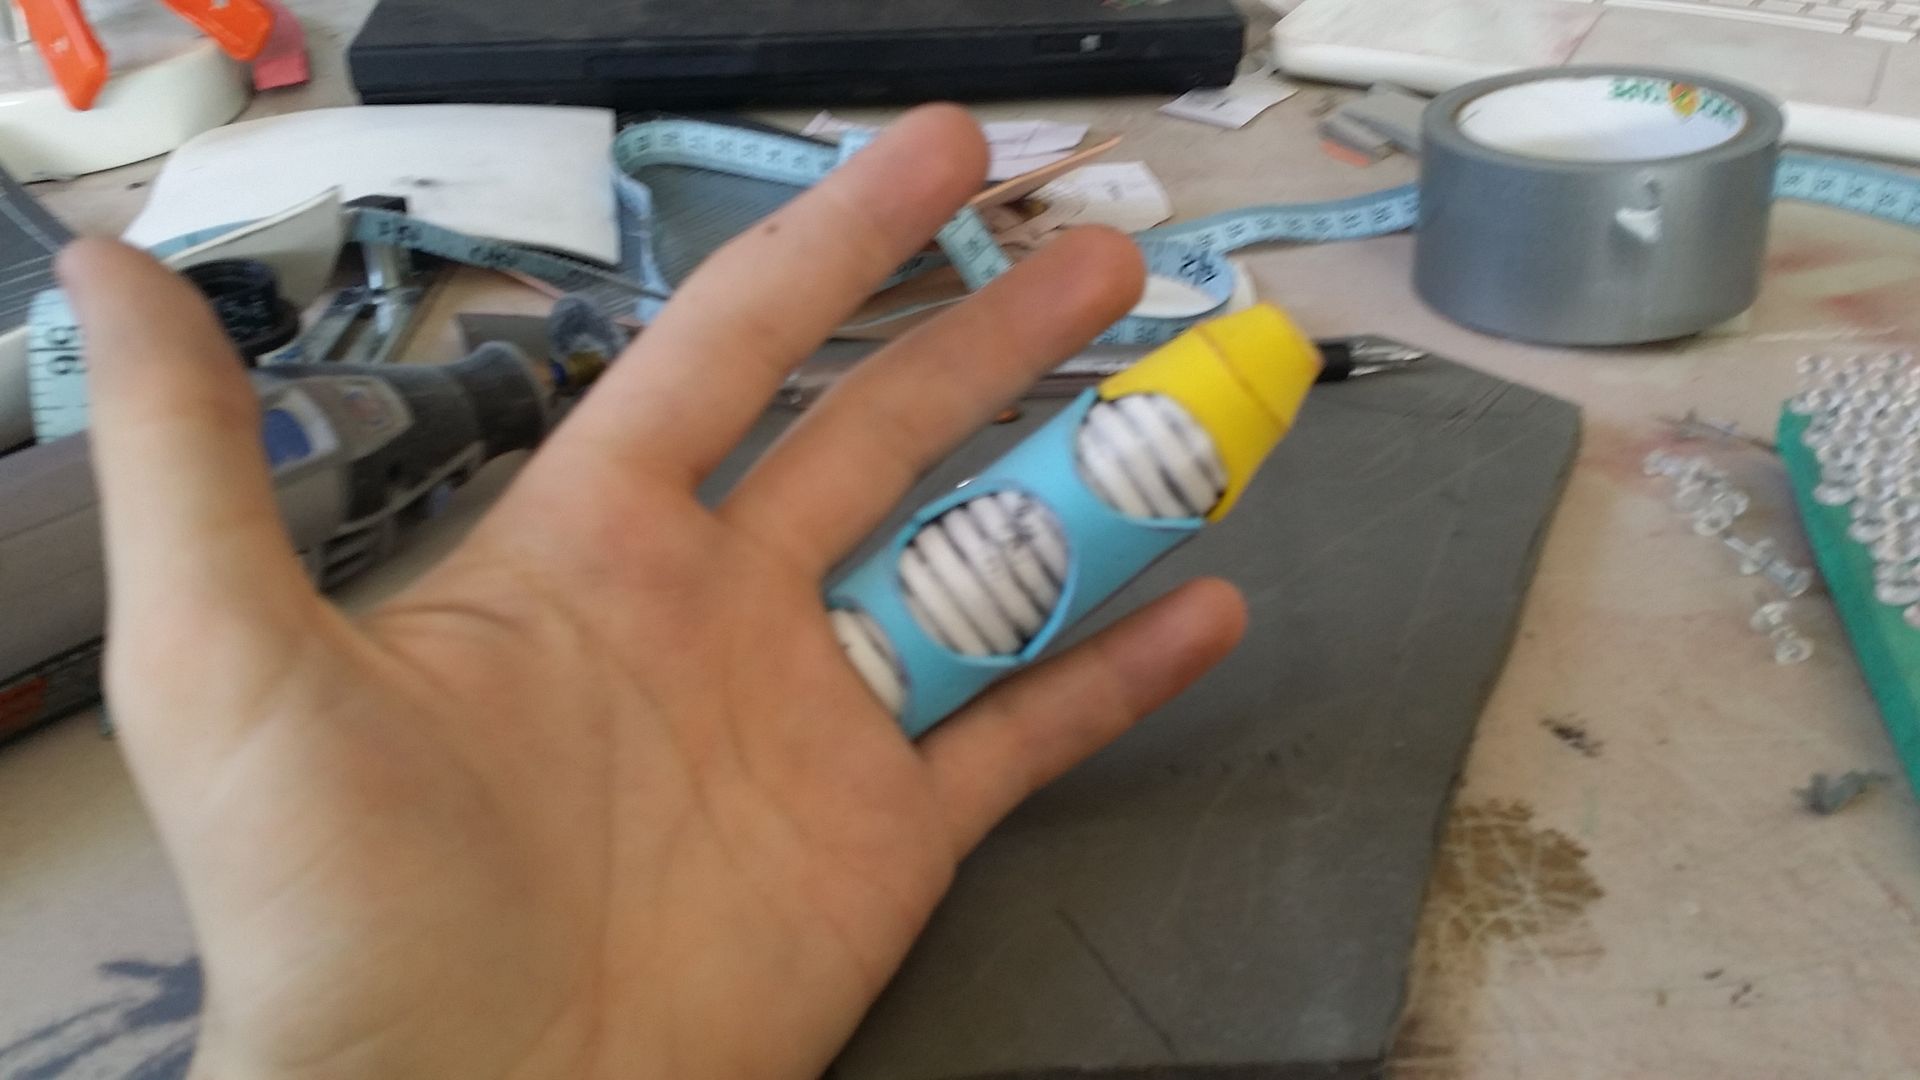
It's flexible (for the most part), sturdy, and accurate!
Test conclusion: Mucho Bueno.
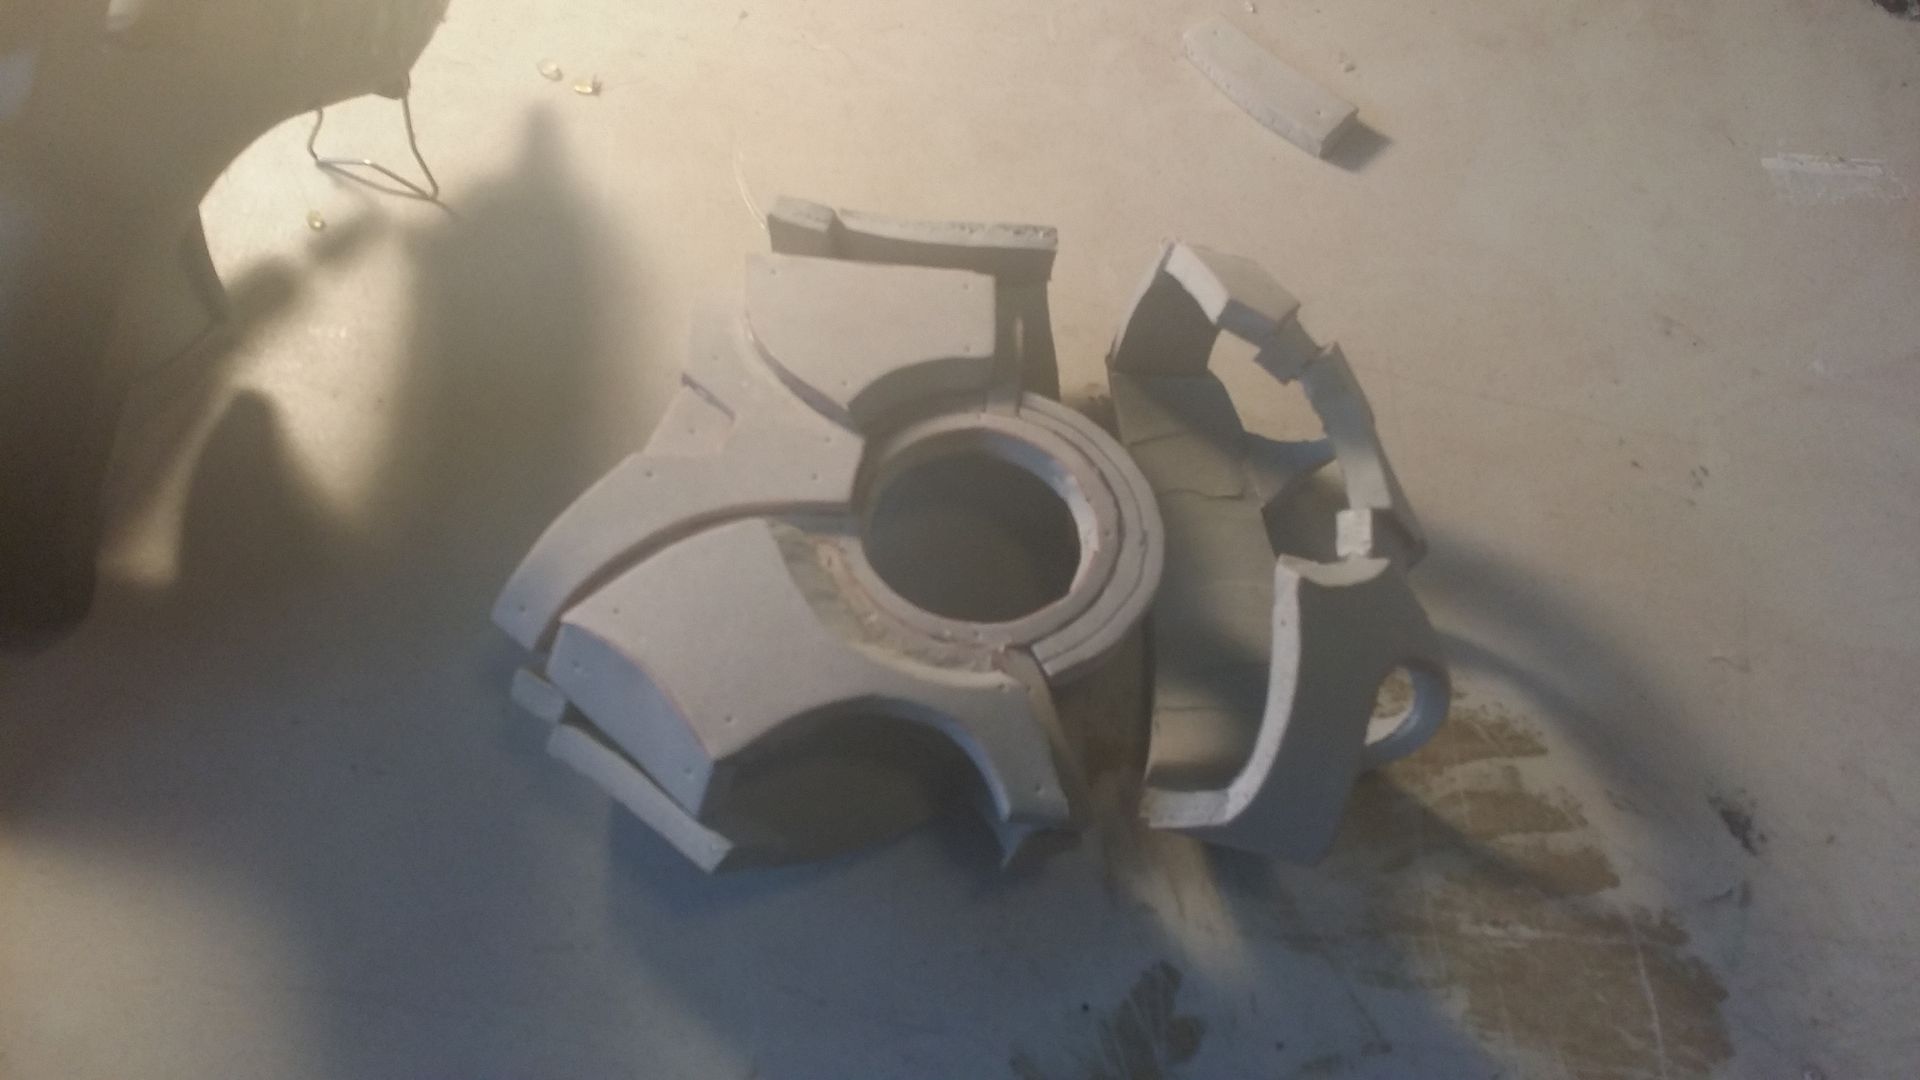
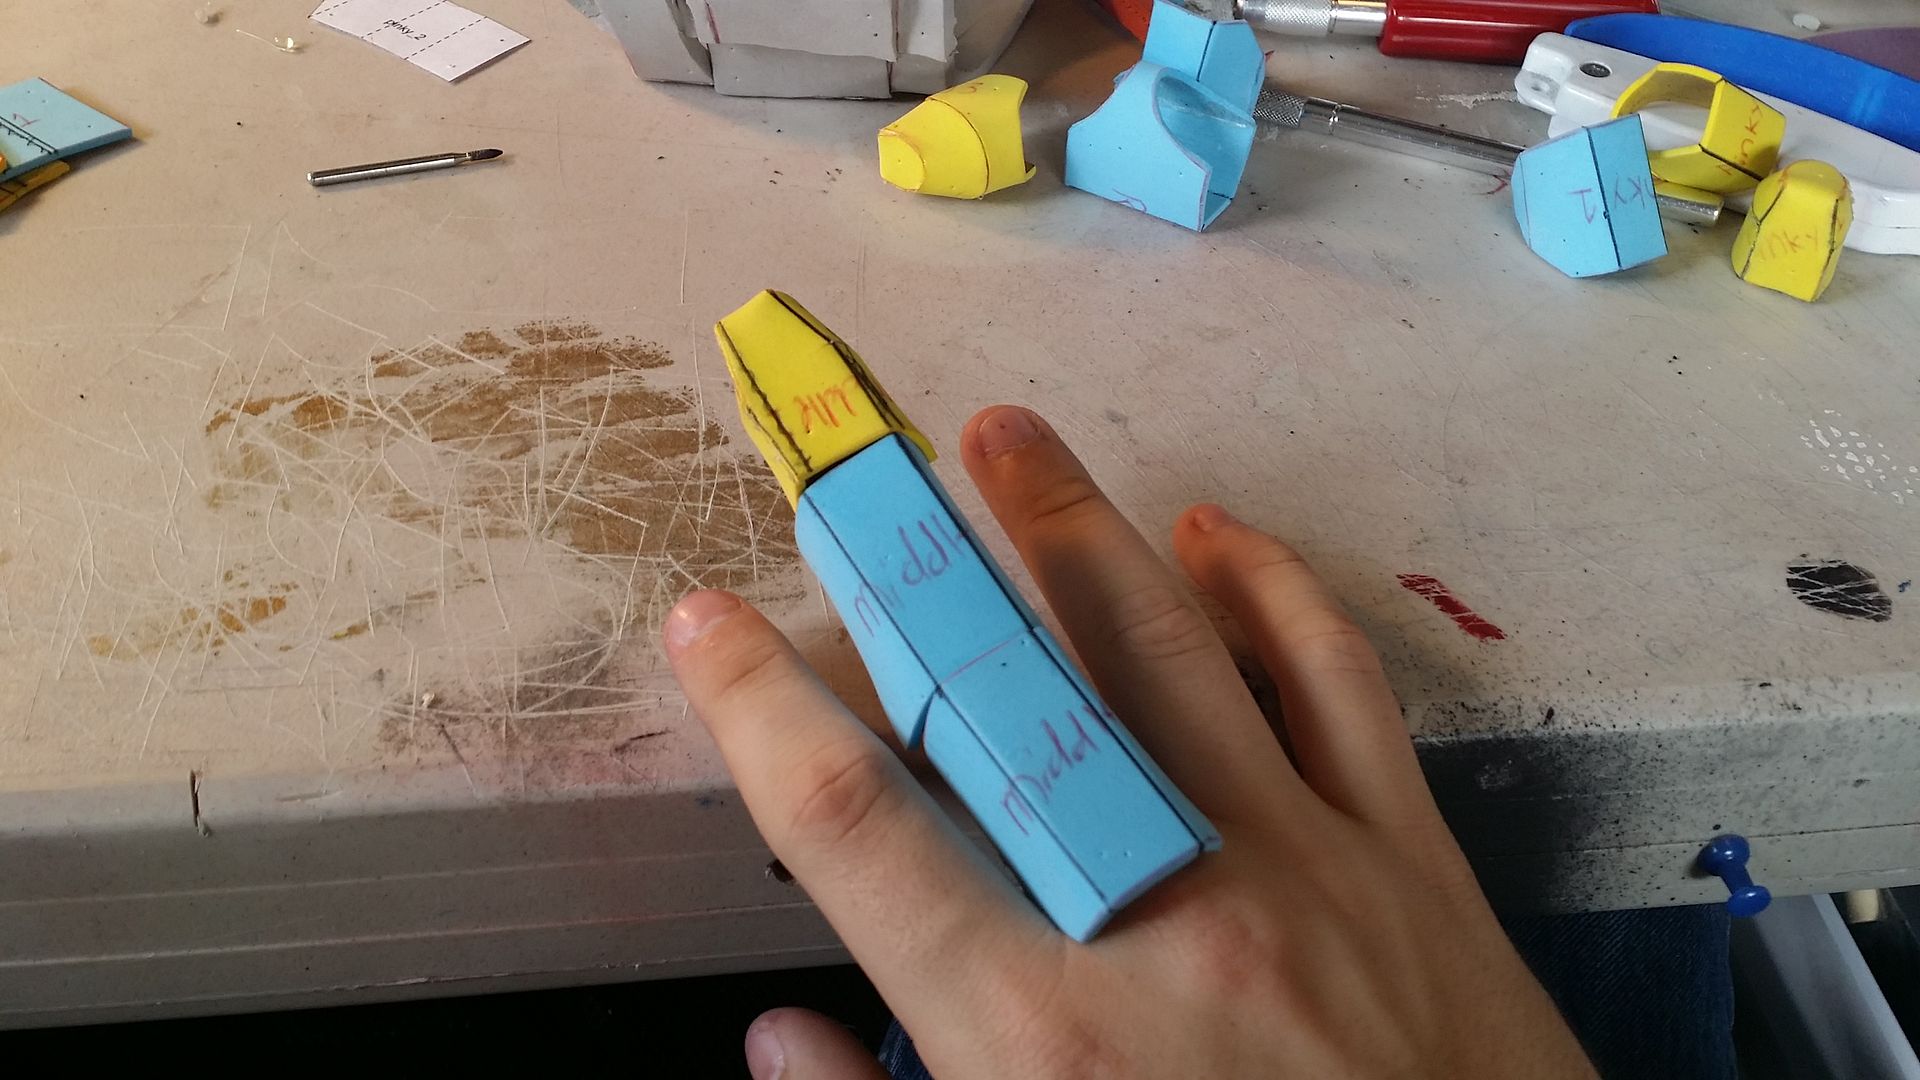
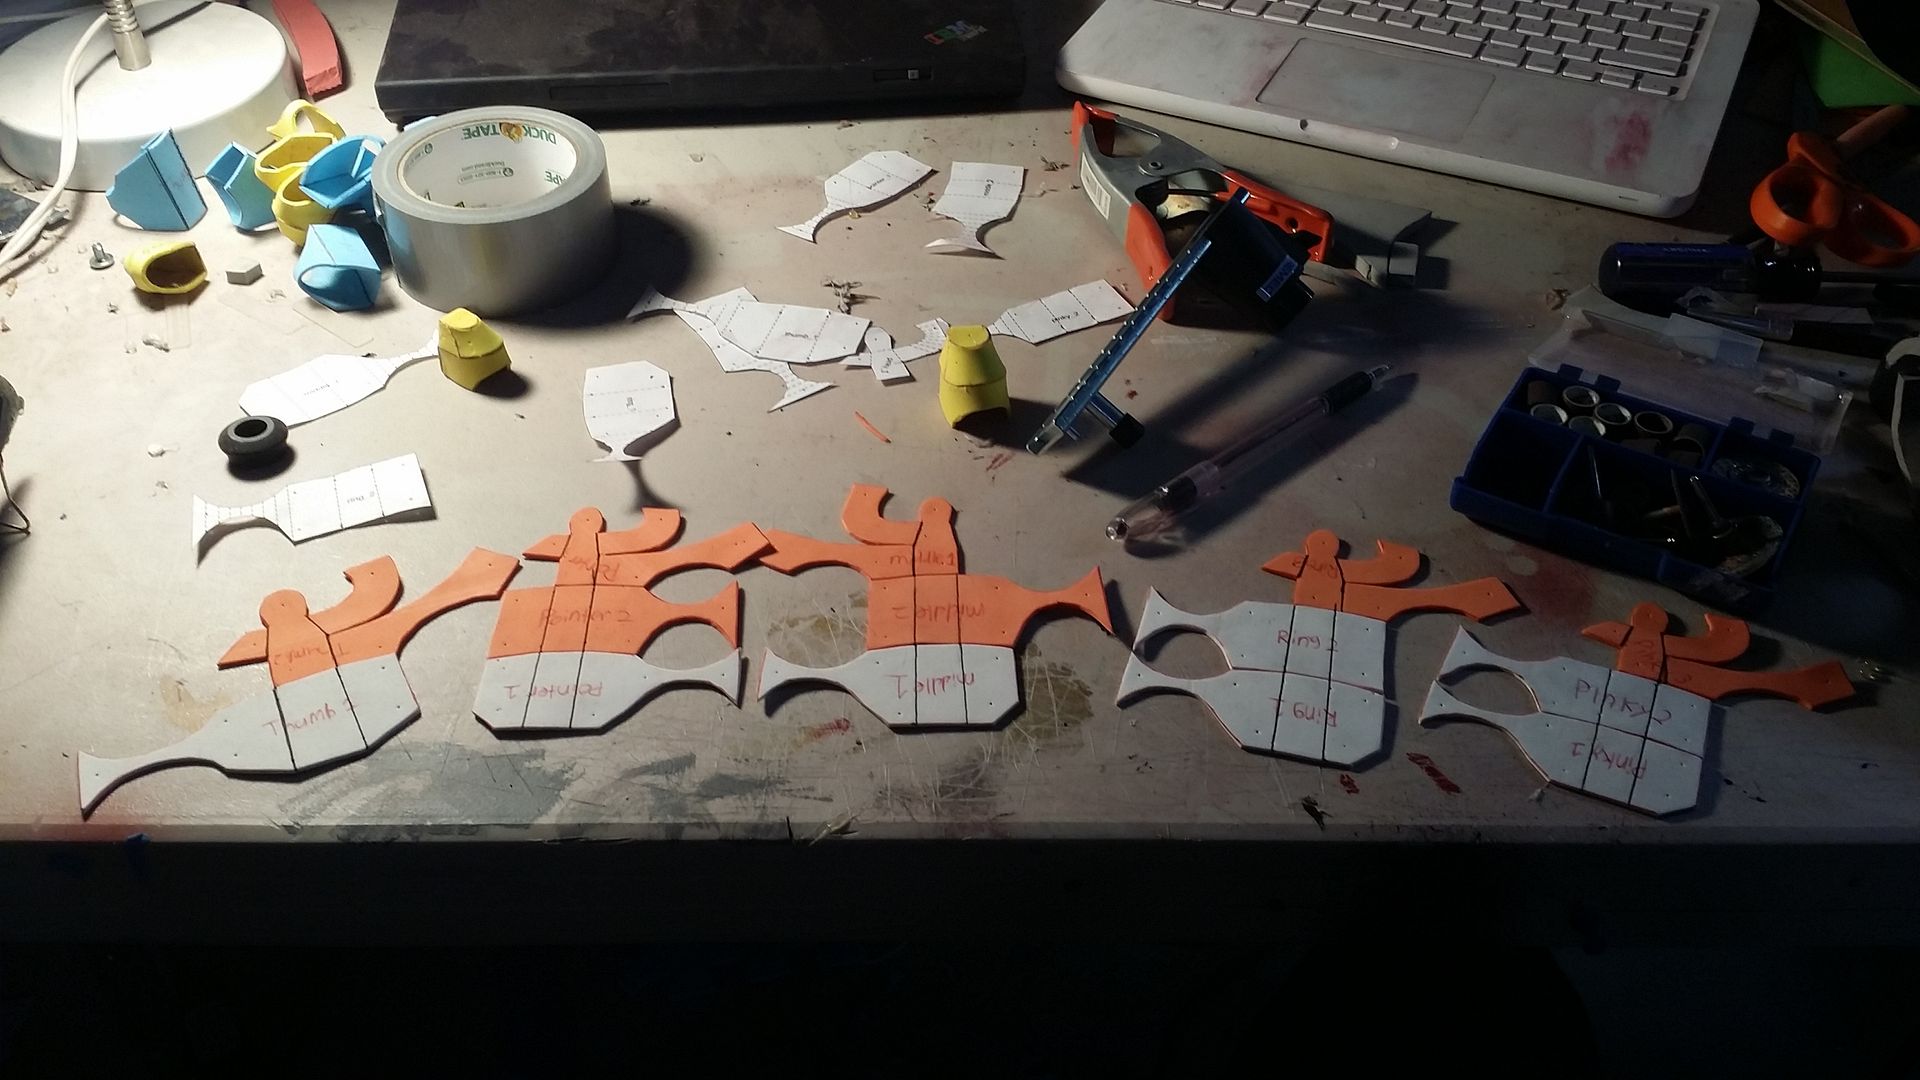
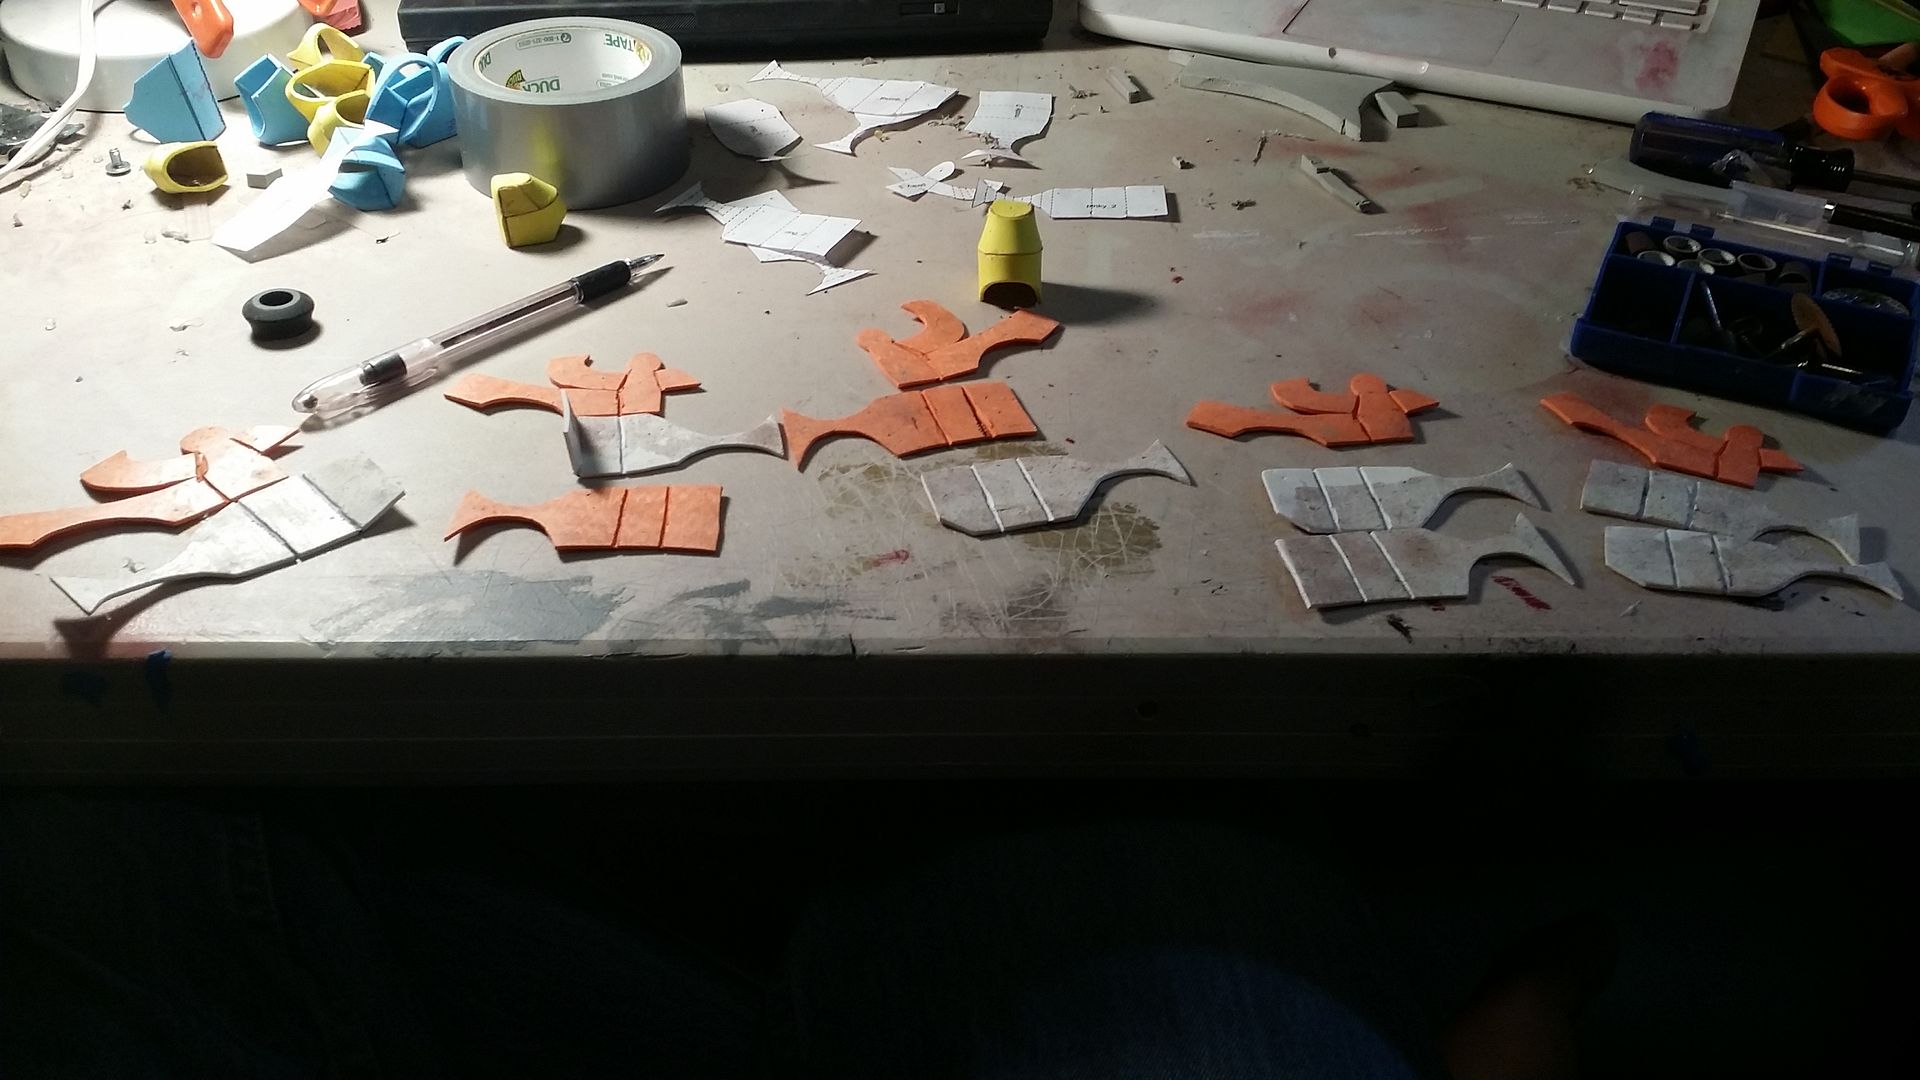
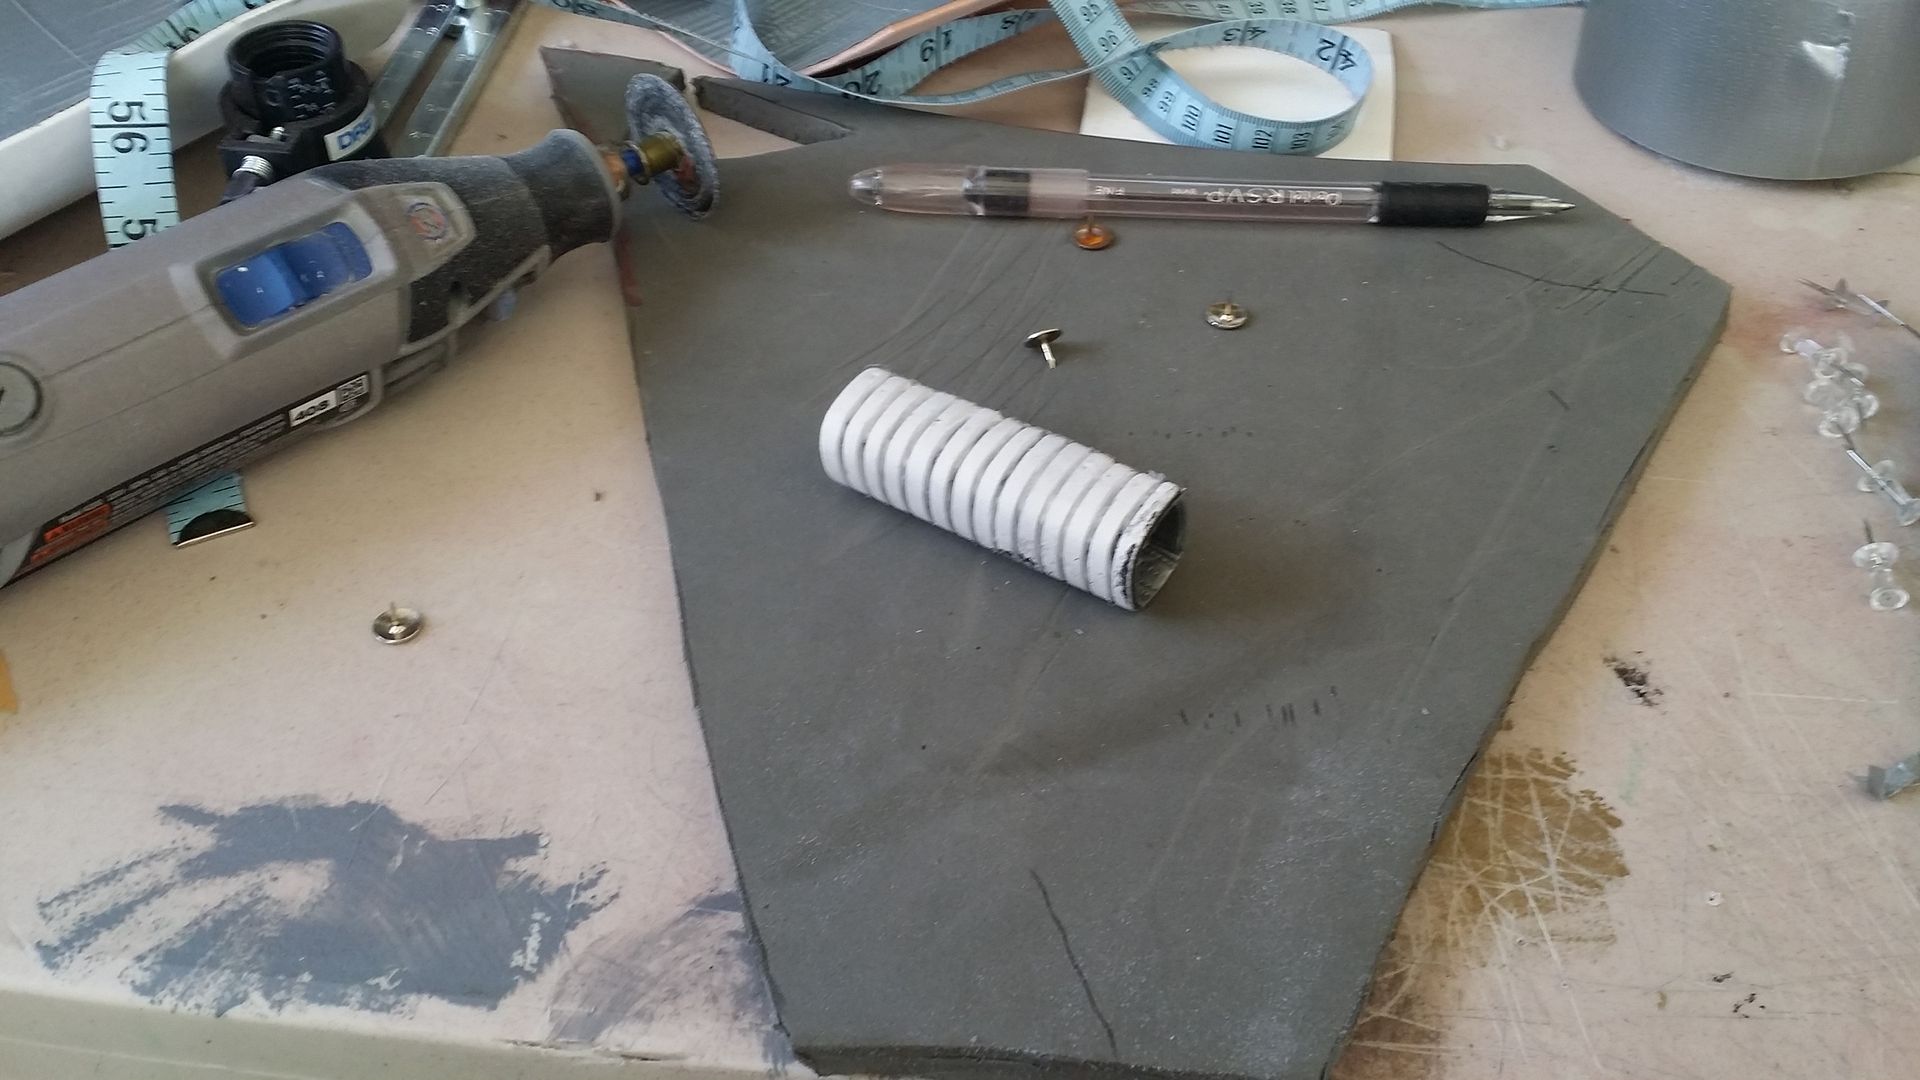
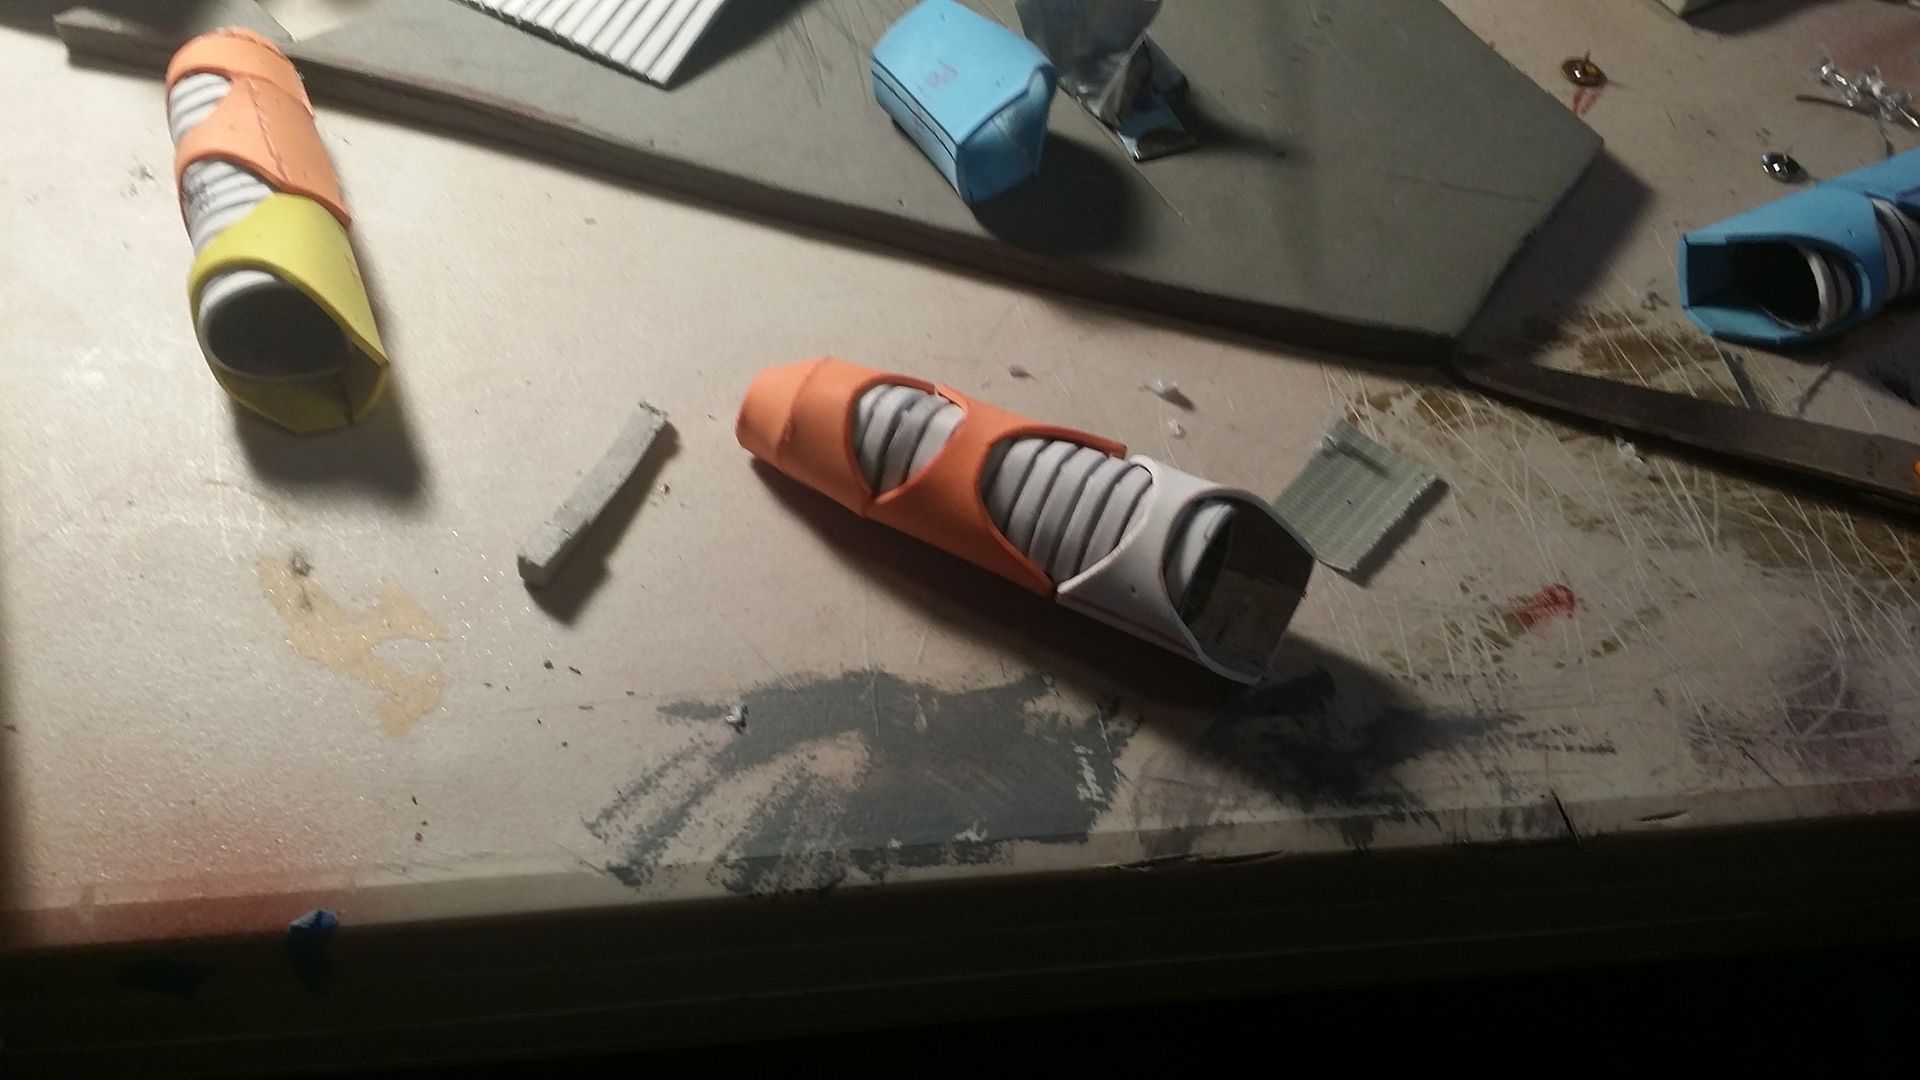
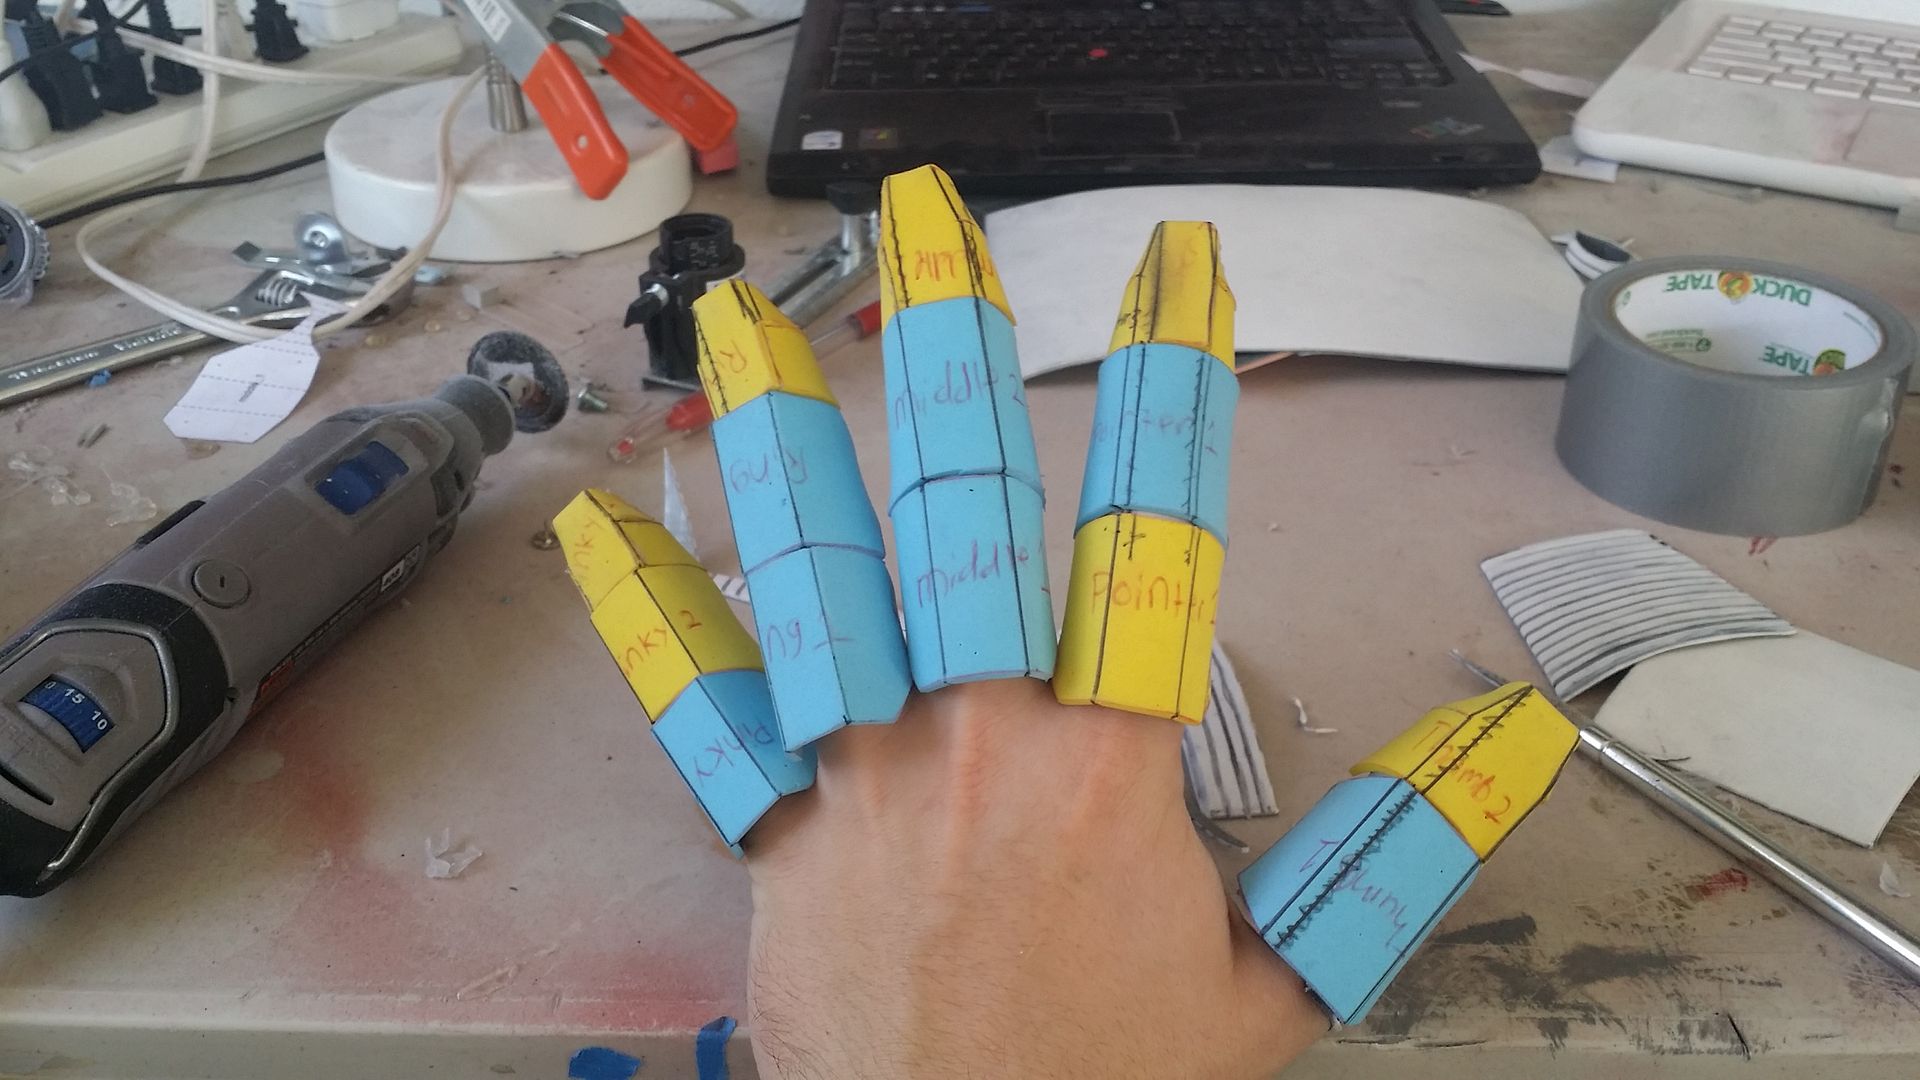
So, time to do the rest of the fingers, as well as the wrists. same as before, draw the lines, cut the lines, glue the edges, etc. repeat ad nauseum (or 9 more times. whichever comes first):

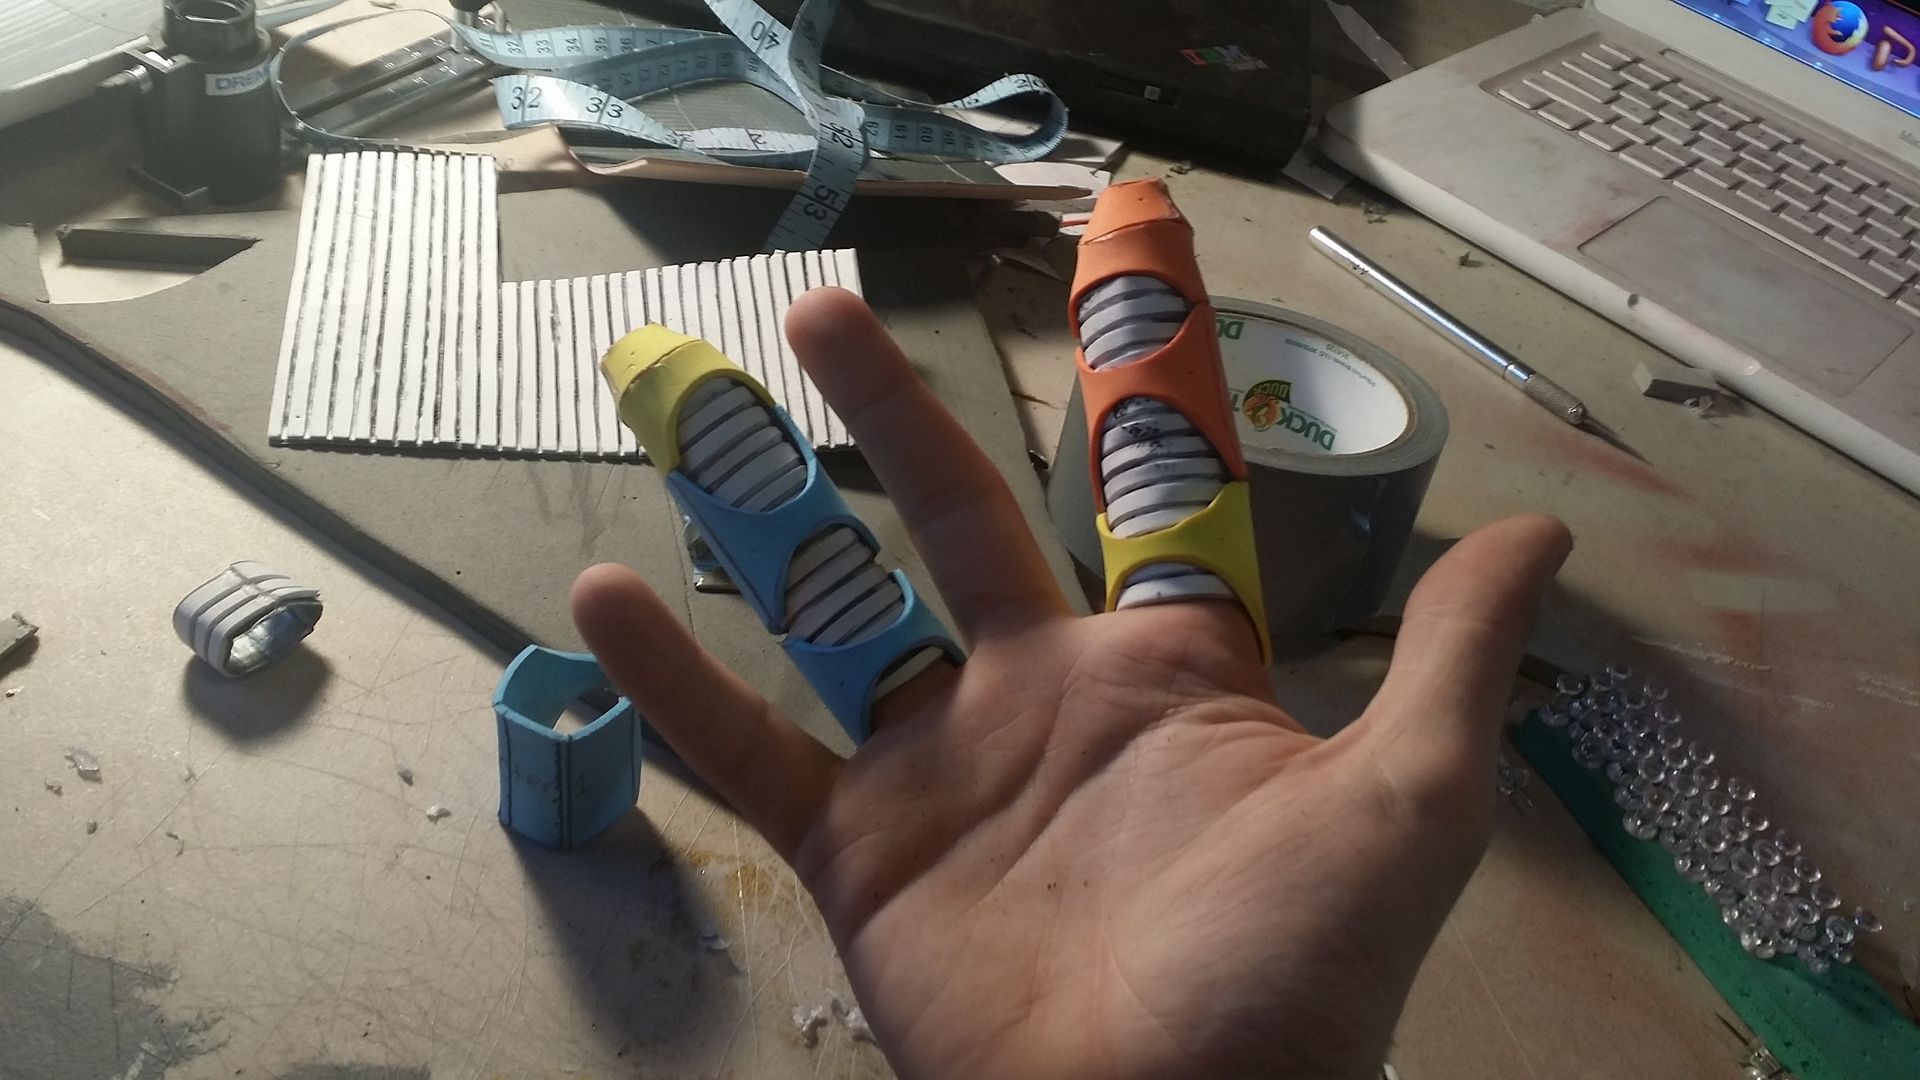
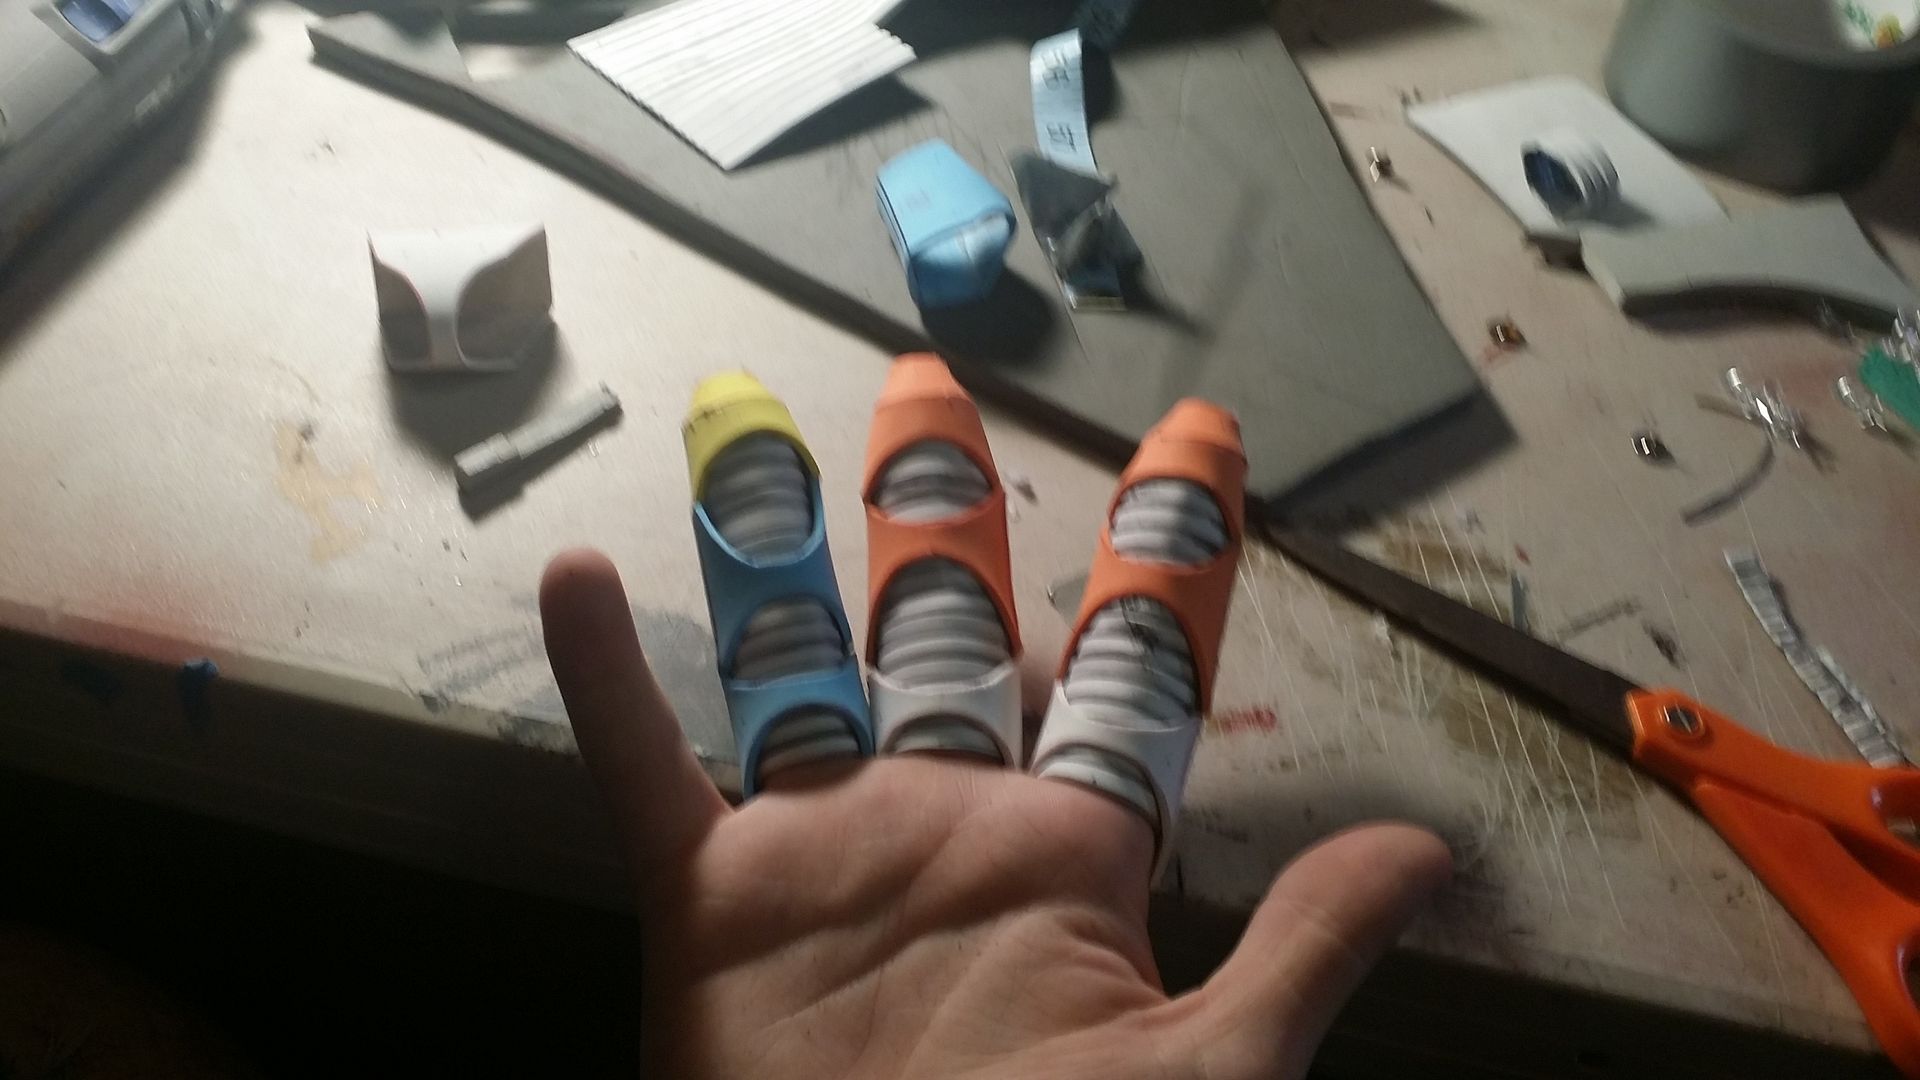
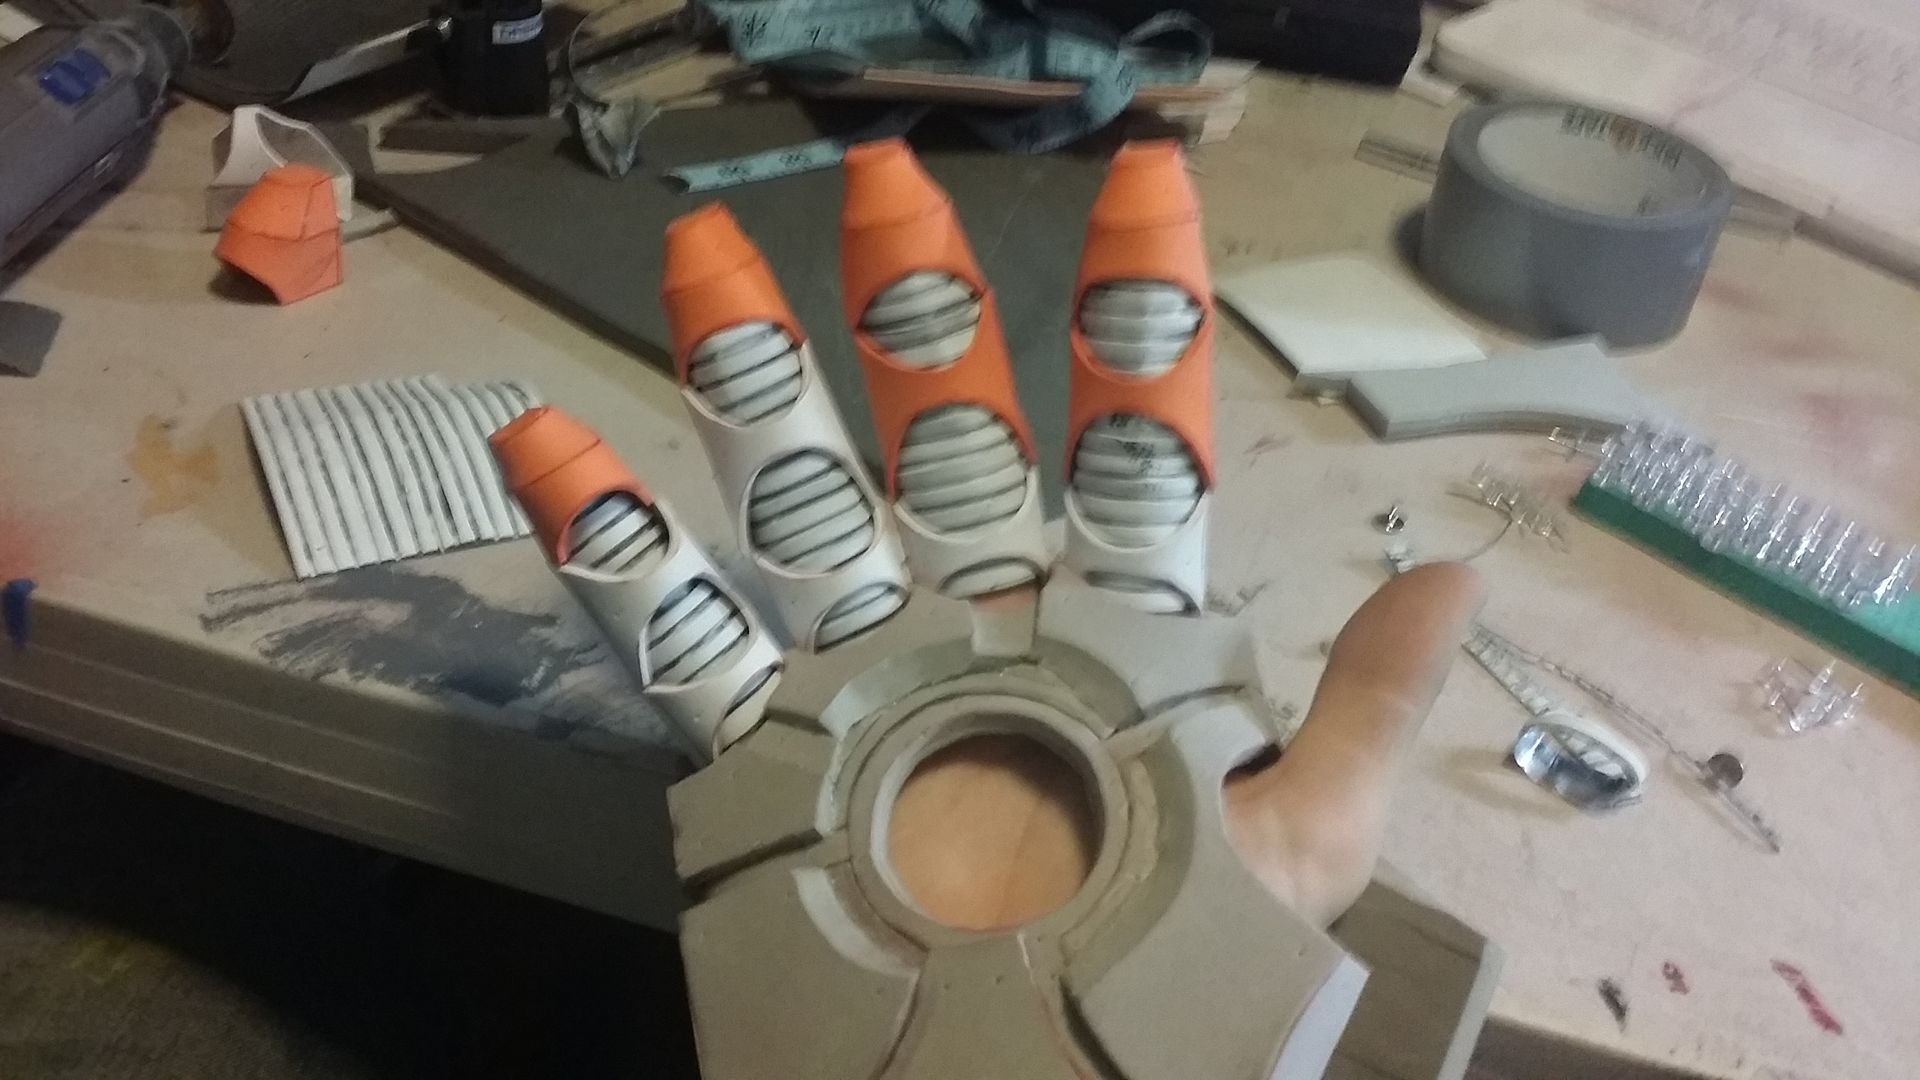
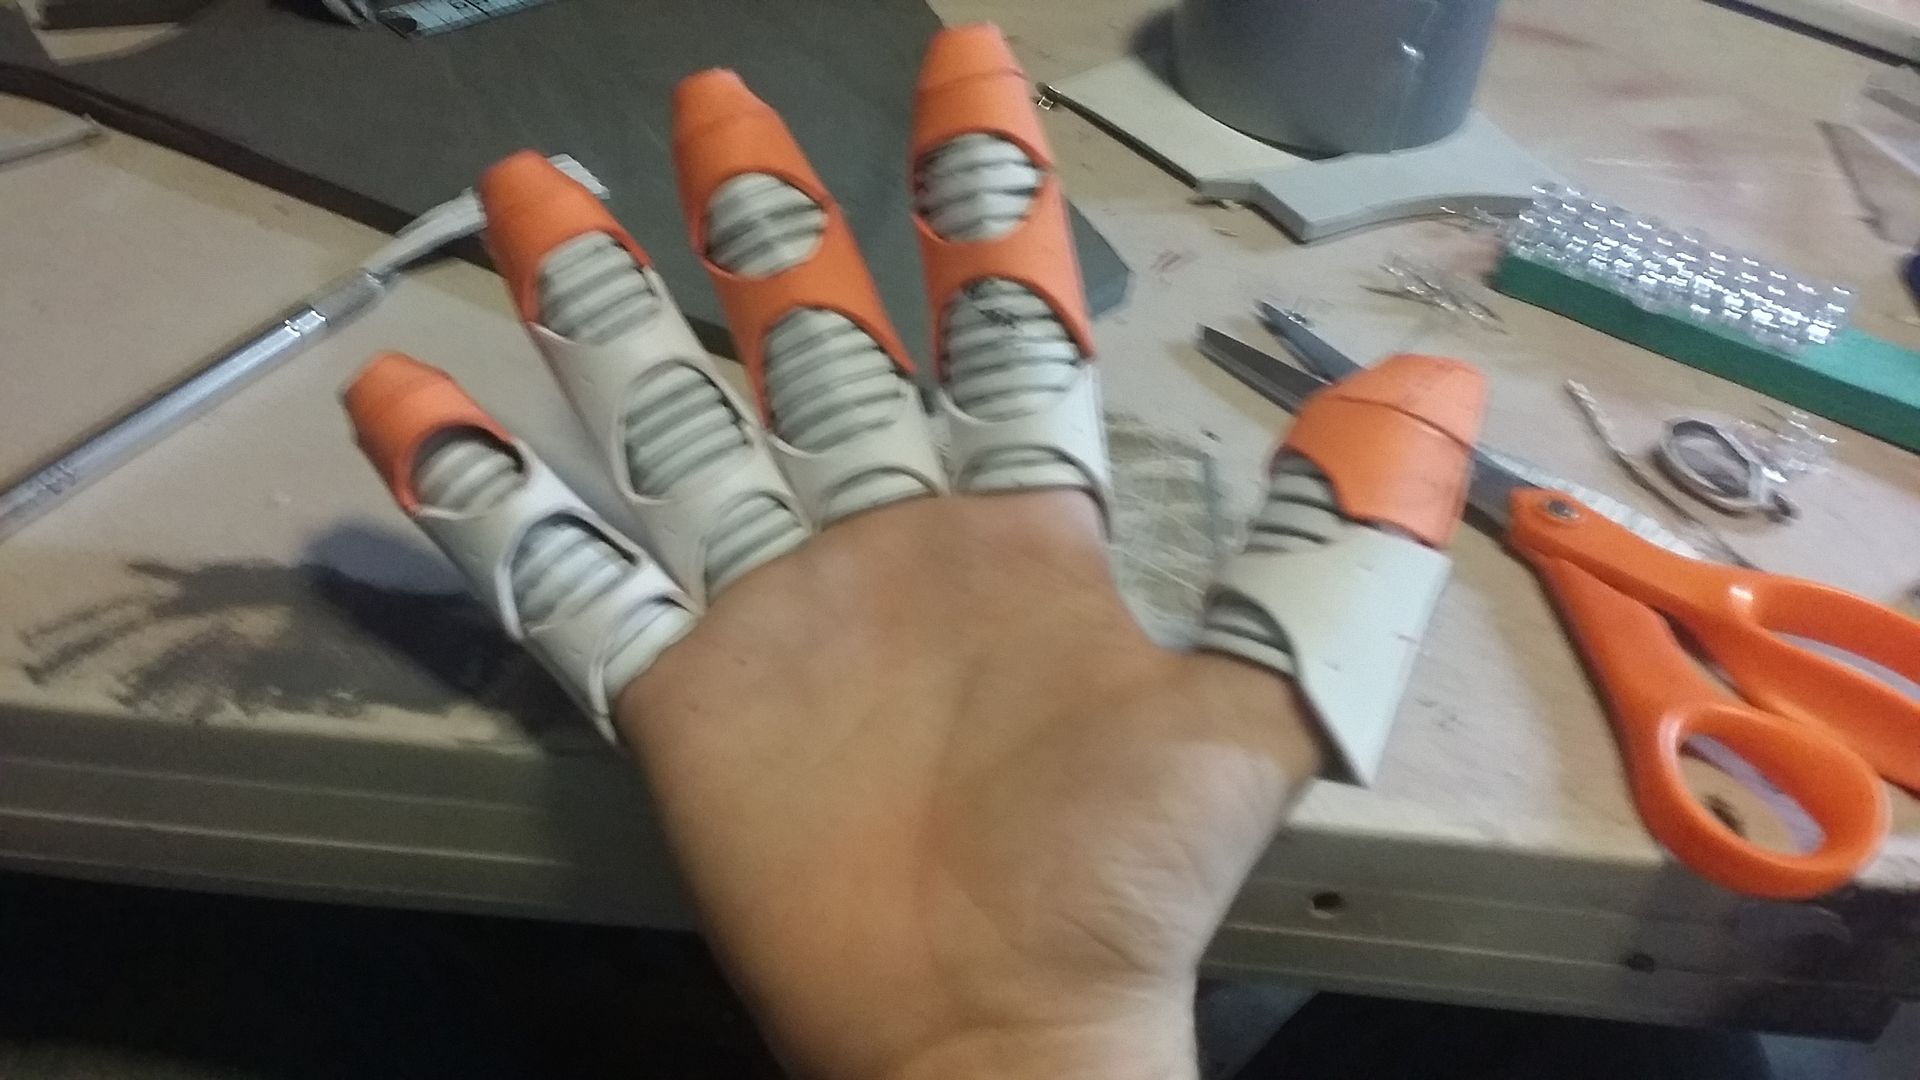
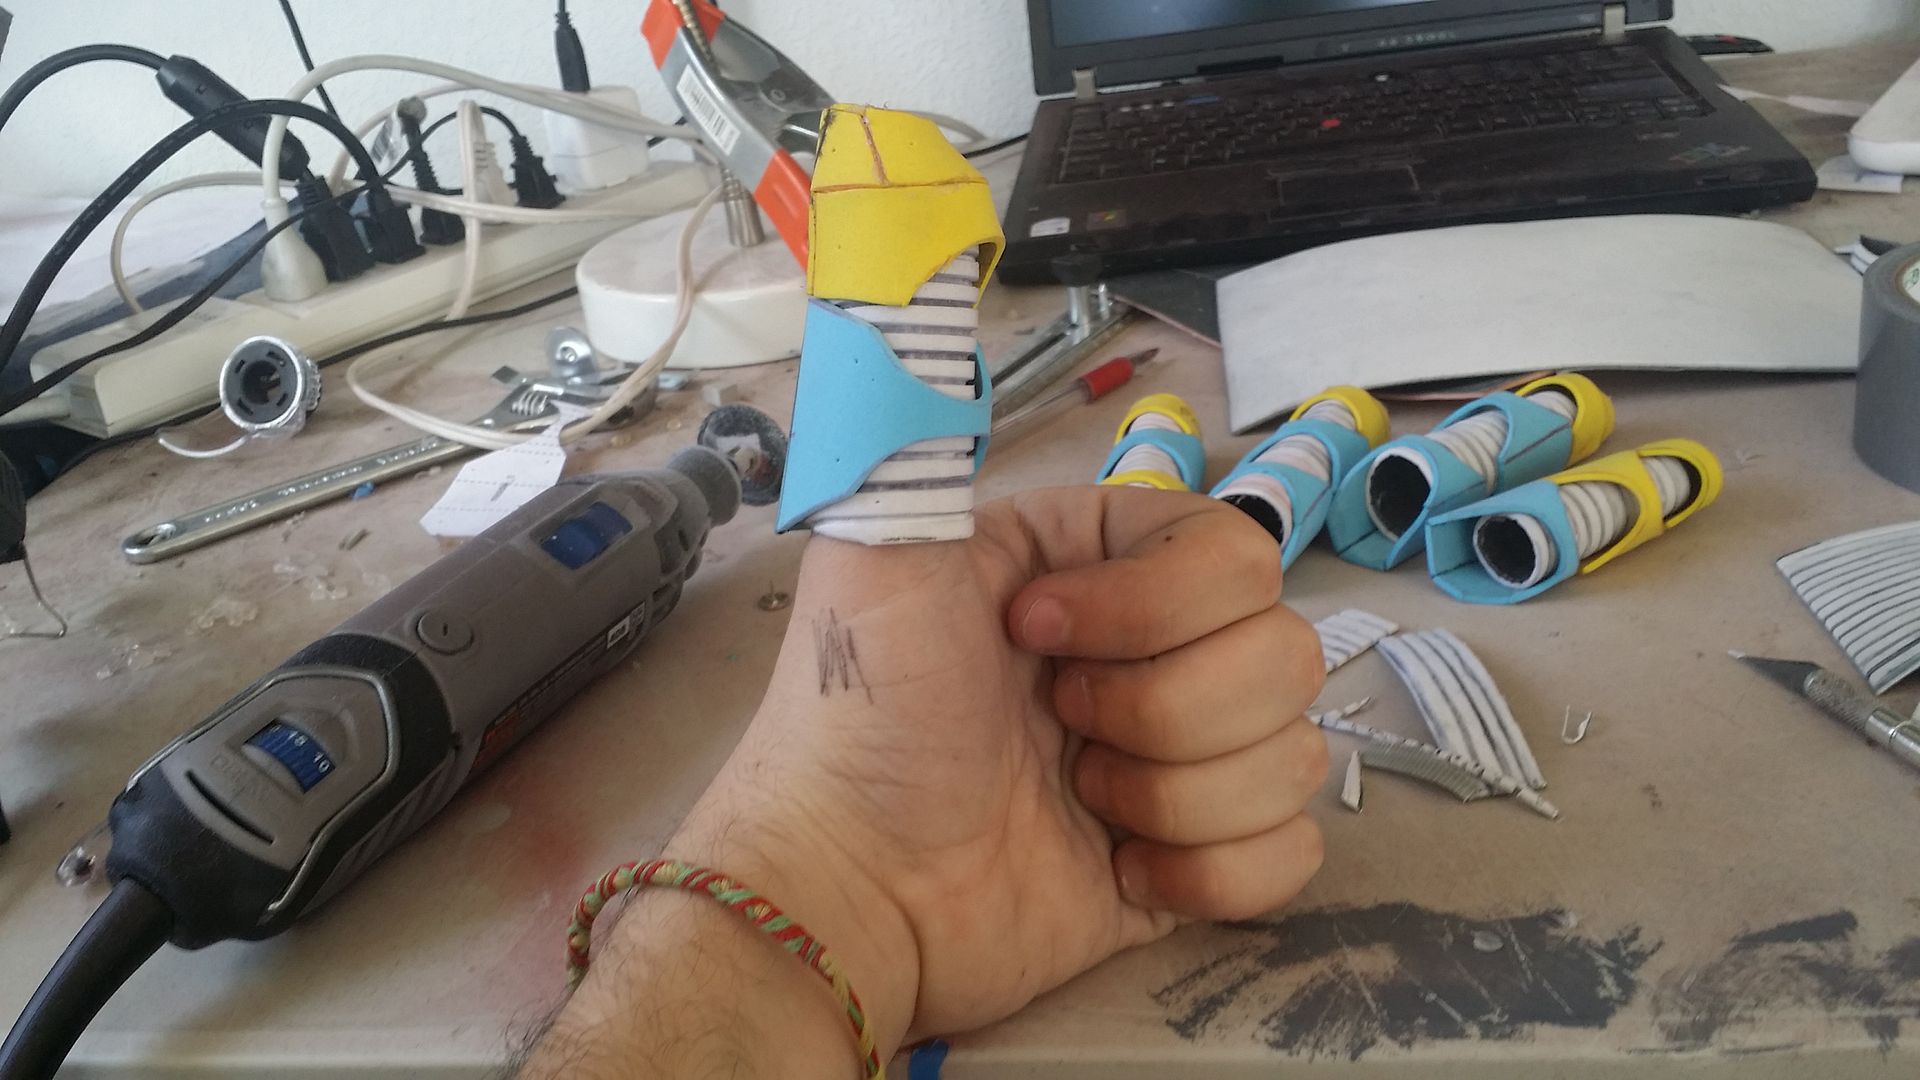
Jazz hands!
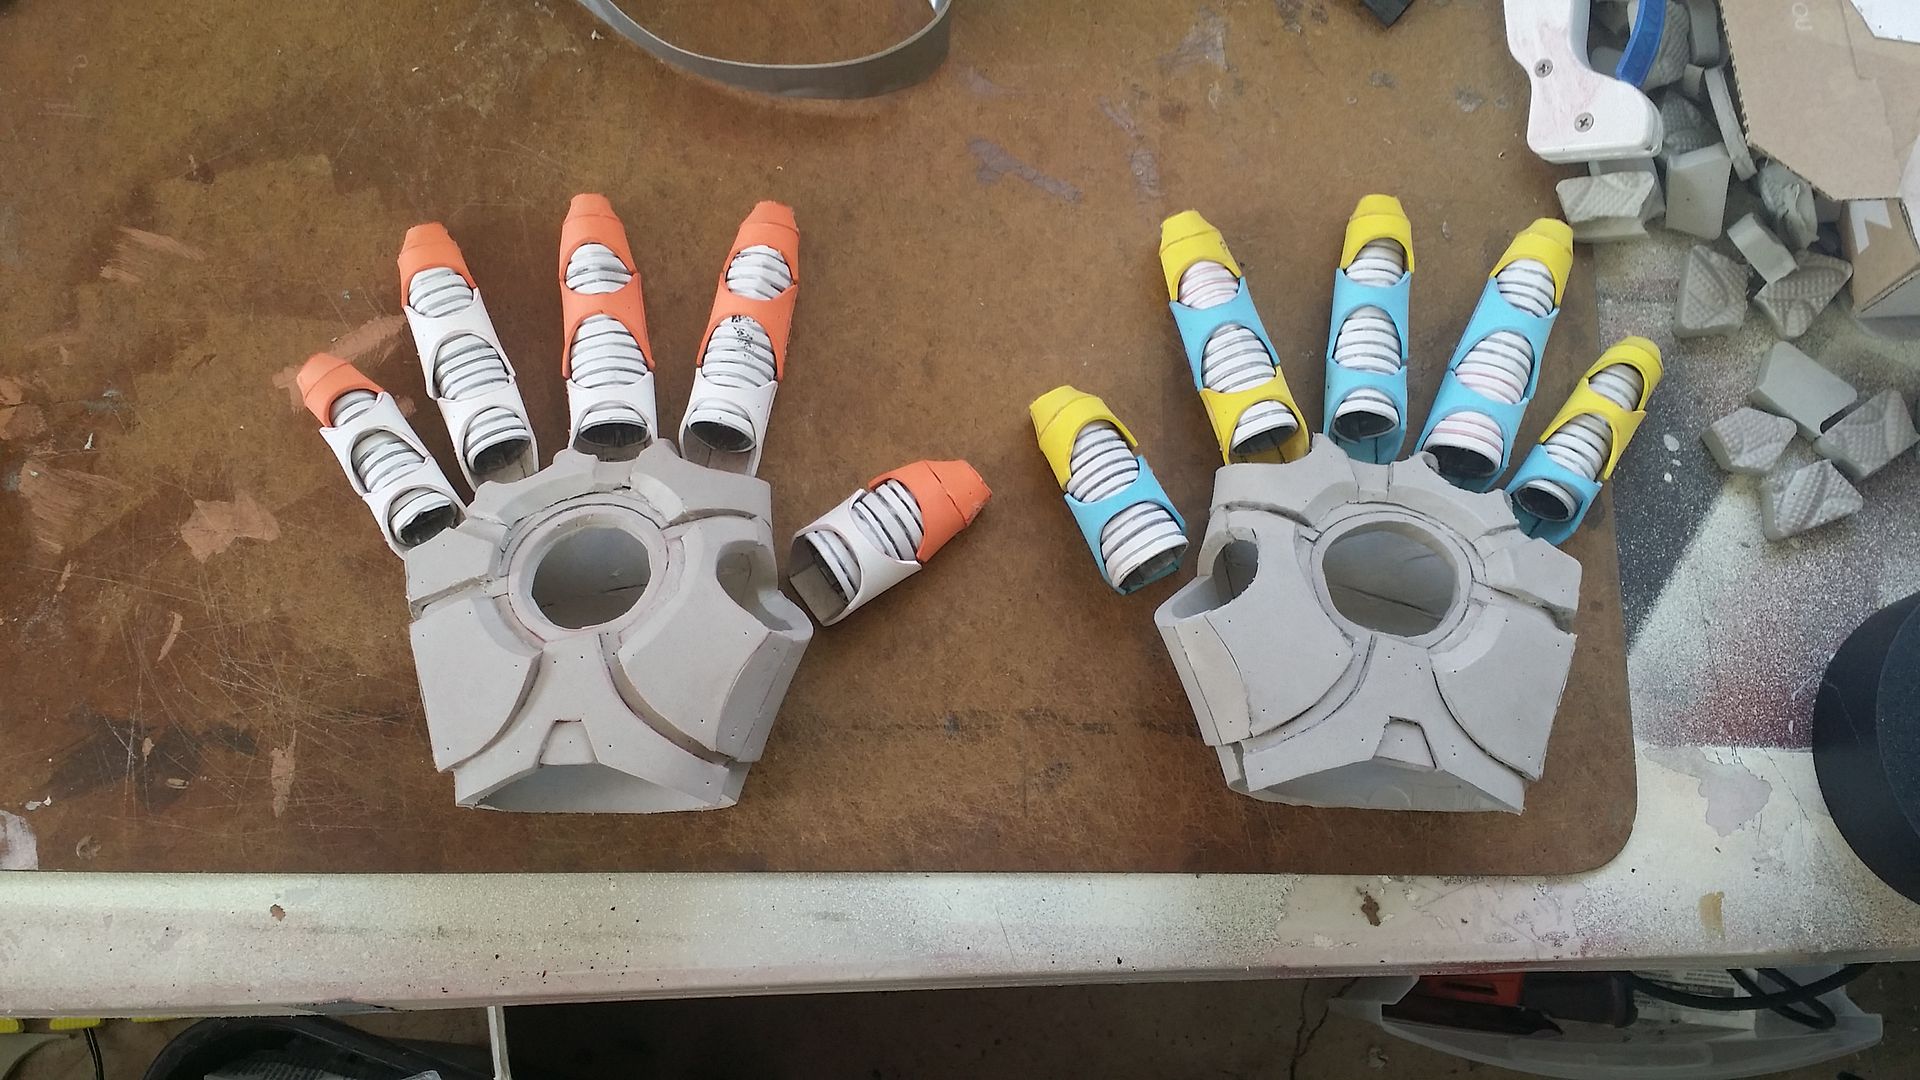
well that's it for today. next time we'll be finishing the hands off with the ARC lenses, then after that we'll be playing with MAGNETS! stay tuned!
No comments:
Post a Comment