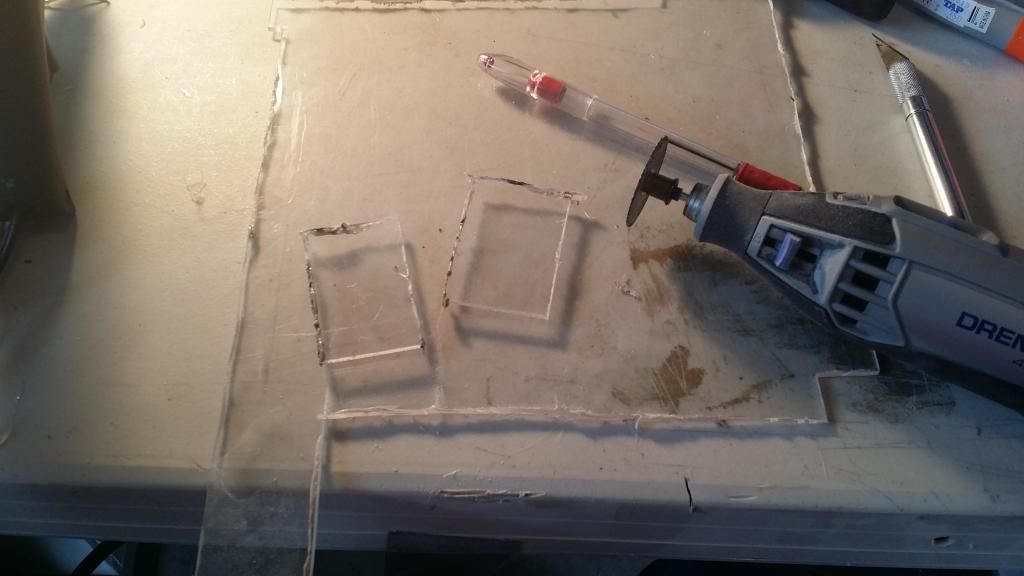
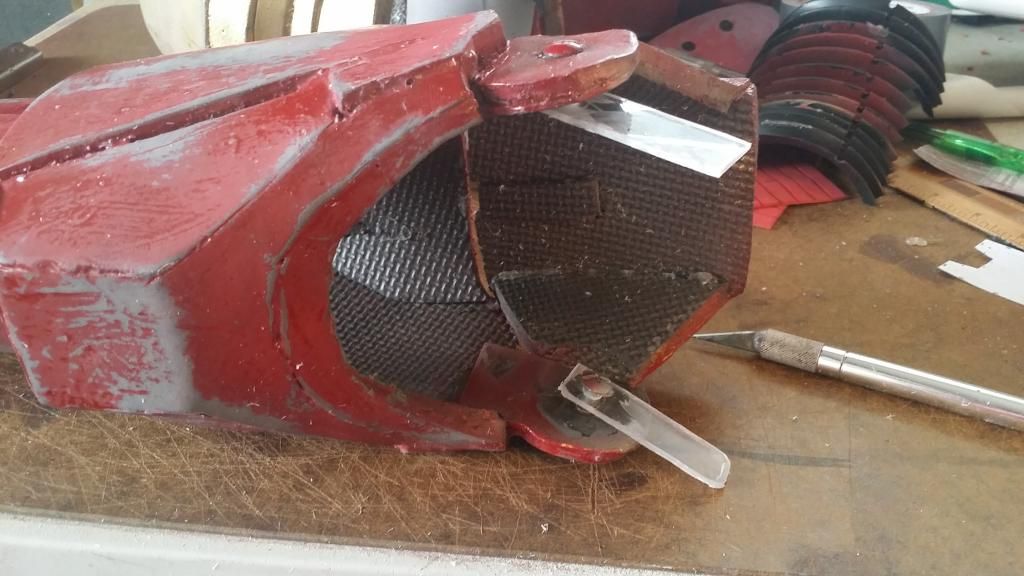
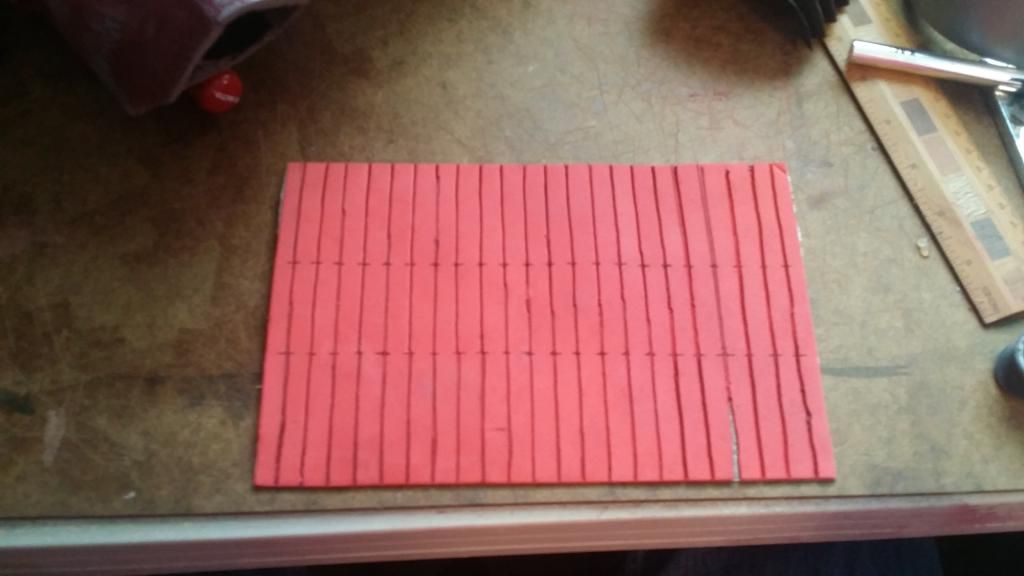
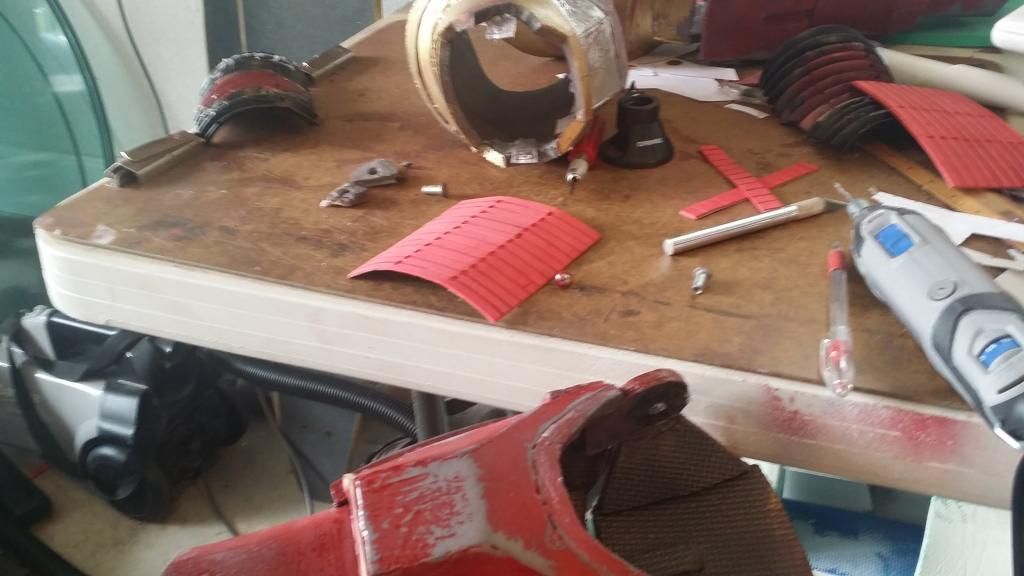
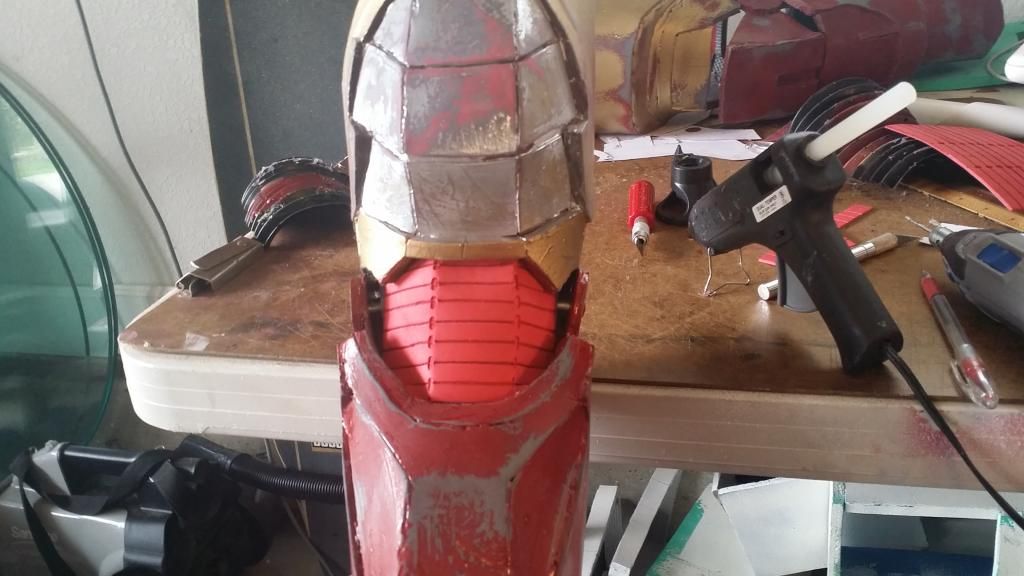
Alright! we left off with the arduous sanding process finishing up, so let's continue as we mean to go on! Next up is the arm pieces. specifically the inside of the elbow. A big issue with iron man from a costuming perspective is that the suits are 100% hard armour, 0% undersuit. Even at the joints. This means that, to make a 100% accurate replica, the joints require a LOT of delicate work. for the inner elbows, I used corrugated plastic piping cut in half and glued in place. it's hard plastic, but shaped in a way that allows it to flex and contract, which allows me to move my elbow. However, the issue with it was that it was hard to move my arm, the paint wouldn't bond with the material, it was bulky and uncomfortable, and, as it turns out, it wasn't very screen accurate. Along with that, the joint was made out of the same foam as everything else, which of course led to lots of tearing. so, it had to be reinforced:


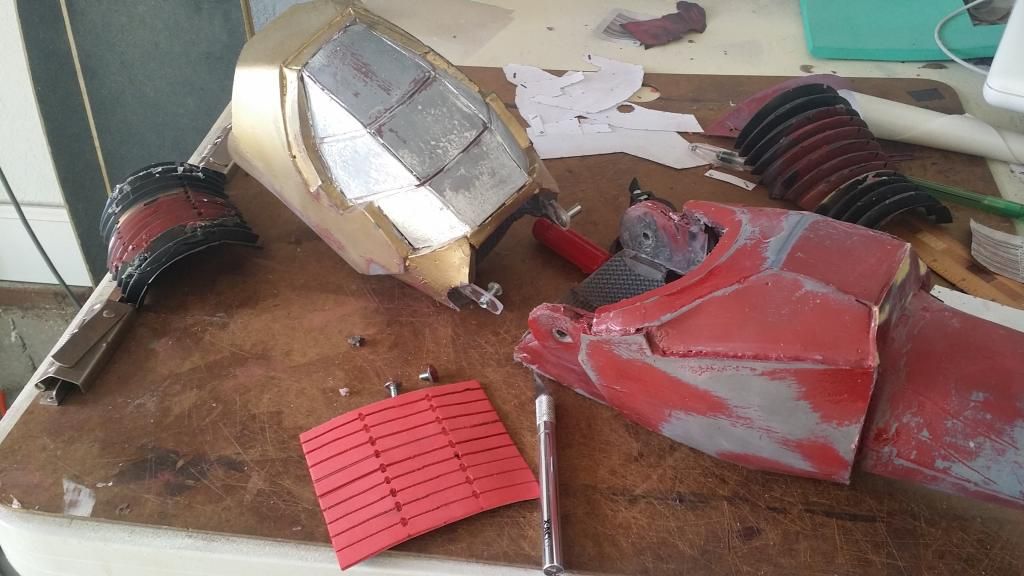
looks MUCH nicer, doesn't it? anyway, that was the sanding and repair done, and things were going great! too great. shit needed to hit the fan for this to be a mister chief build! well don't you worry, because things went south FAST.
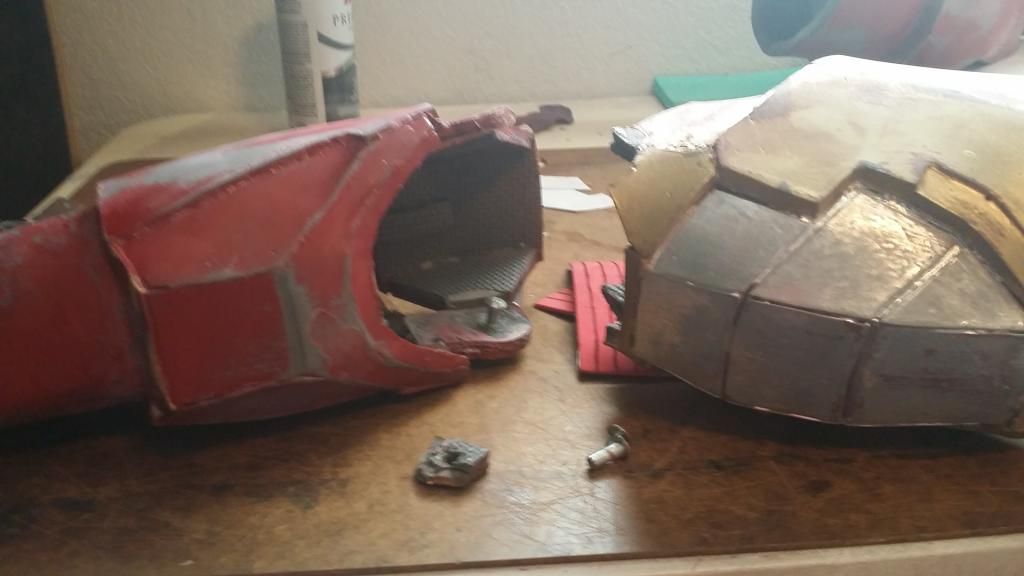
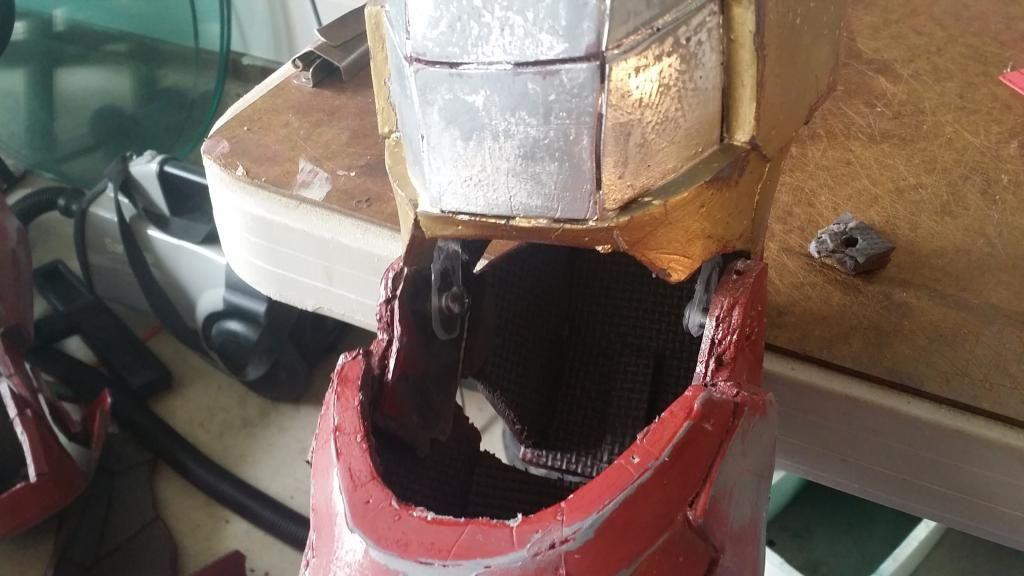
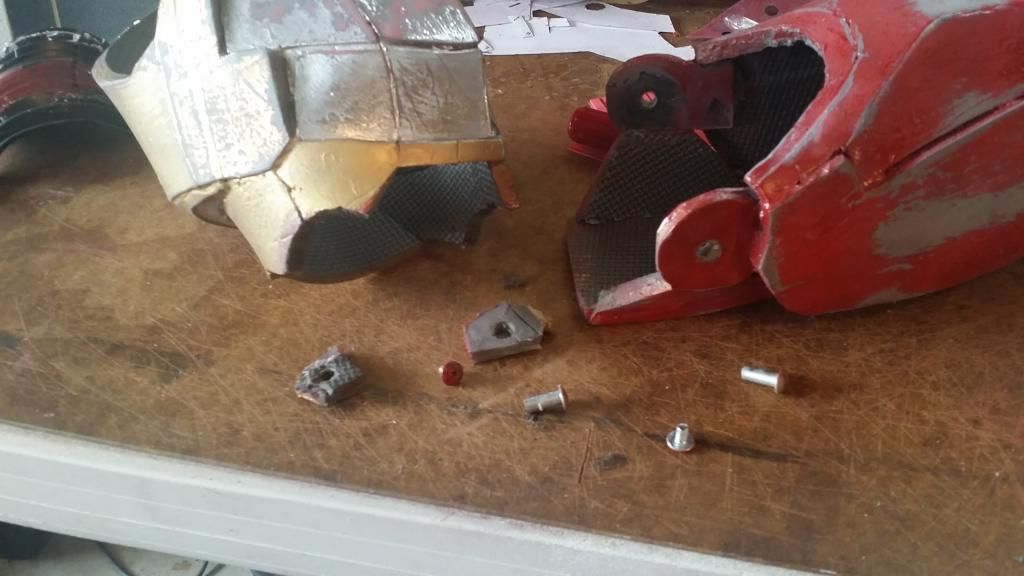
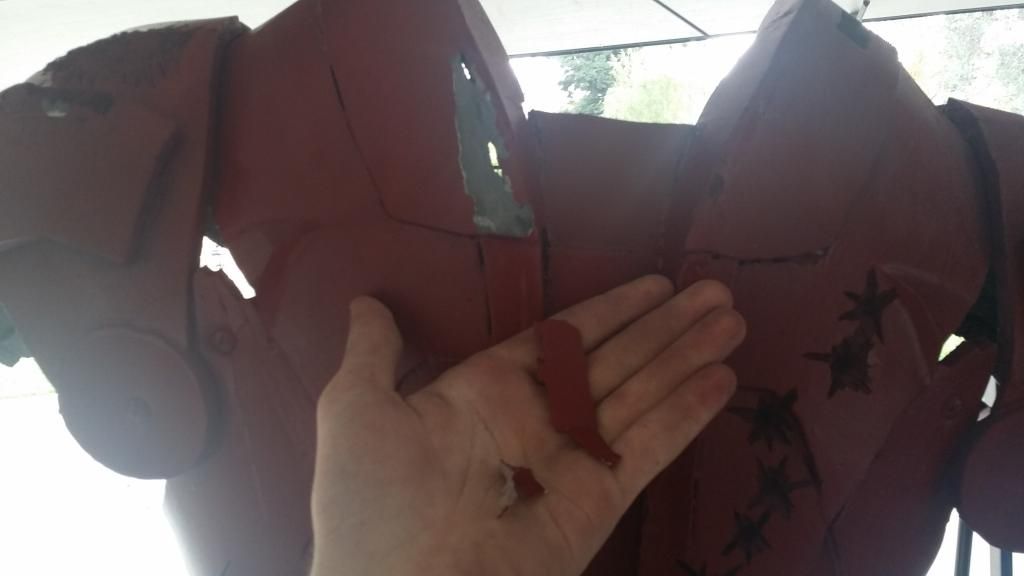
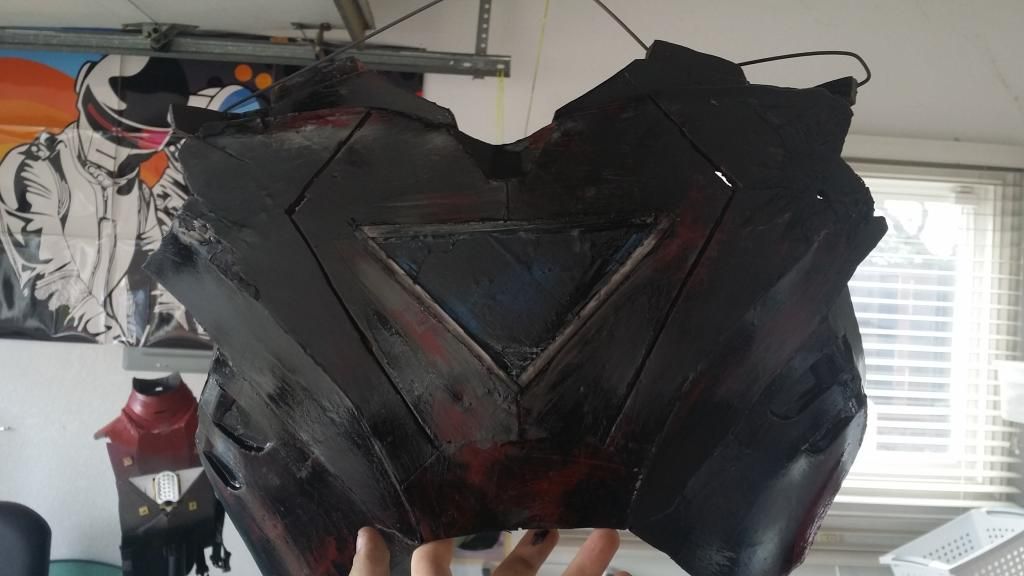
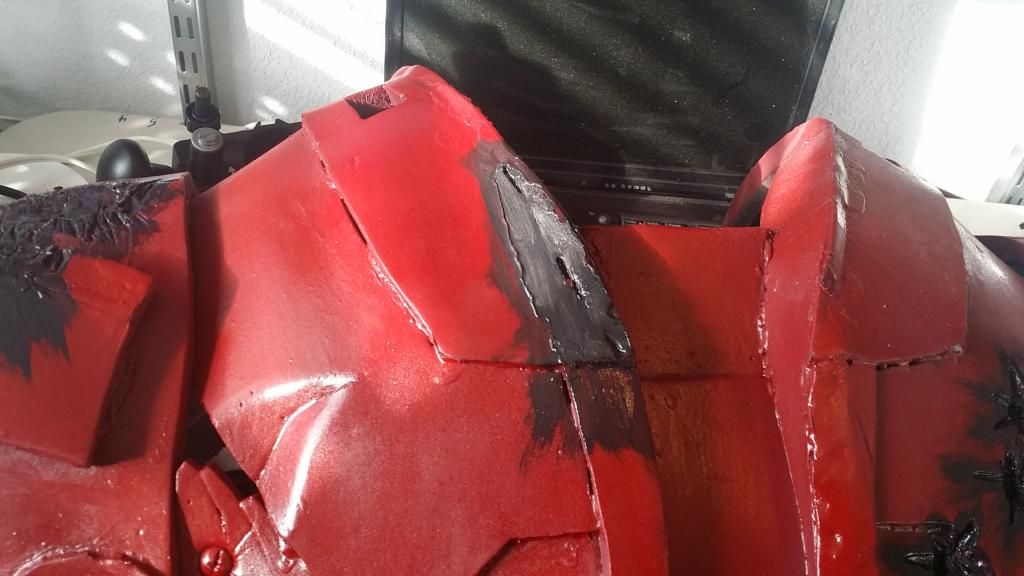
First, a big chunk of, well, something peeled off of the shoulder area:
More battle damage i suppose... next, while painting, the spray paint can apparently SNEEZED and left this weird plastic... dust stuff:

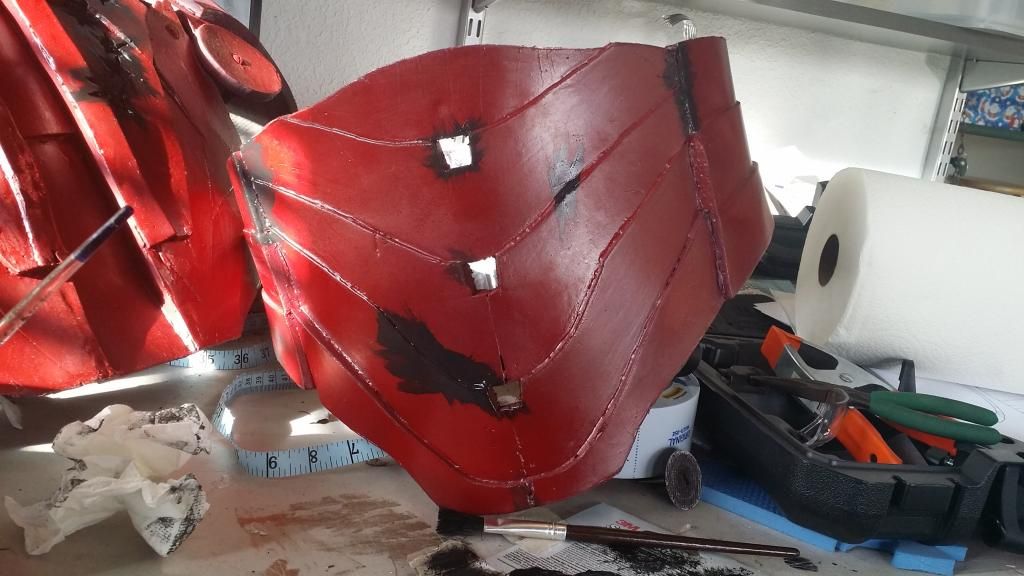
Next, the primer i used on the chest piece must've been expired, because it came out like Jell-O, this was after trying to wipe off/salvage as much as i could:
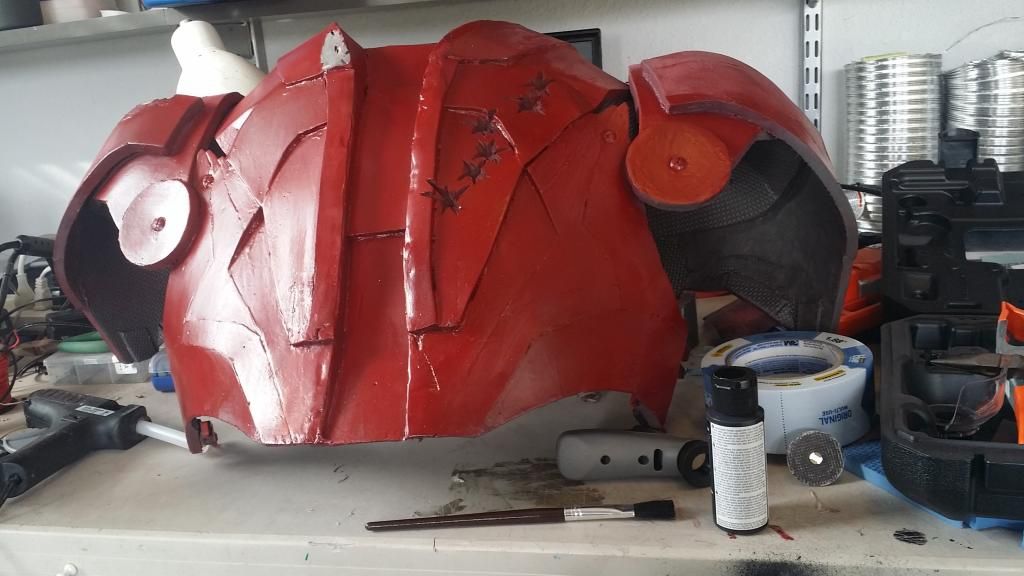
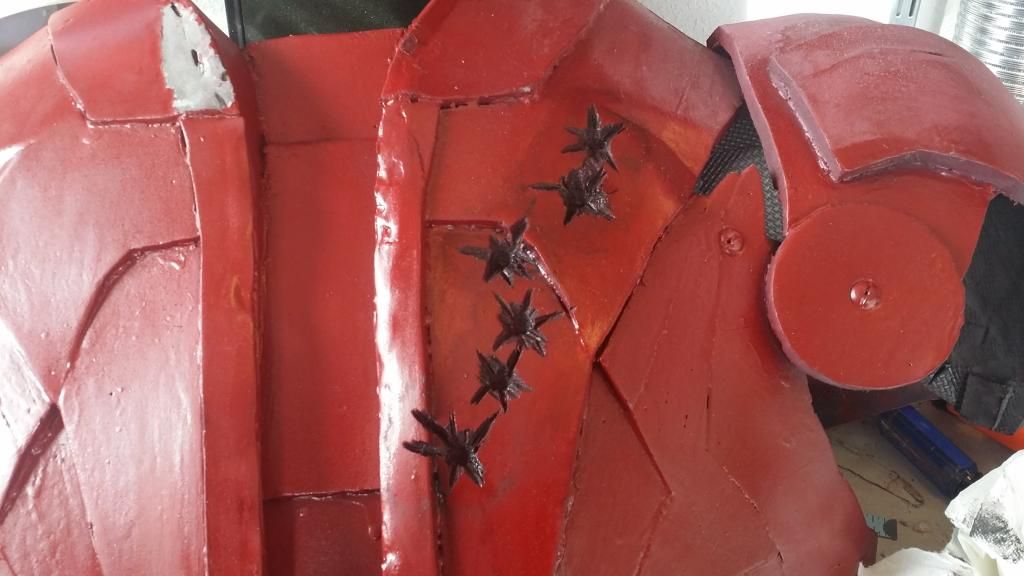
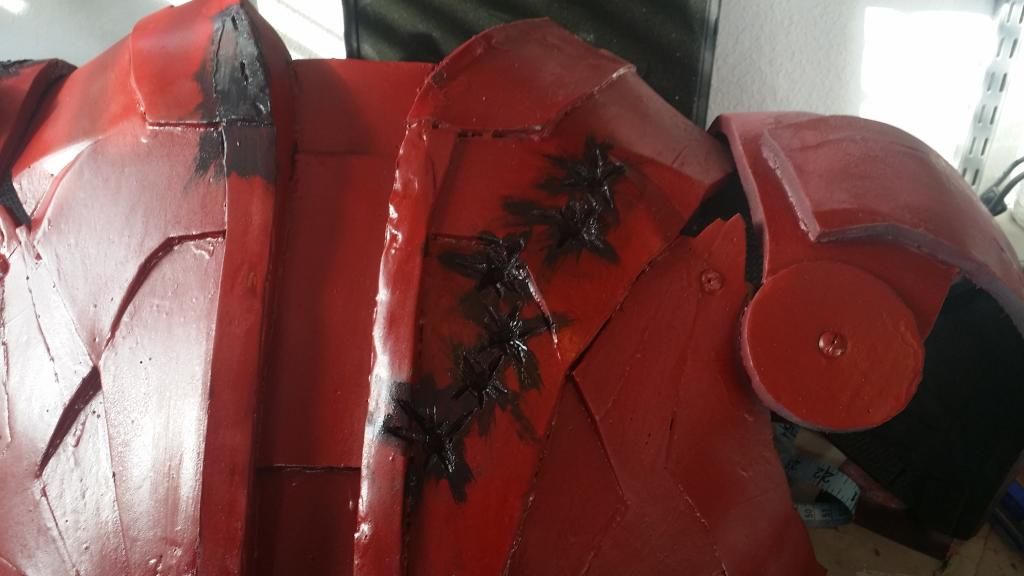
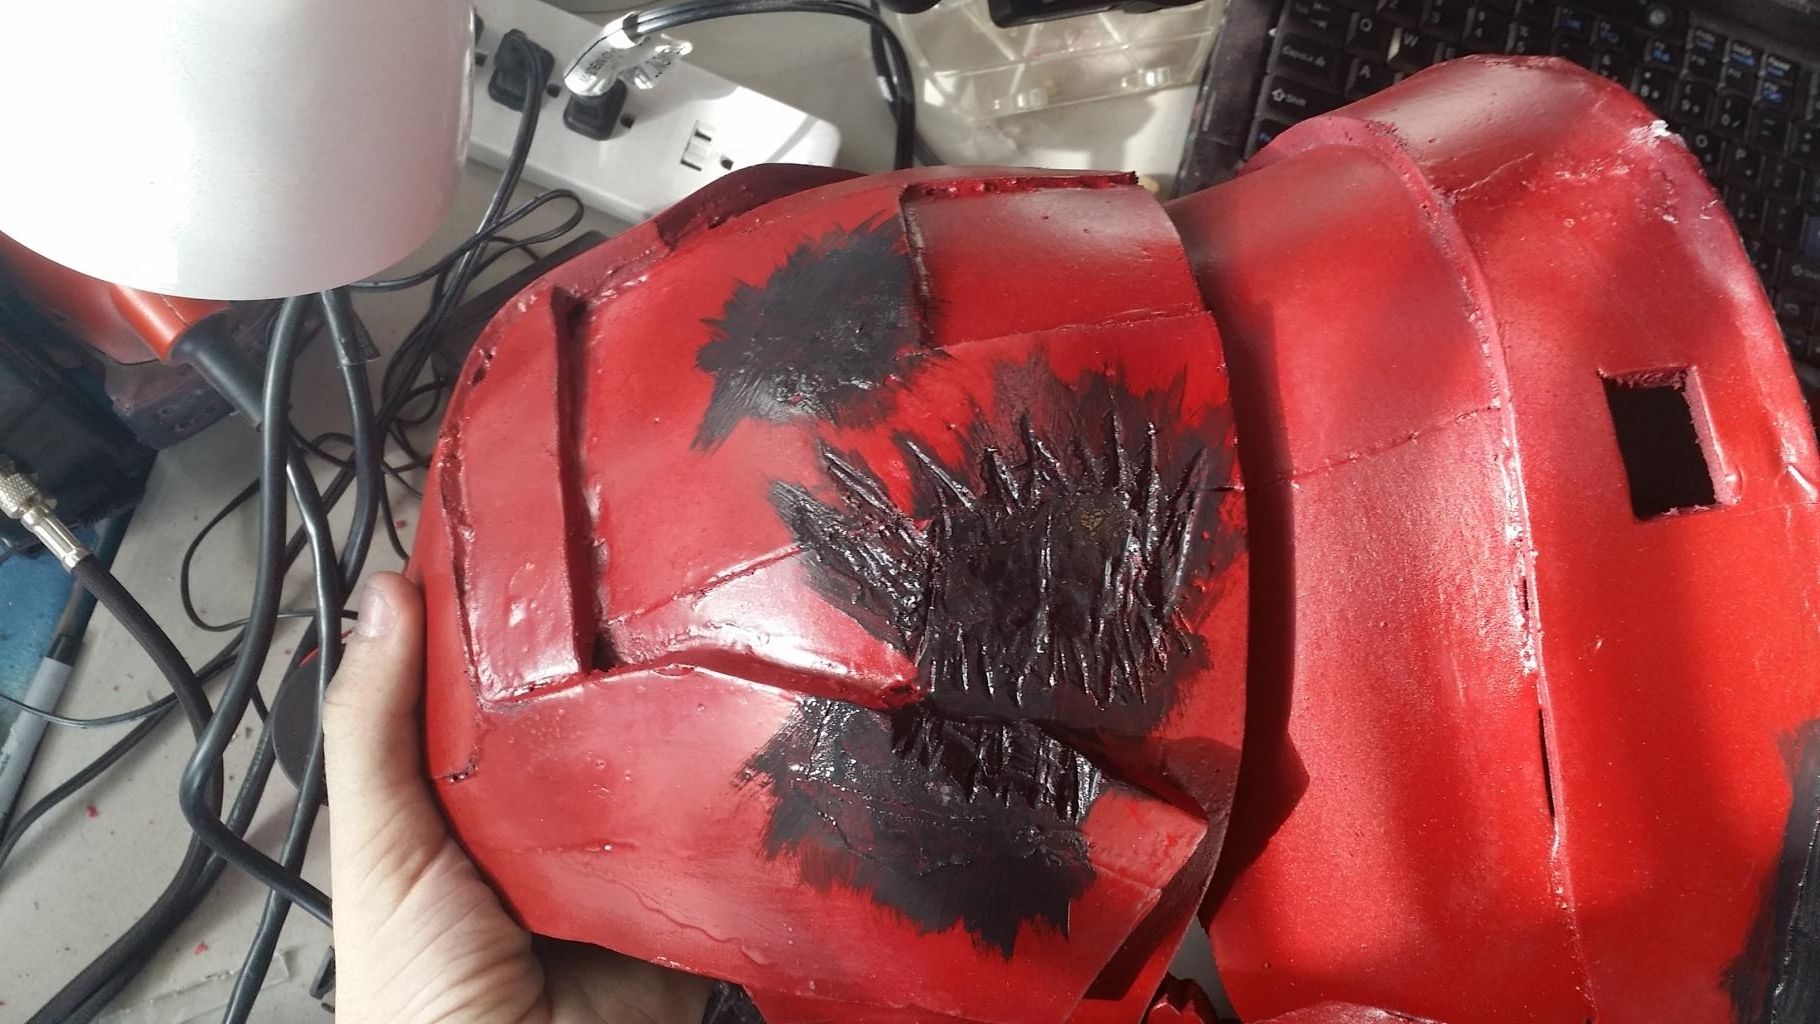
And finally, i got some paint and a brush, and TRIED to do more scuffs and blast damage to the rest of the suit. needless to say, it didn't go so well...

so there's a big pile of repeated failure... nowhere to go but up i suppose! stay tuned!
No comments:
Post a Comment