We're closing in on the end, this is where it gets fun. last we left off, I McGeyvered my way through the complicated engineering behind the fingers. now, we'll be playing with MAGNETS!
more specifically, the disk-neodynium magnets that held the knee joint together. it was a simple matter of gouging out a square in the circular piece of foam at the top of the calf piece, glue the magnet in, then cover it with a piece of foam, more glue, and some duct tape just to be safe:
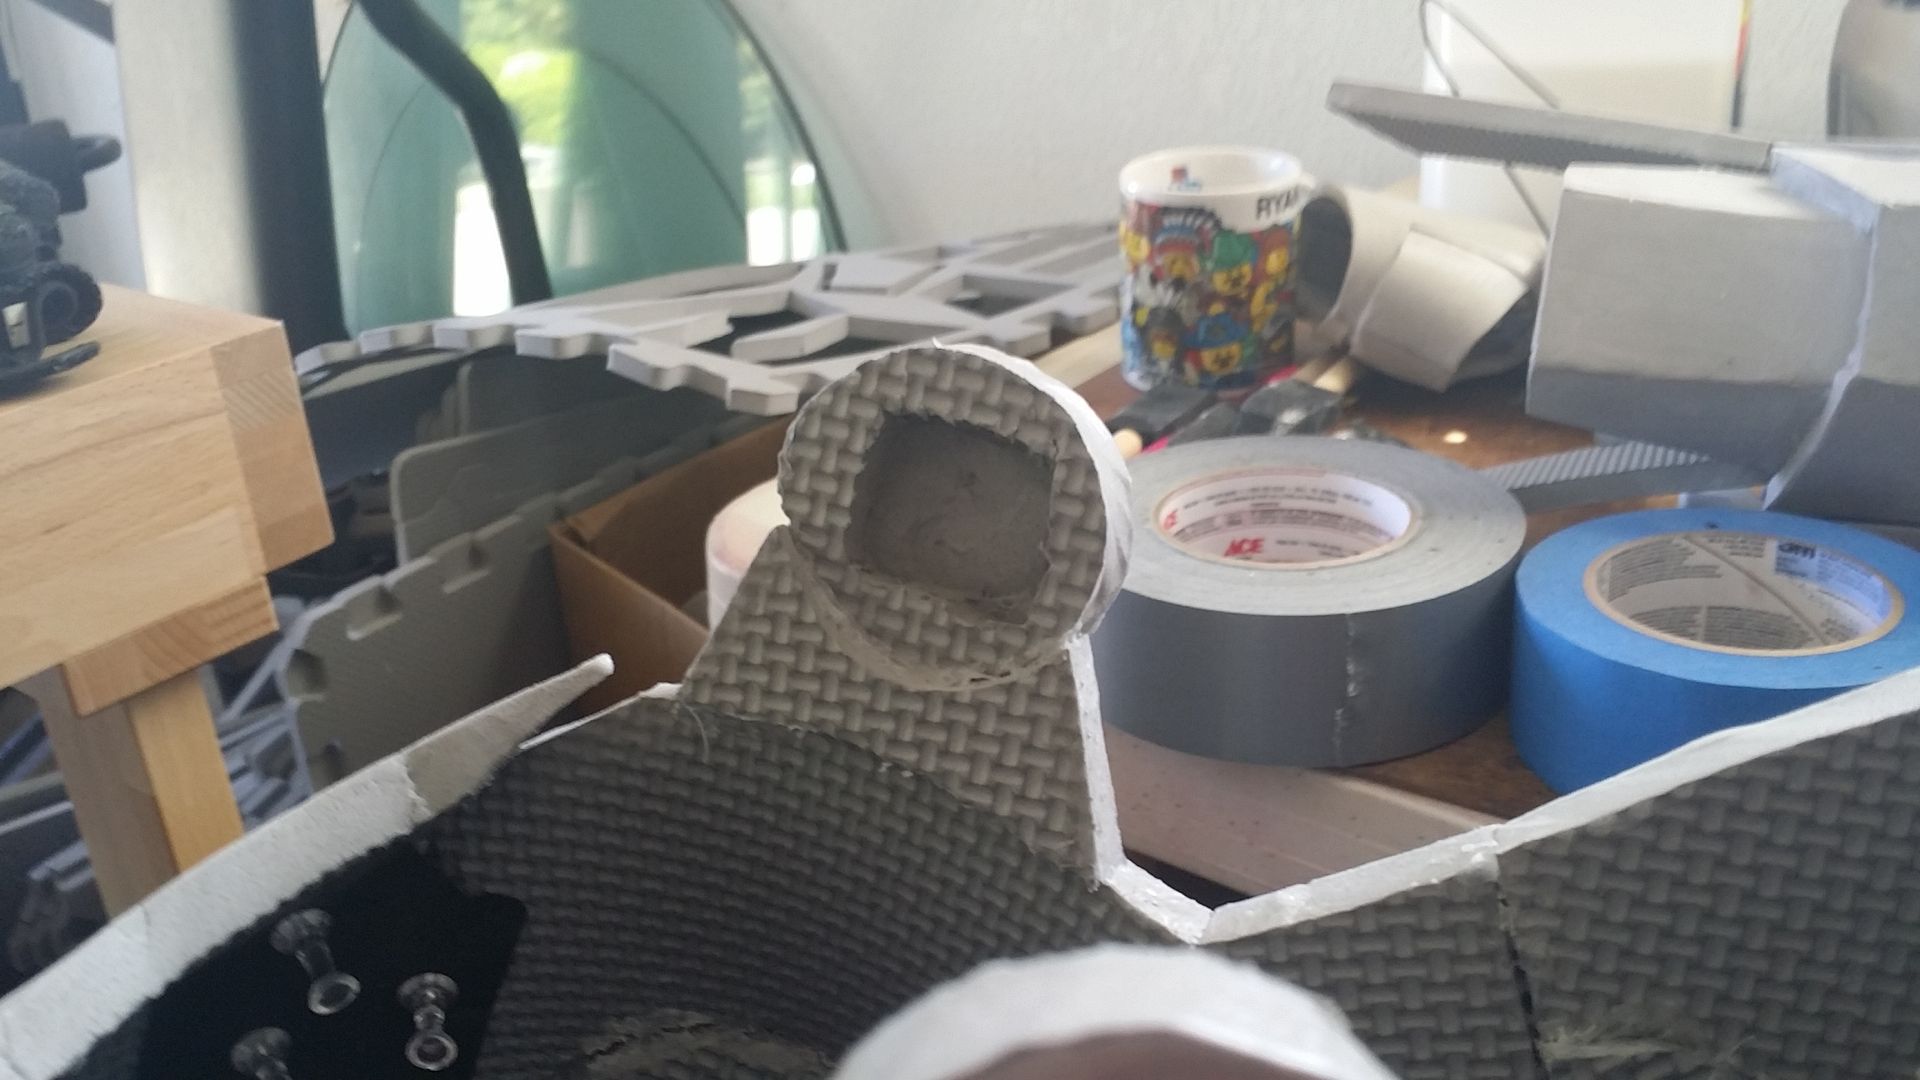
magnets going in:
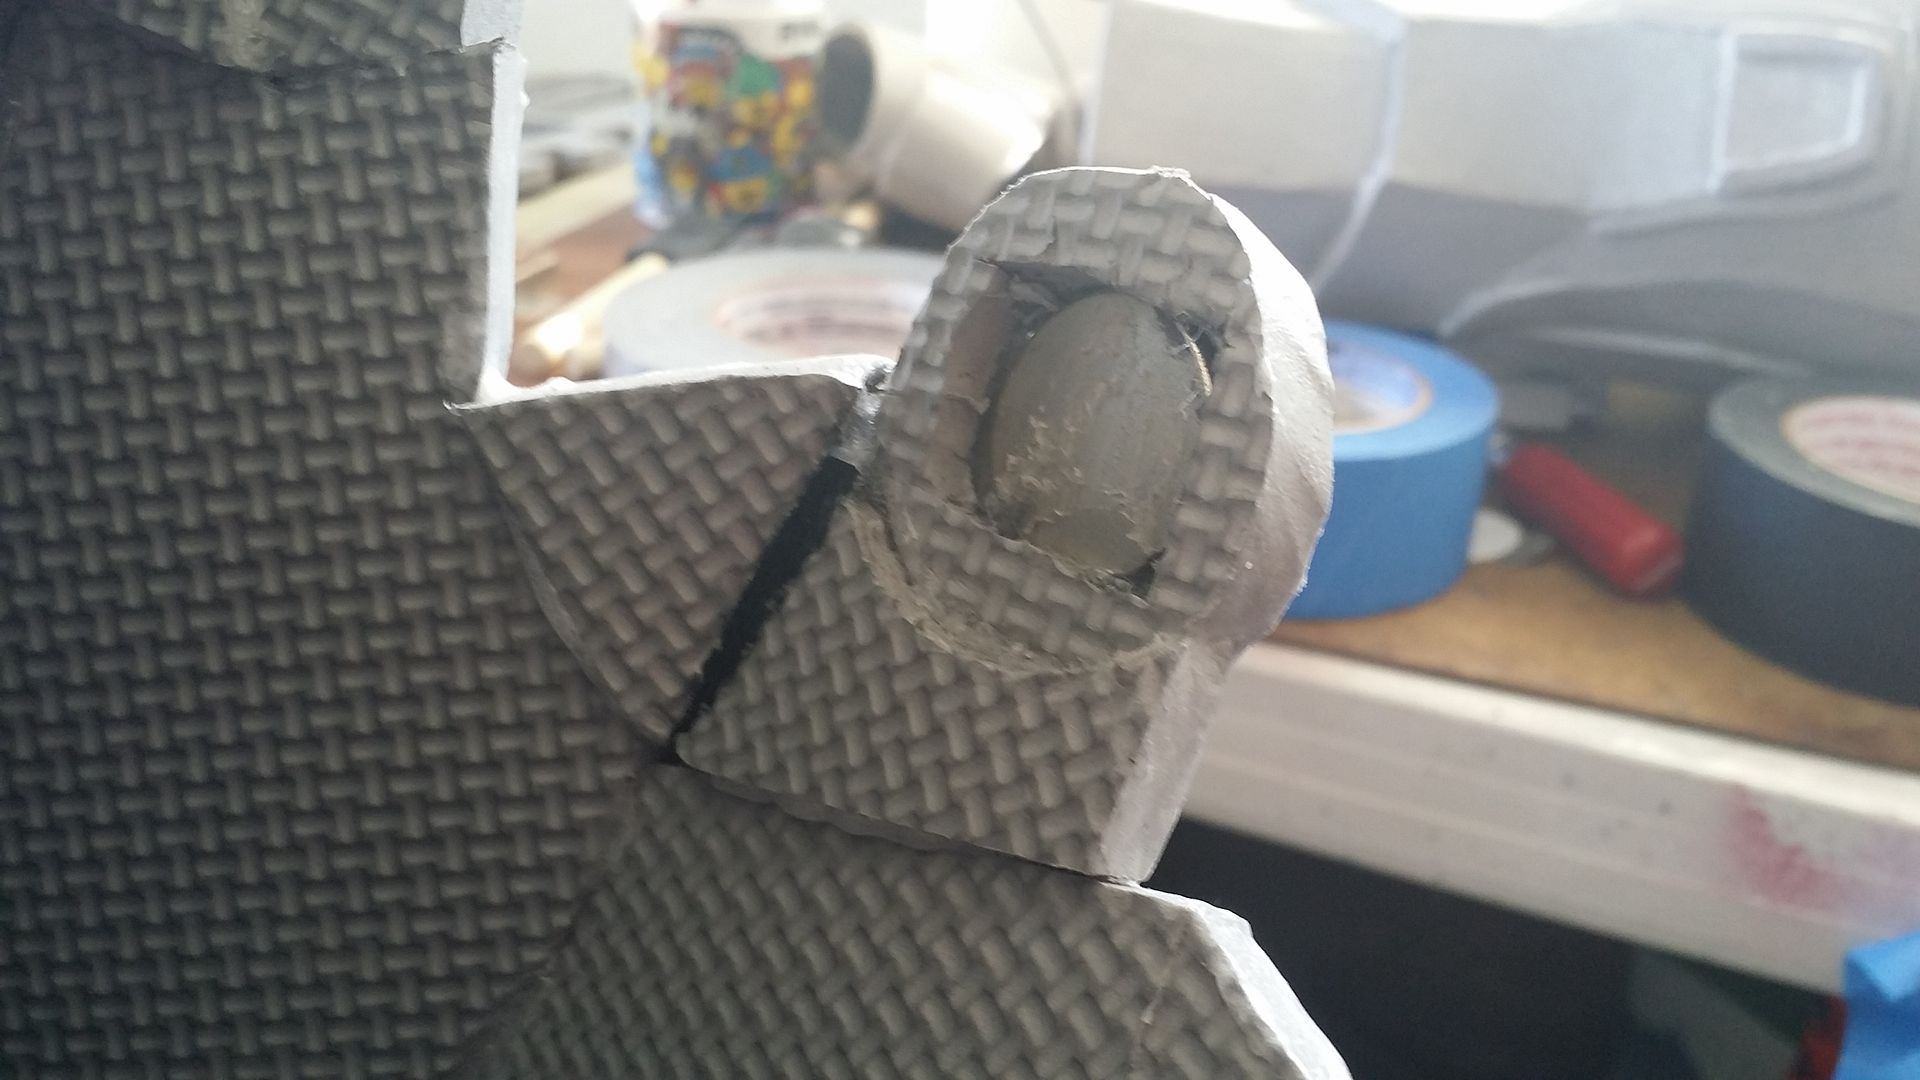
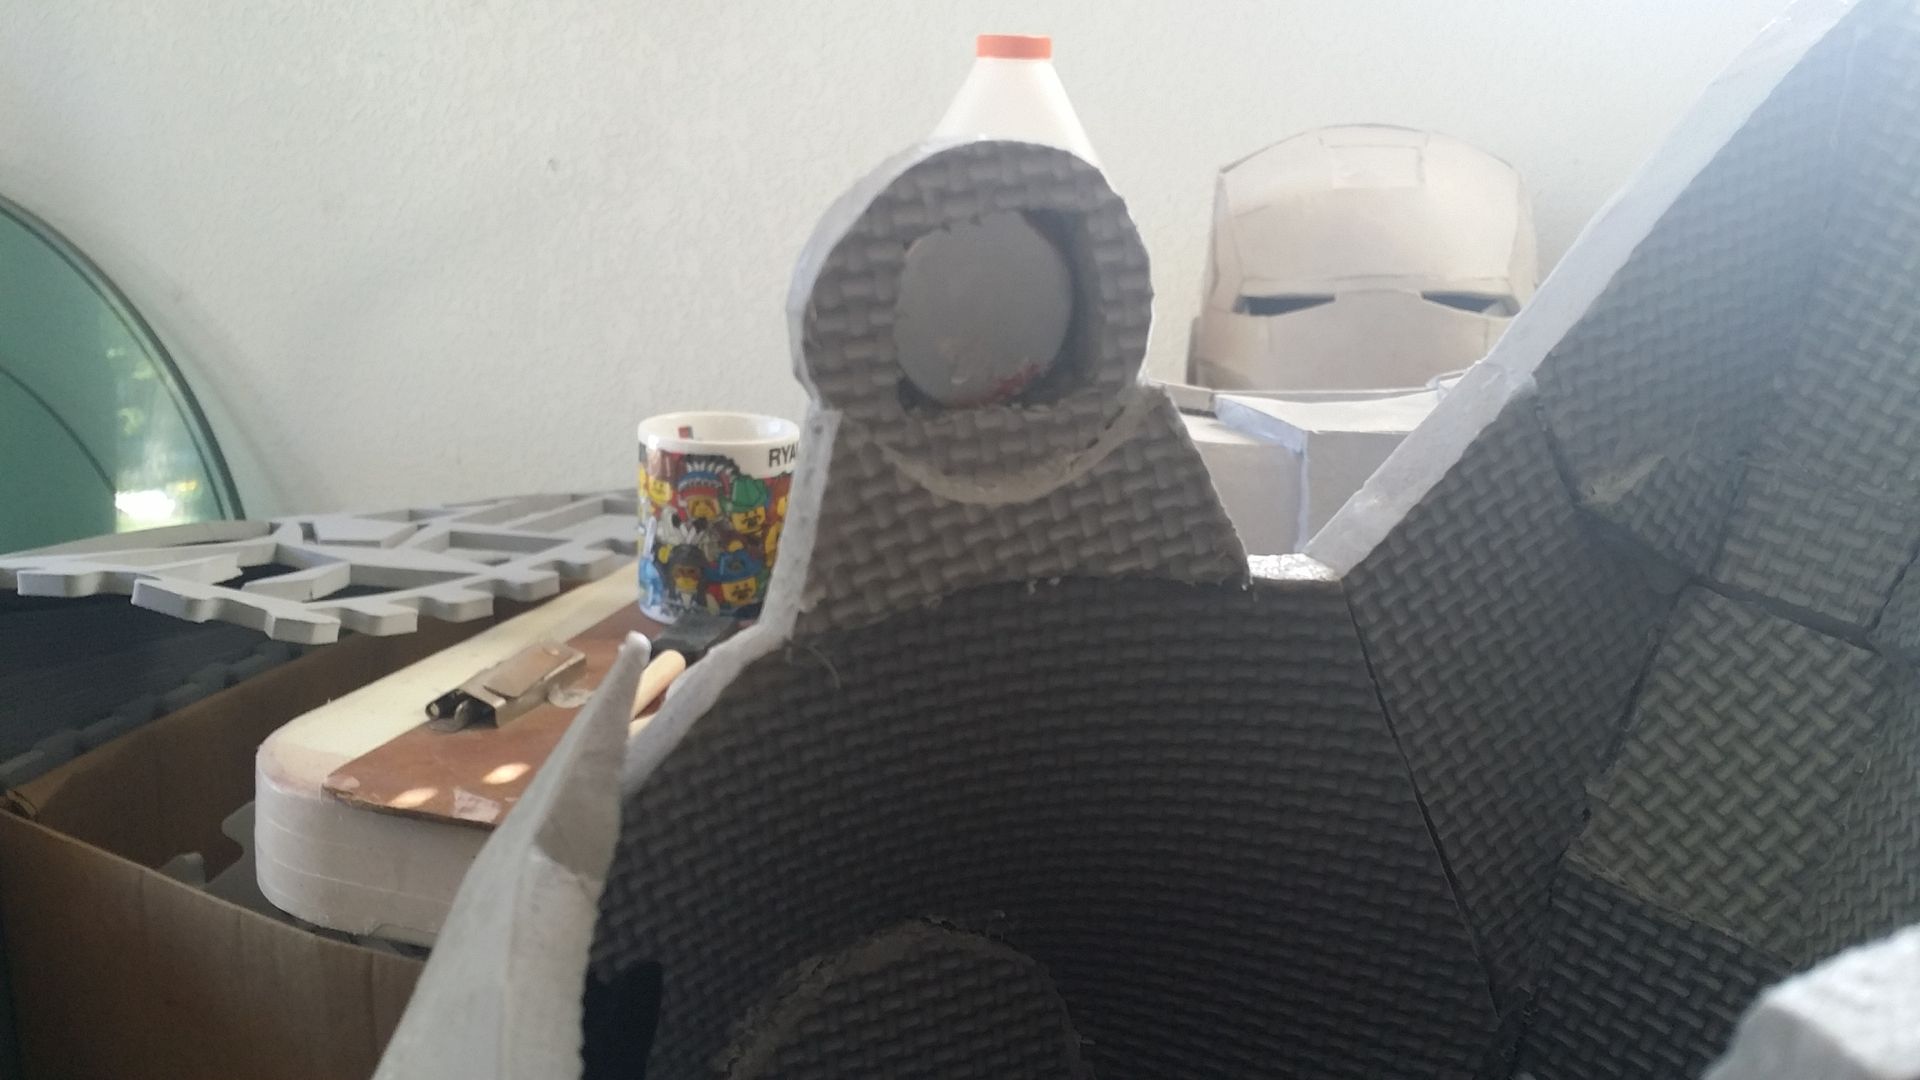
Sealing up the hole:

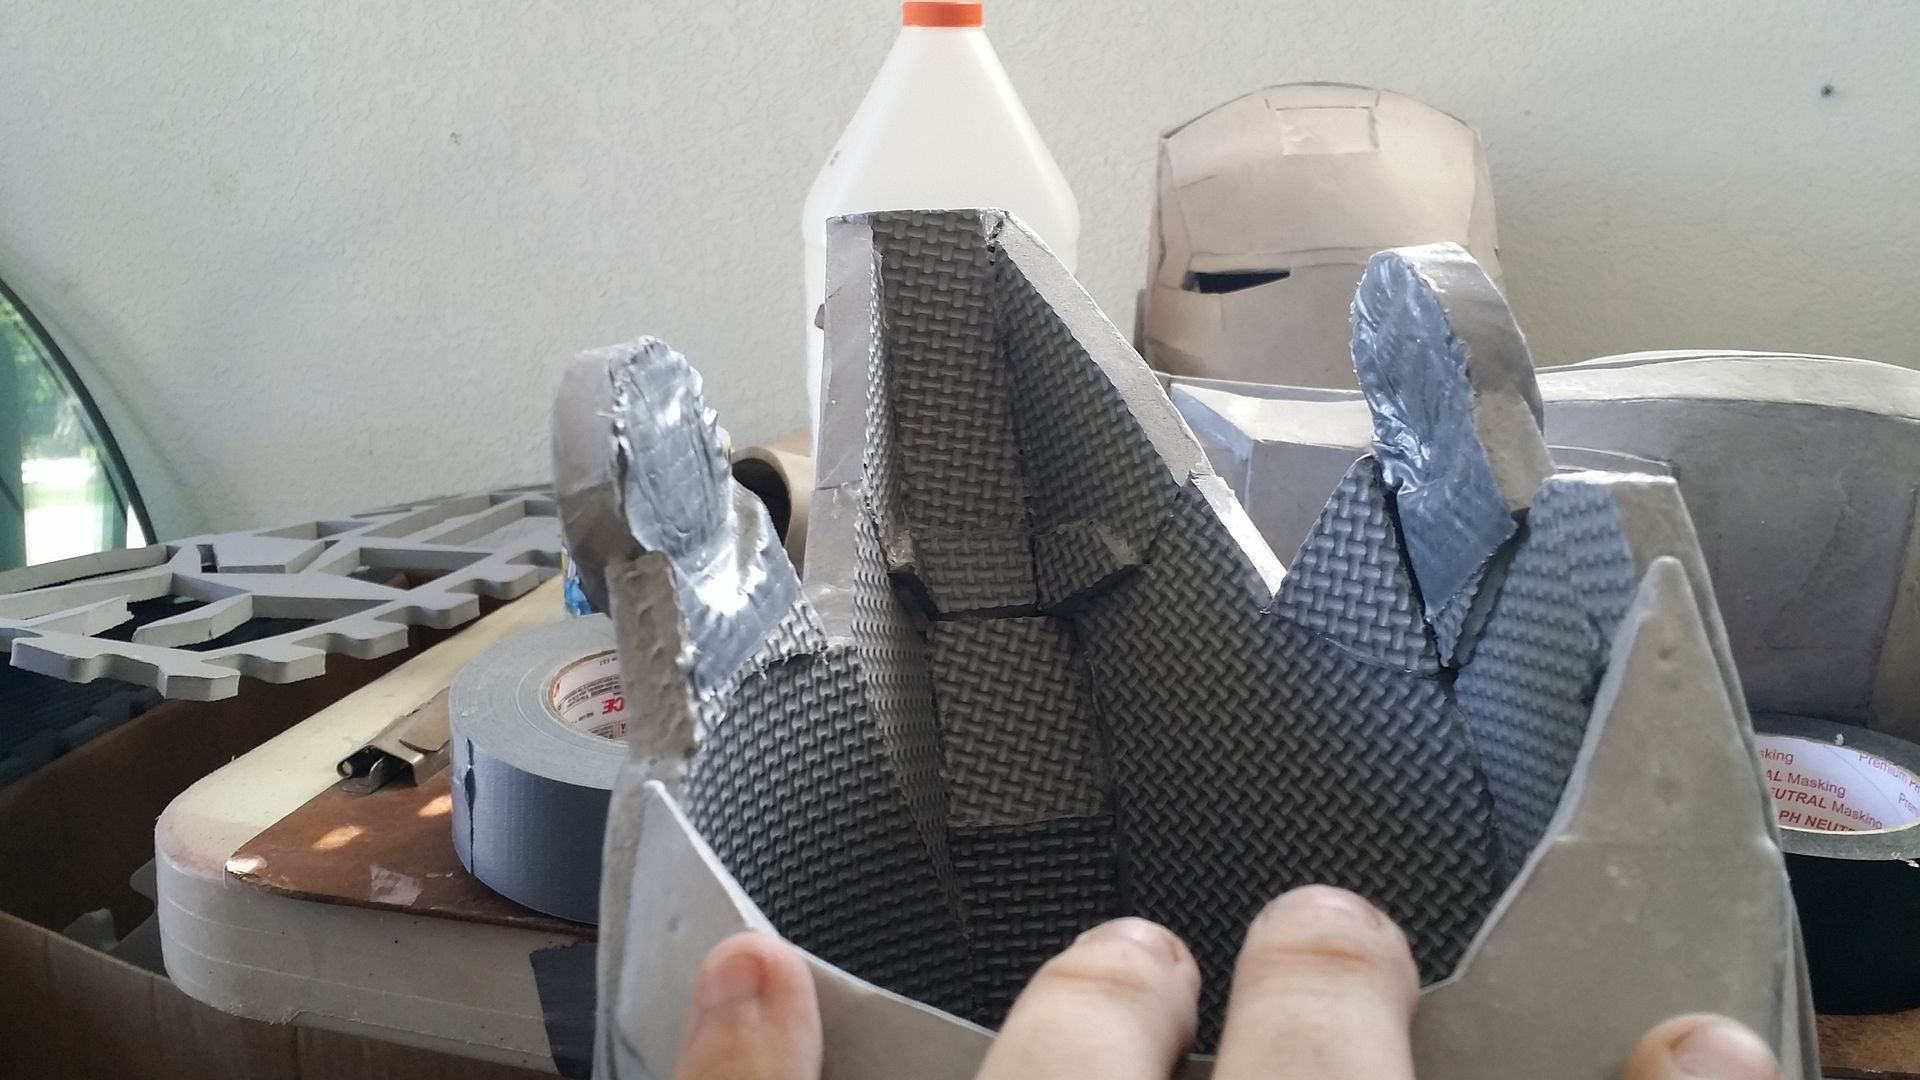
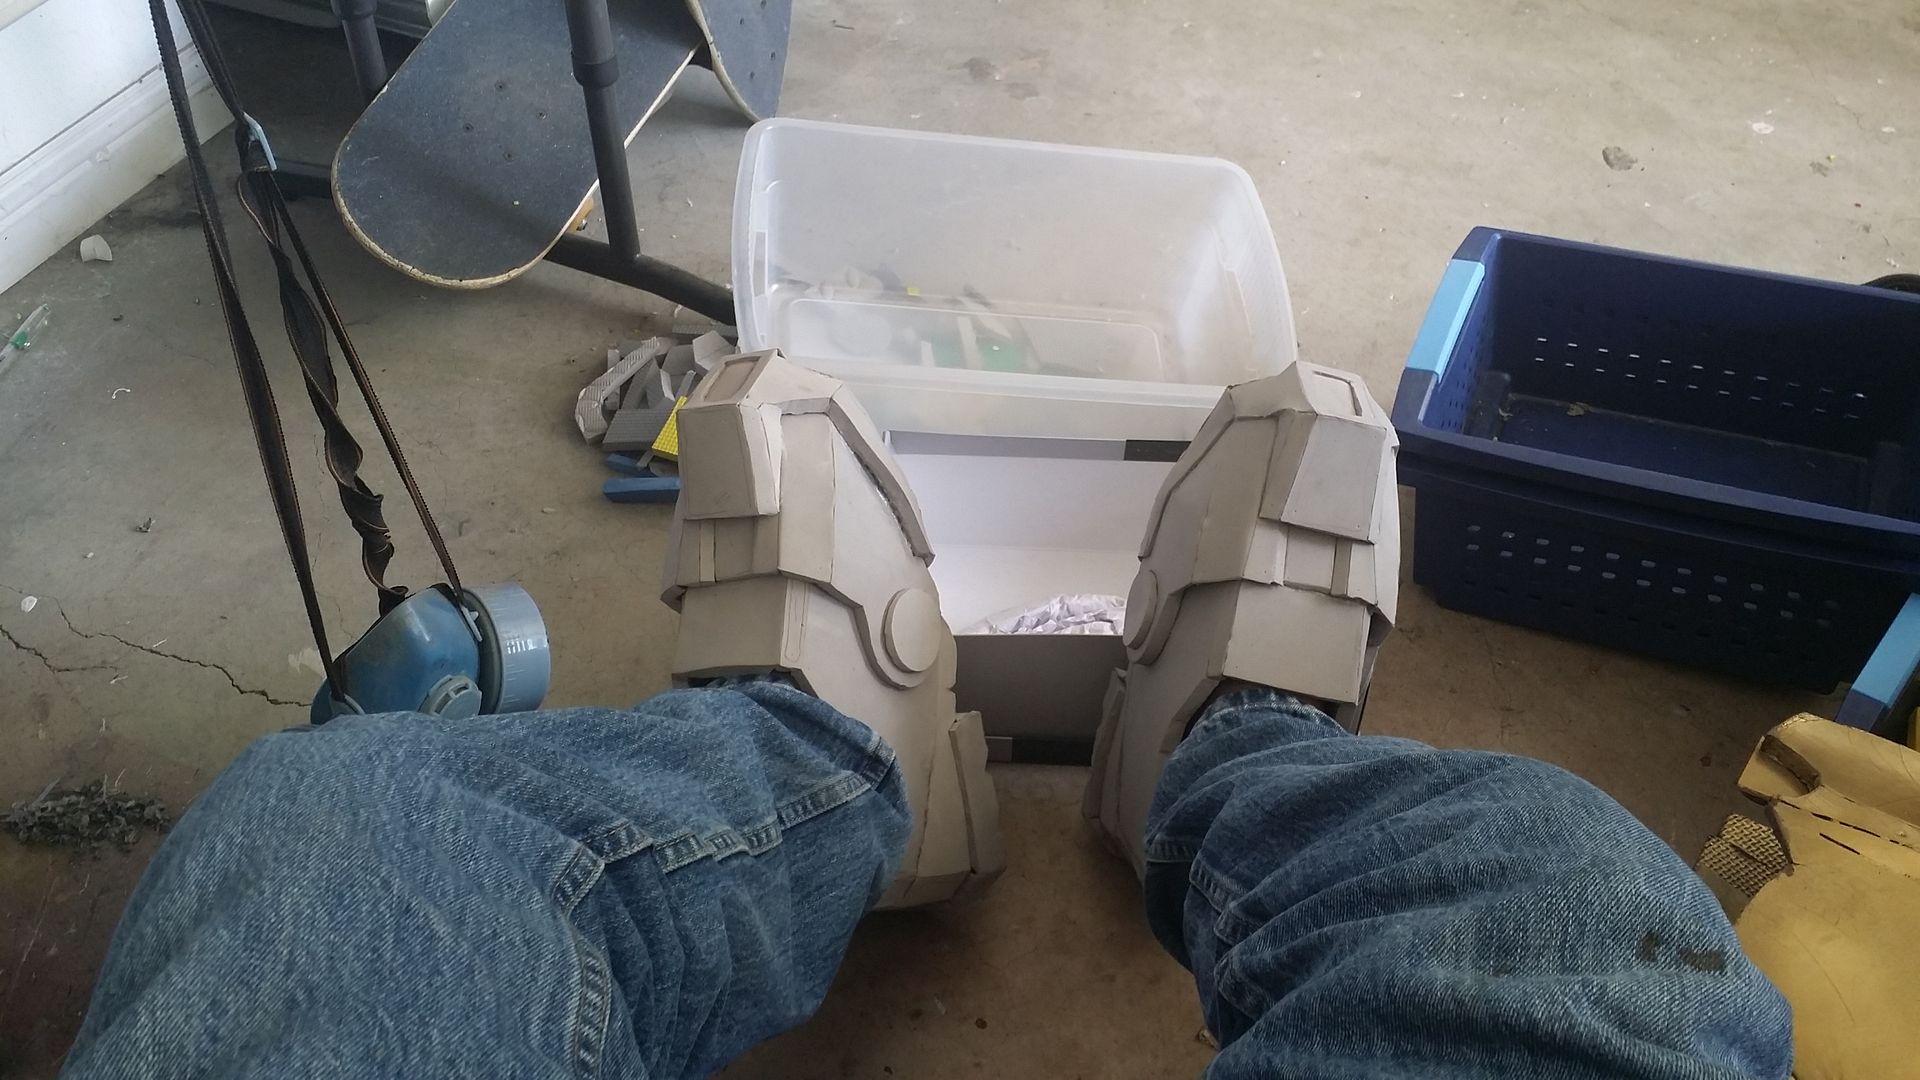
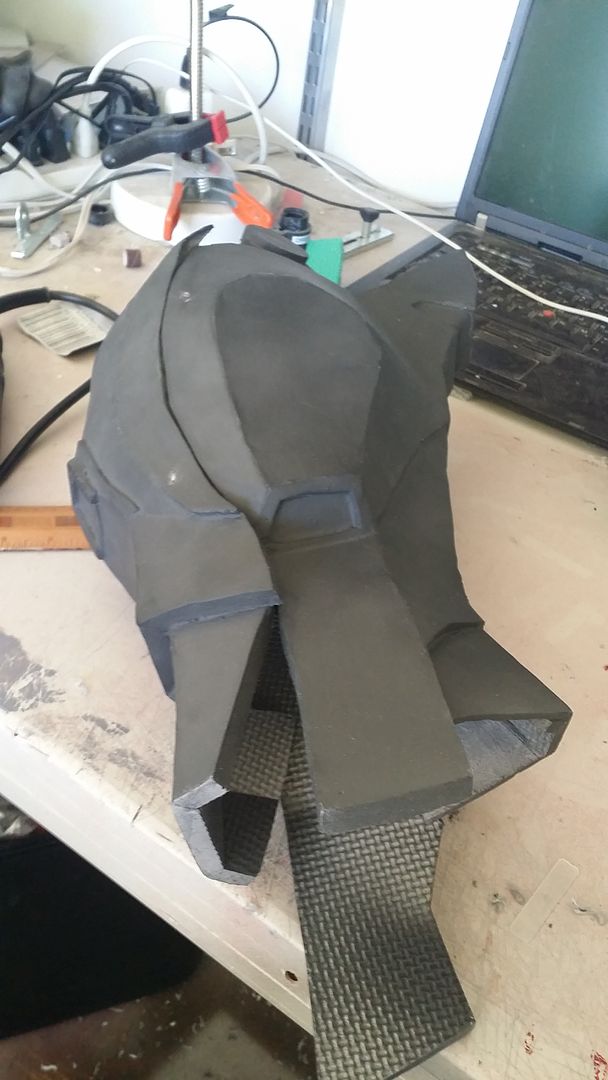
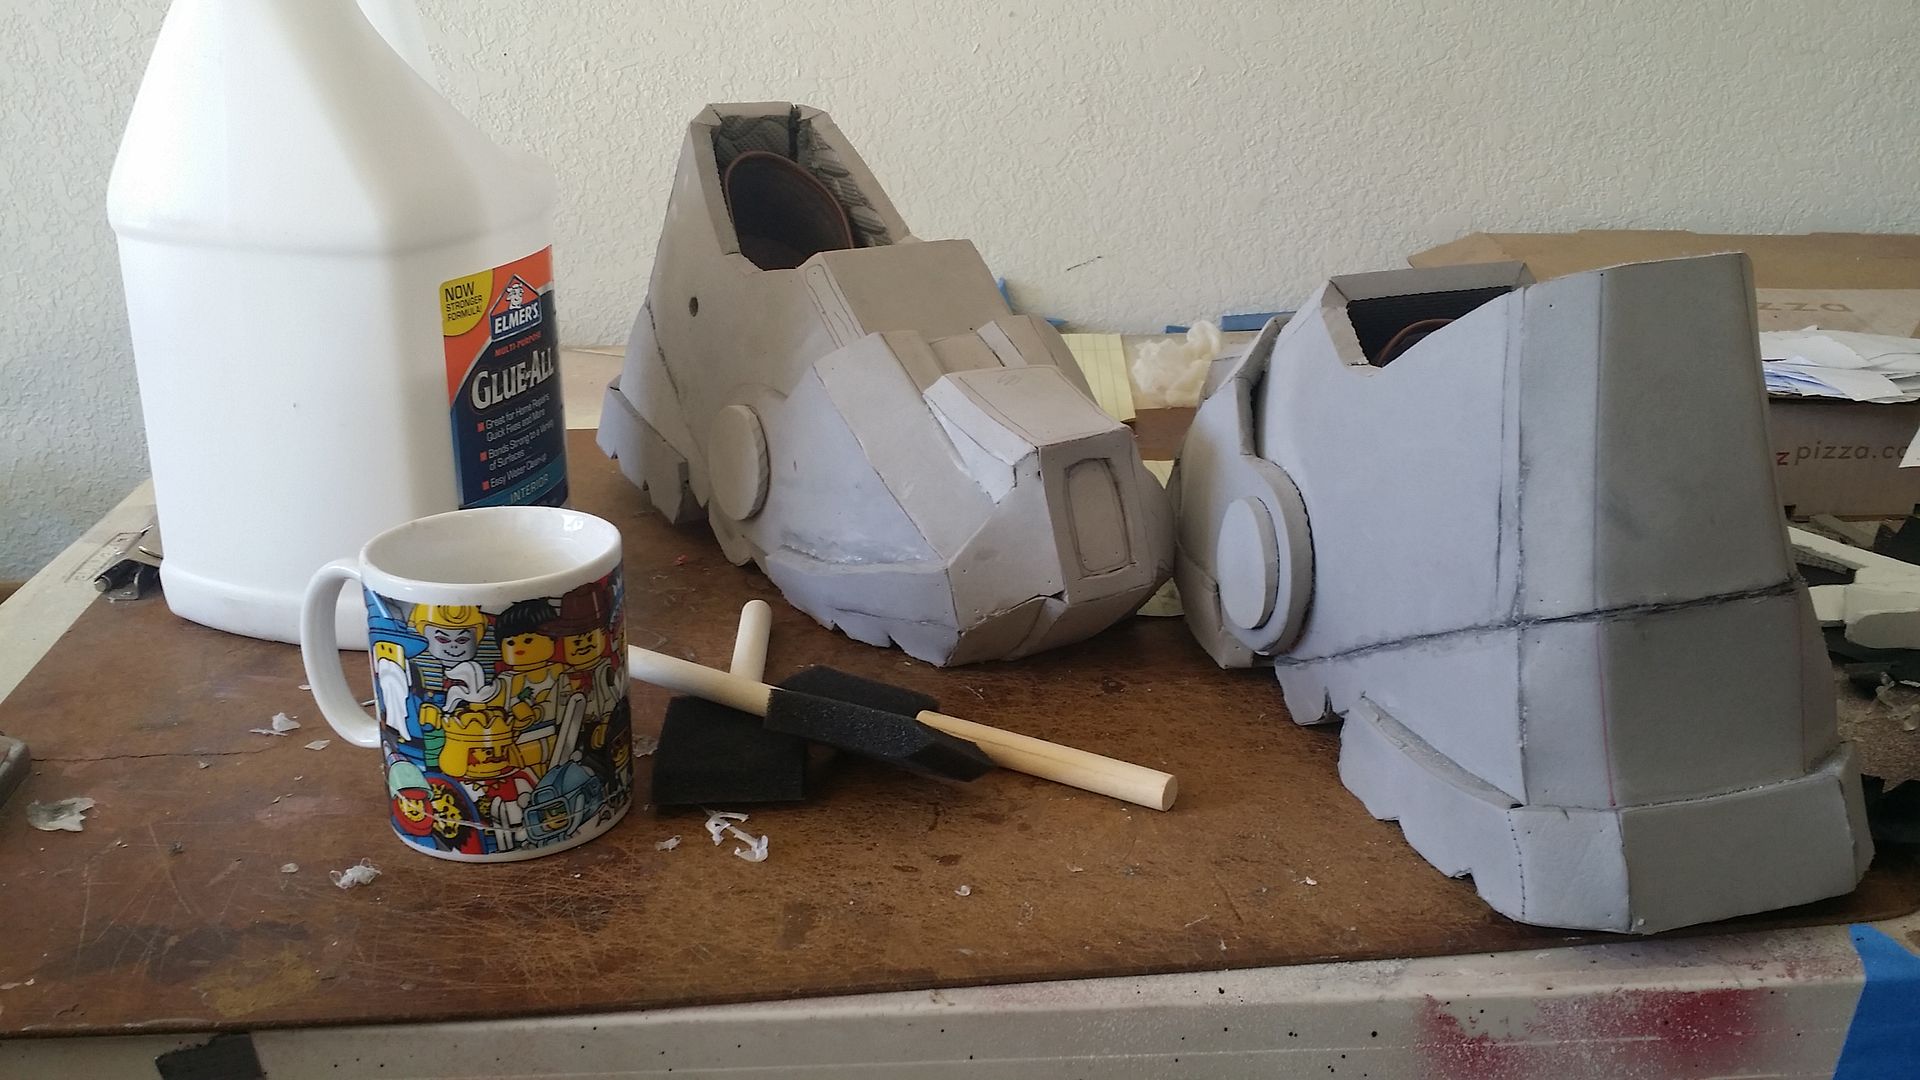
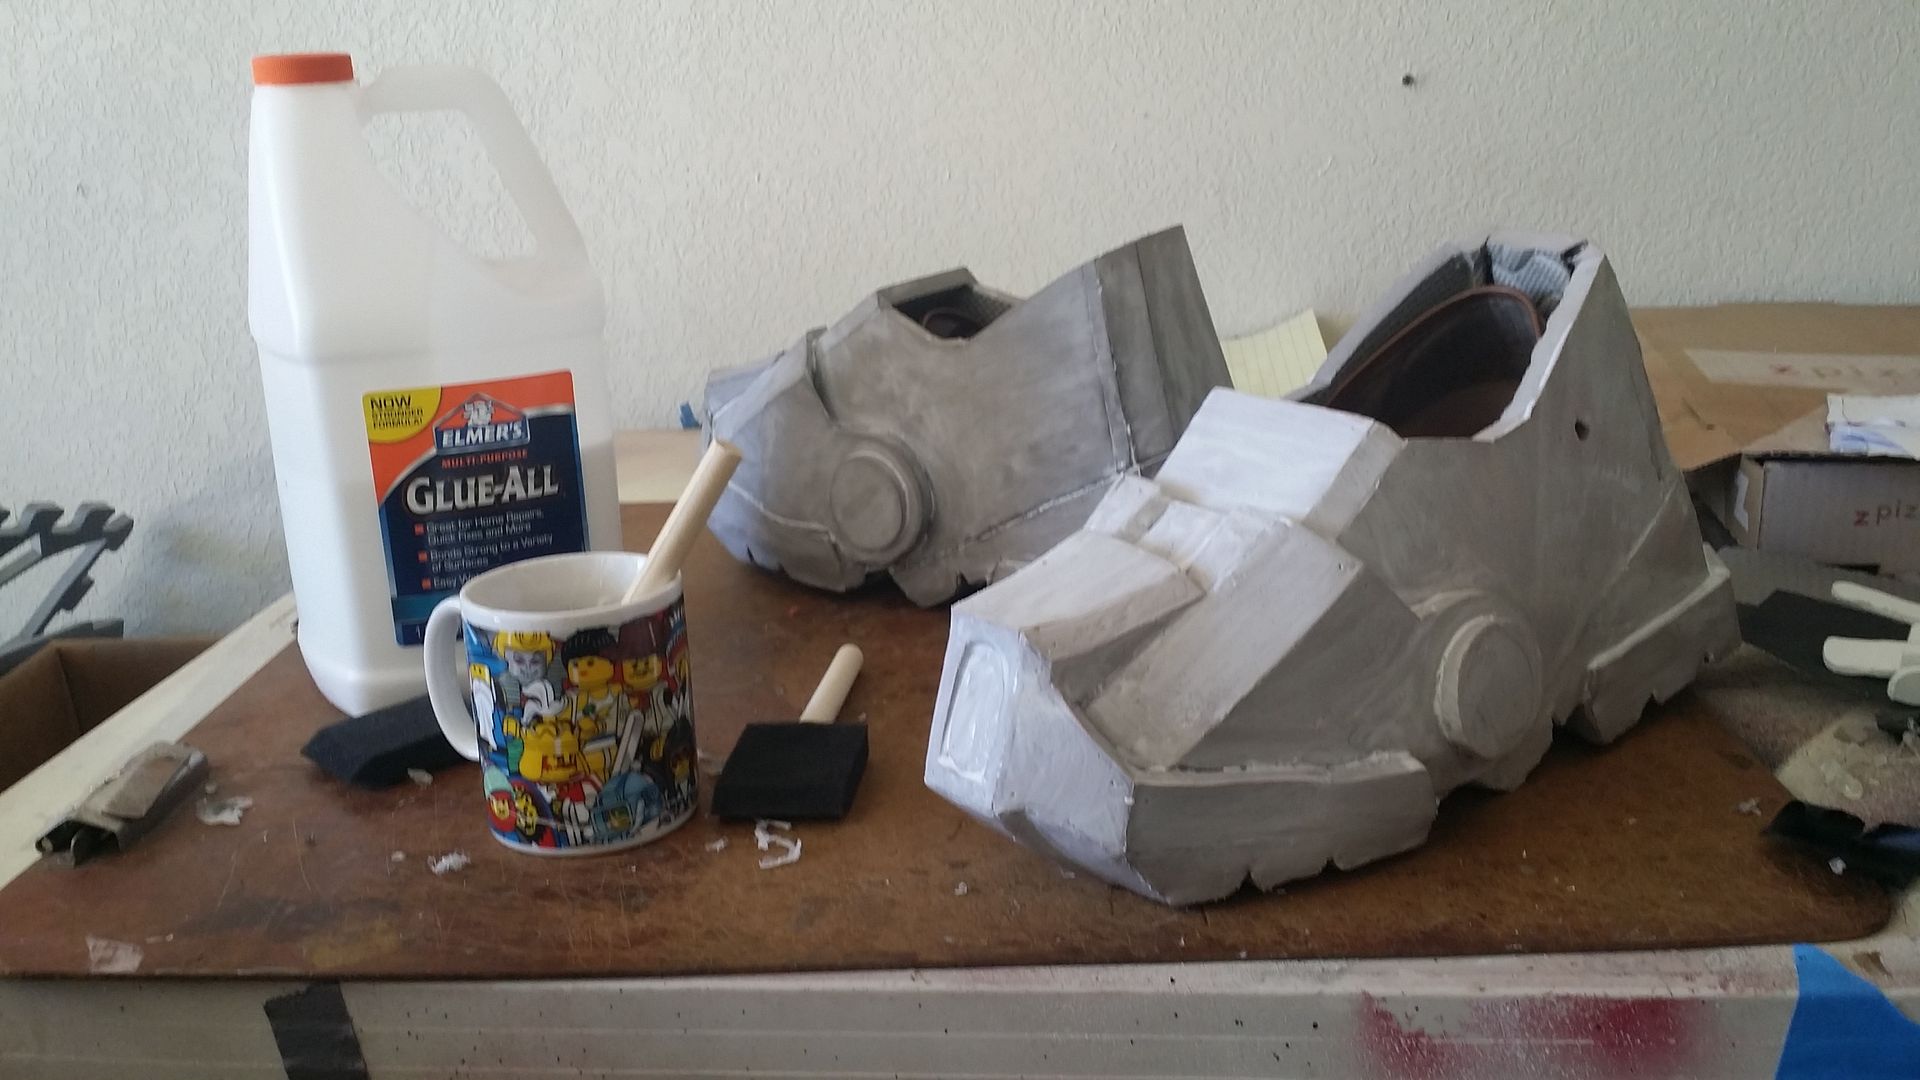
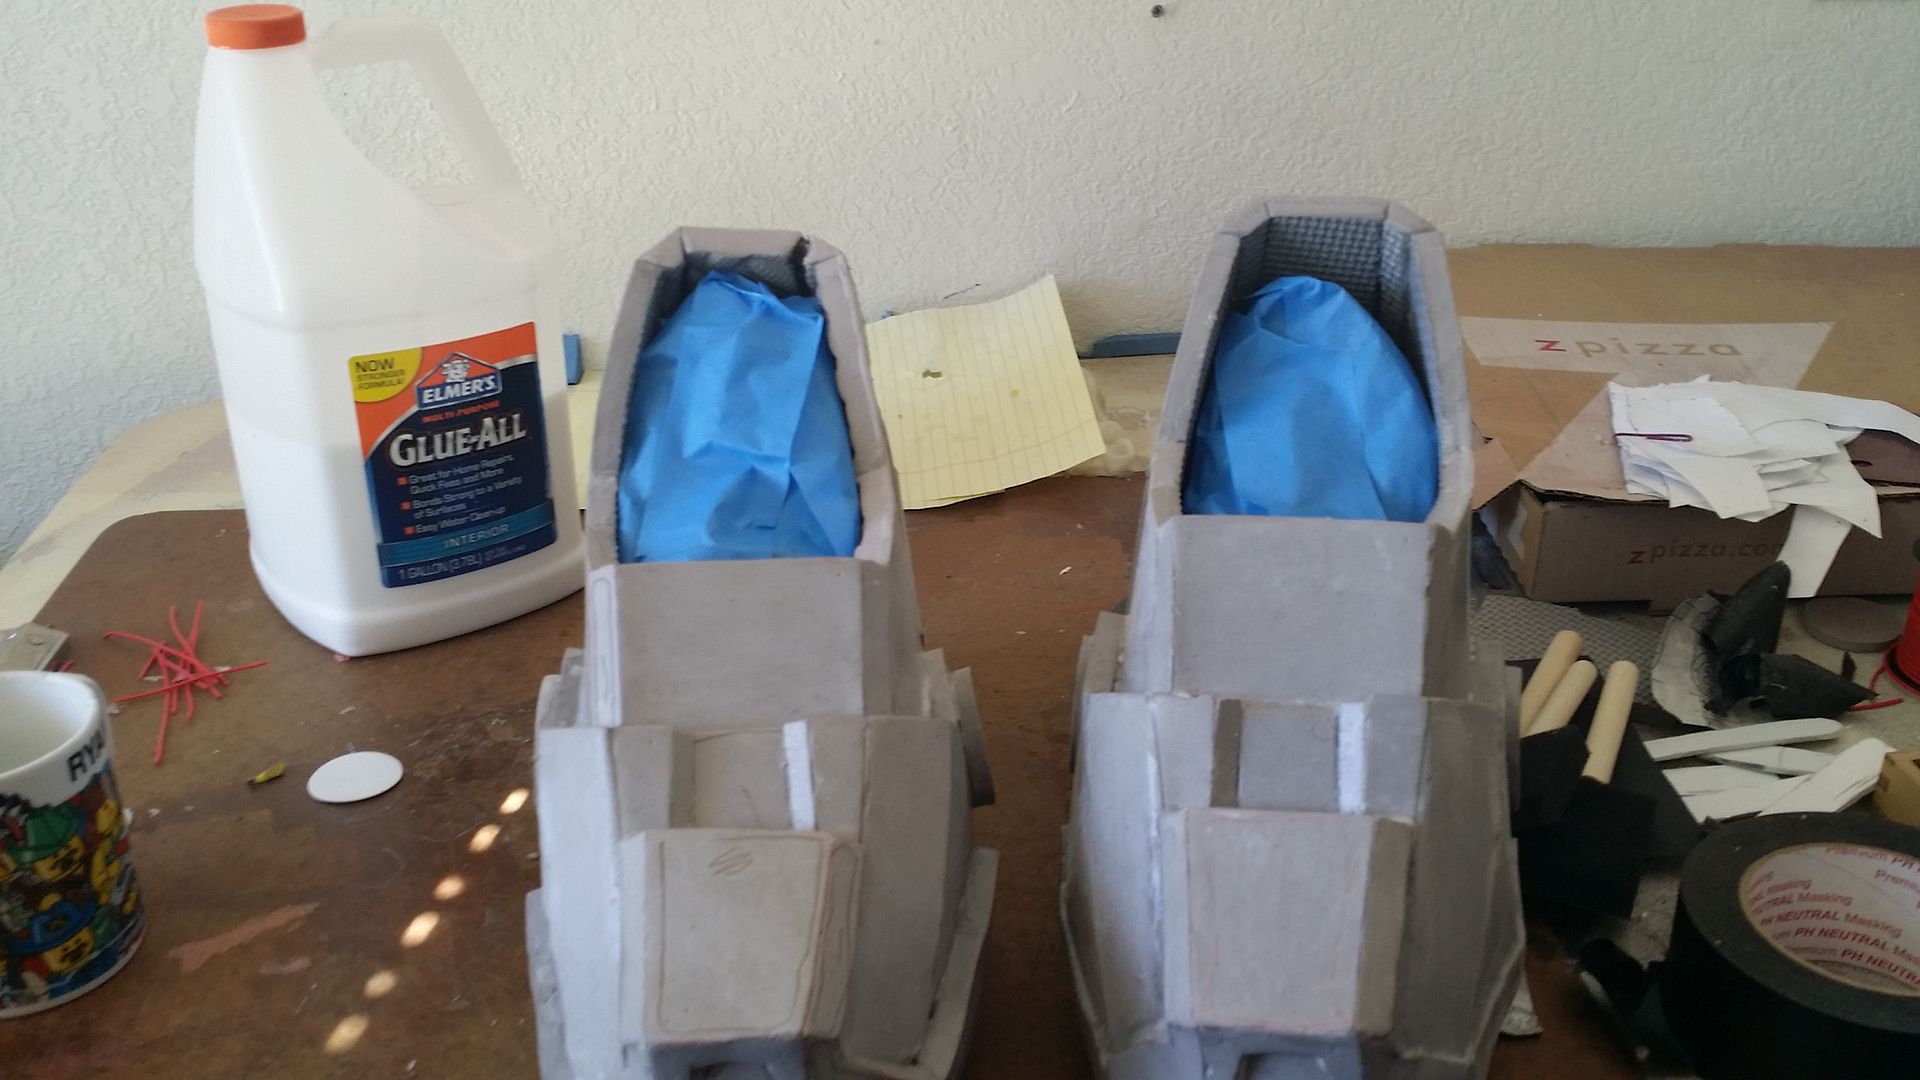
with those done, the next part to do was stuff shoes into the boots. unfortunately, the hole in the top wasn't big enough to fit the shoe in, so i had to cot out the back of the boot and glue it back into place:

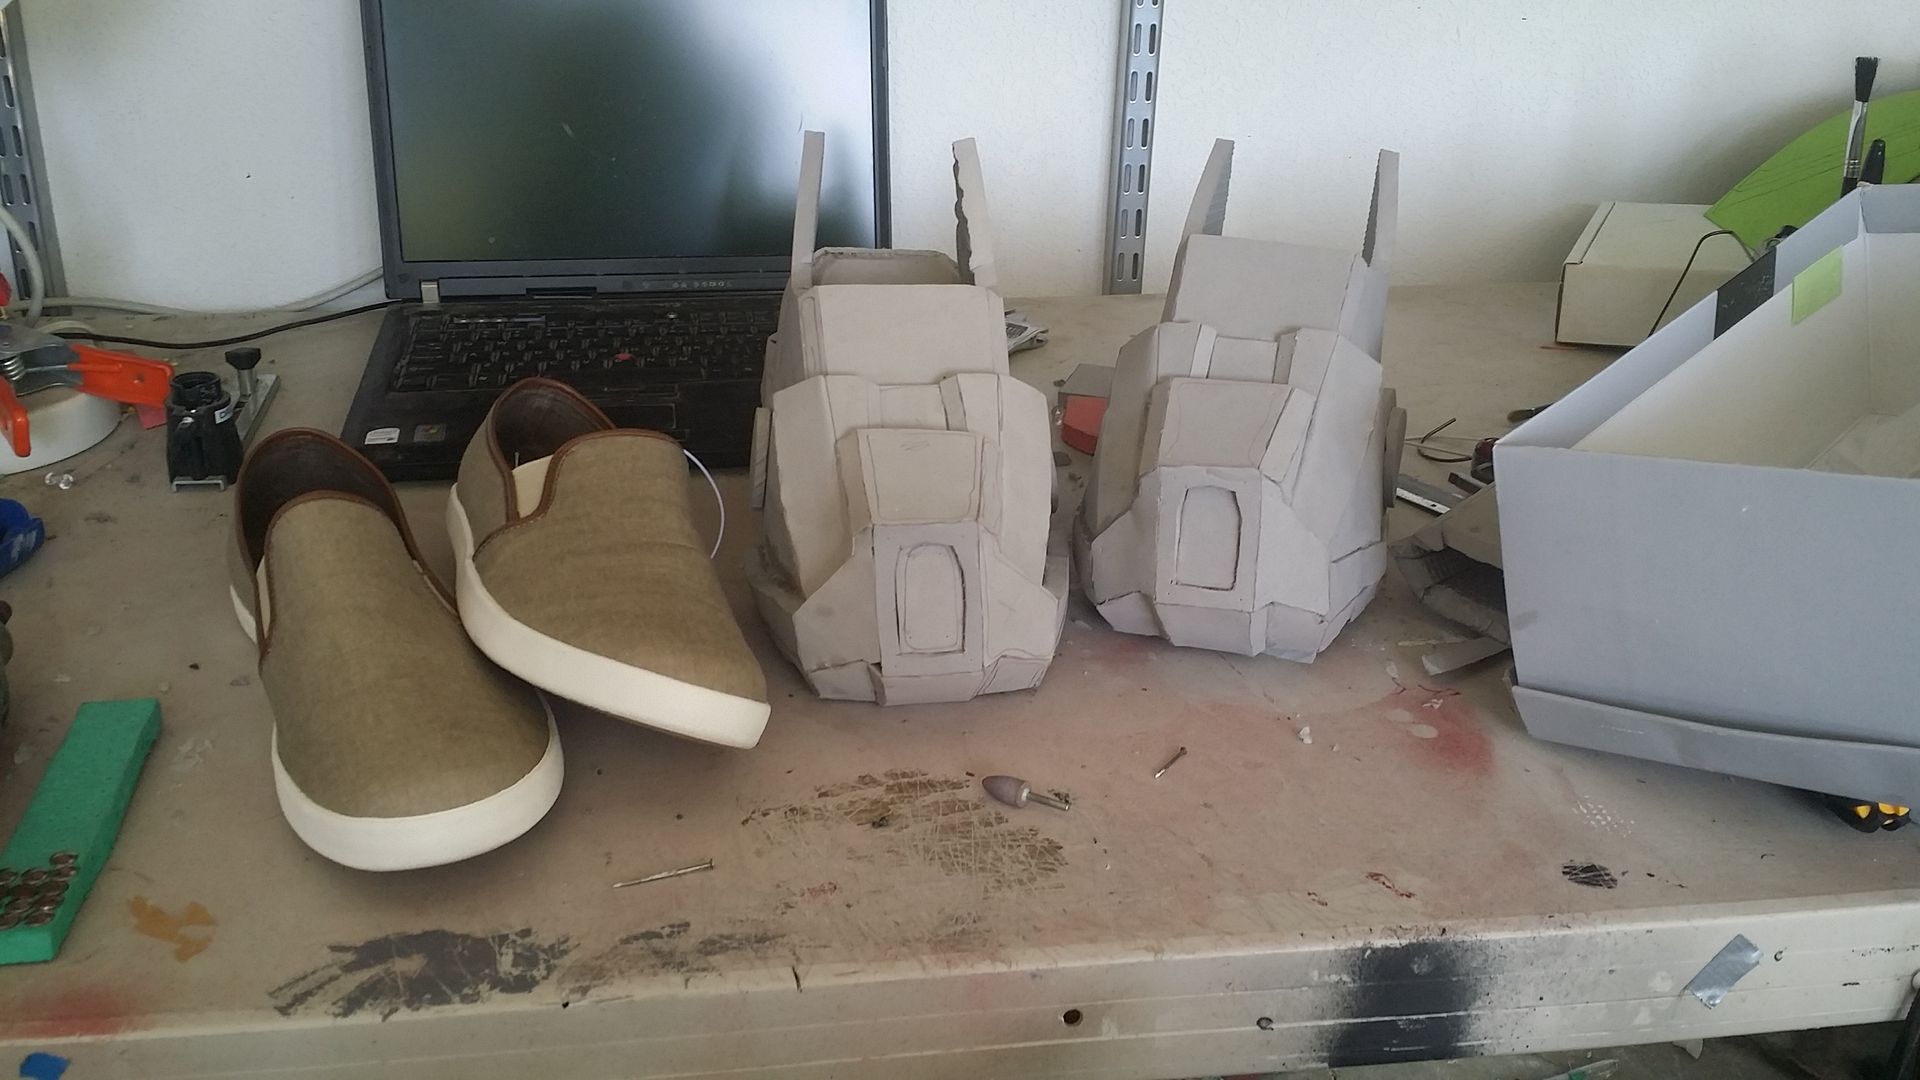
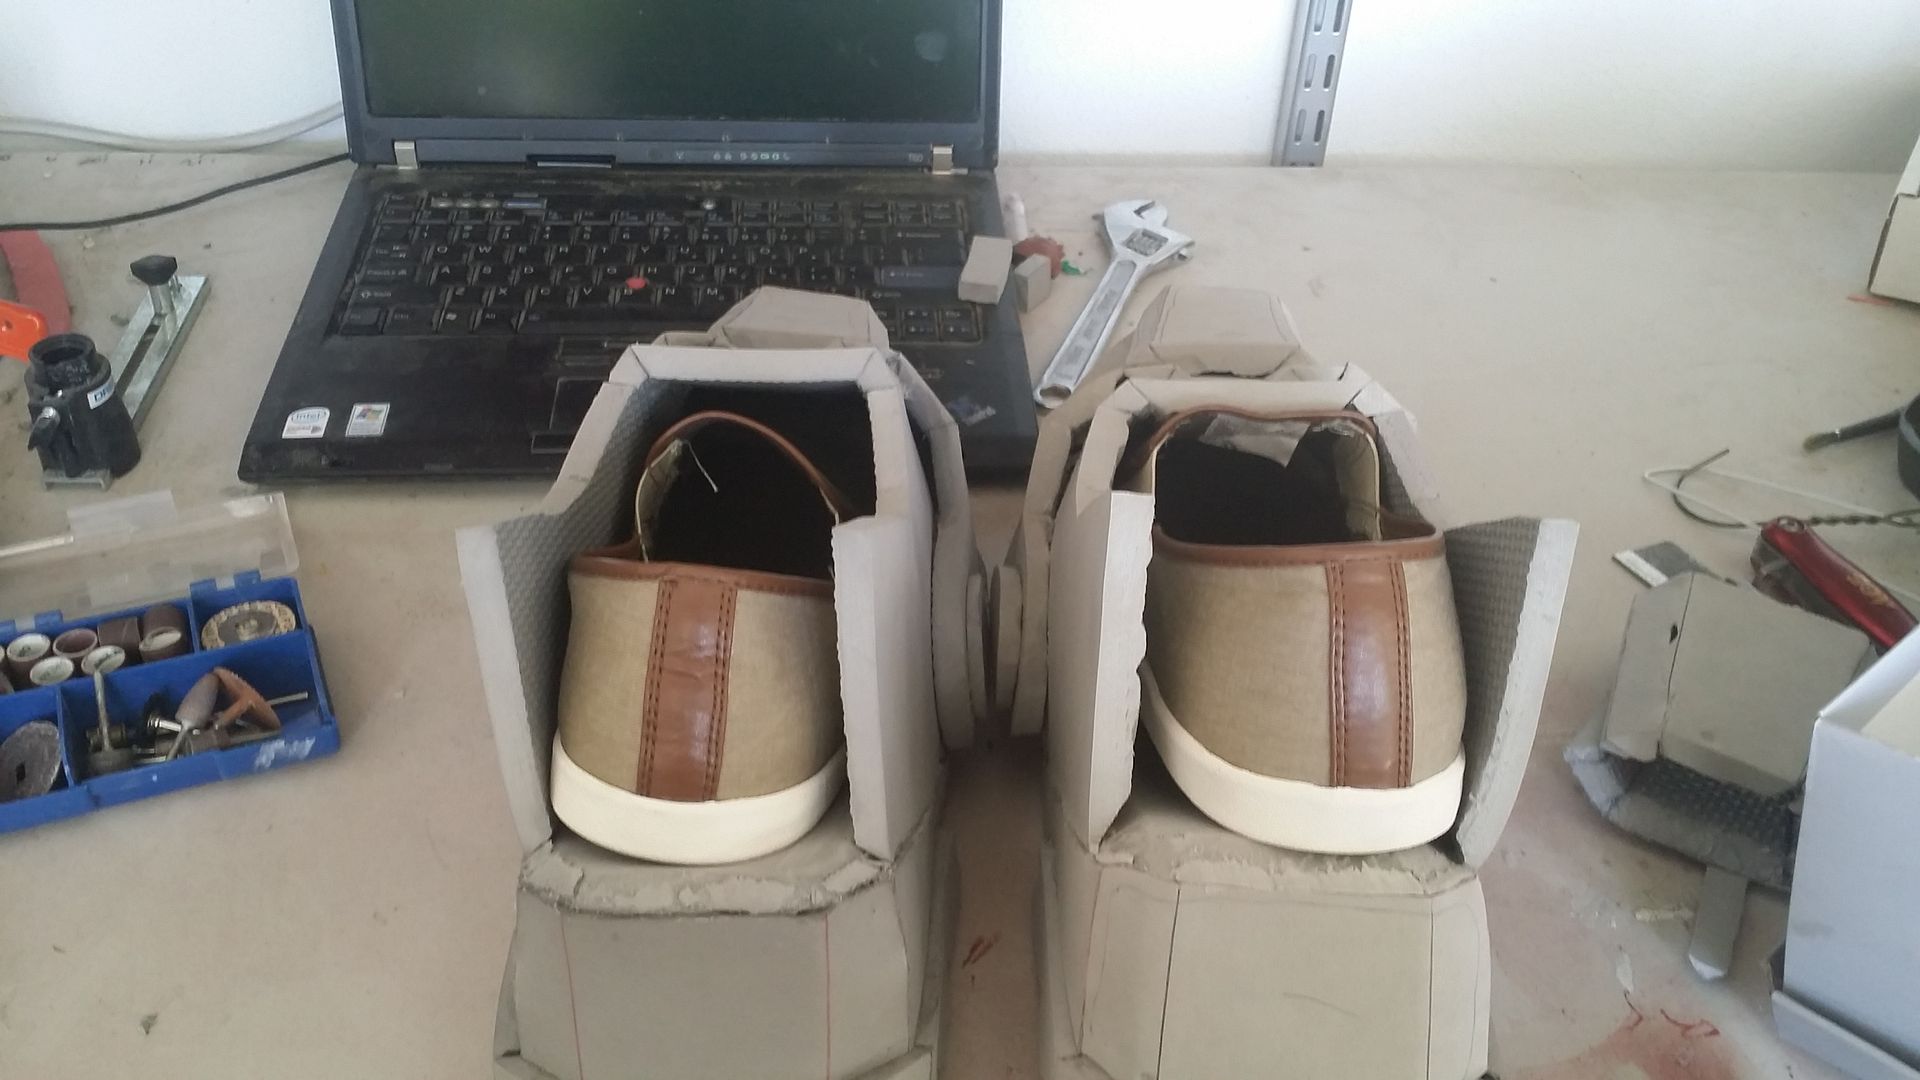

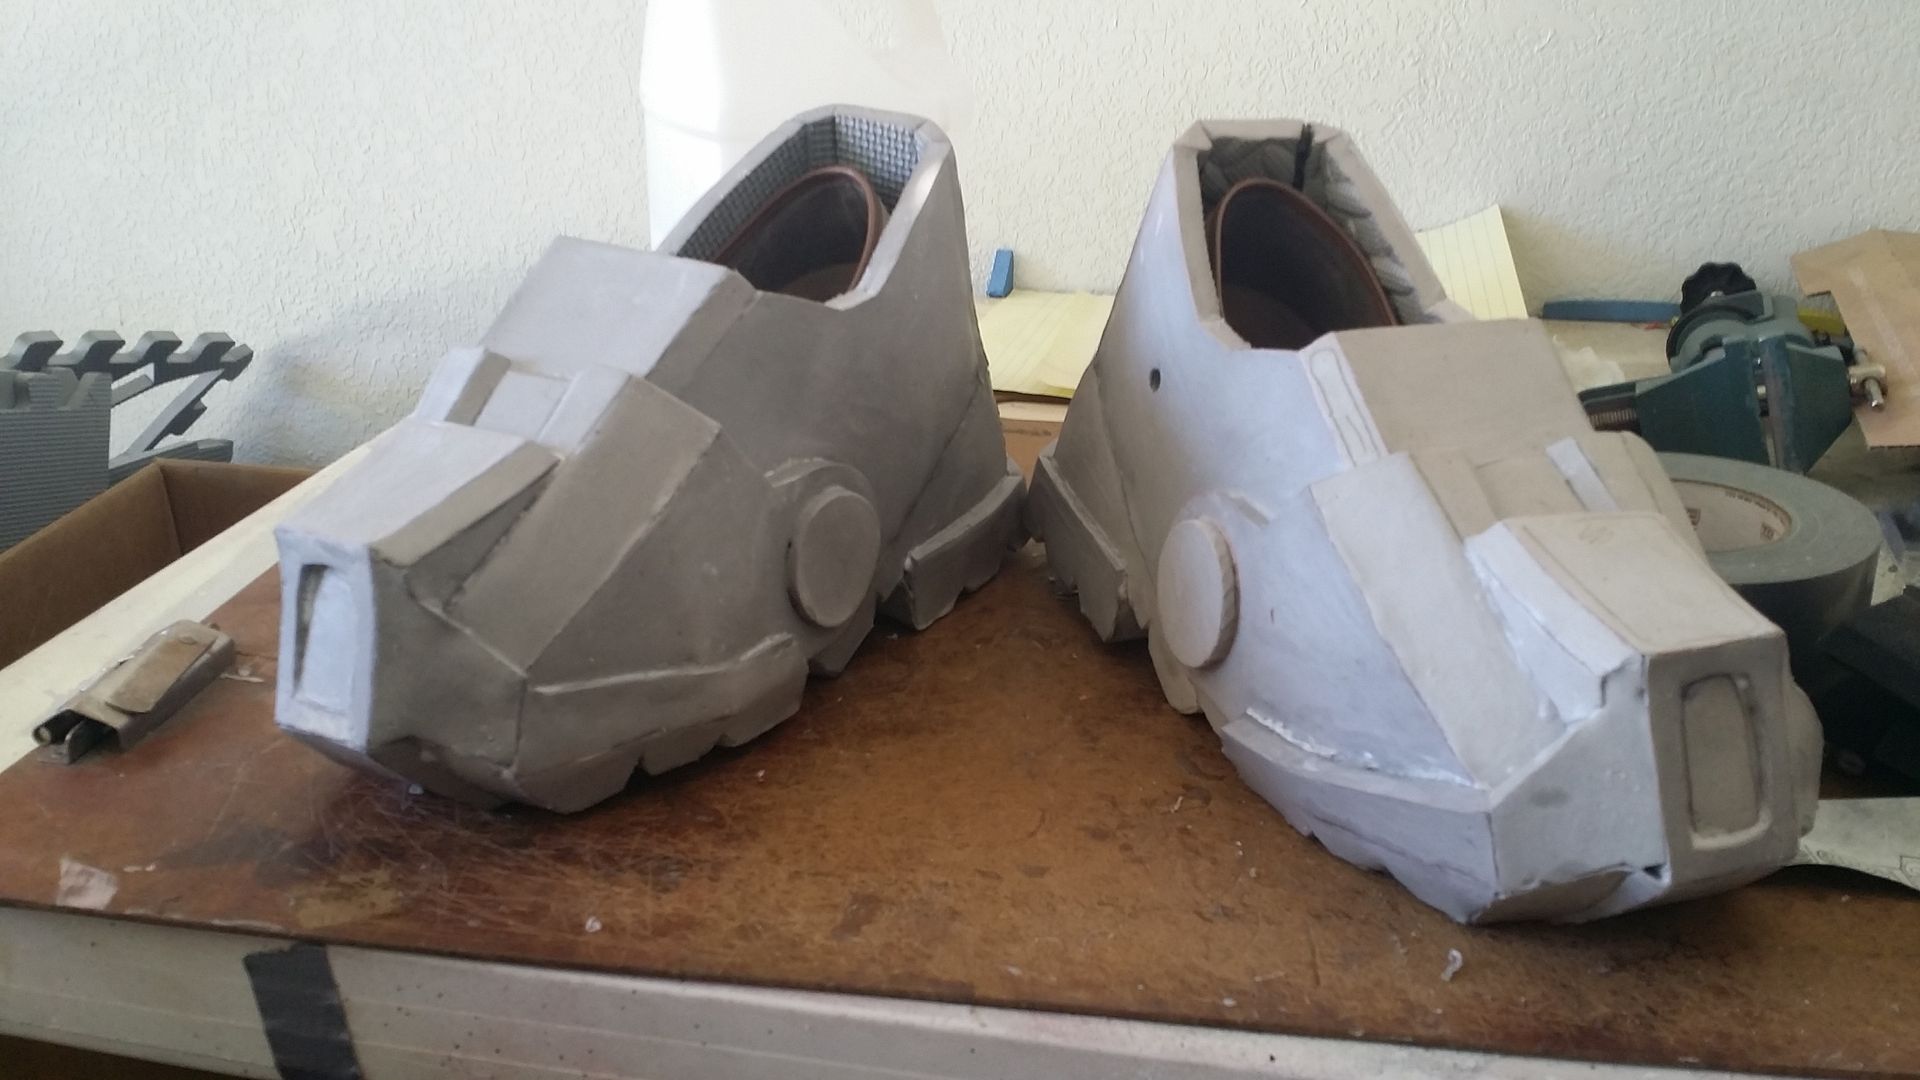
much more comfy:
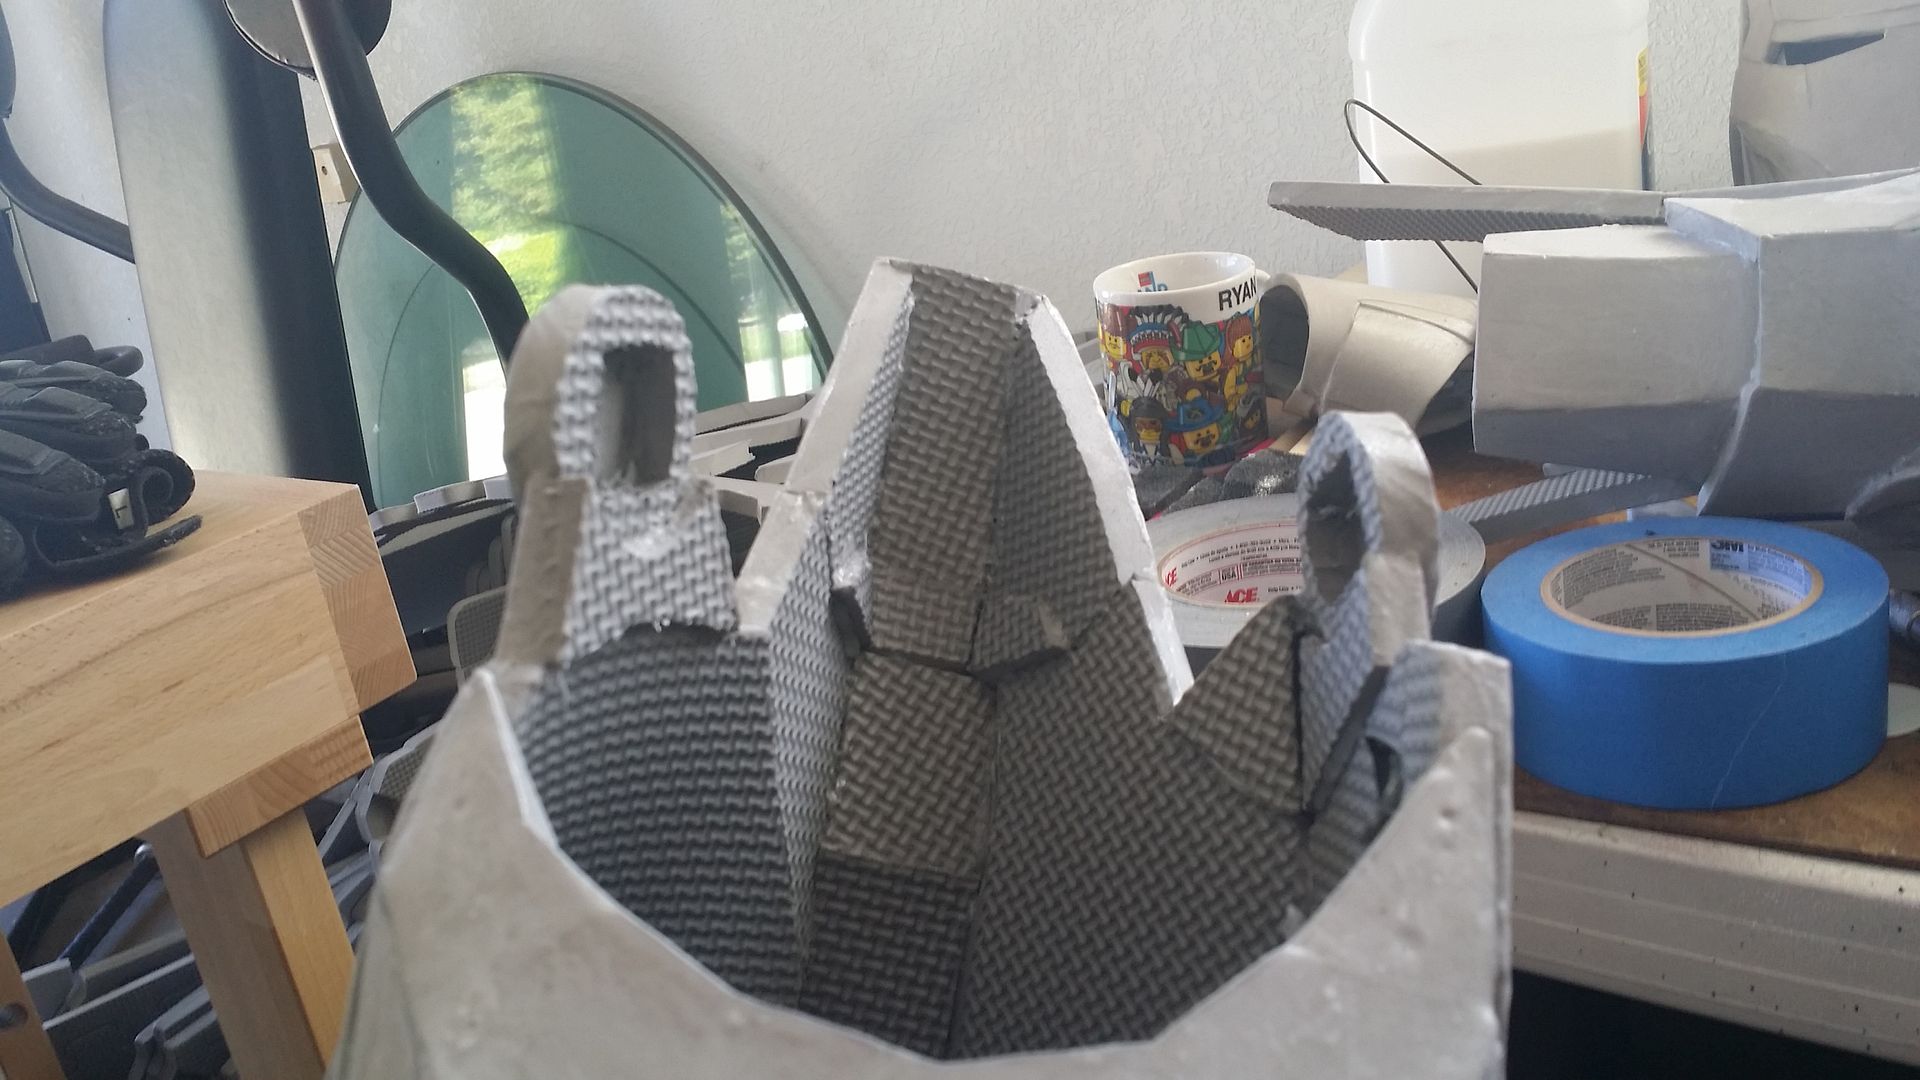
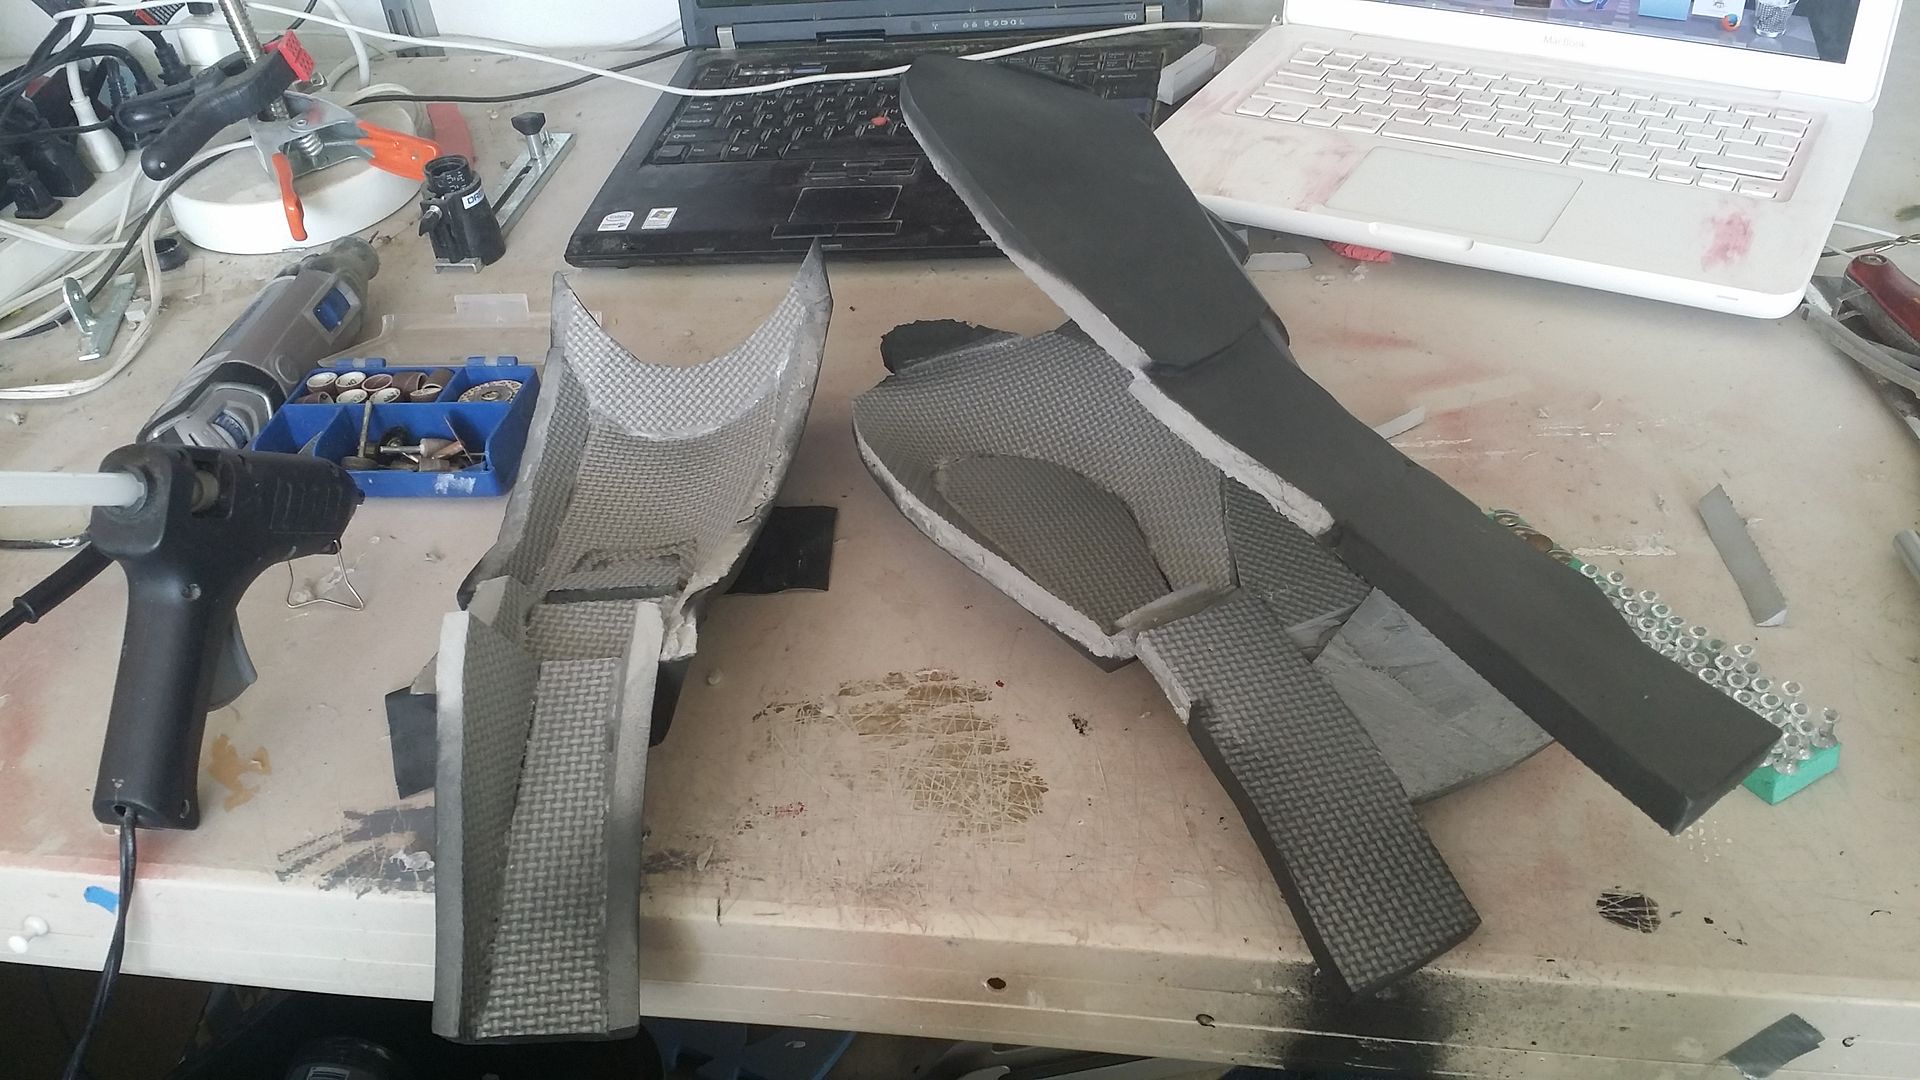
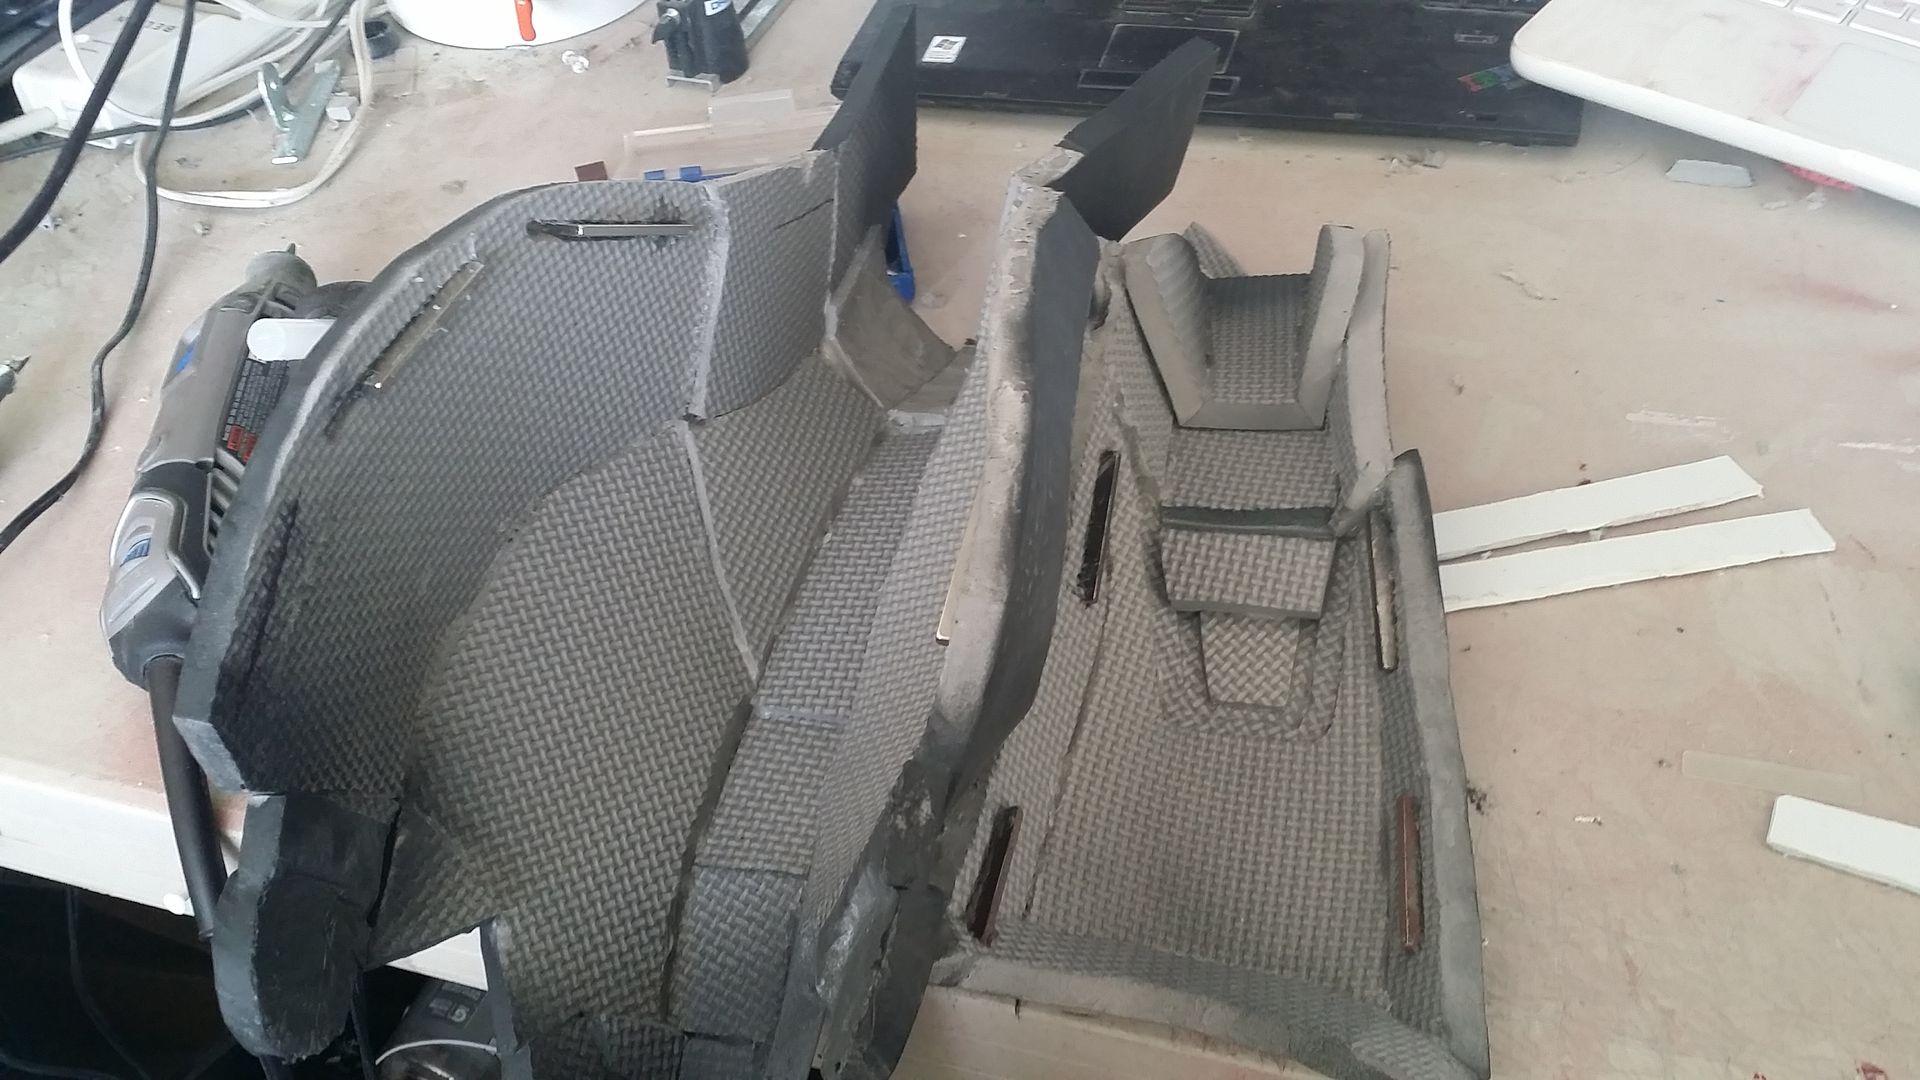
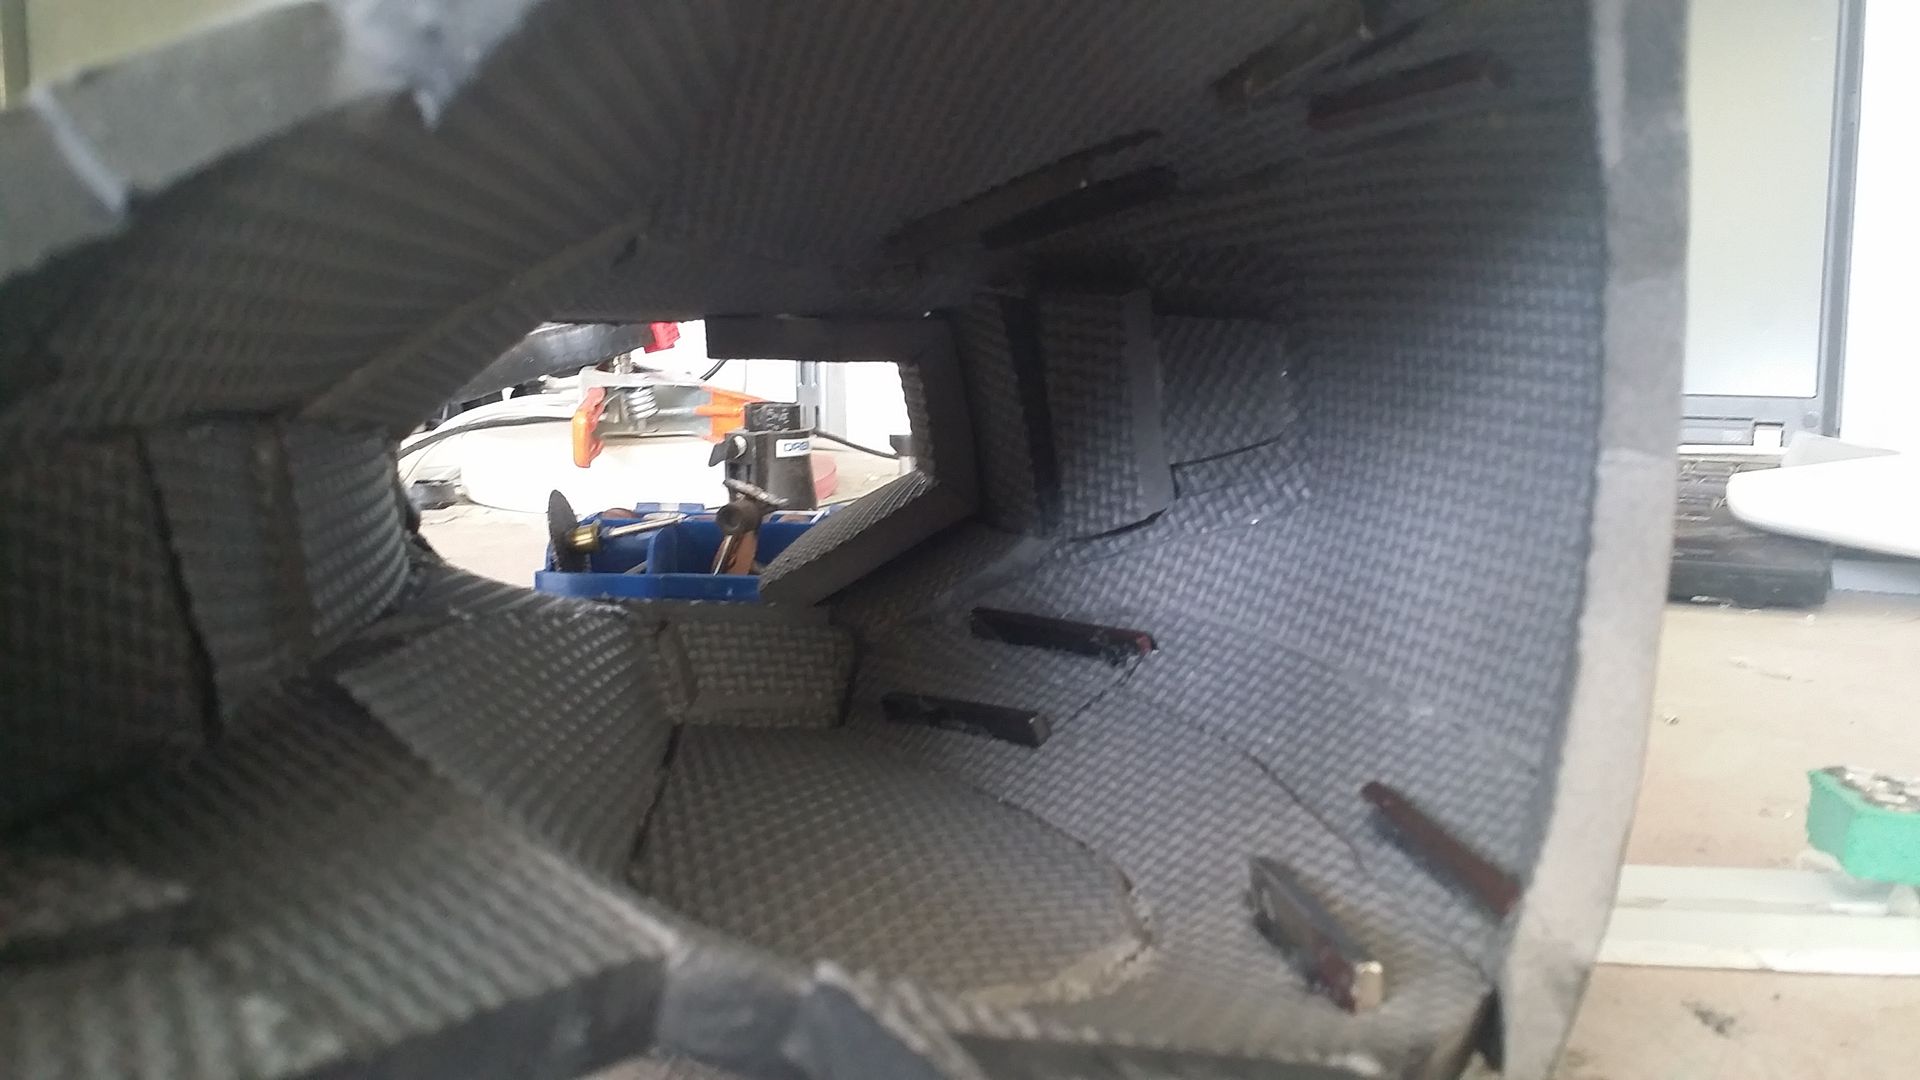
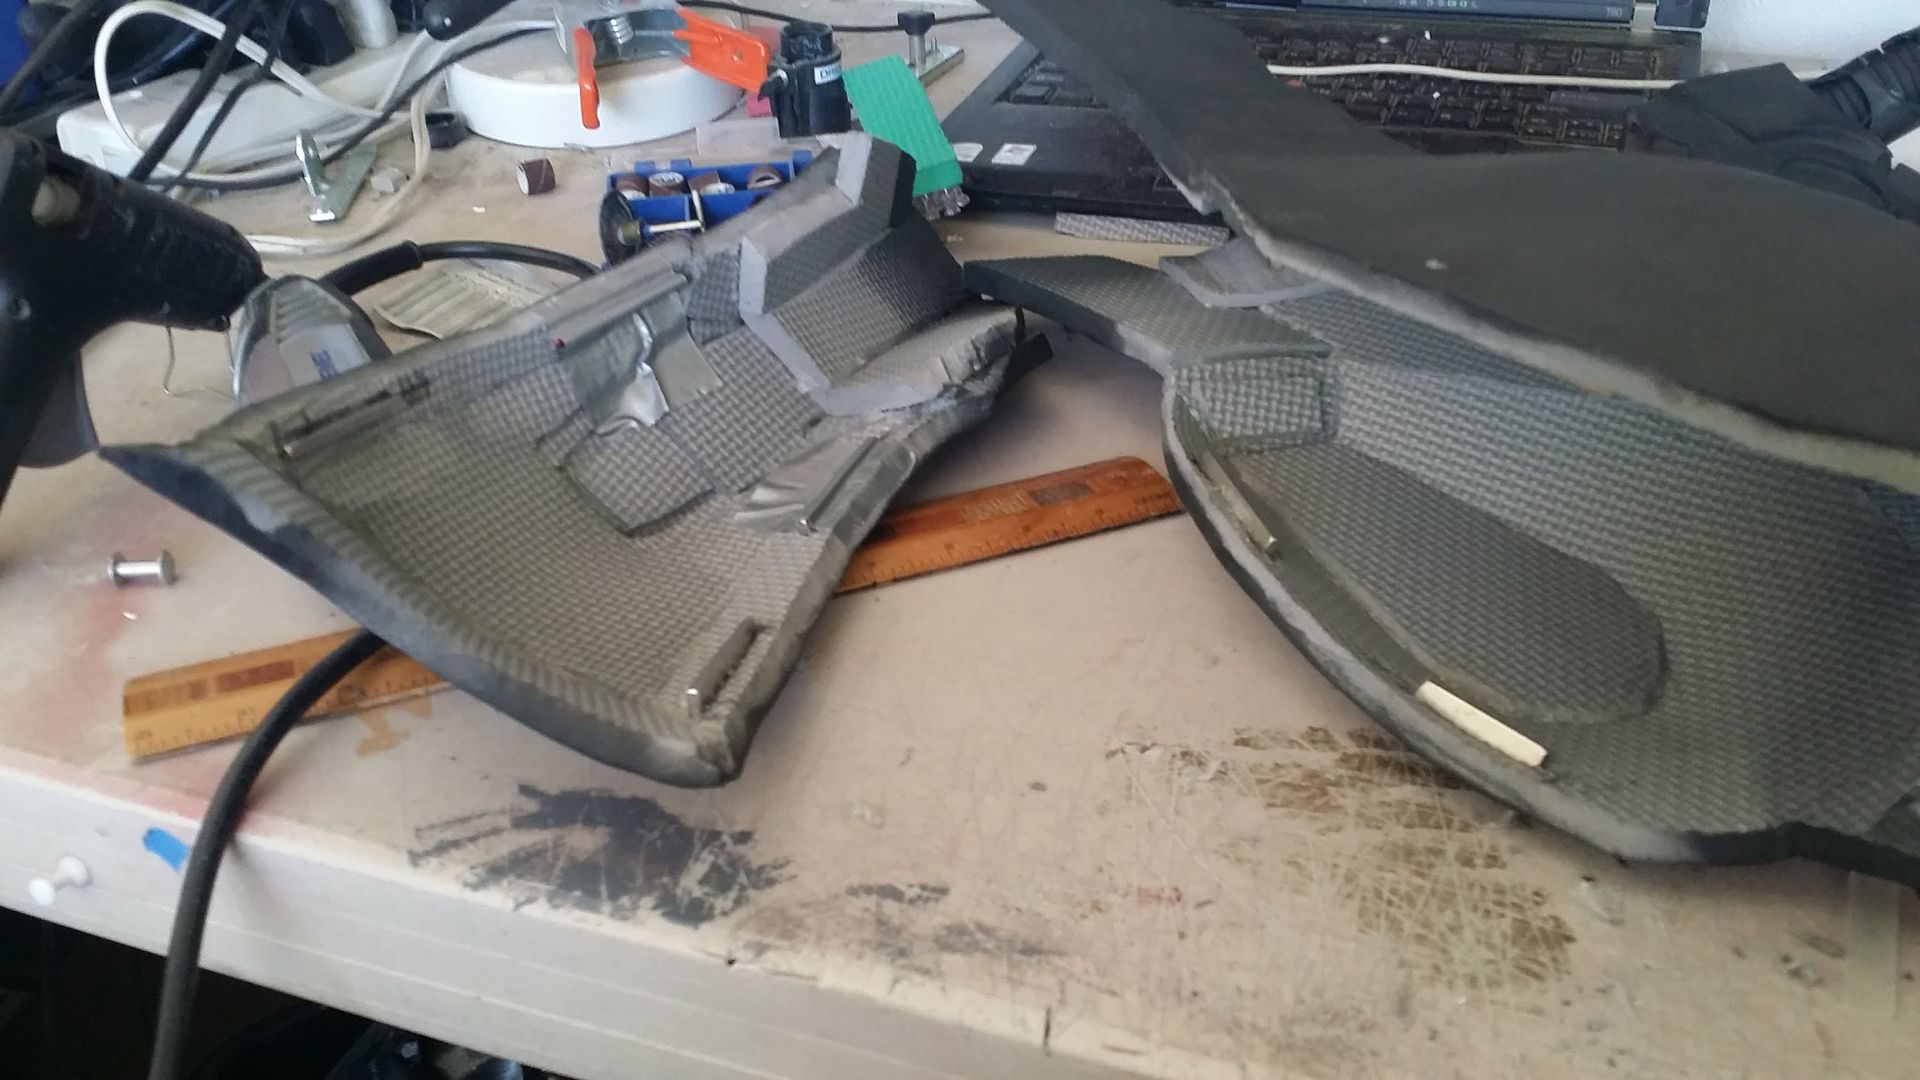
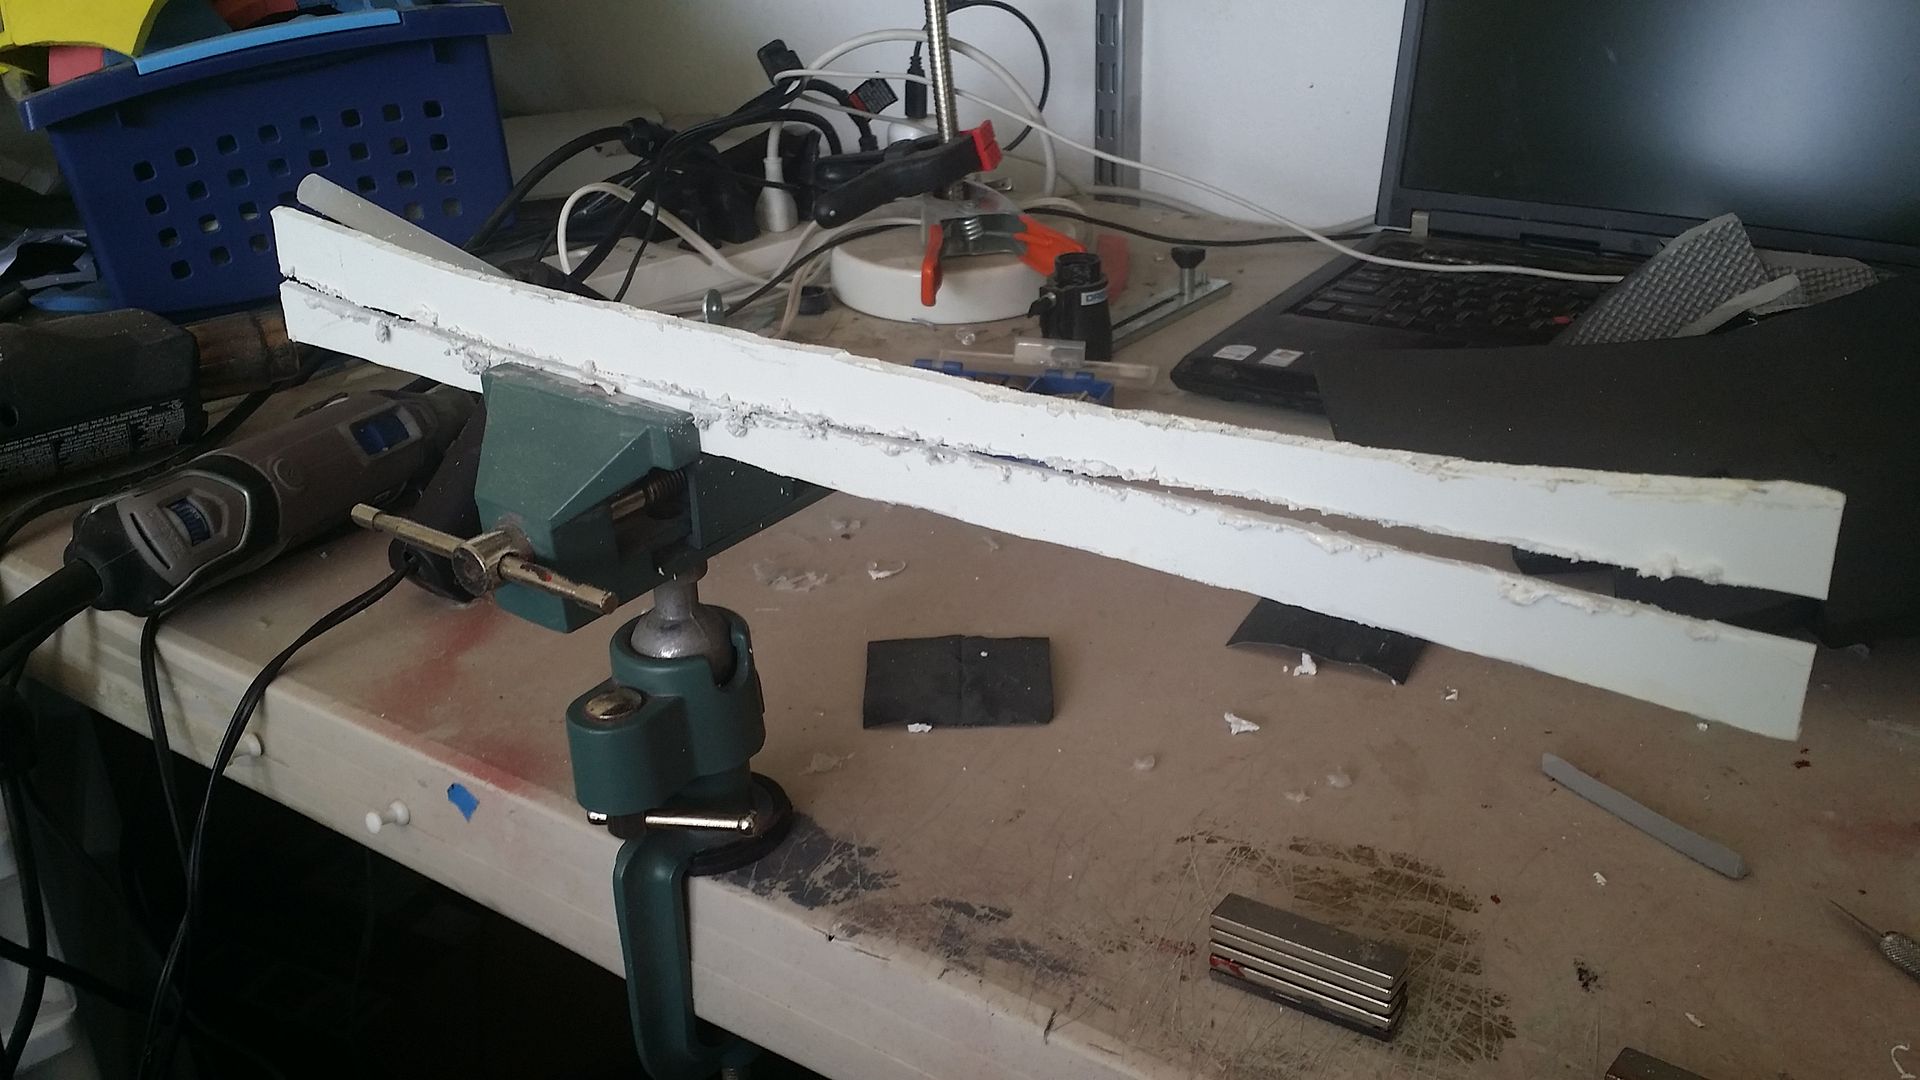
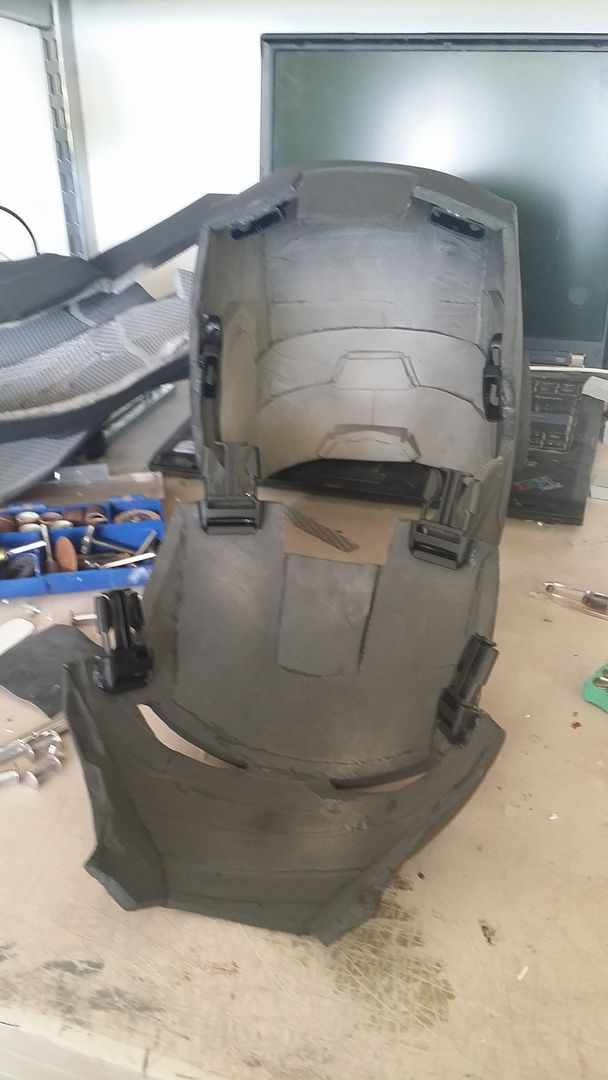
next up, we gotta magnetize the seam connecting the calf and shin pieces, and add a hinge to keep them secure. now, even though it sounds simple, it gets more complicated when the surface that we have to attach hinges to is cramped, uneven, and needs to be as flat as possible so it doesn't rub the skin off of my leg. first, we need to line the bar magnets up with each other inside the pieces:
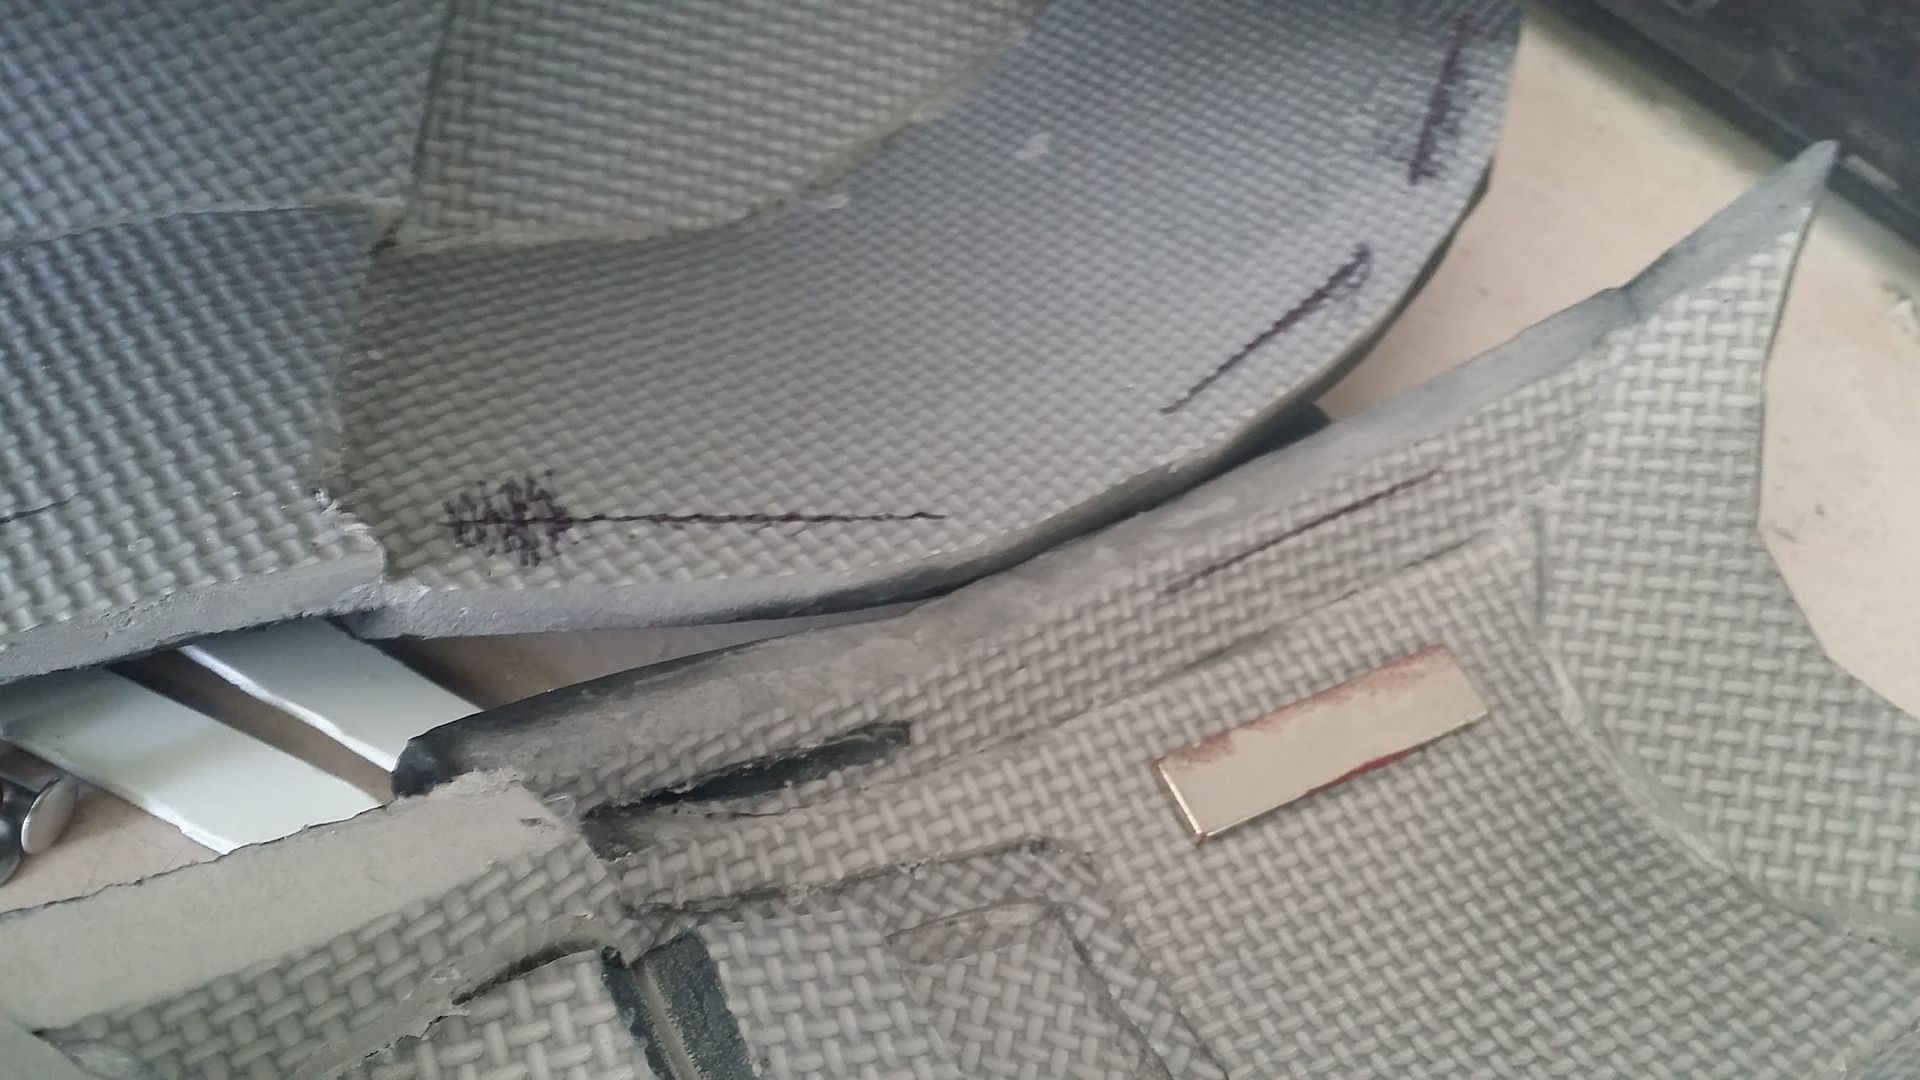
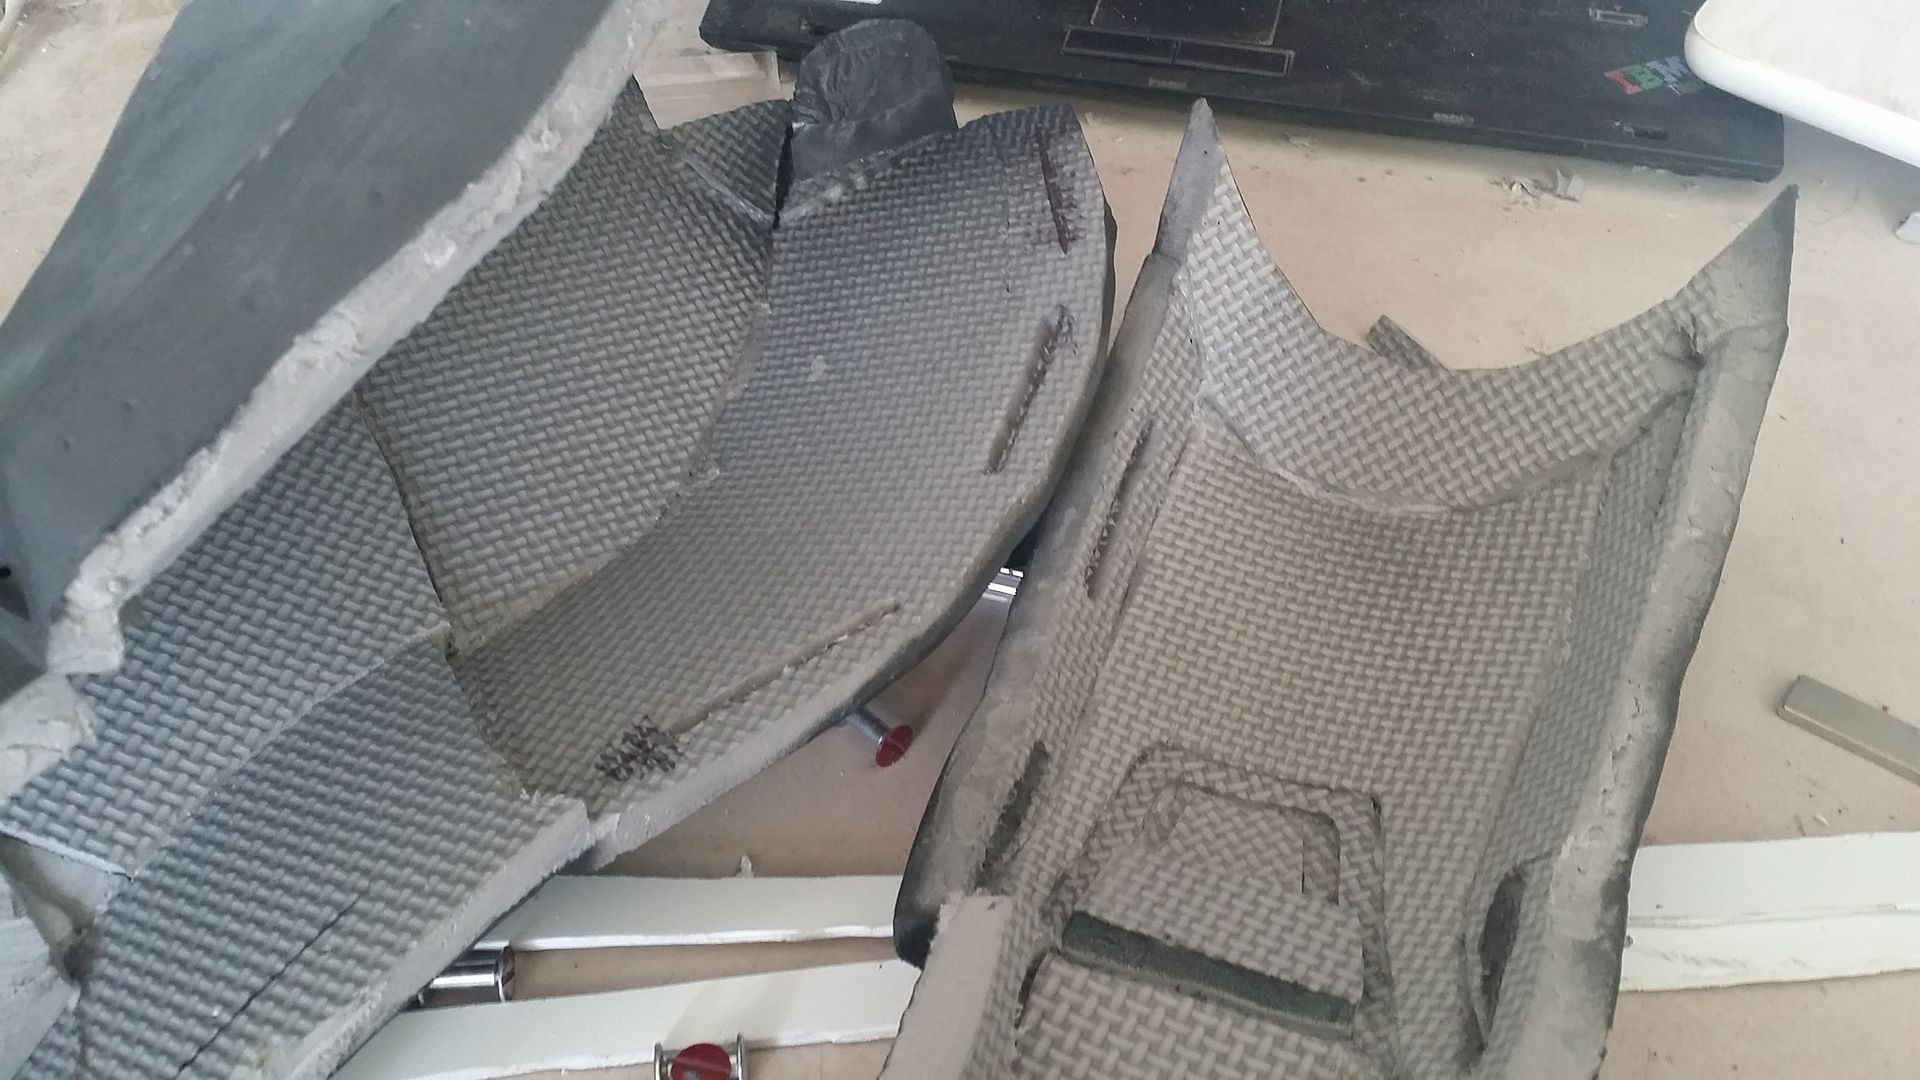

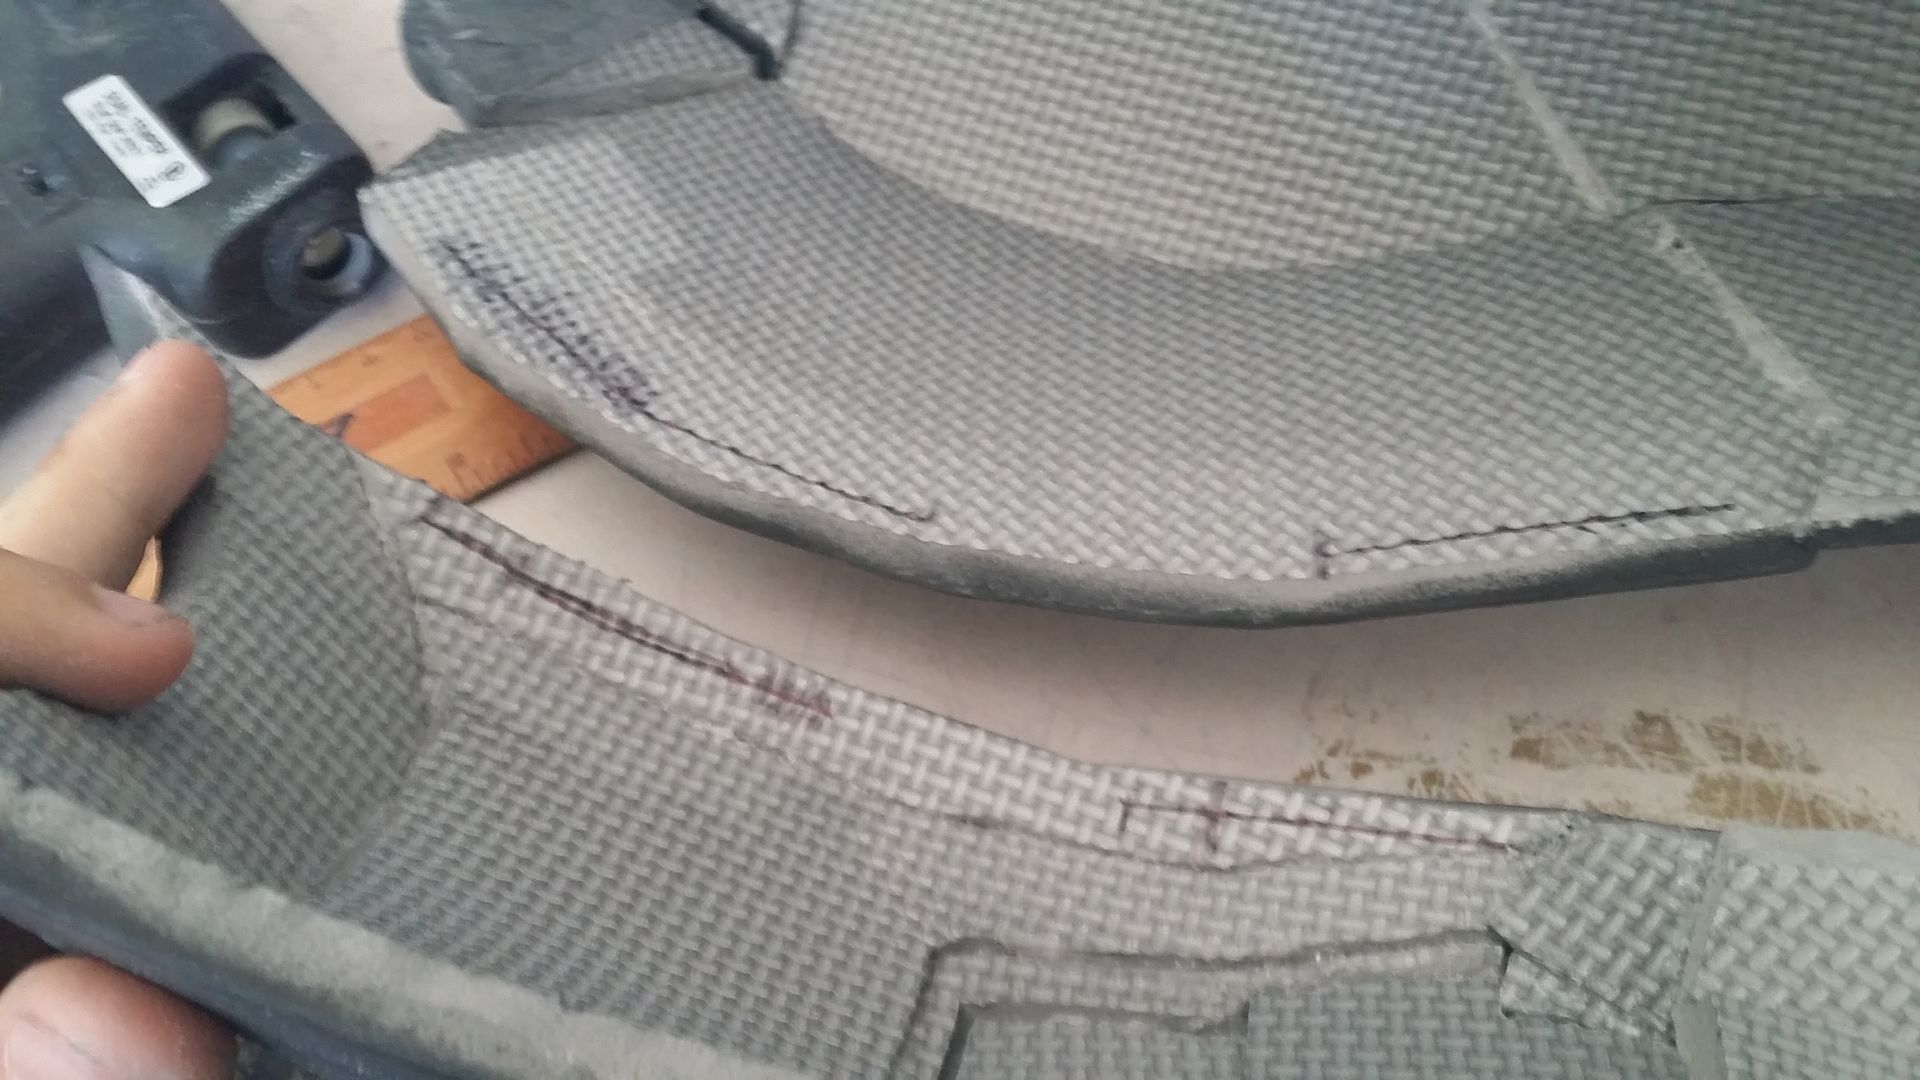
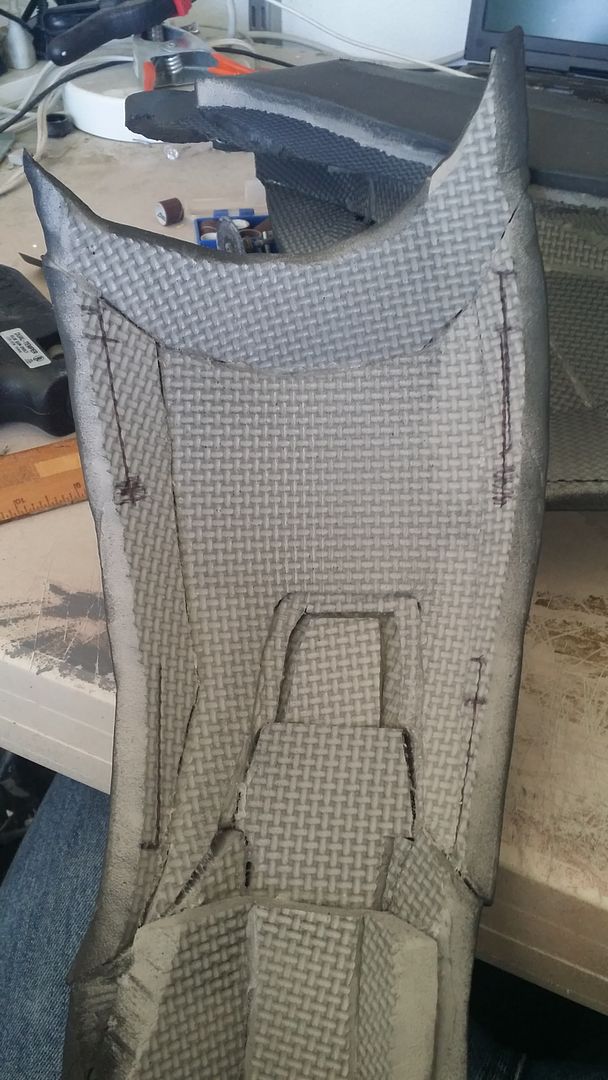
next up, the left leg:

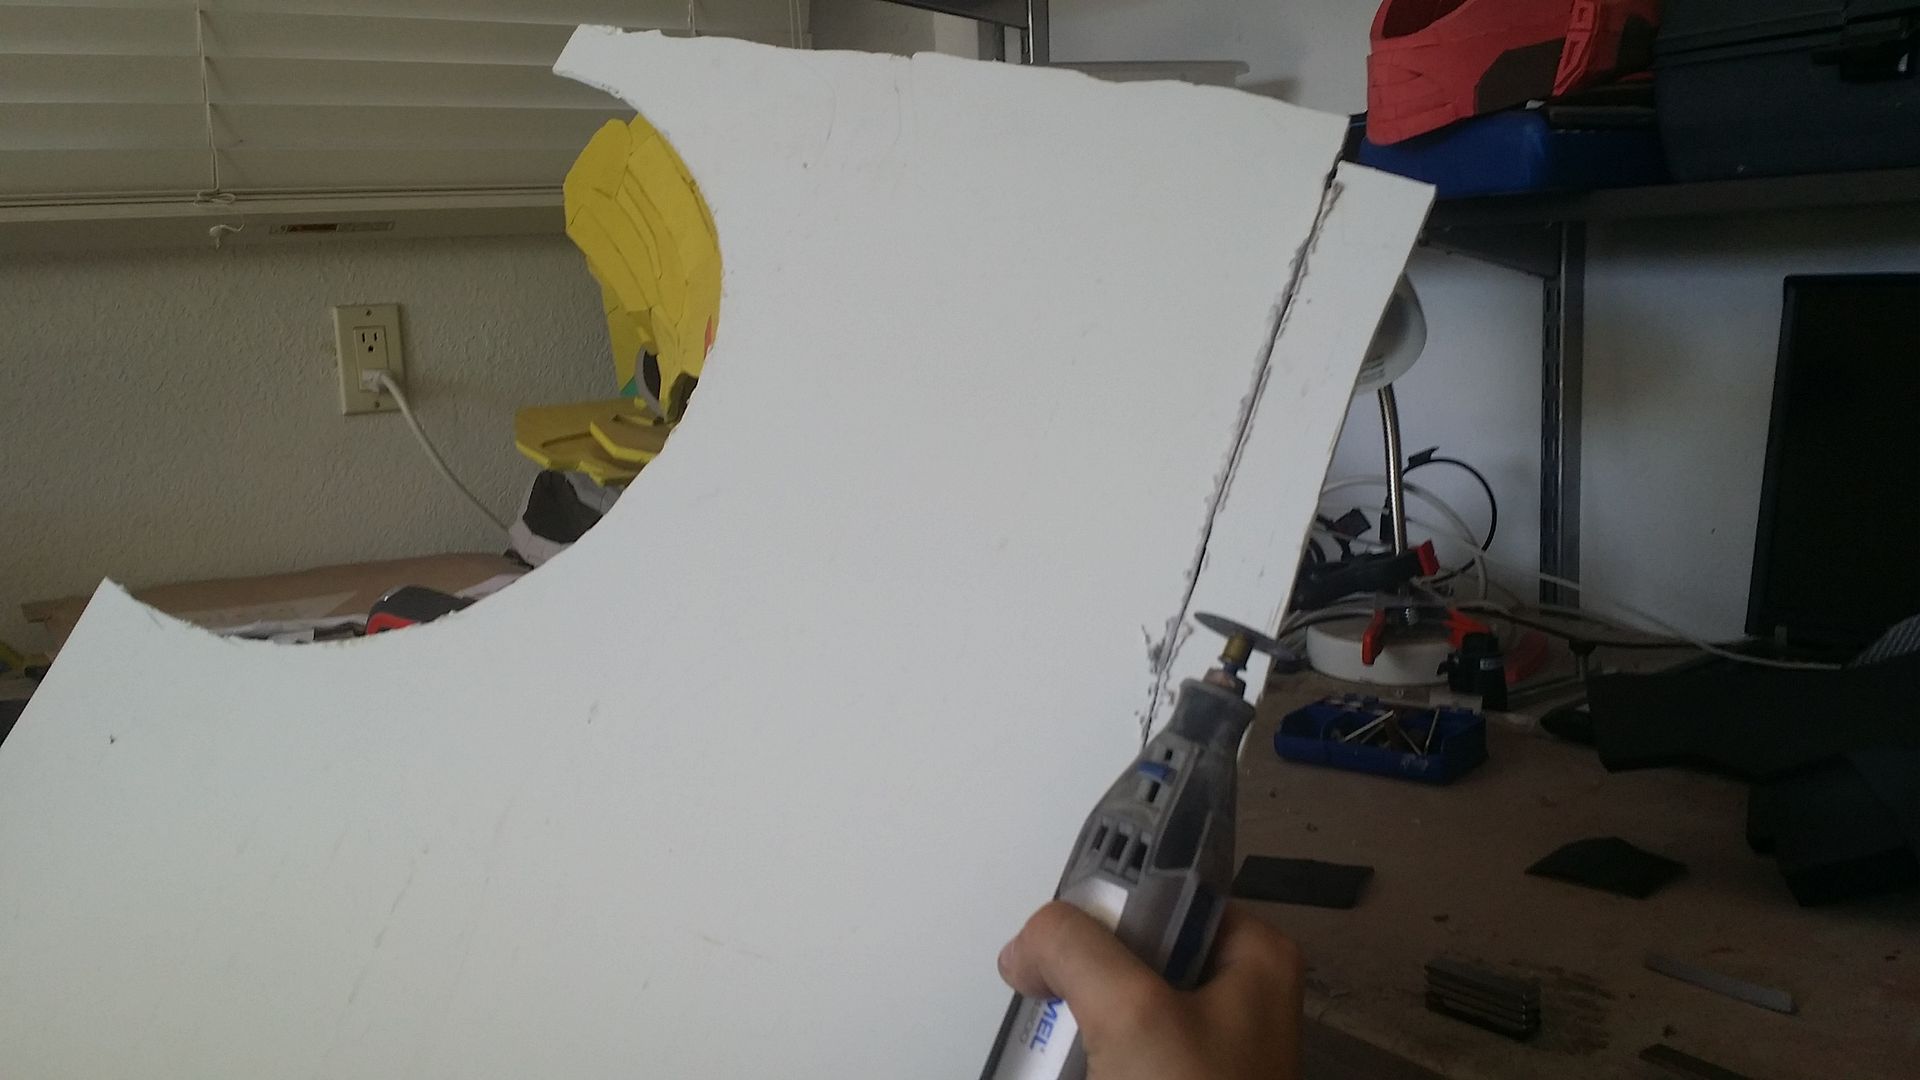
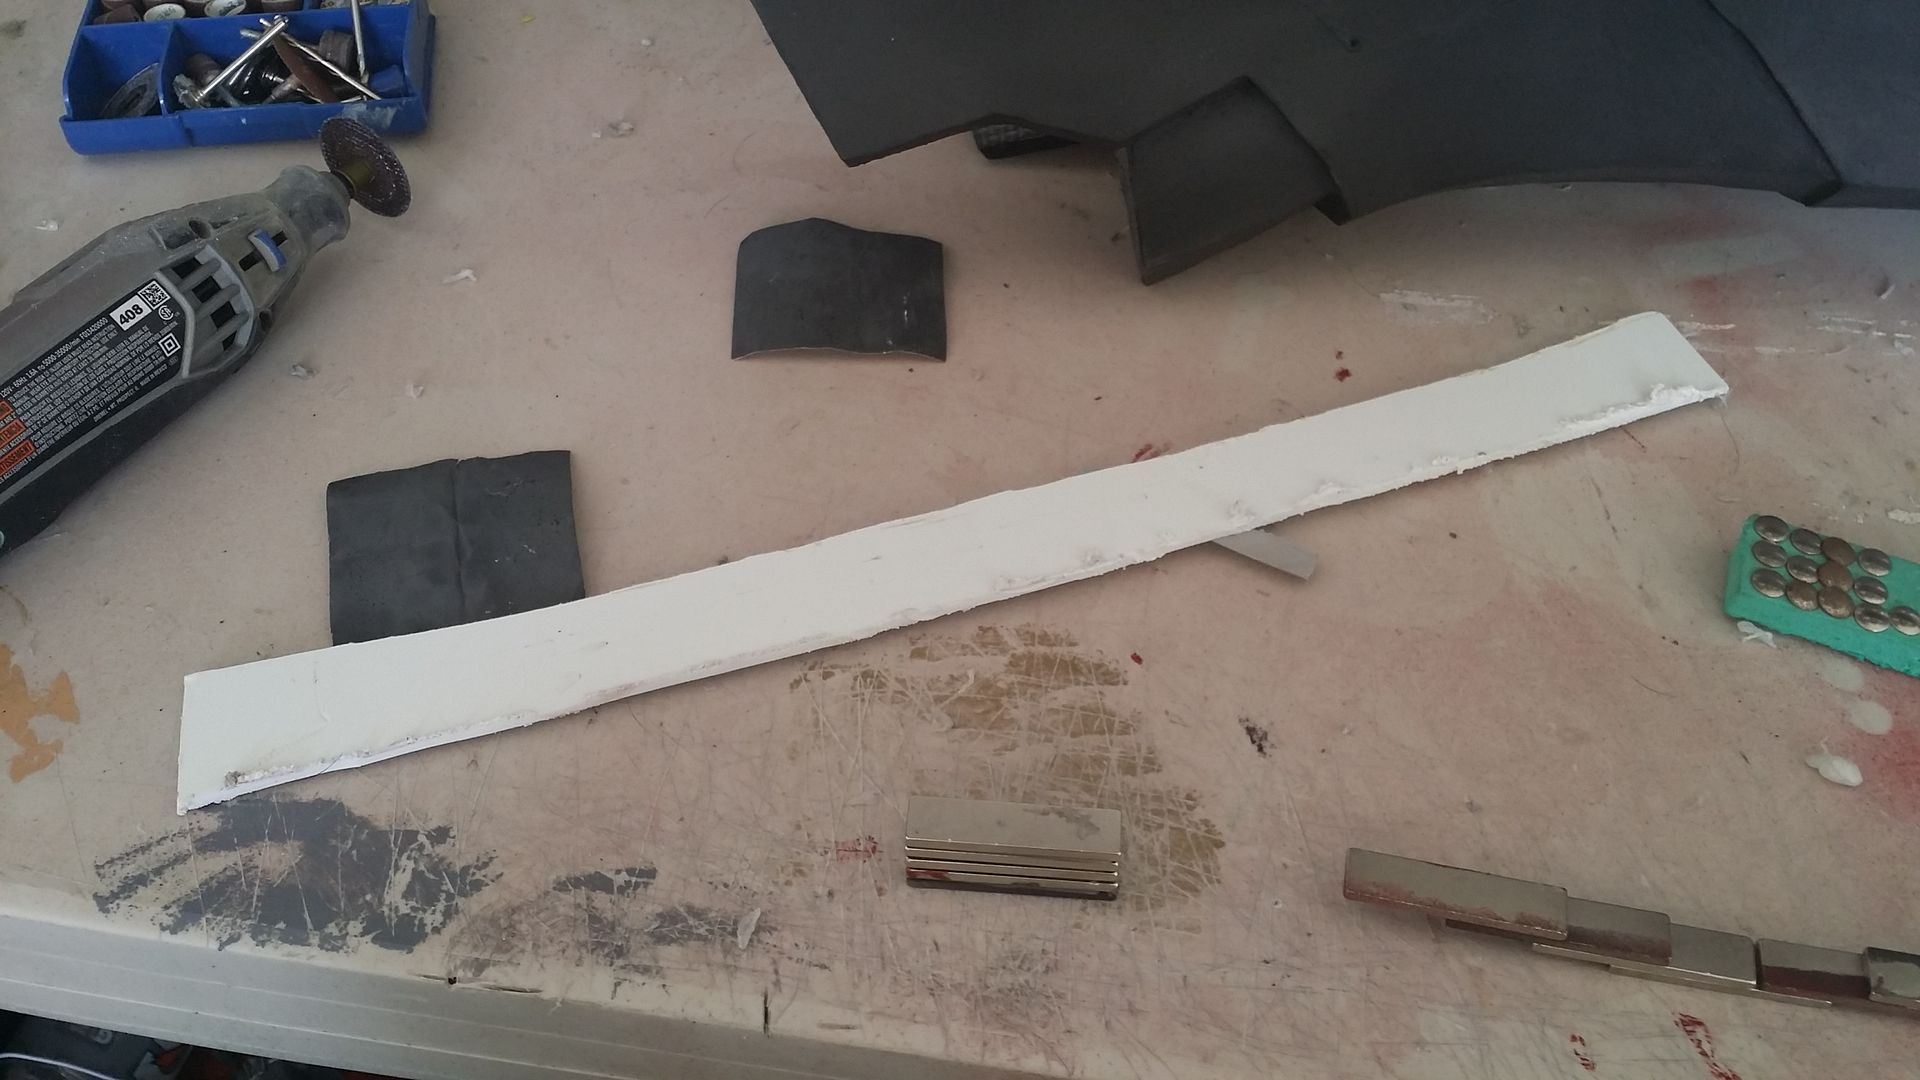
with the magnets in, the hinges needed to be made. time to break out the plastic sheet:
next up, attach them inside with small bolts (also, pulling the curtain back on mister chief's production, parts are usually pictured out of order, but put together in a good narrative. that's why the calves are painted)

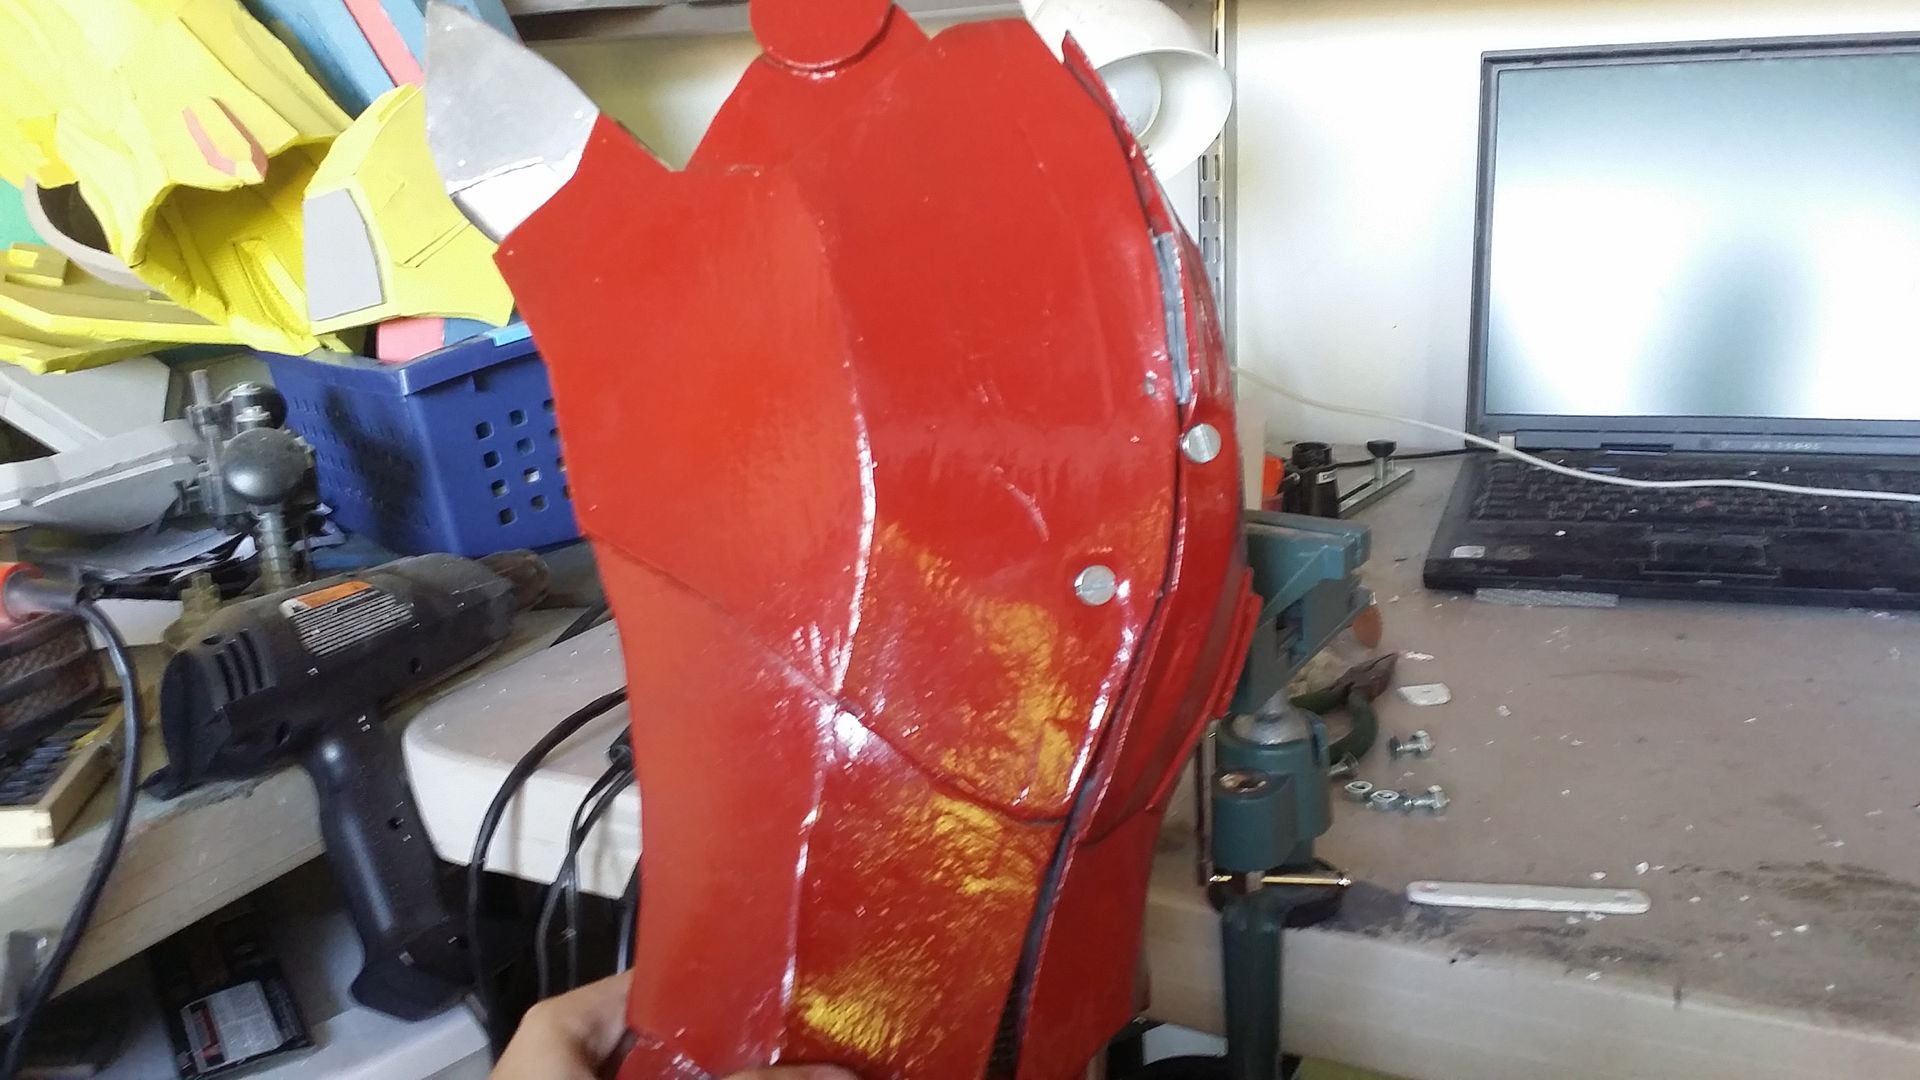

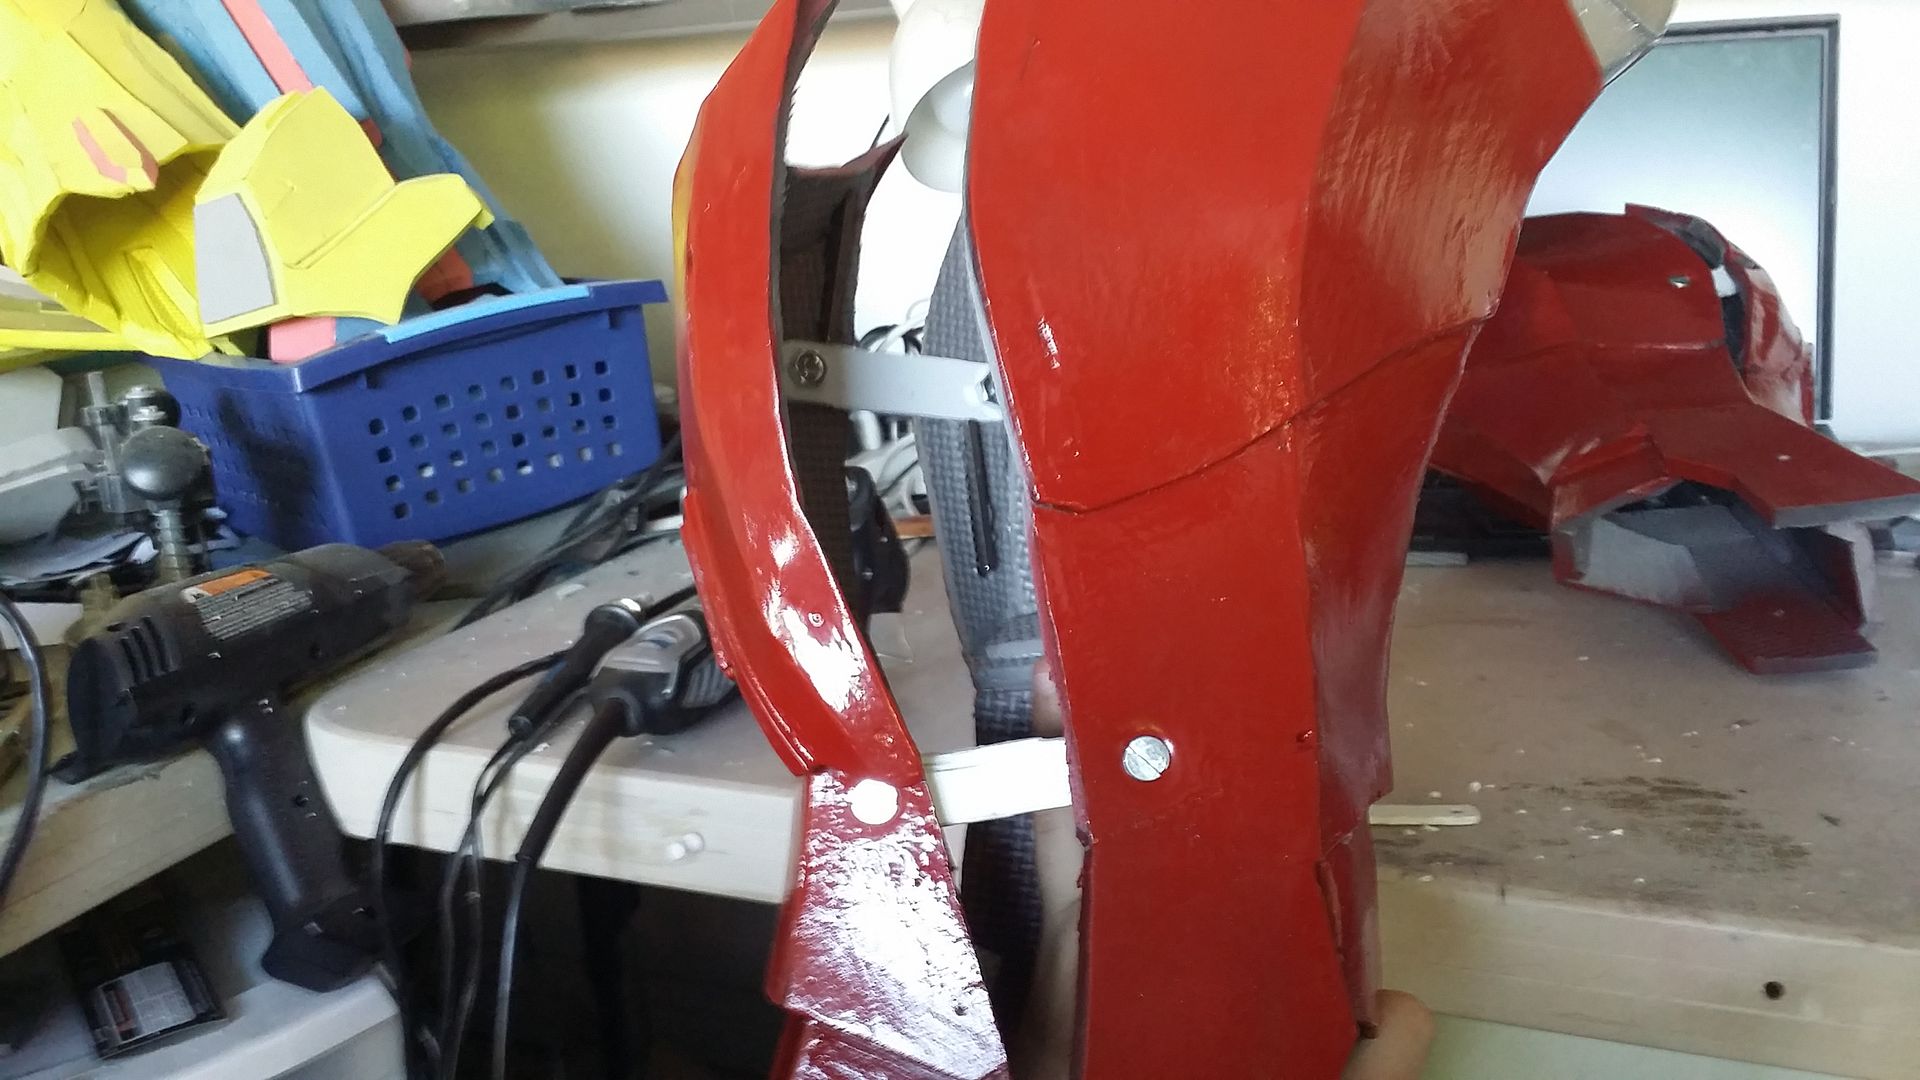
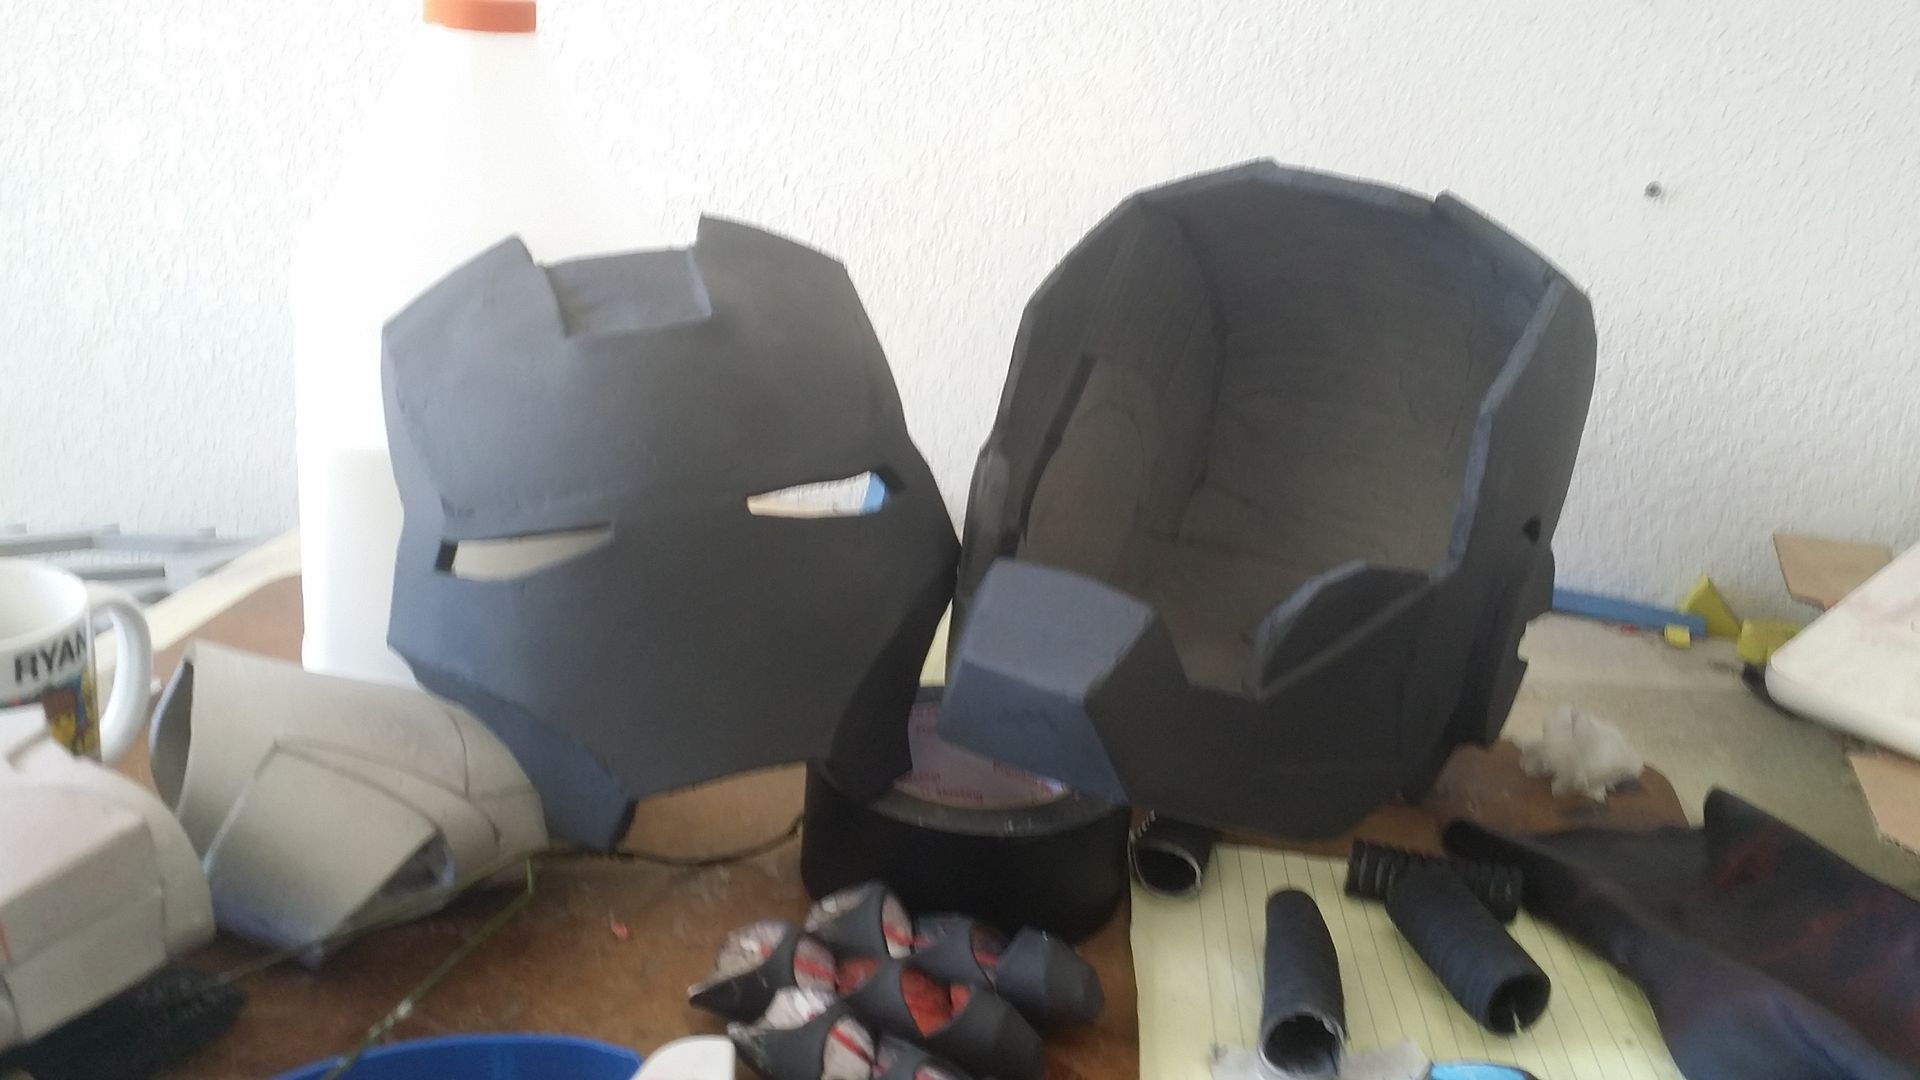
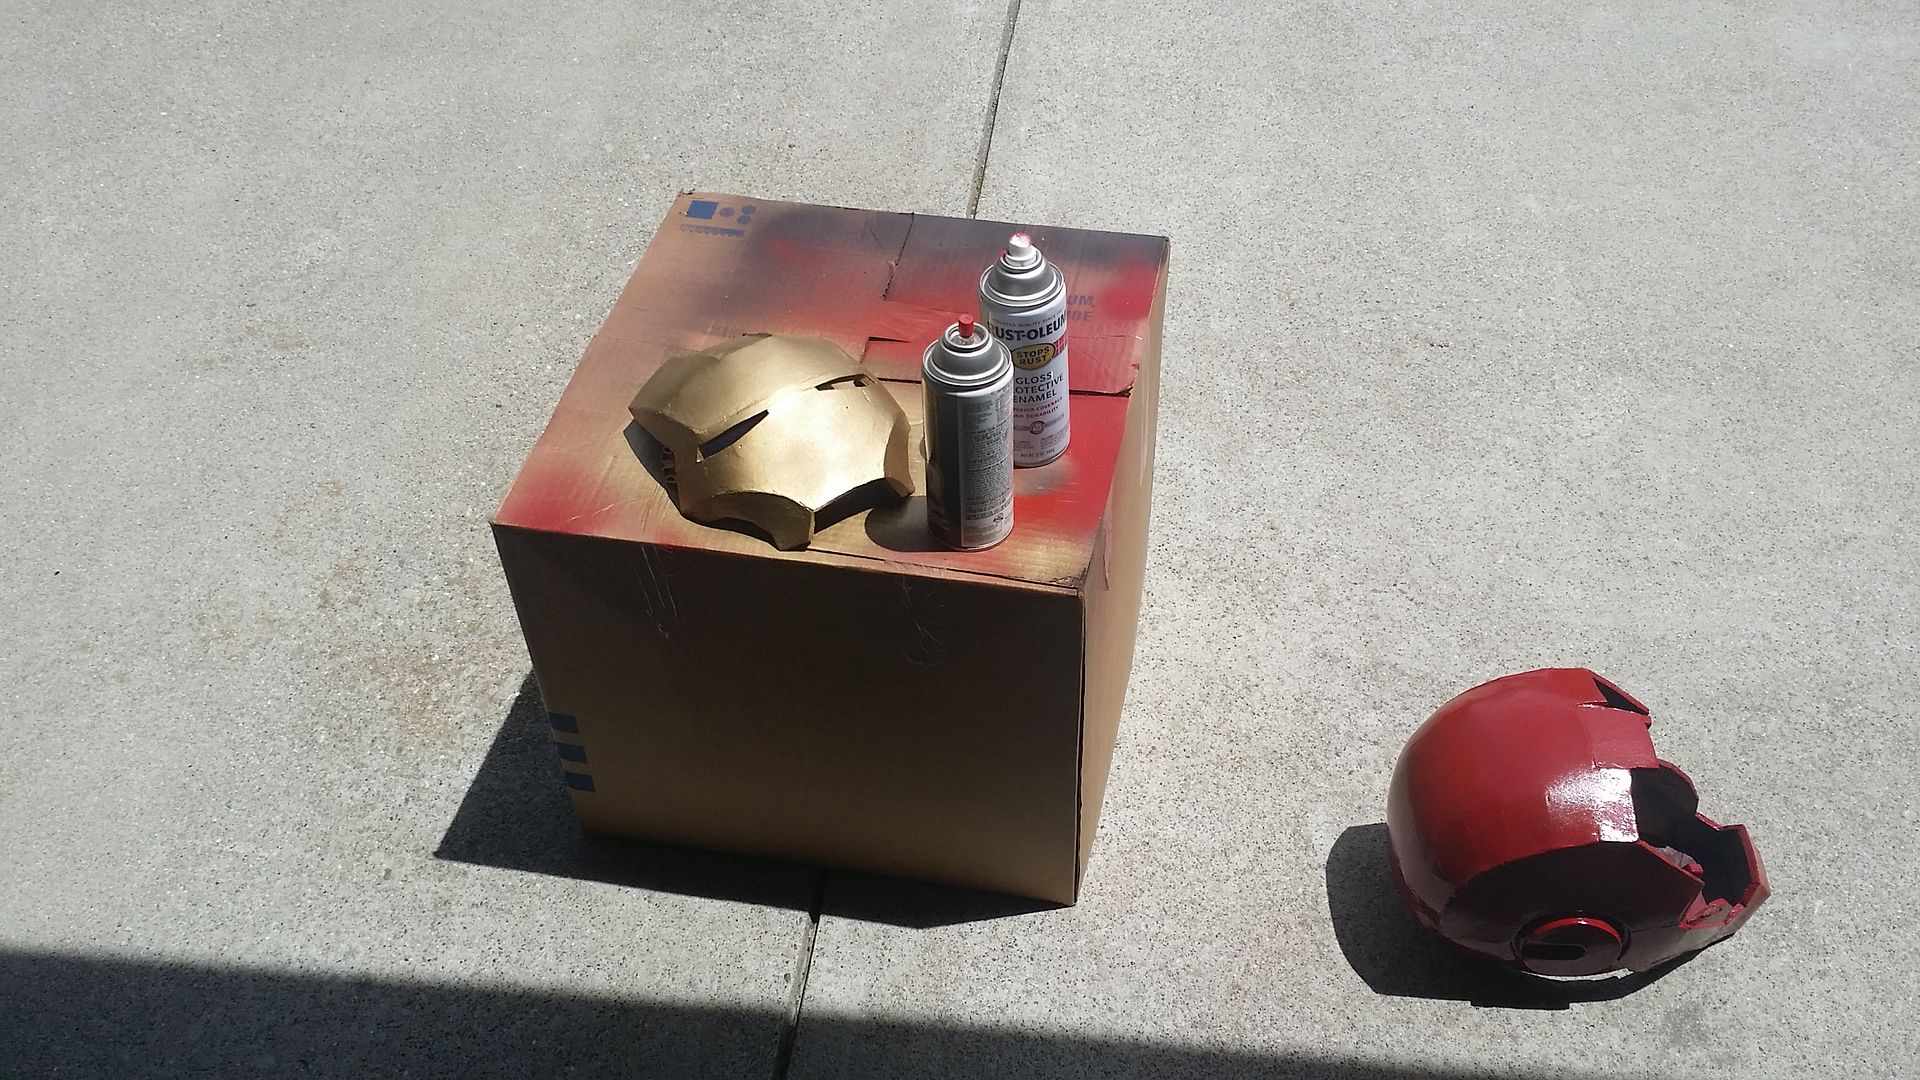
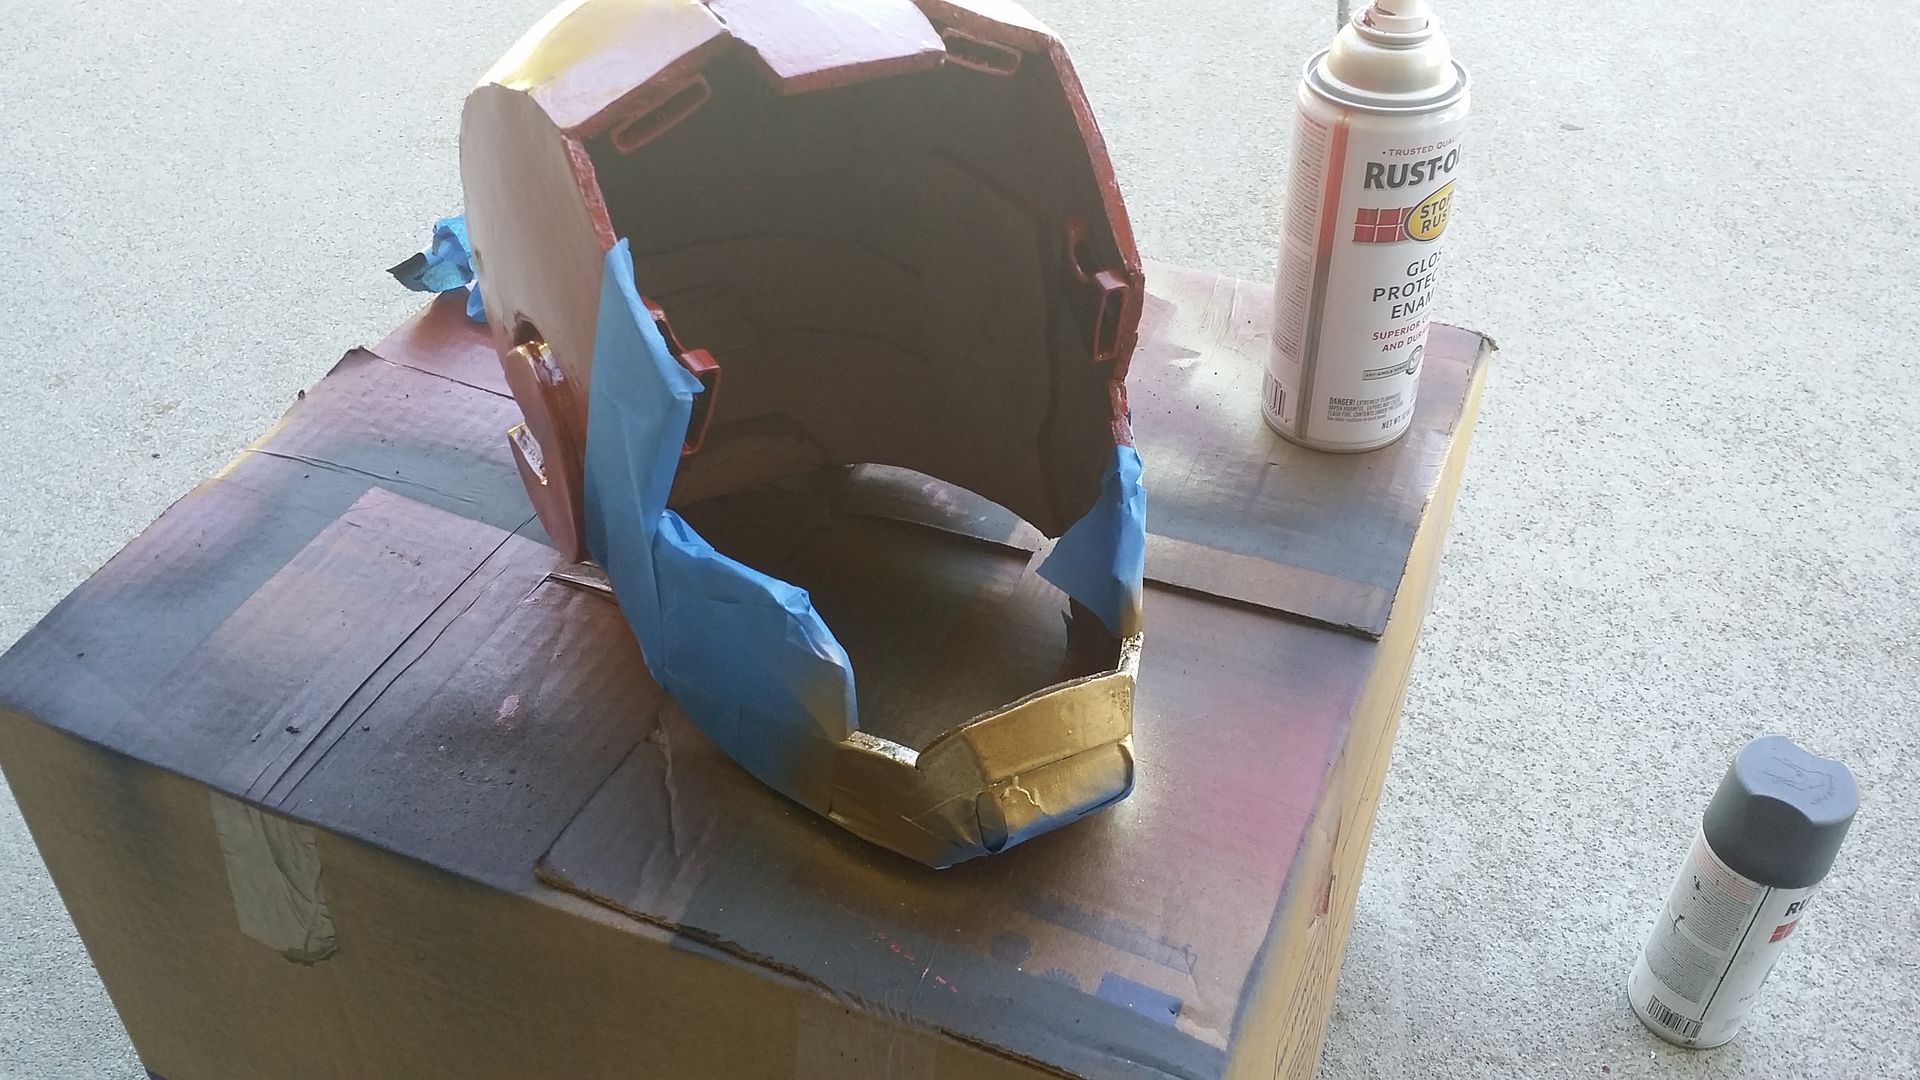
so that worked fairly well, next up was painting the helmet, as well as attaching the faceplate to it:
some normal clips to hold the faceplate in place (as a temporary solution, plan on making it mechanical later)
time for paintin!

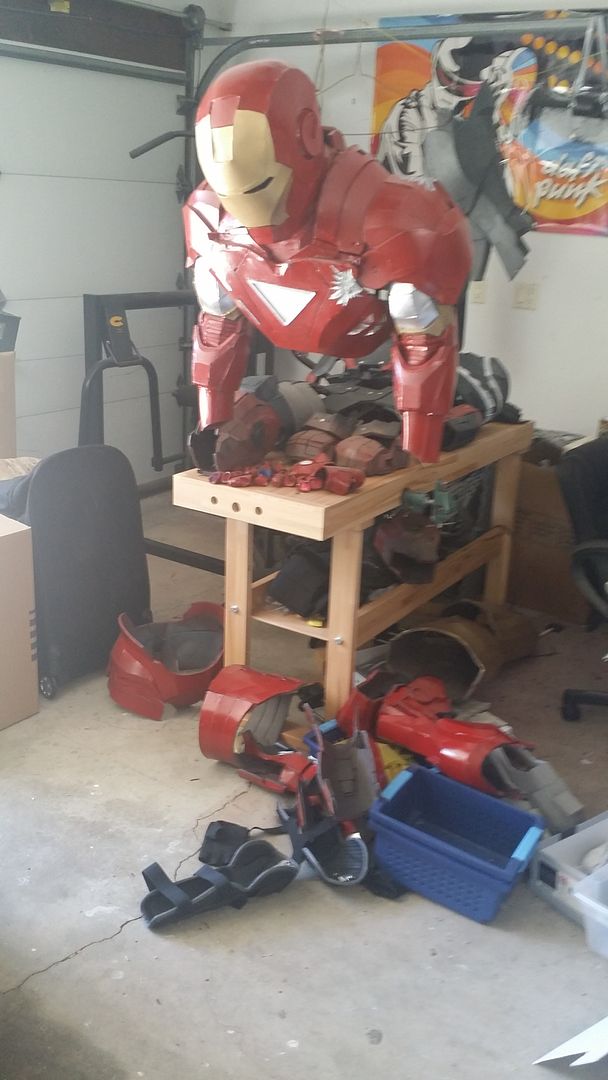
stuck on the body:
after a brief studying of some pictures, i realized that the chin piece was also gold. so, just a small edit:

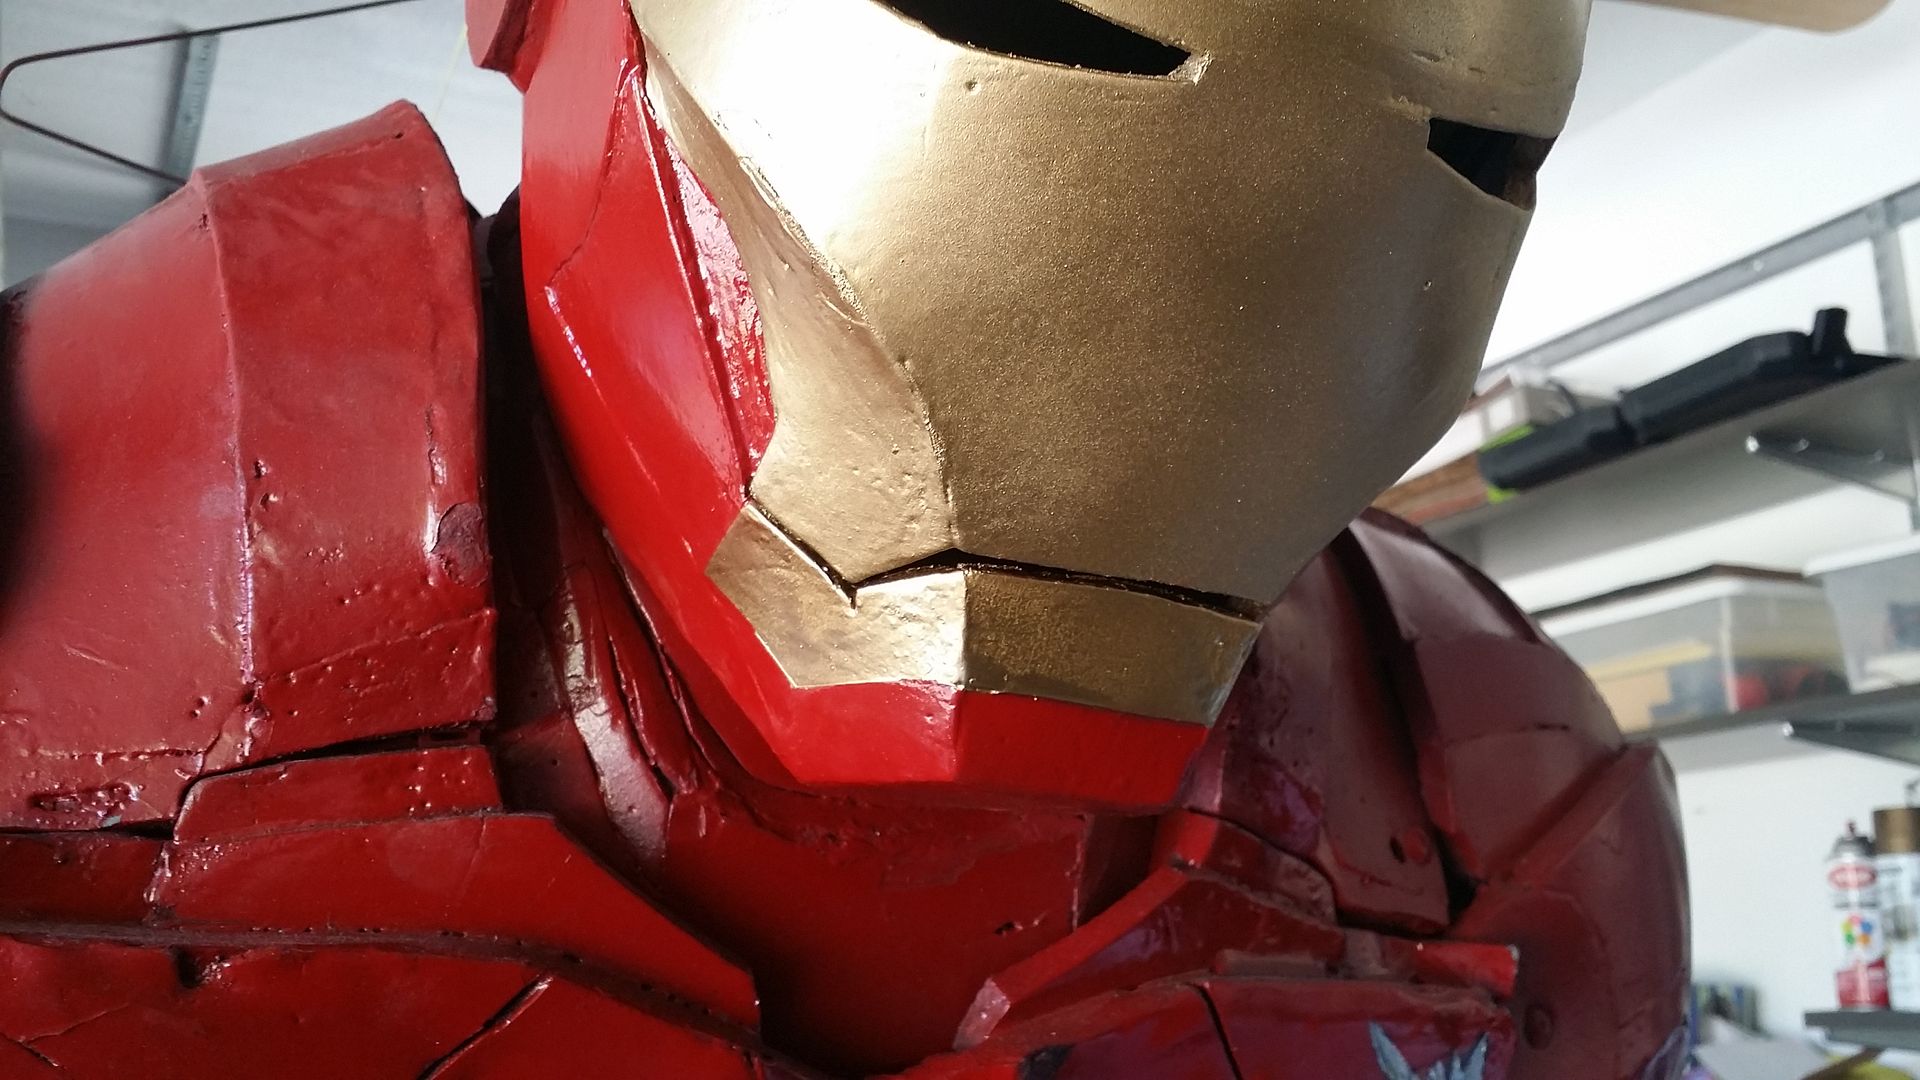
lovely!
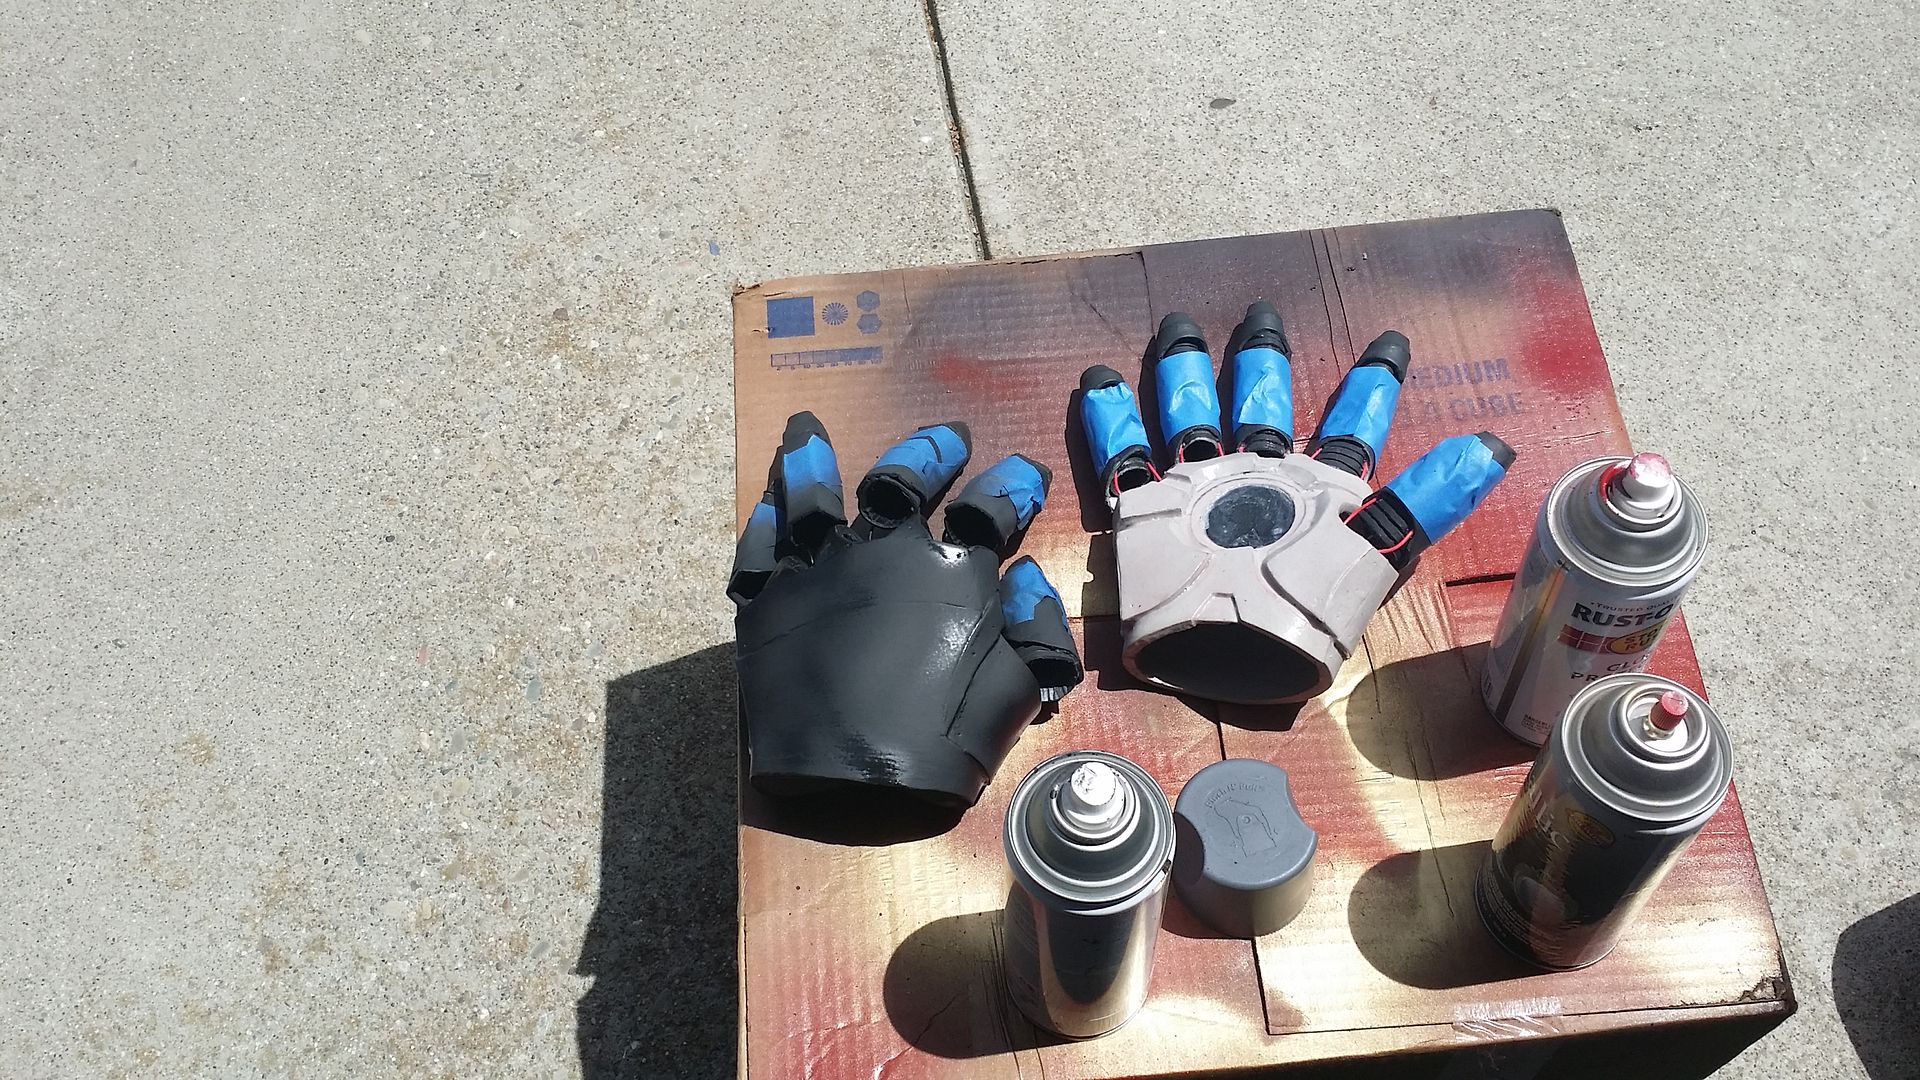
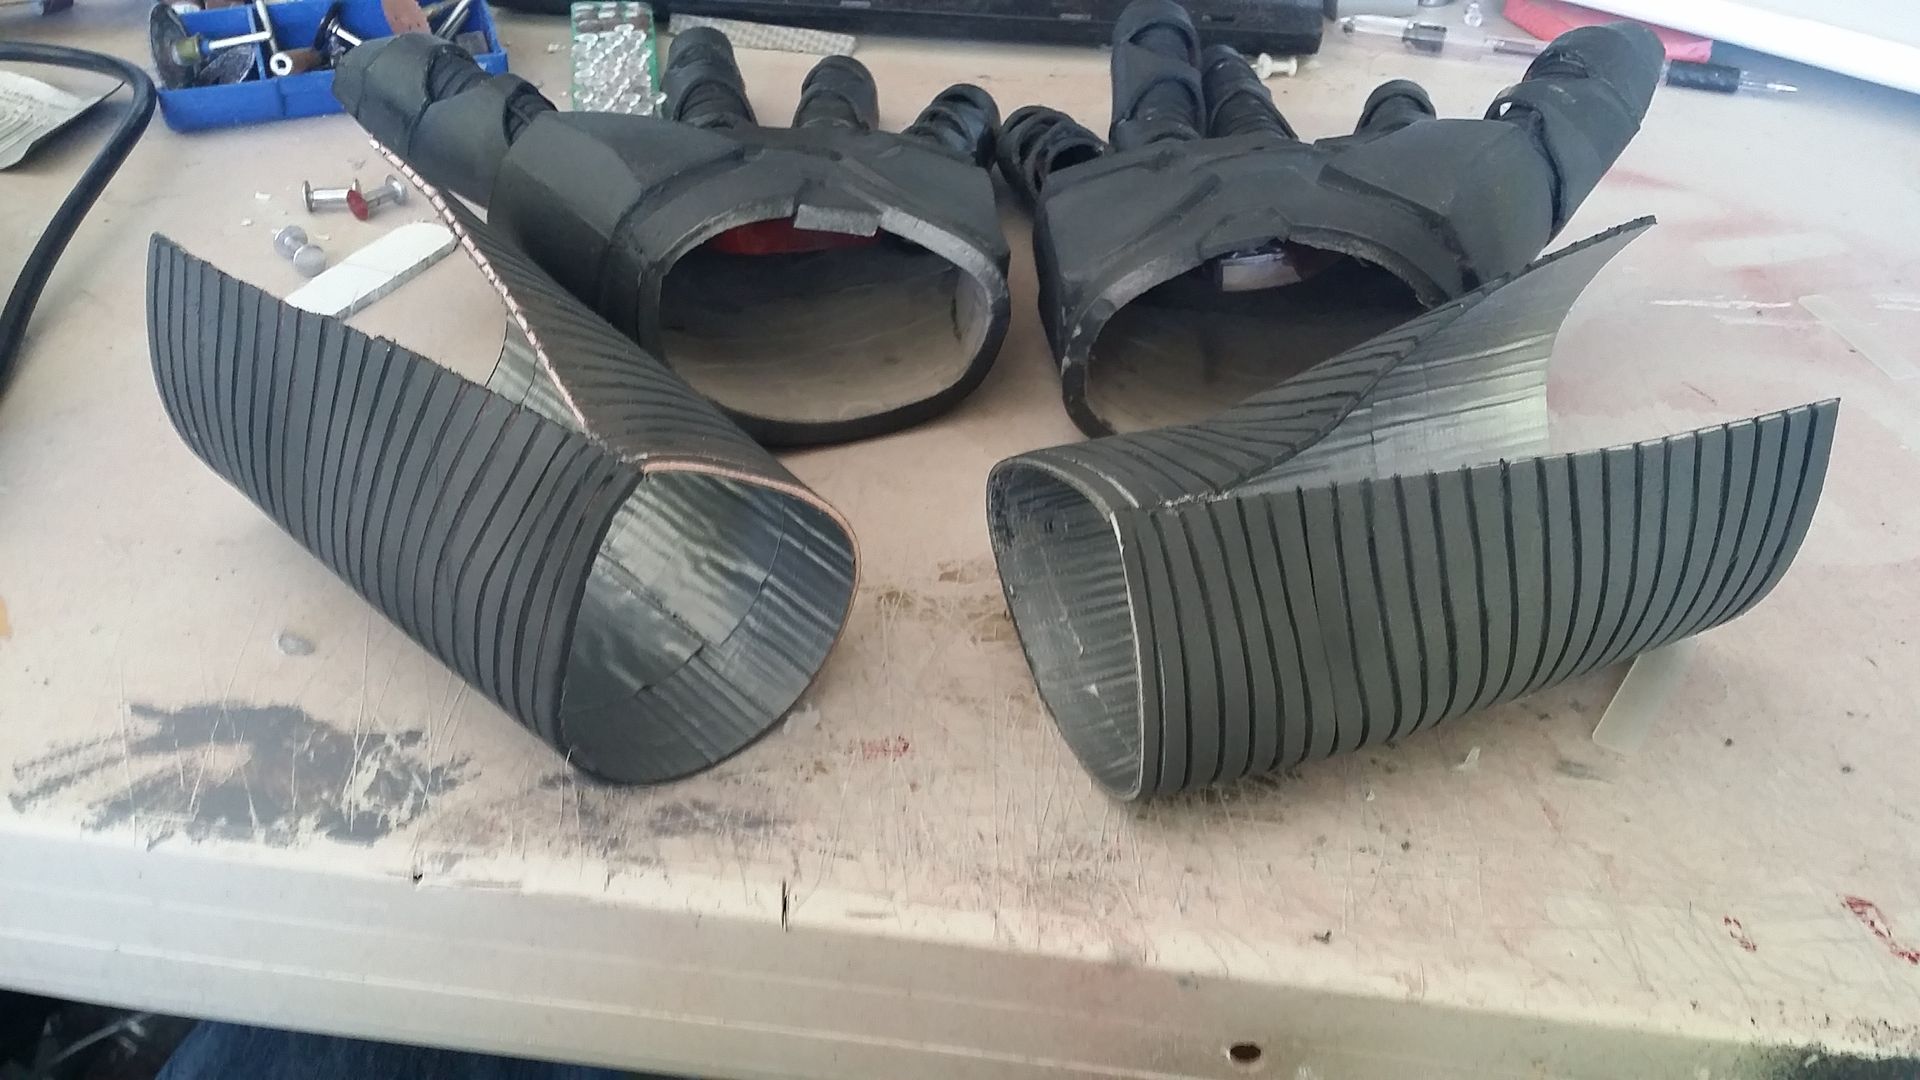
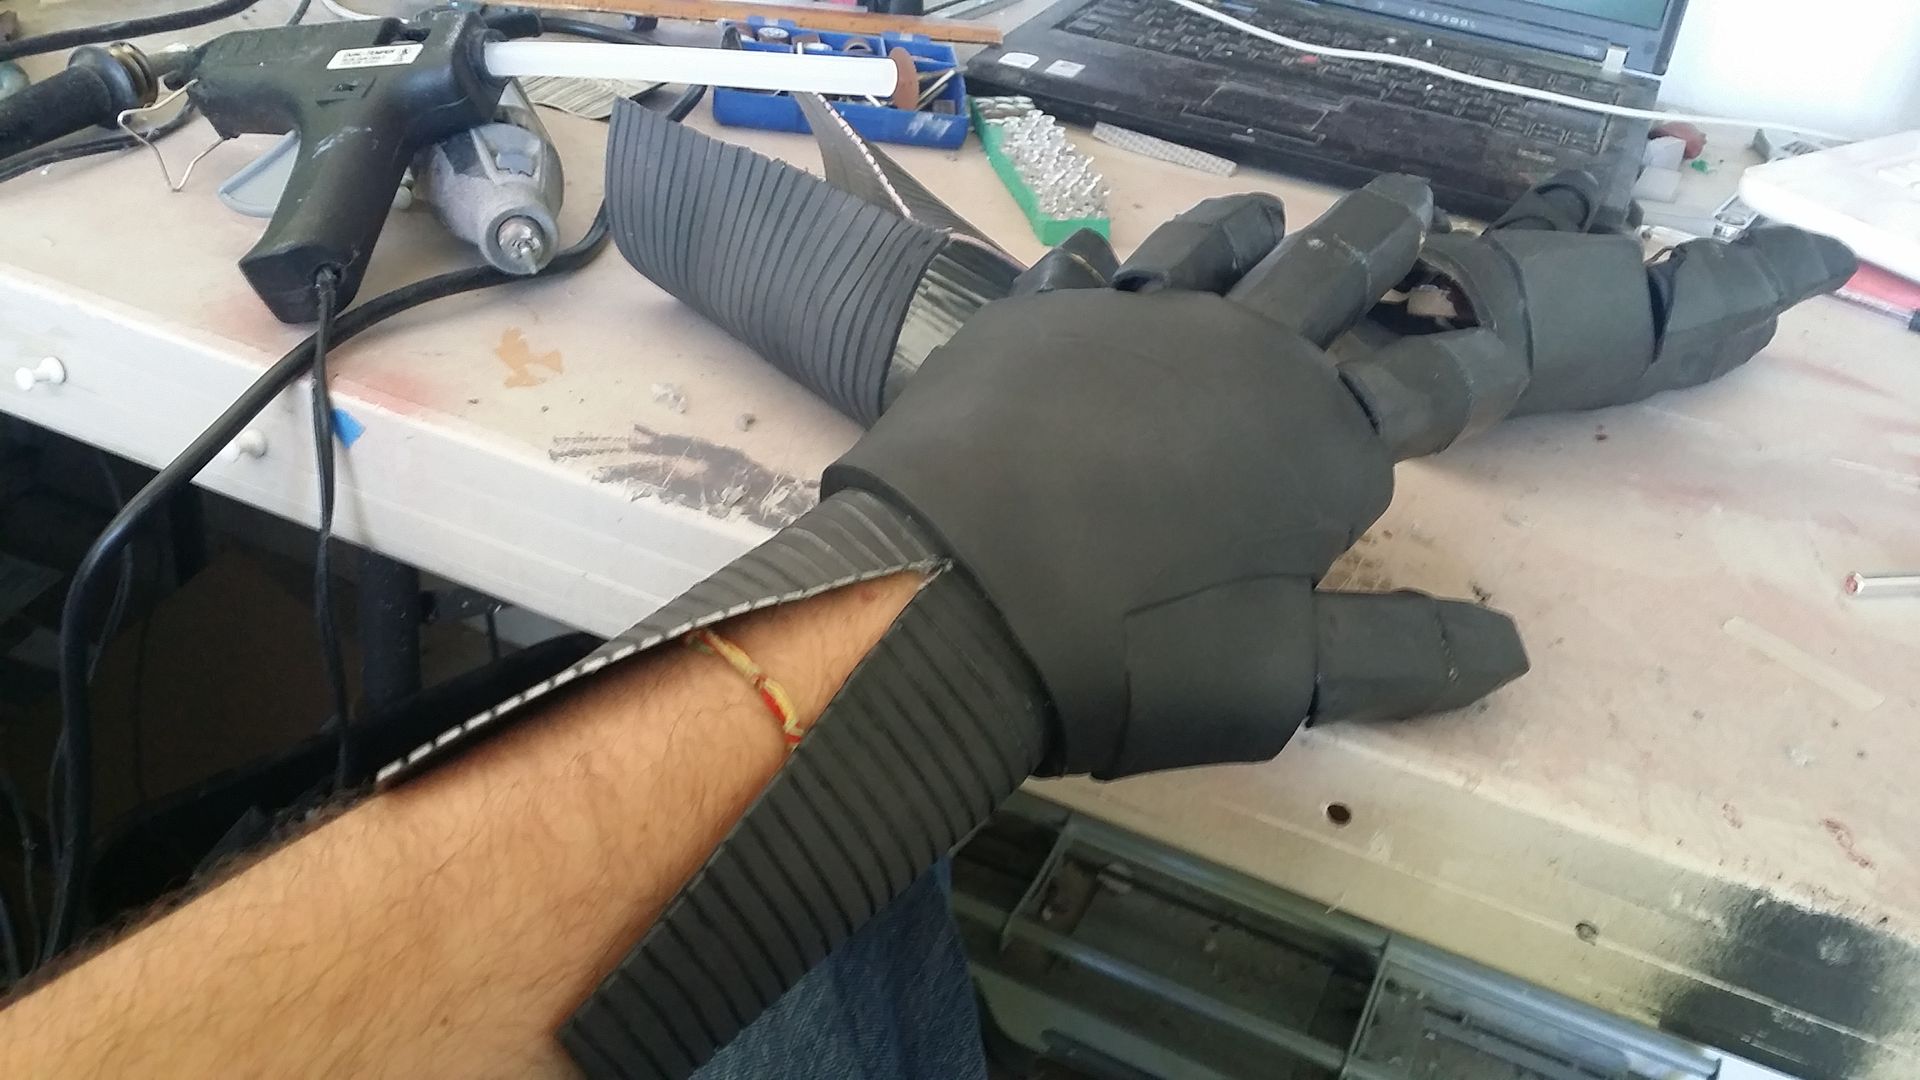
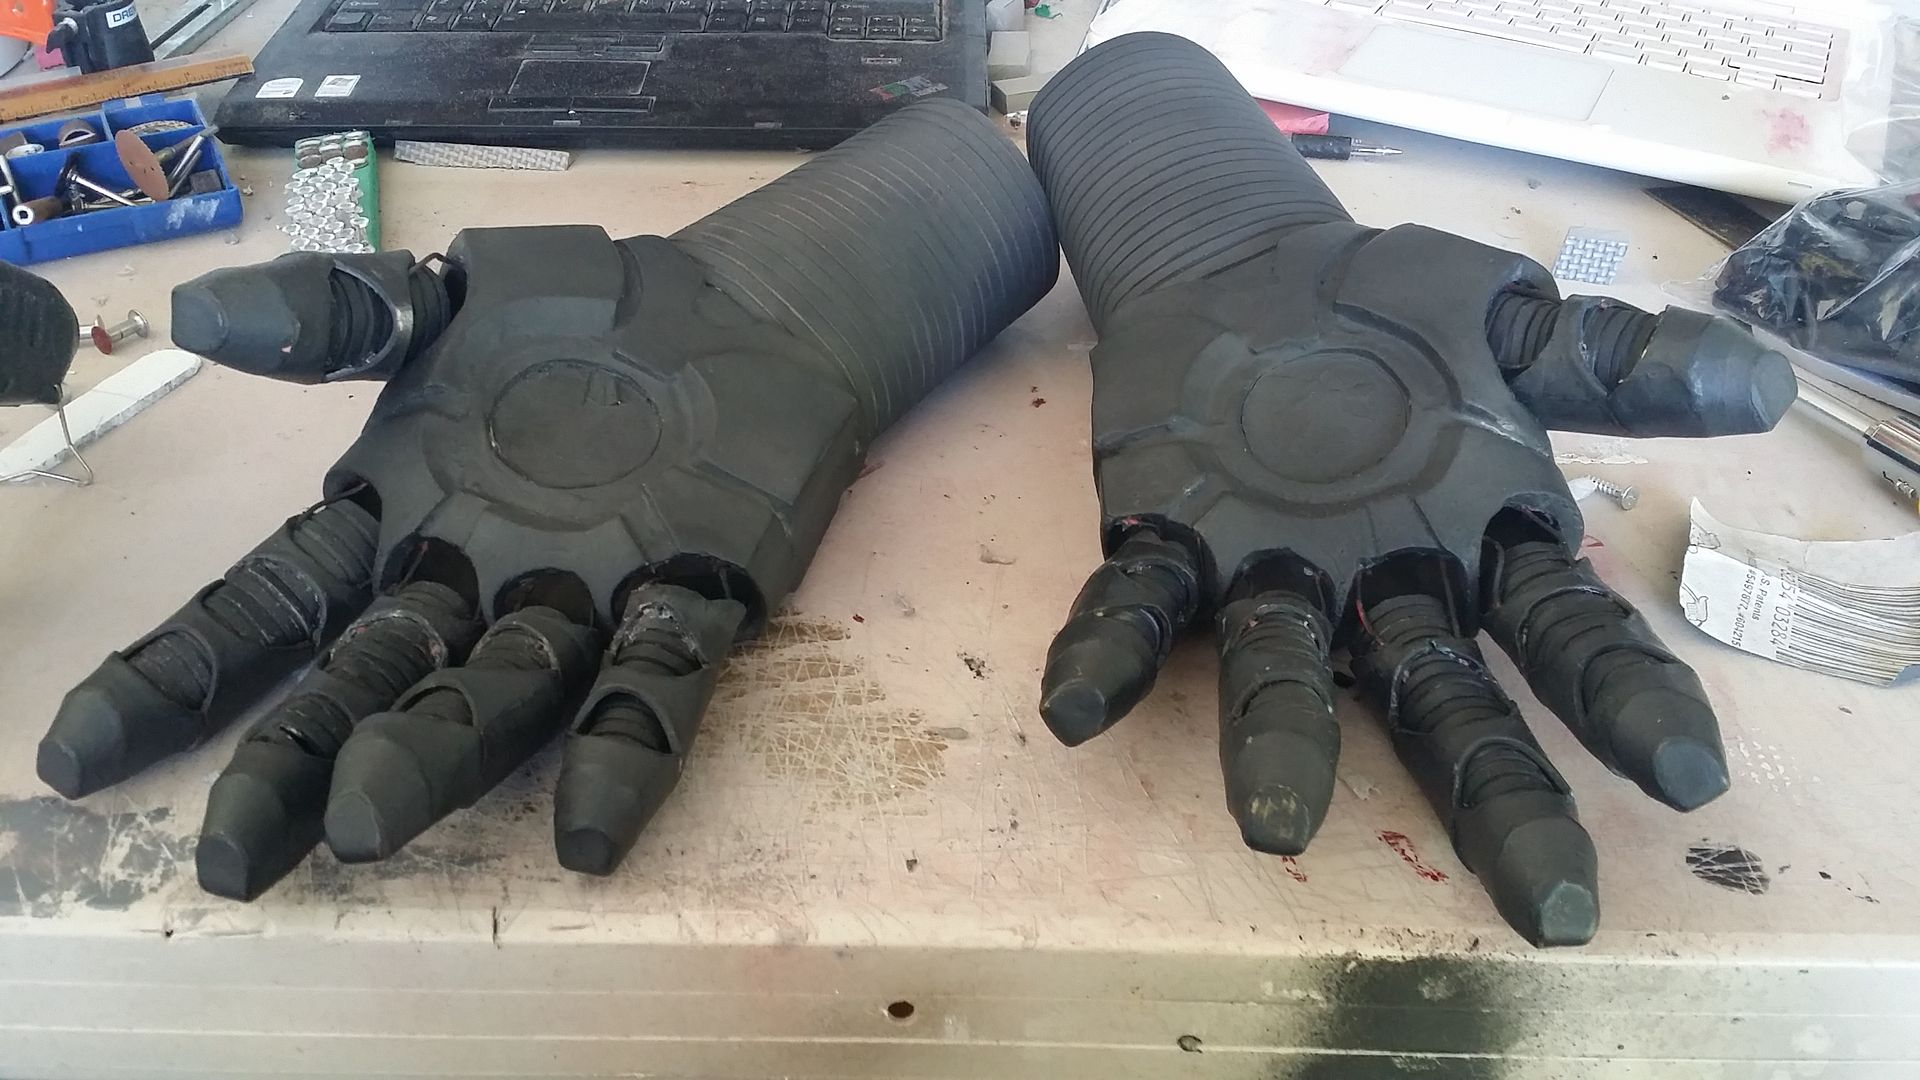
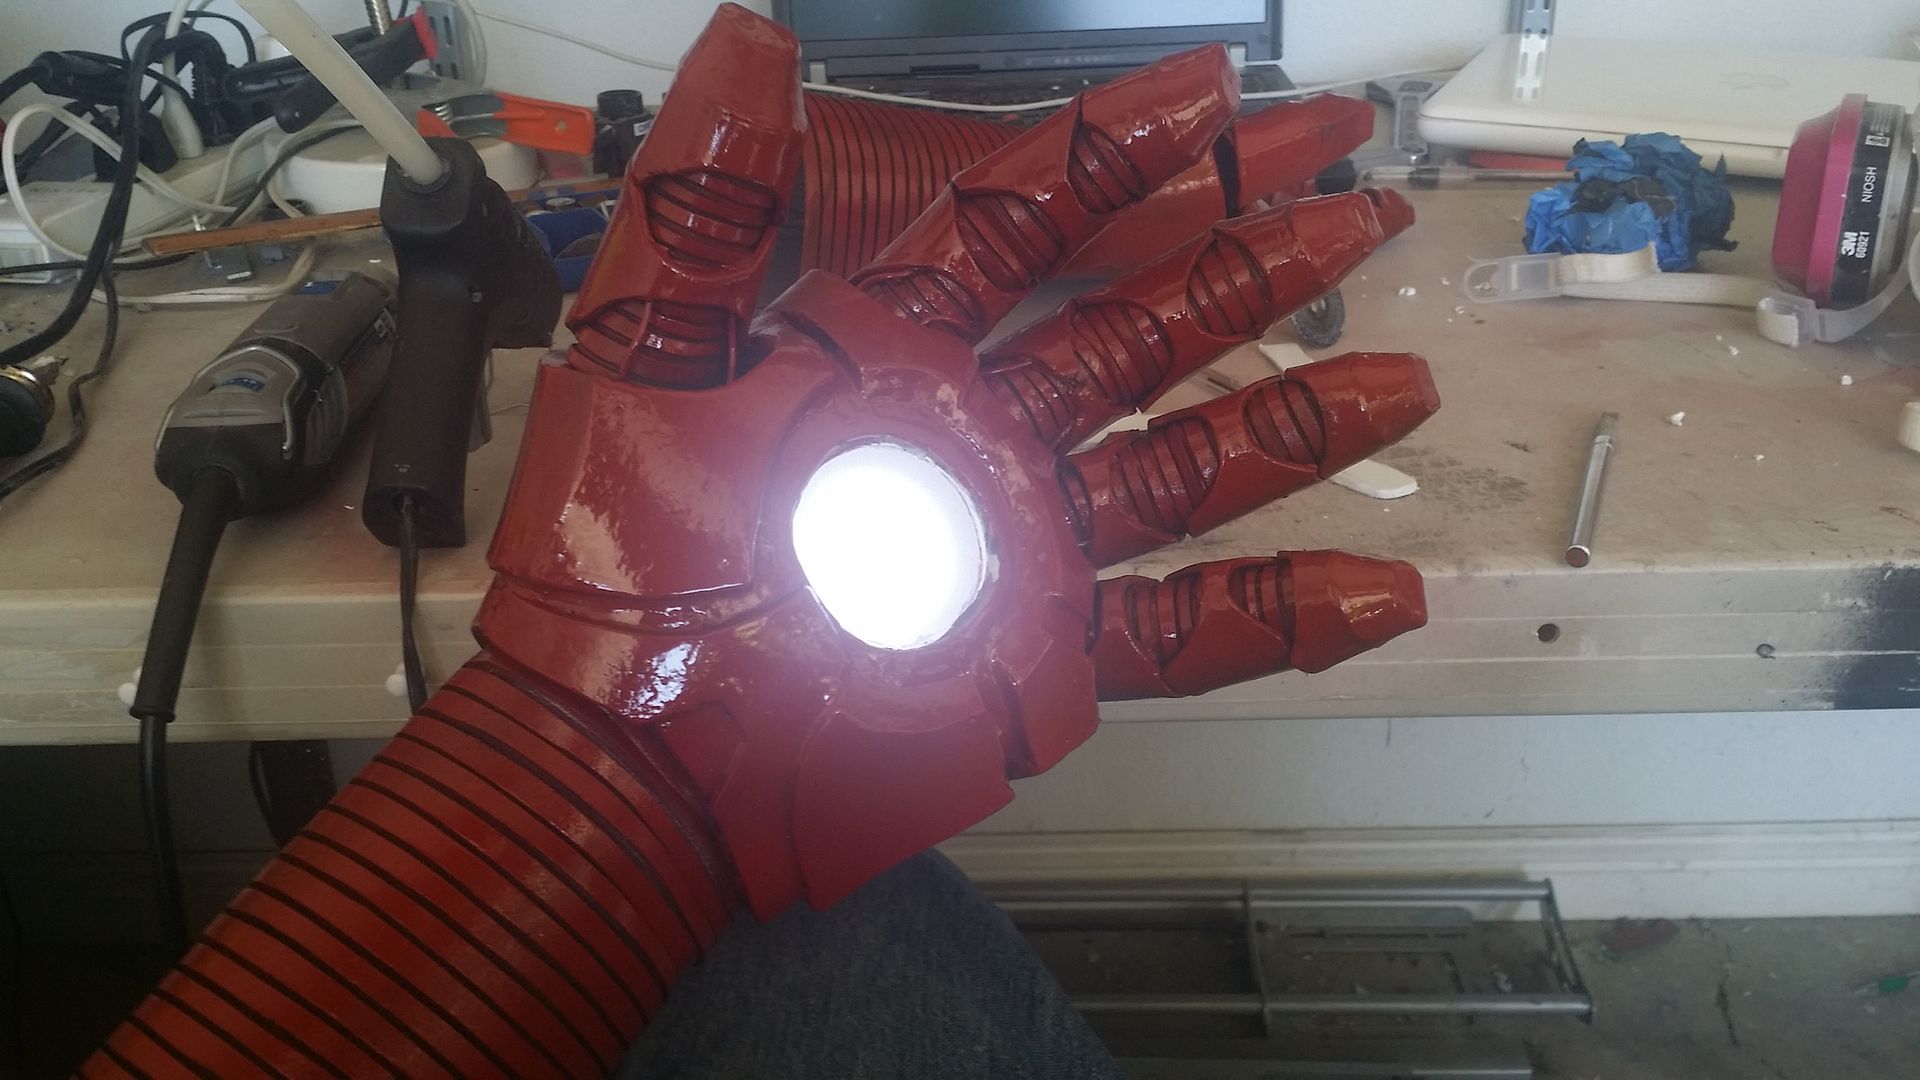
Next up on the painting table was the hands (with some tape around the fingers to keep them from getting over-sprayed)

in the middle of painting, i realized i forgot to add the flexible ribbing to the wrists. another quick fix!

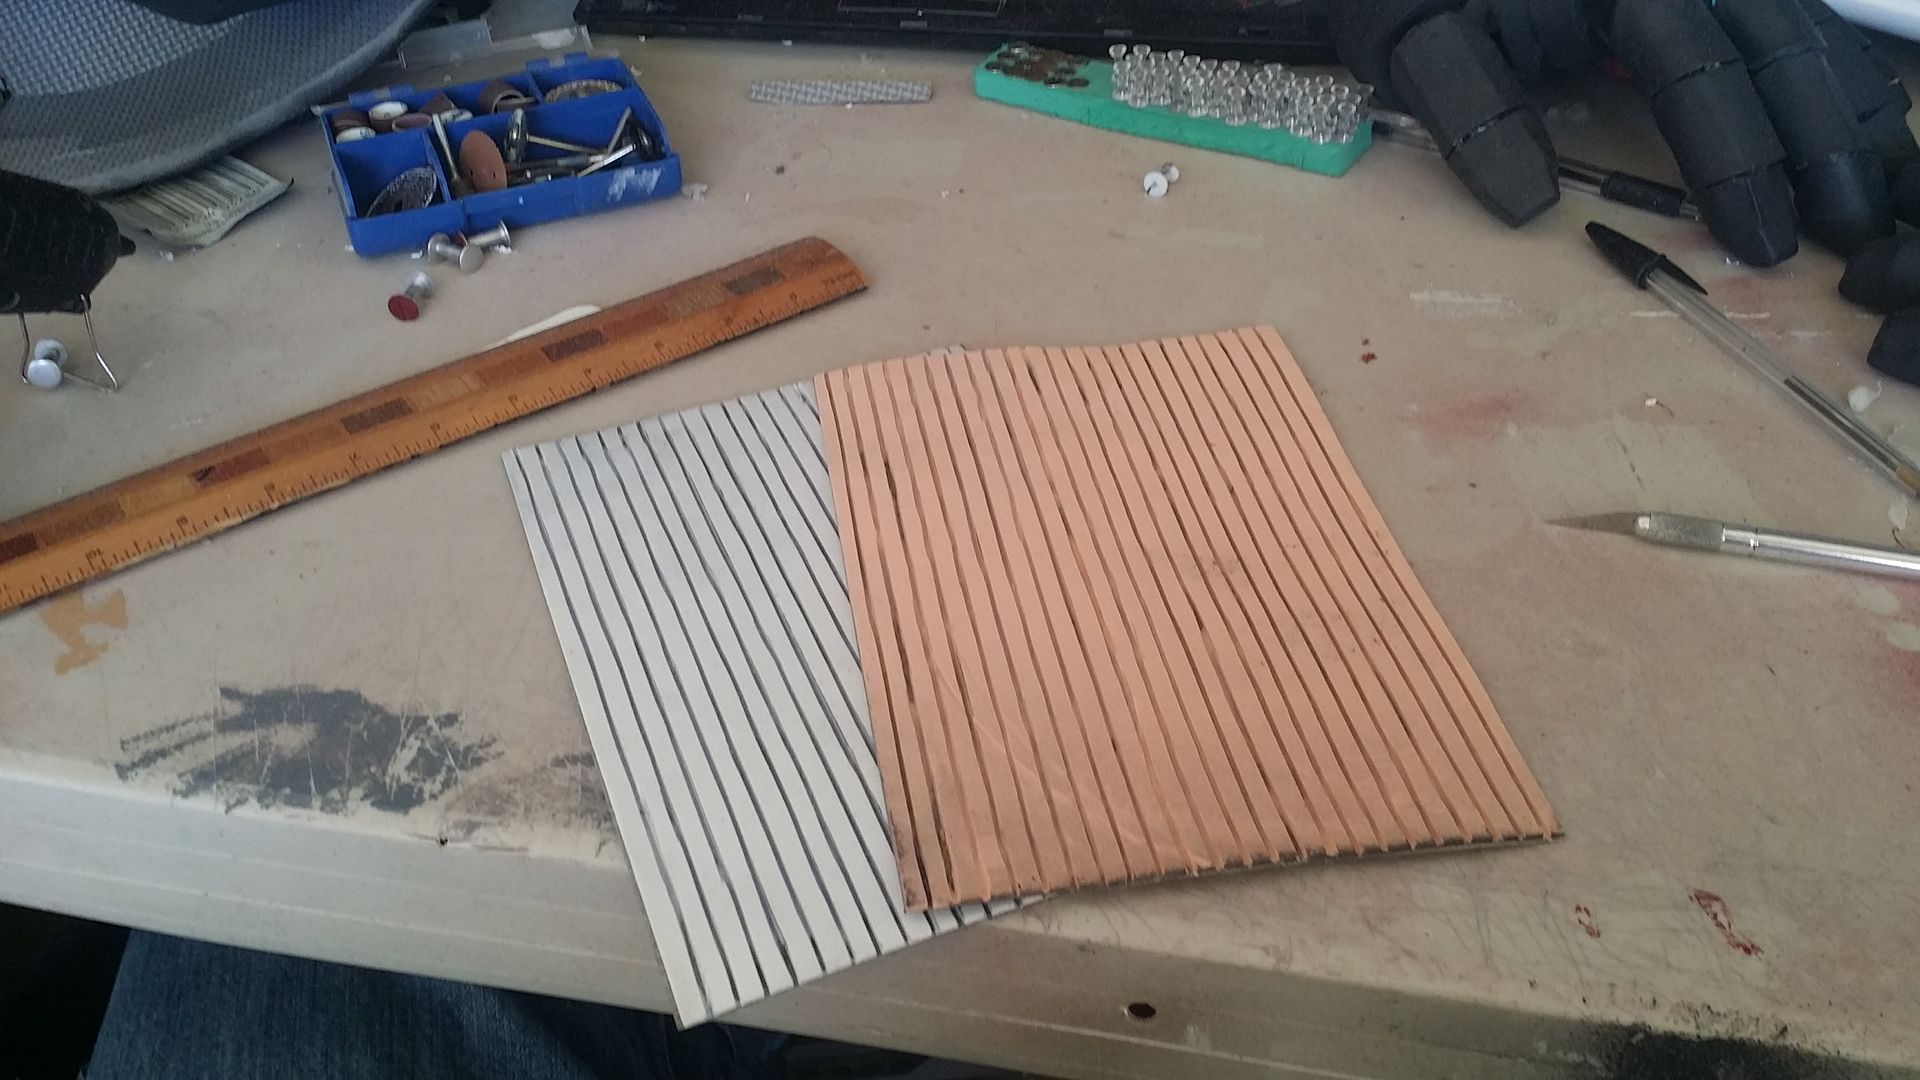
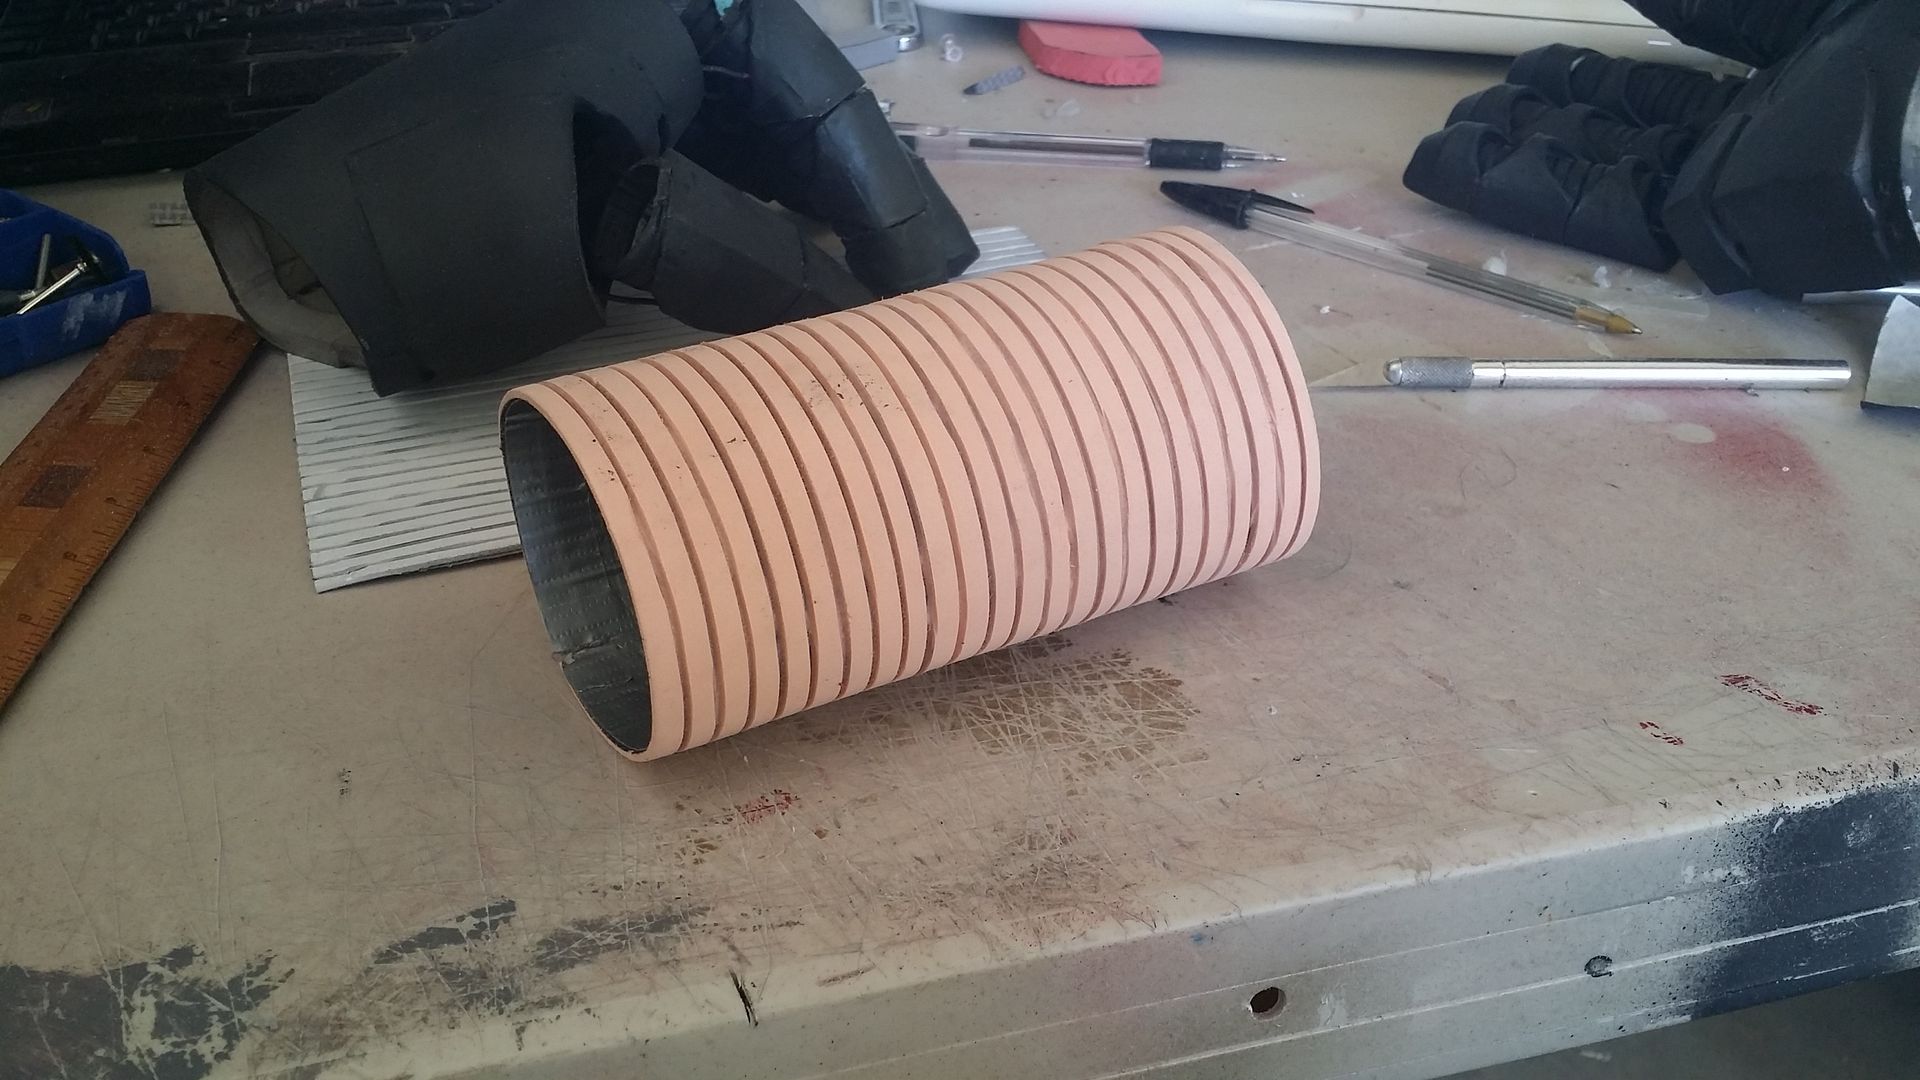
a little dry run to test the flexibility:

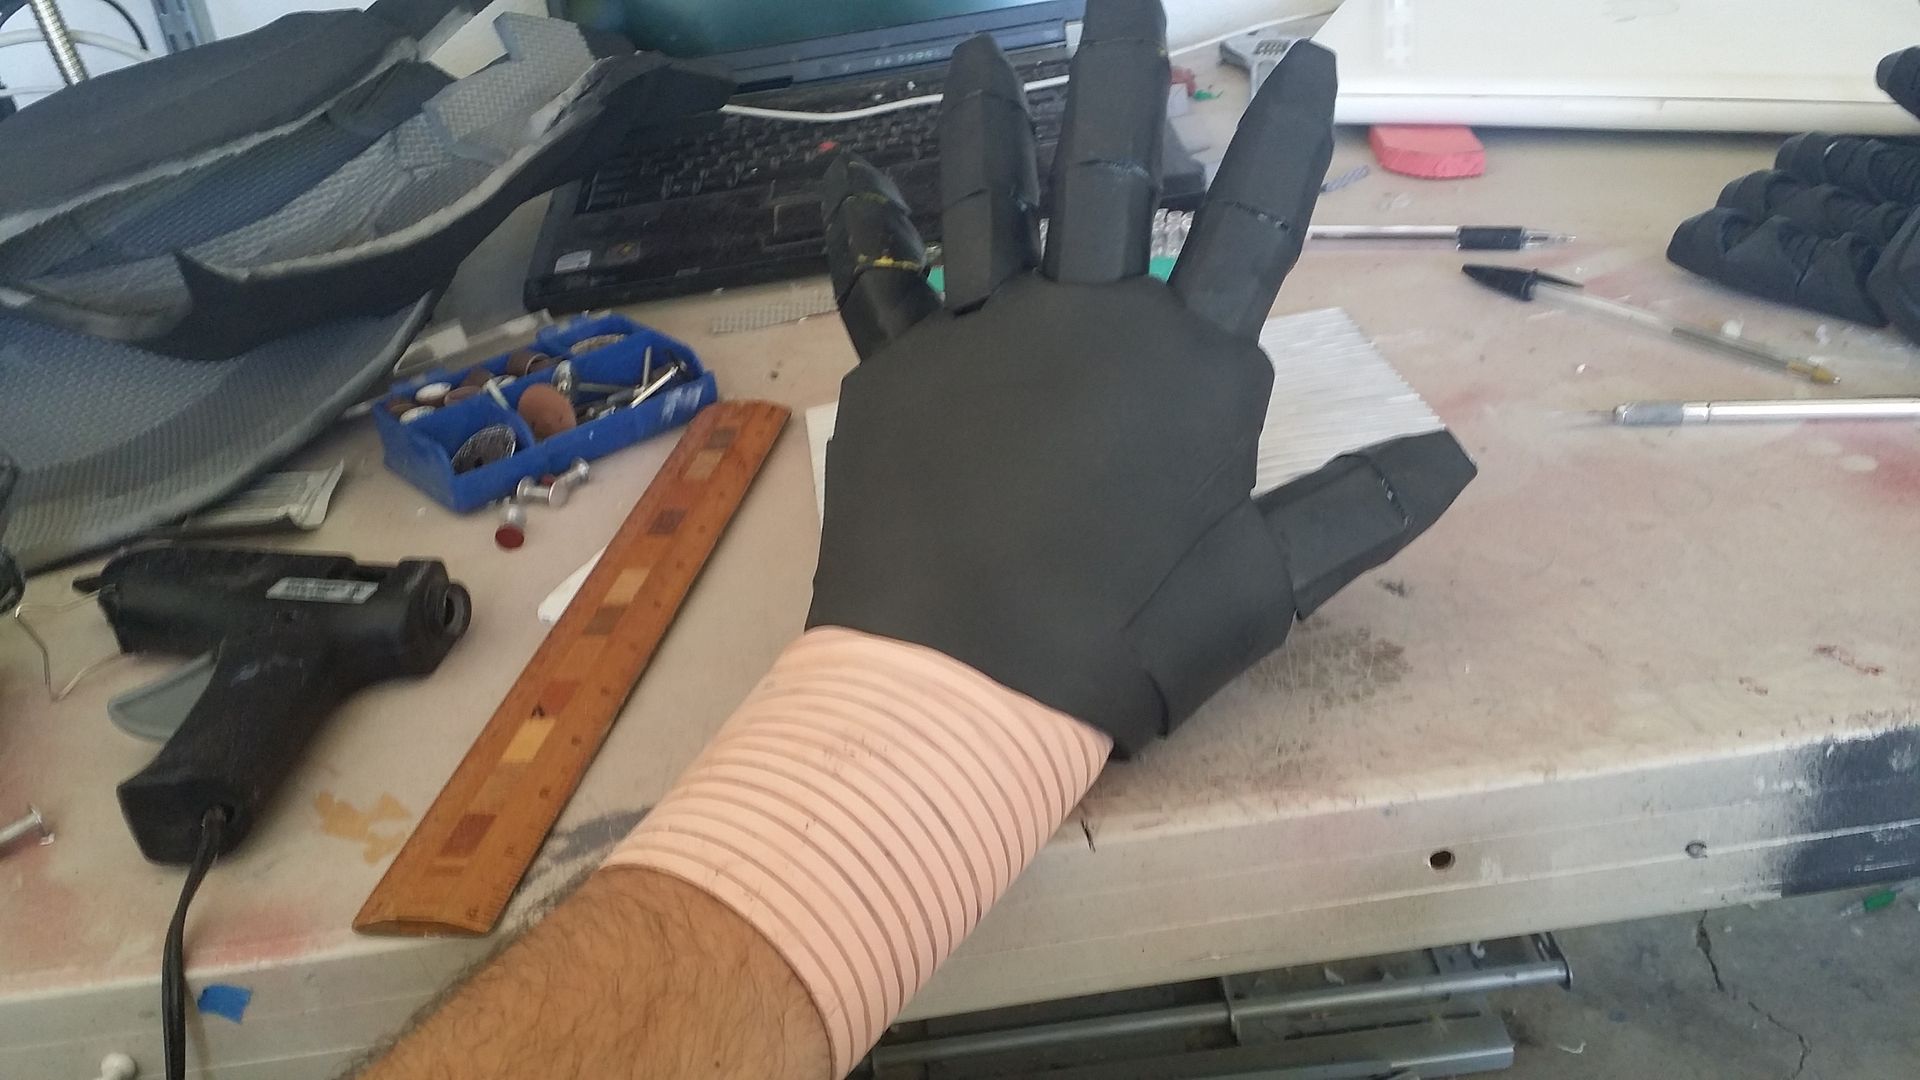
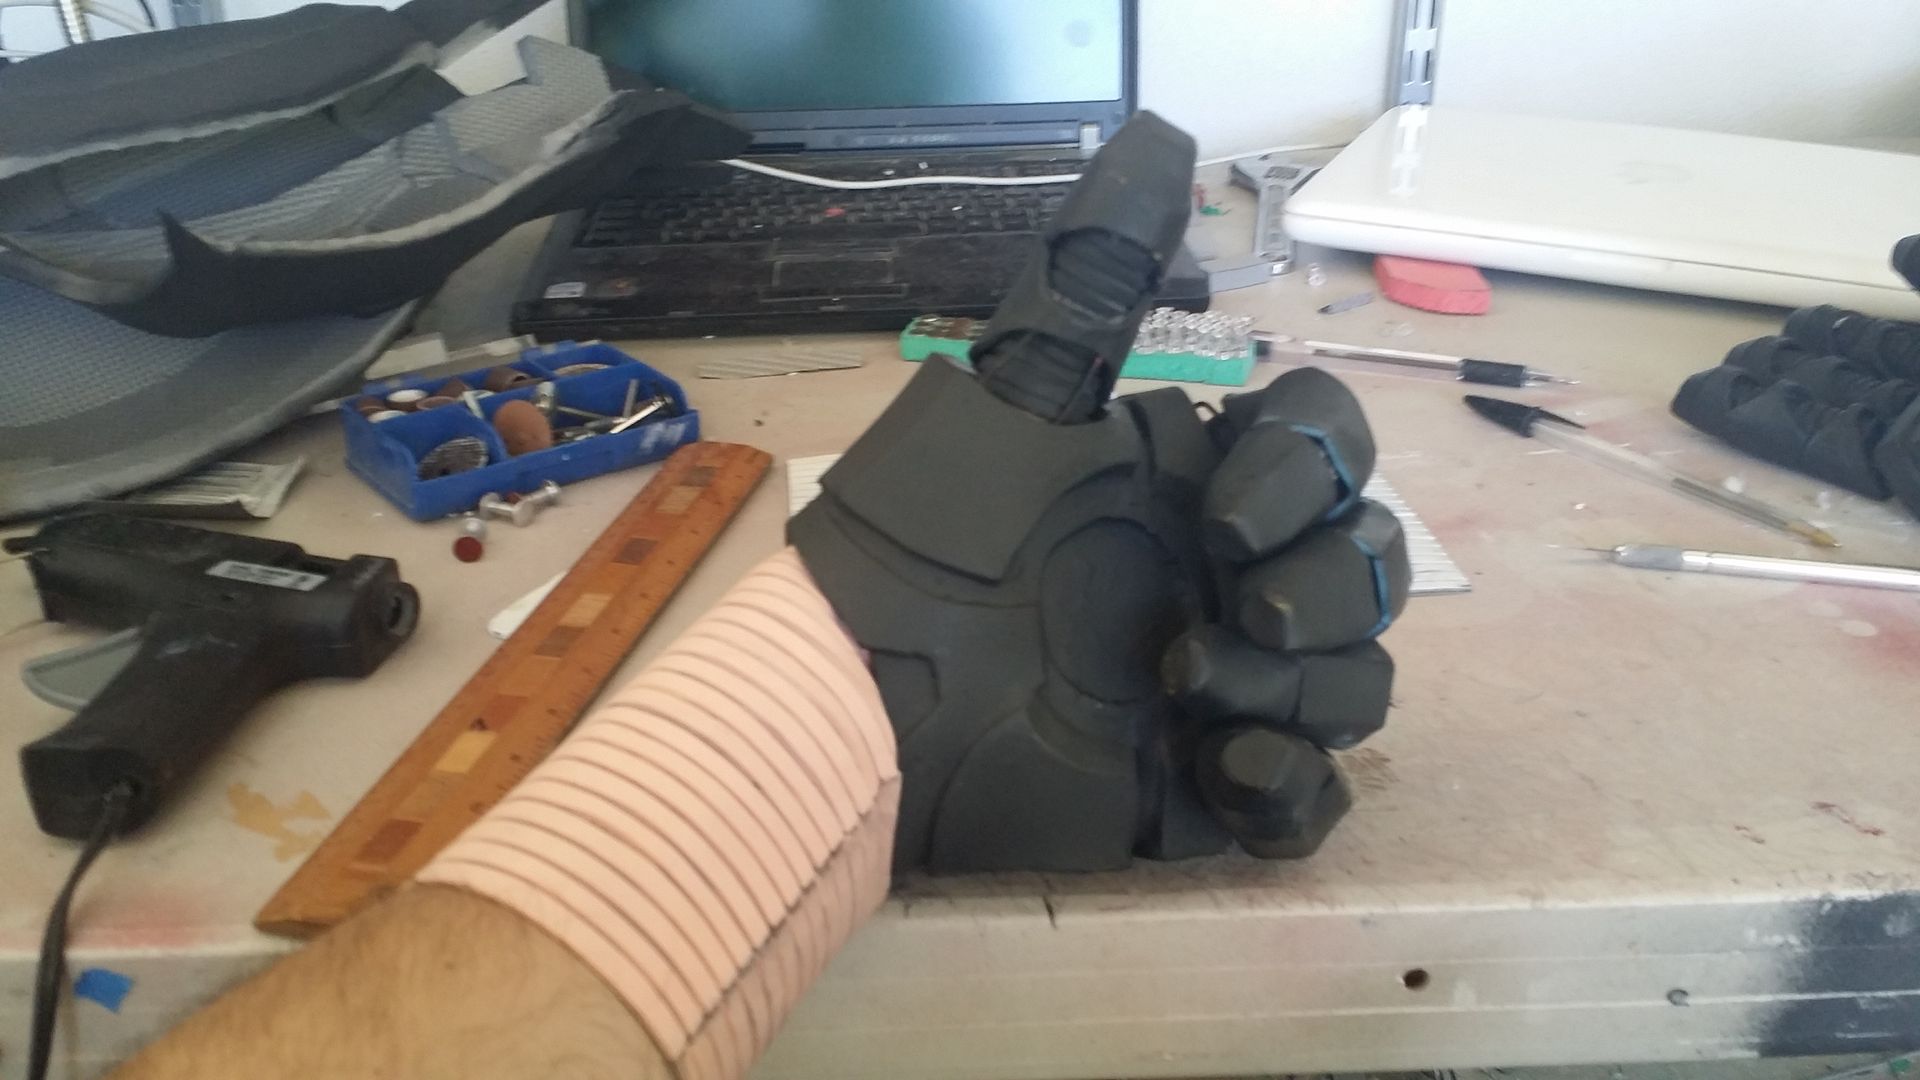
very nice!
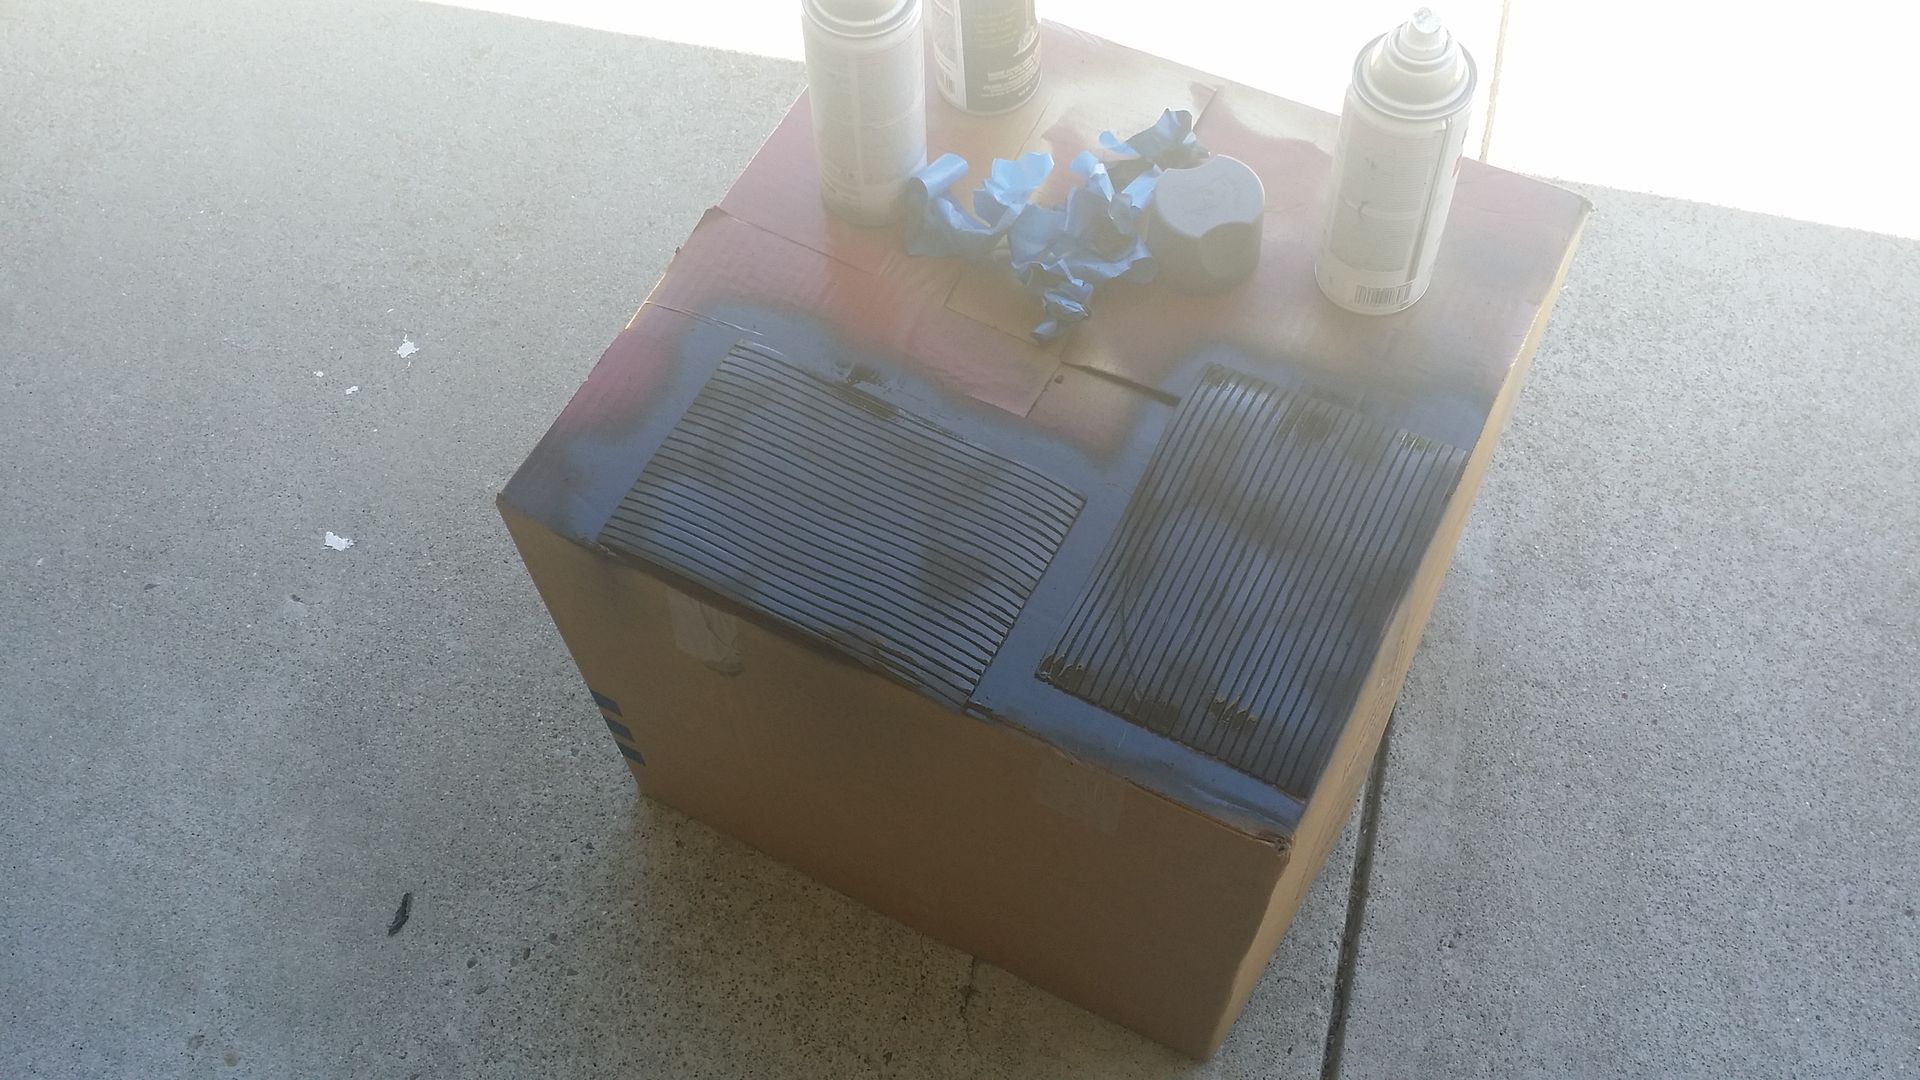
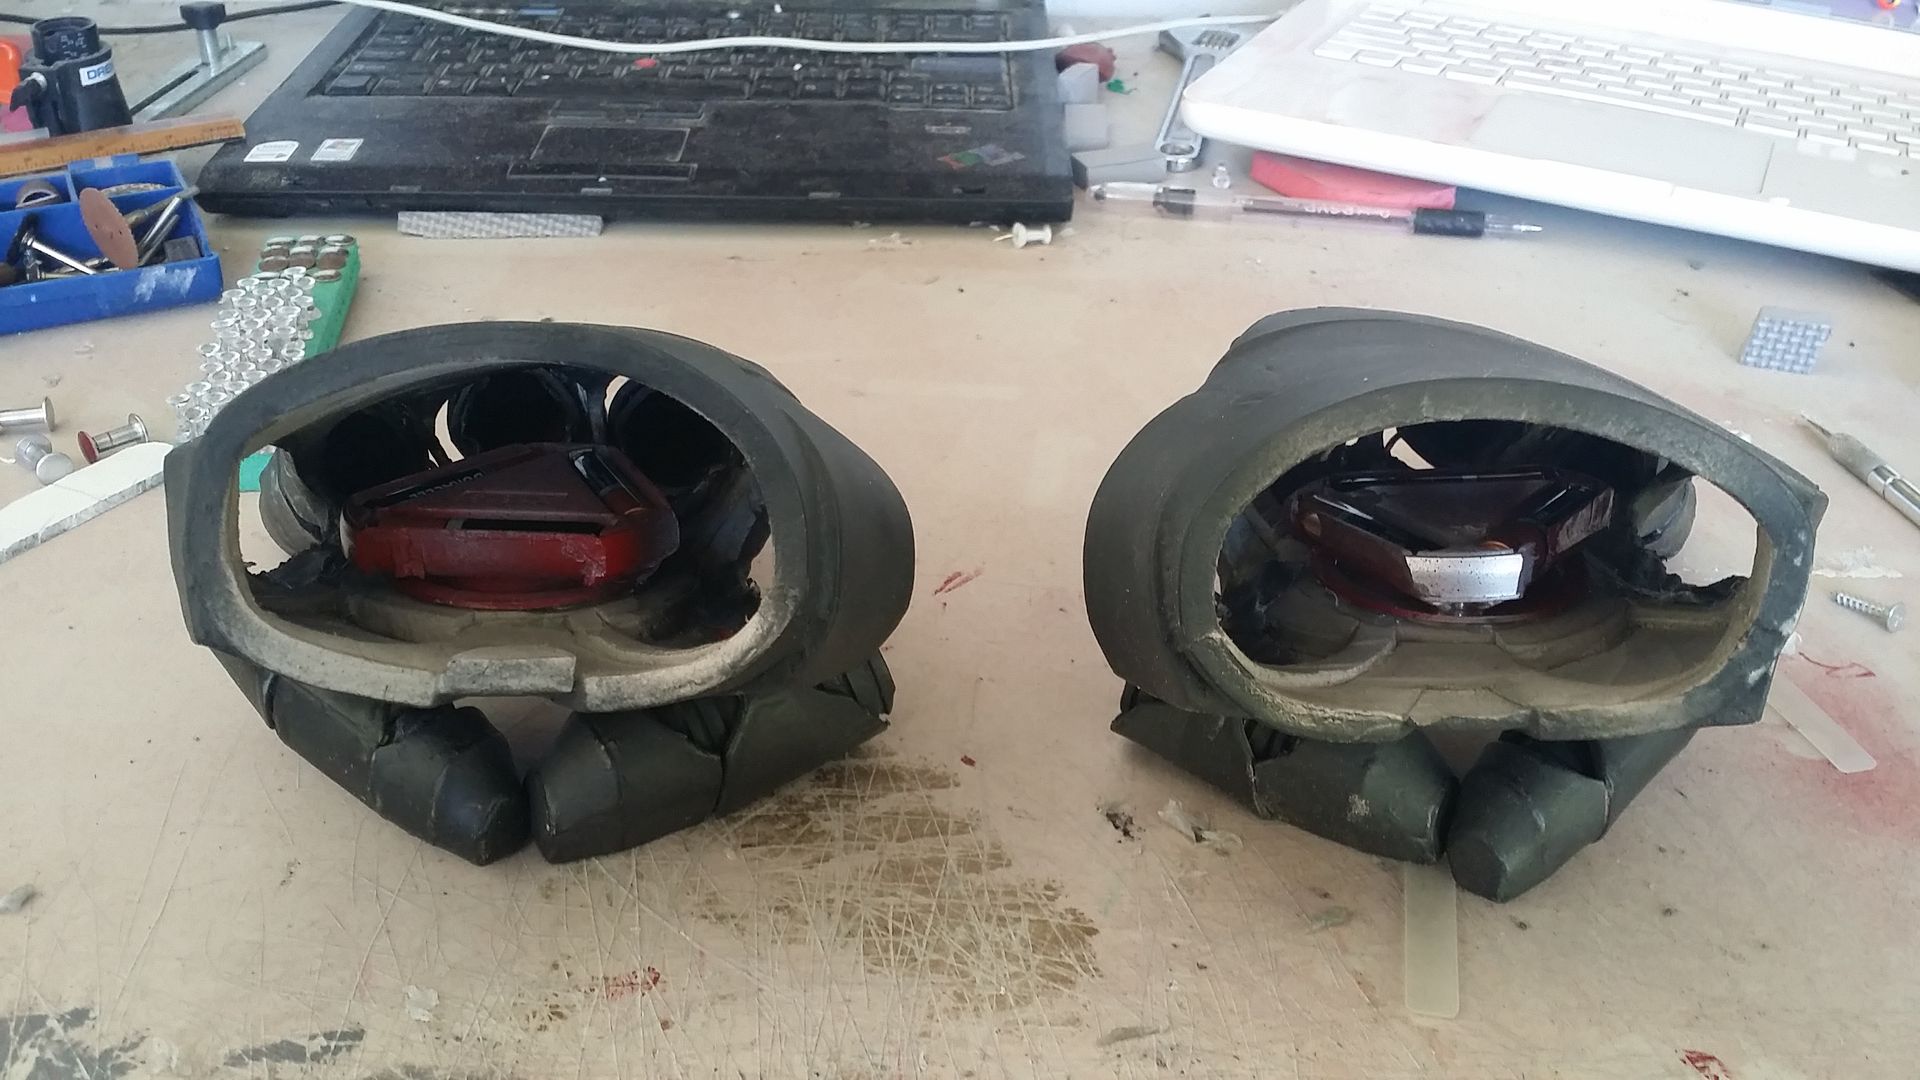
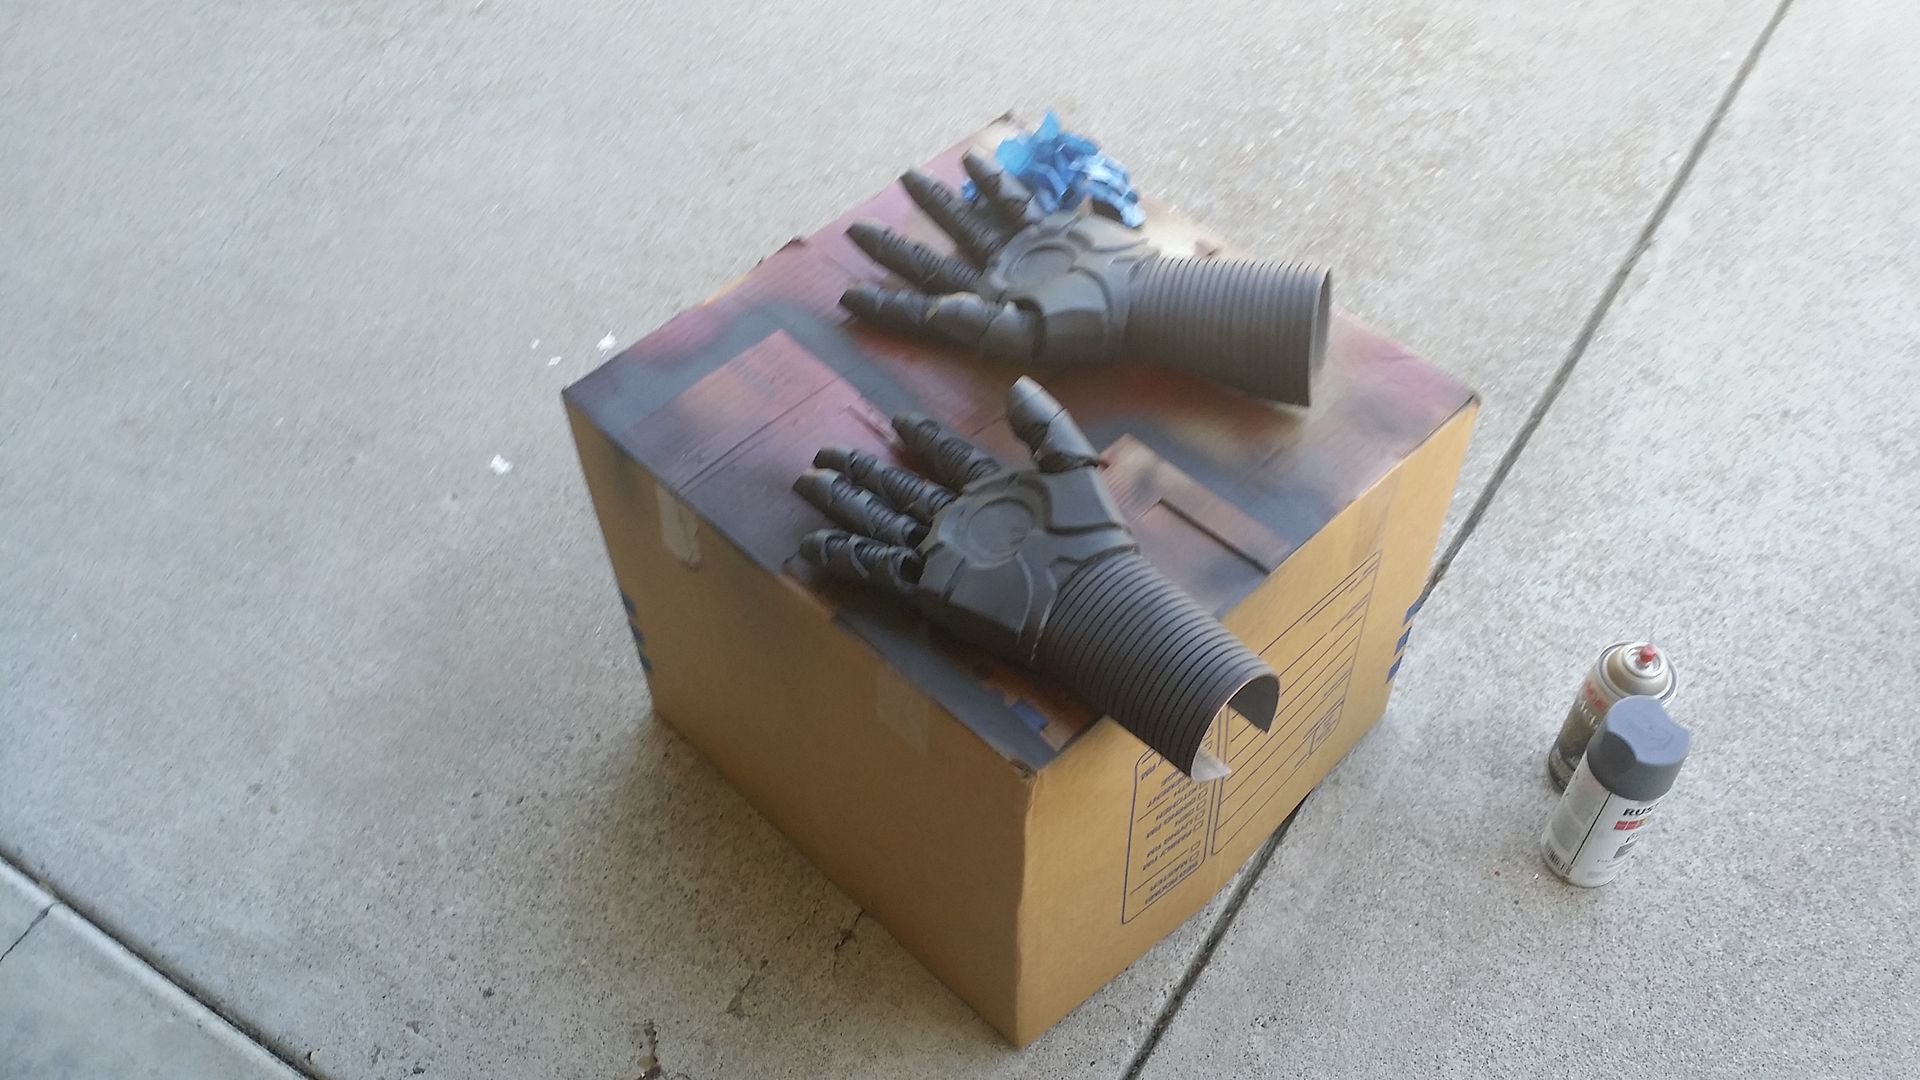
time to primer them up:
while those dried, the lights in the repulsors were next. the lights in the old hands were still working fine, so if it ain't broke, don't fix it i suppose. just gotta tear them out of the old hands, and glue them into the new ones:
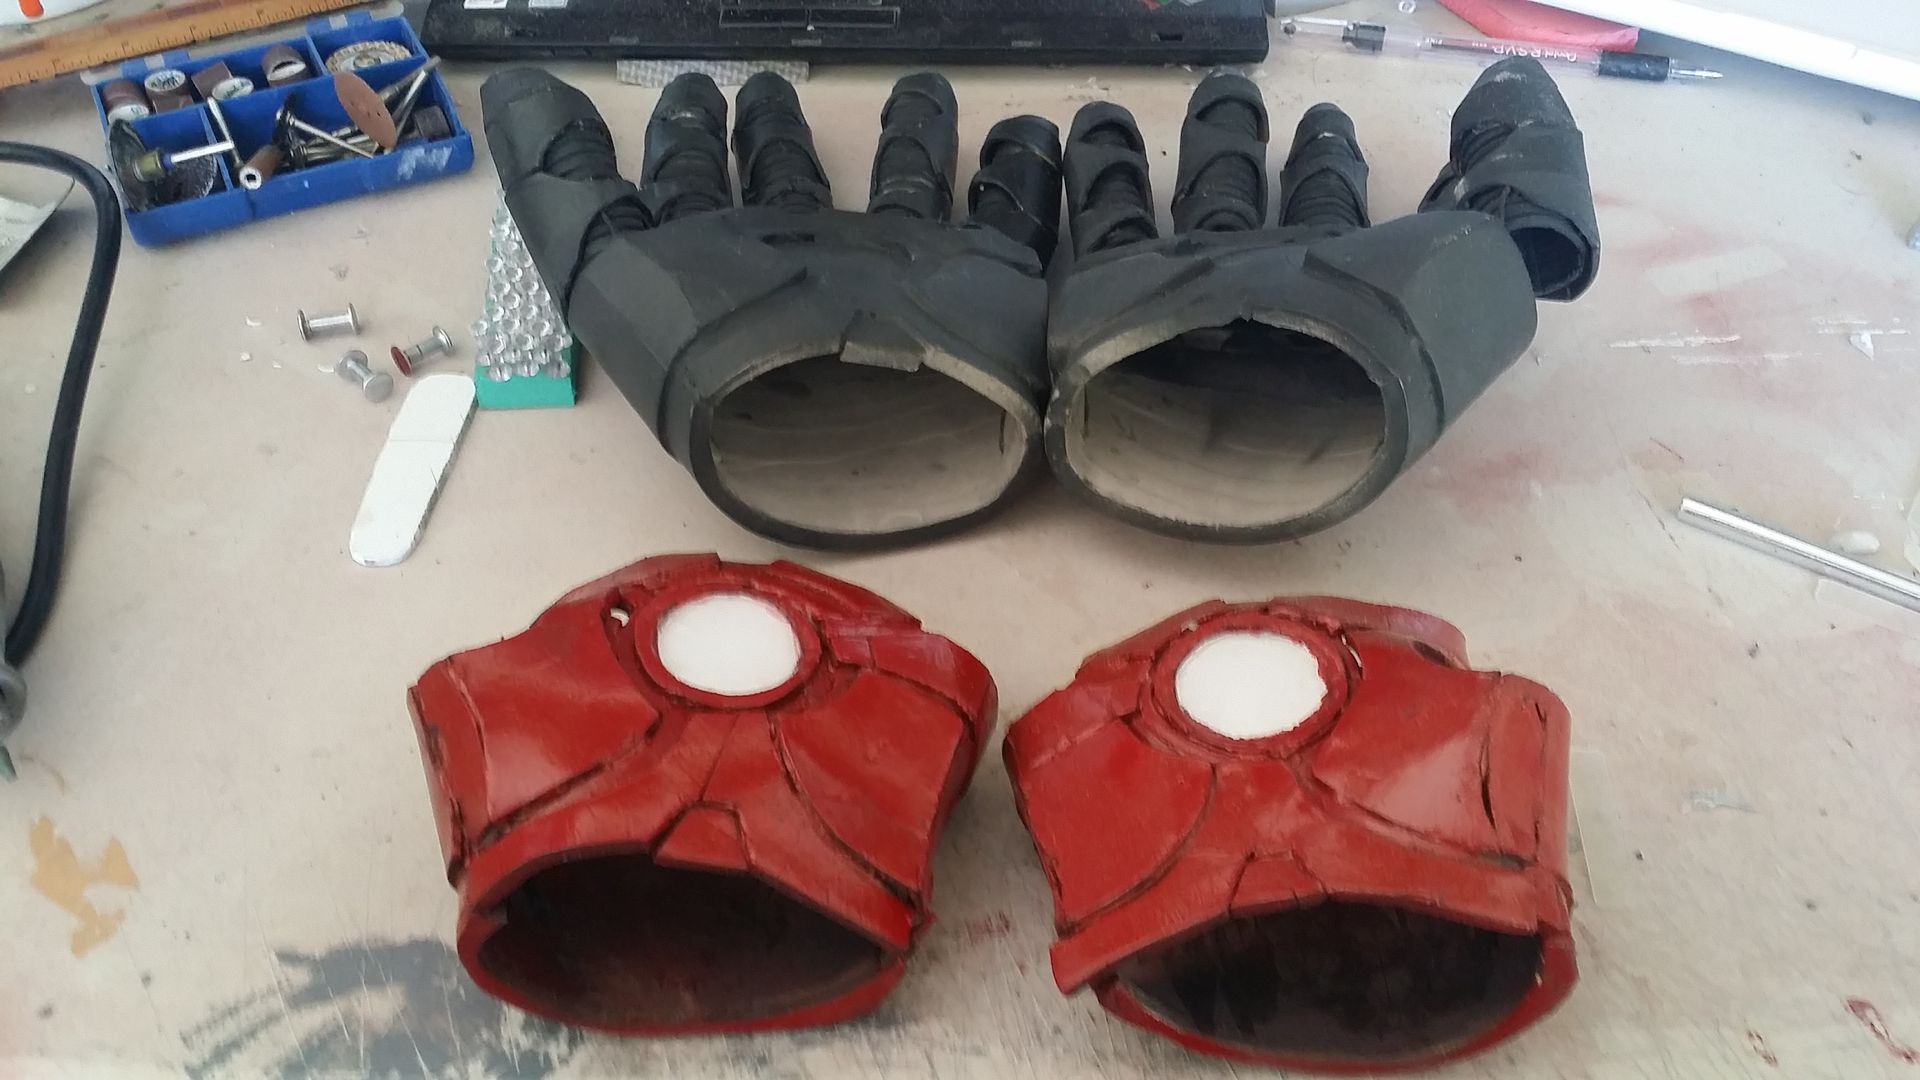
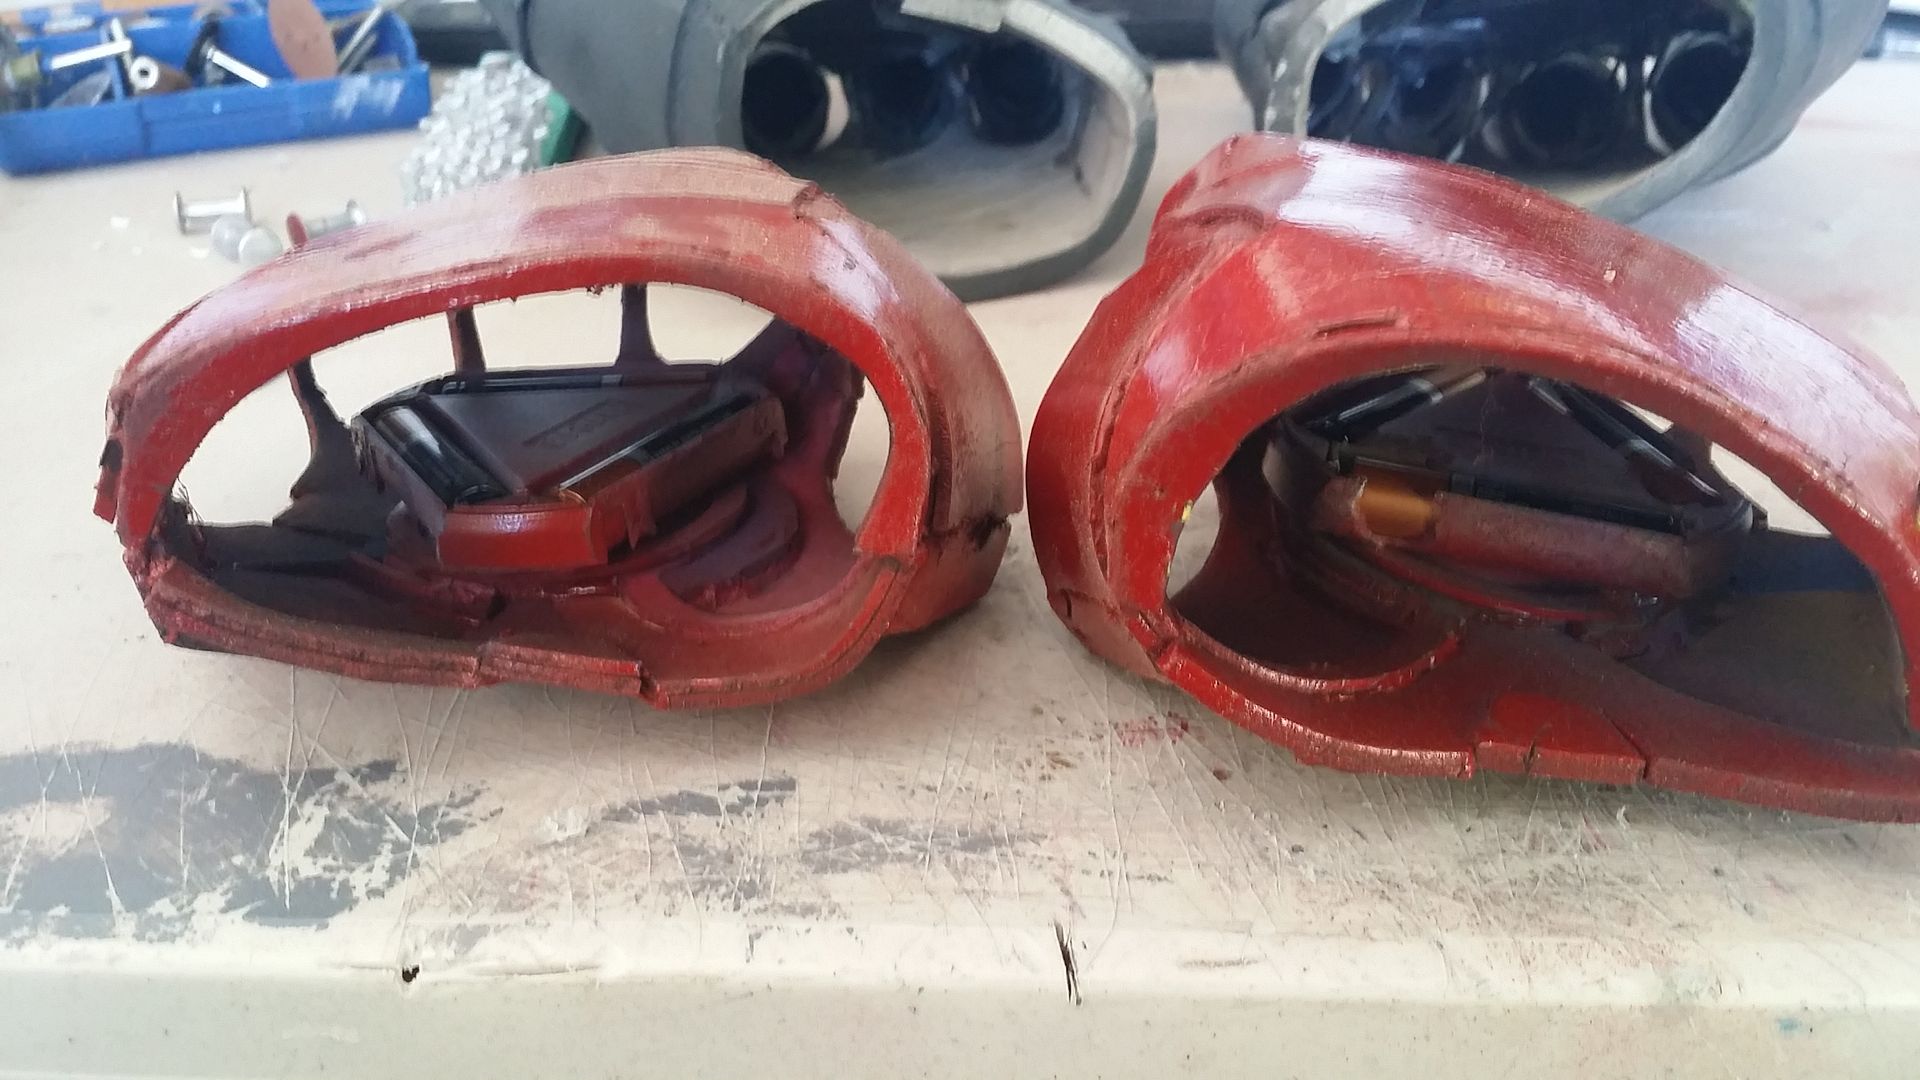
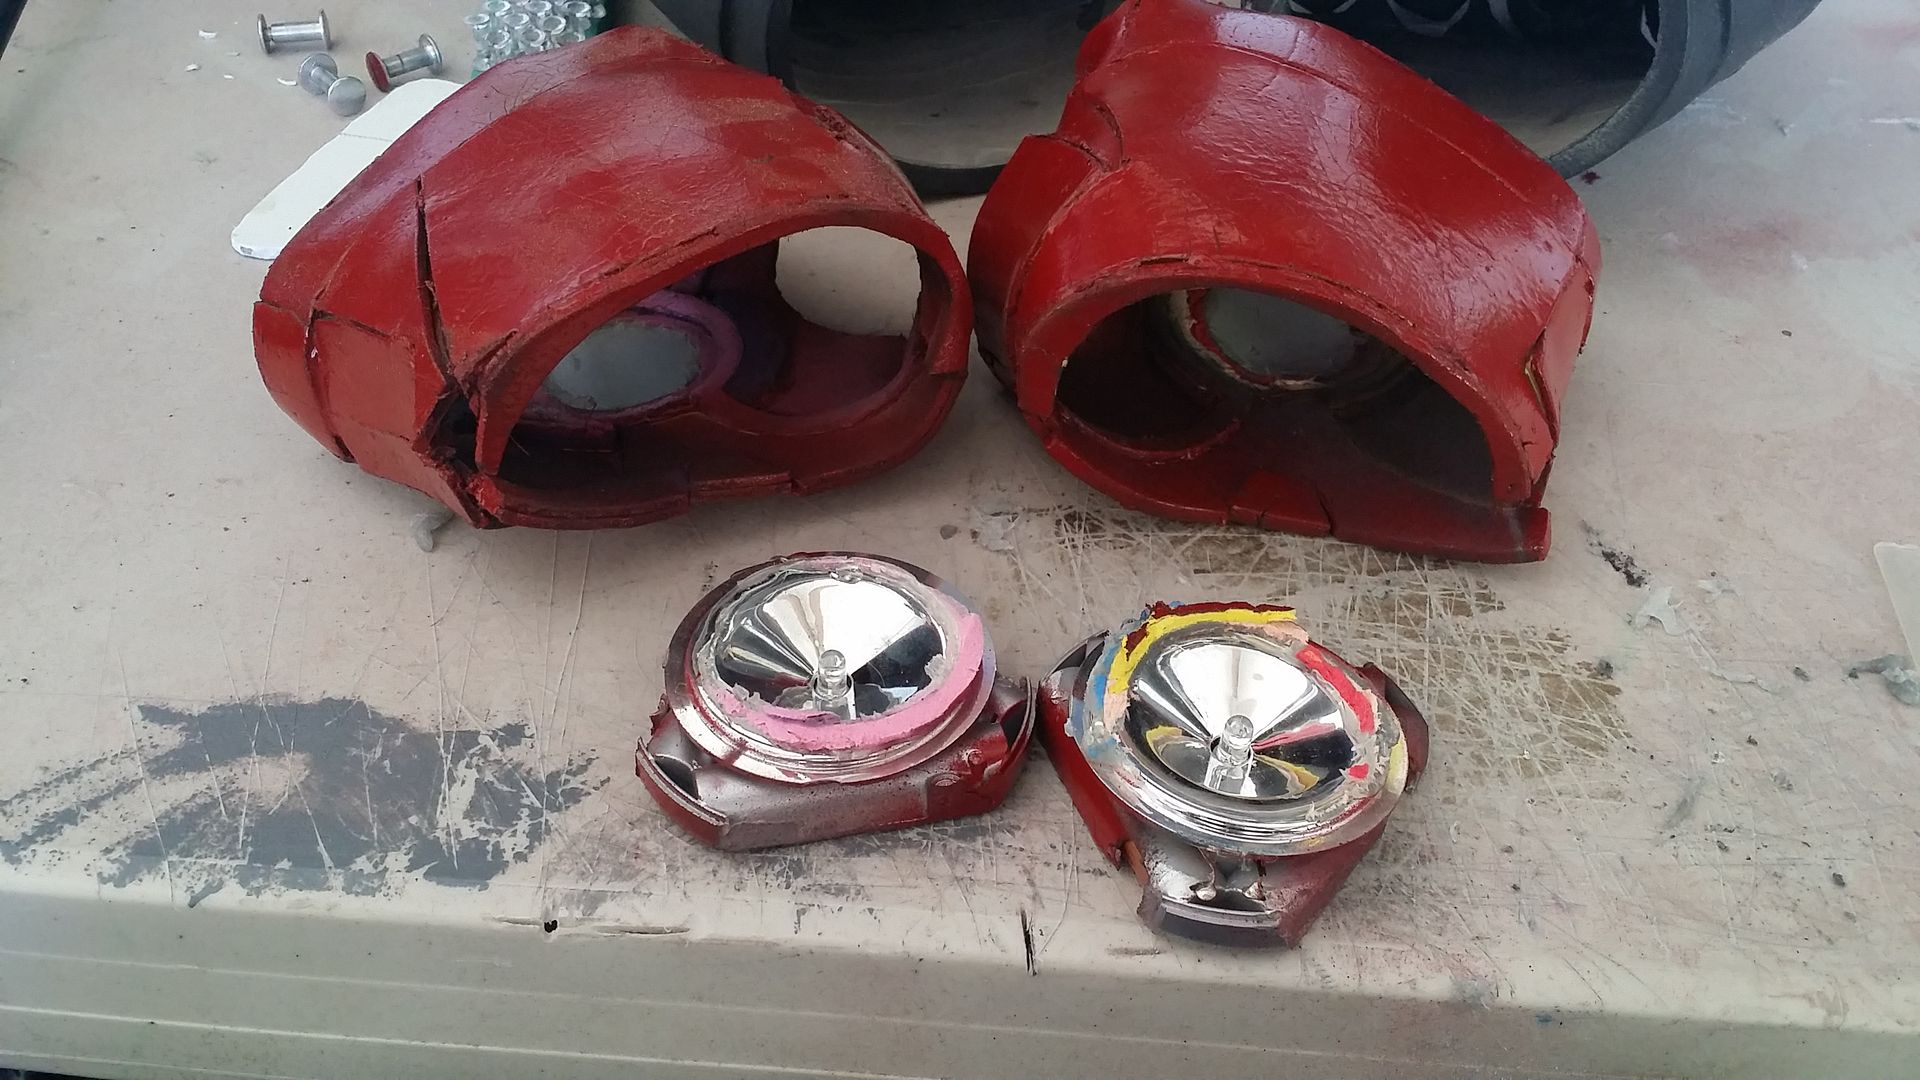
by the time they were in, the ribbing was dry, so it was time to glue them in:

and with that, it was finally time for the hot rod red:
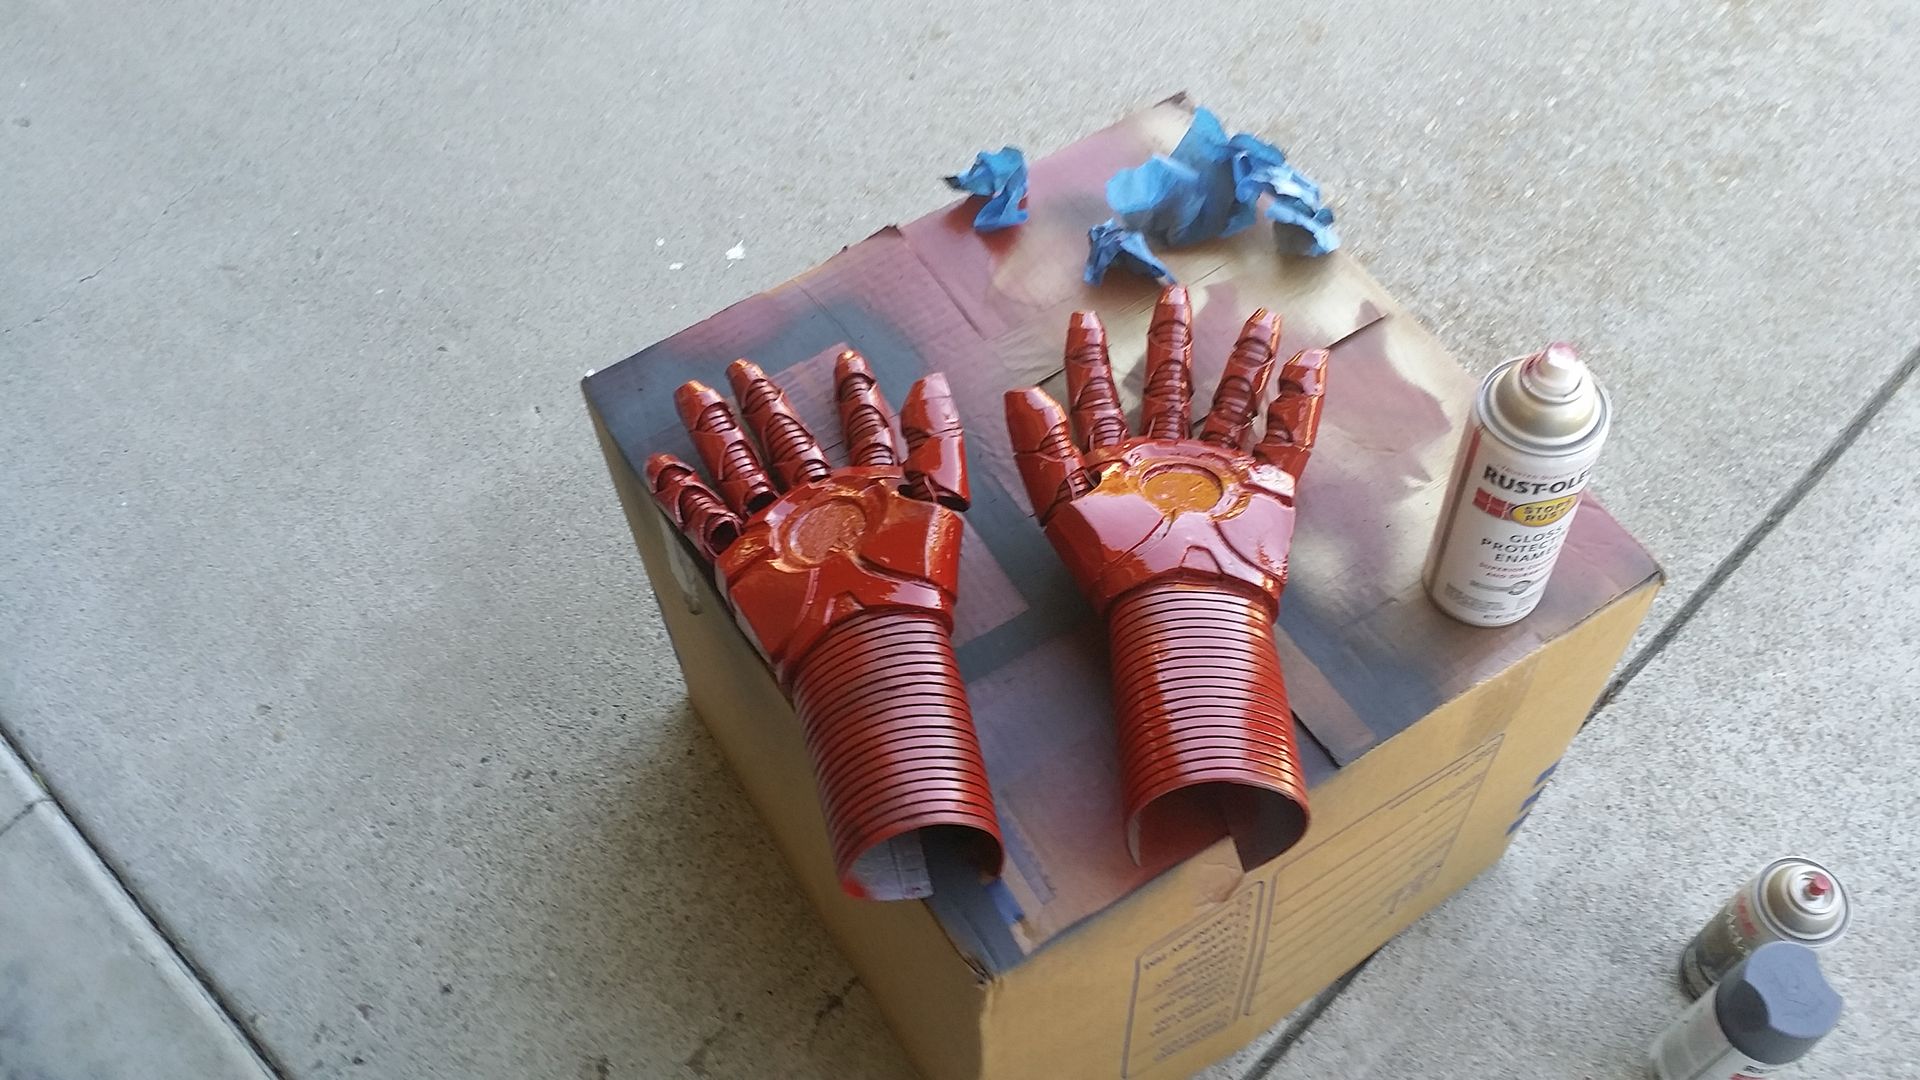
lookin
damn
good

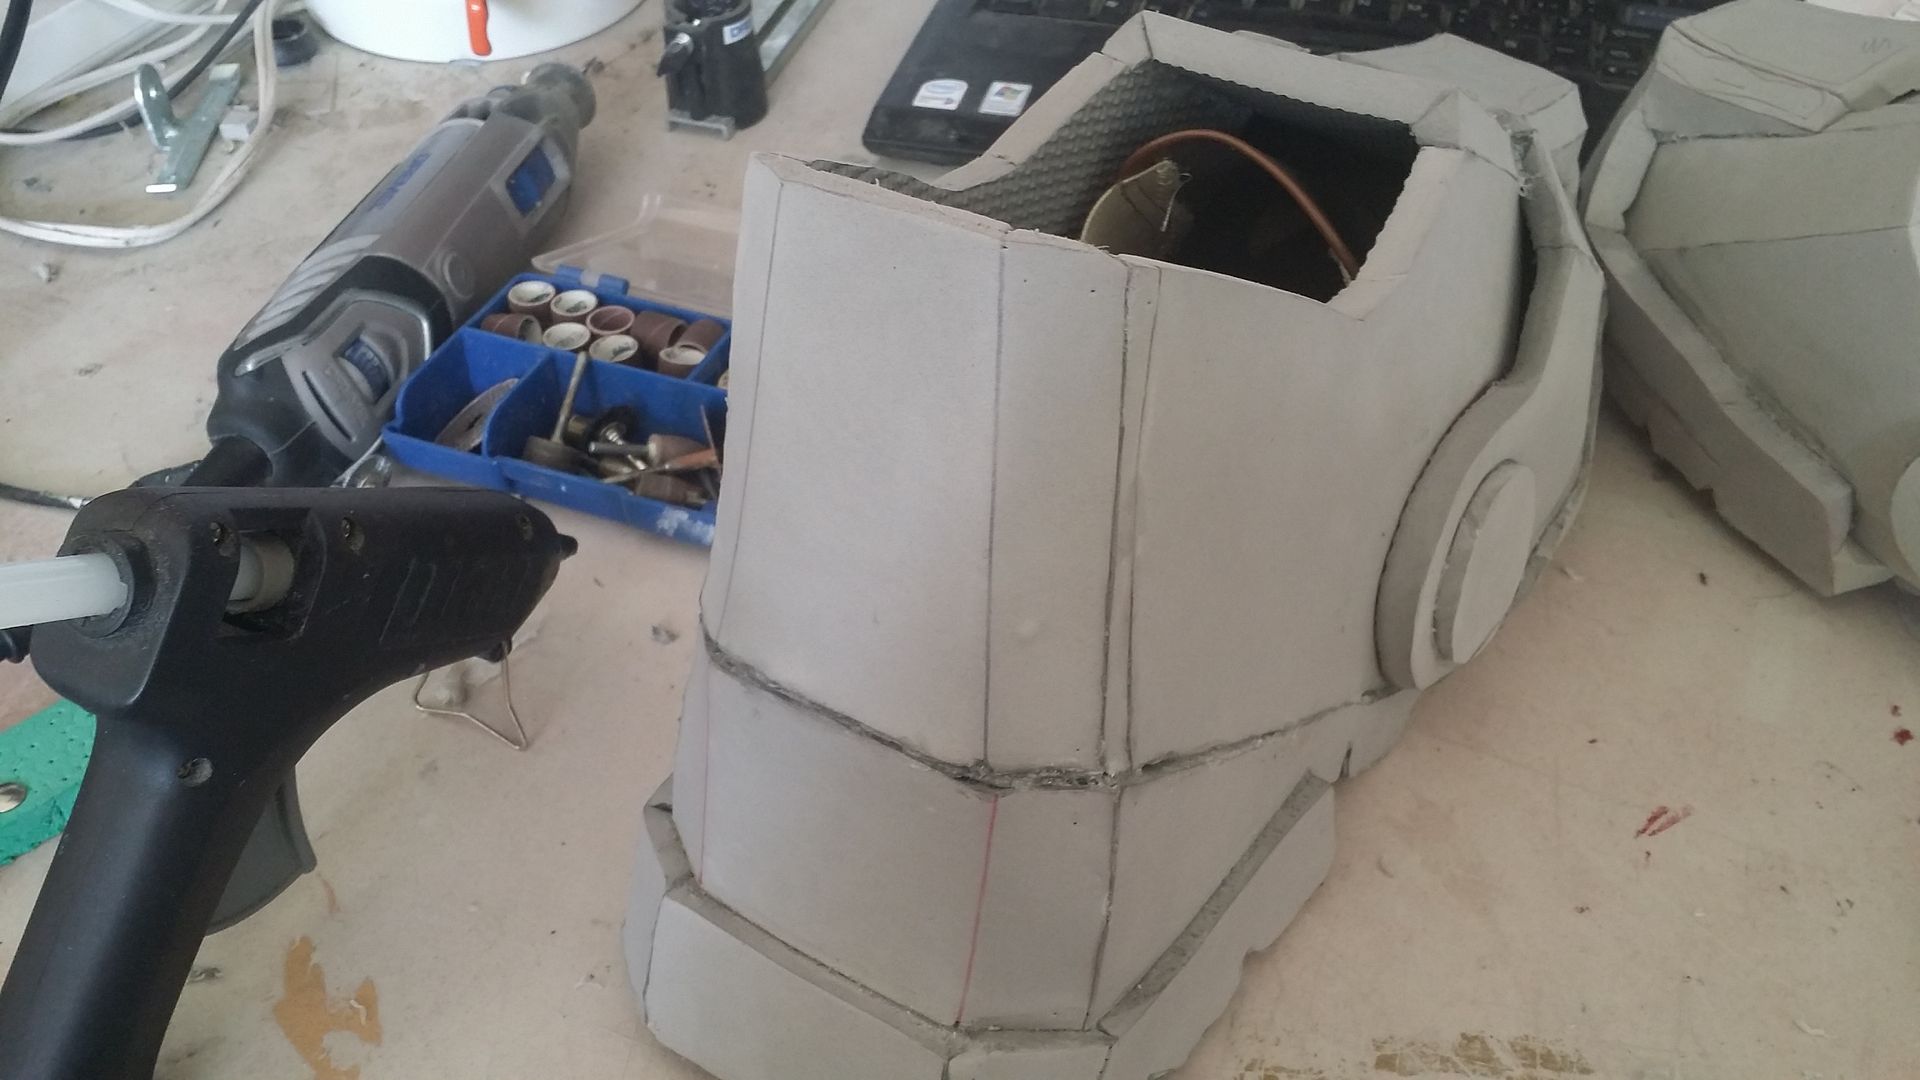
with those sweet puppies chilling off to the side, i realized that i hadn't even sealed the boots after putting the shoes in! time to kick it (heh) into high gear:
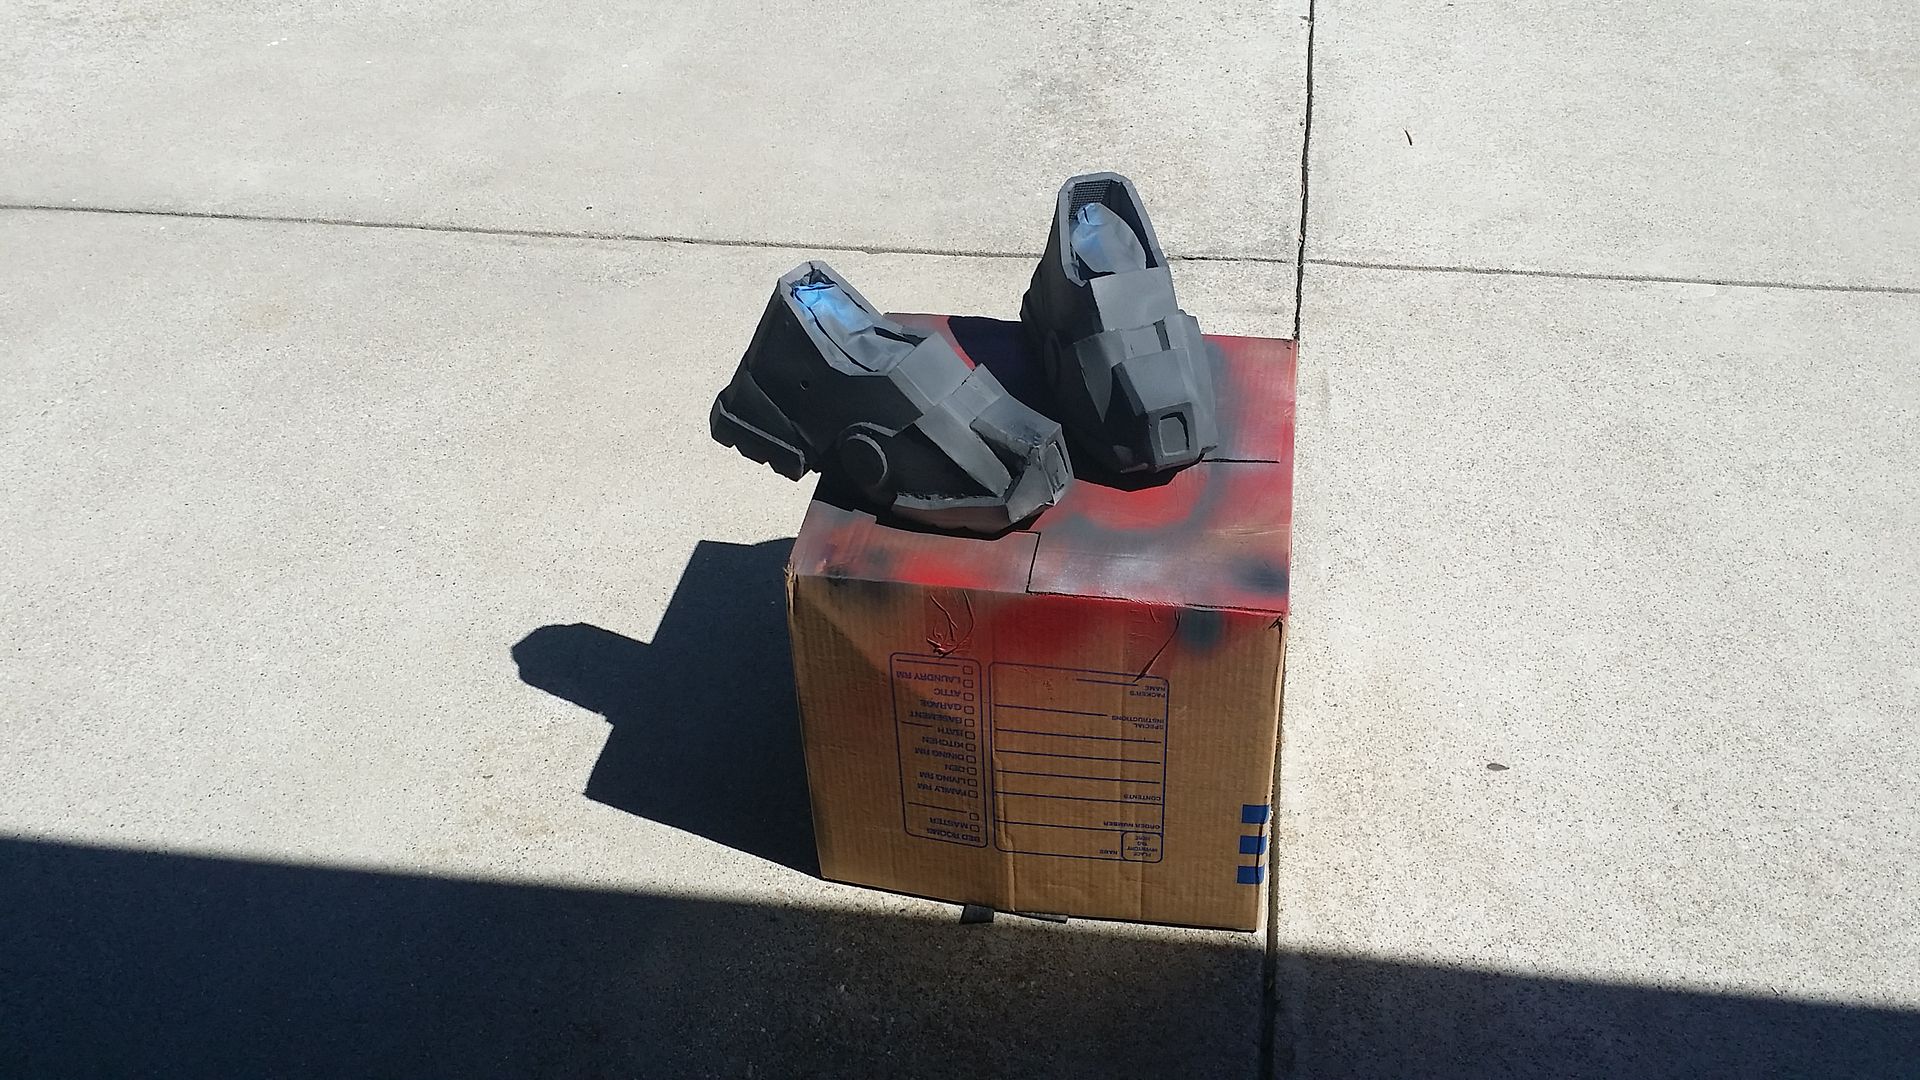
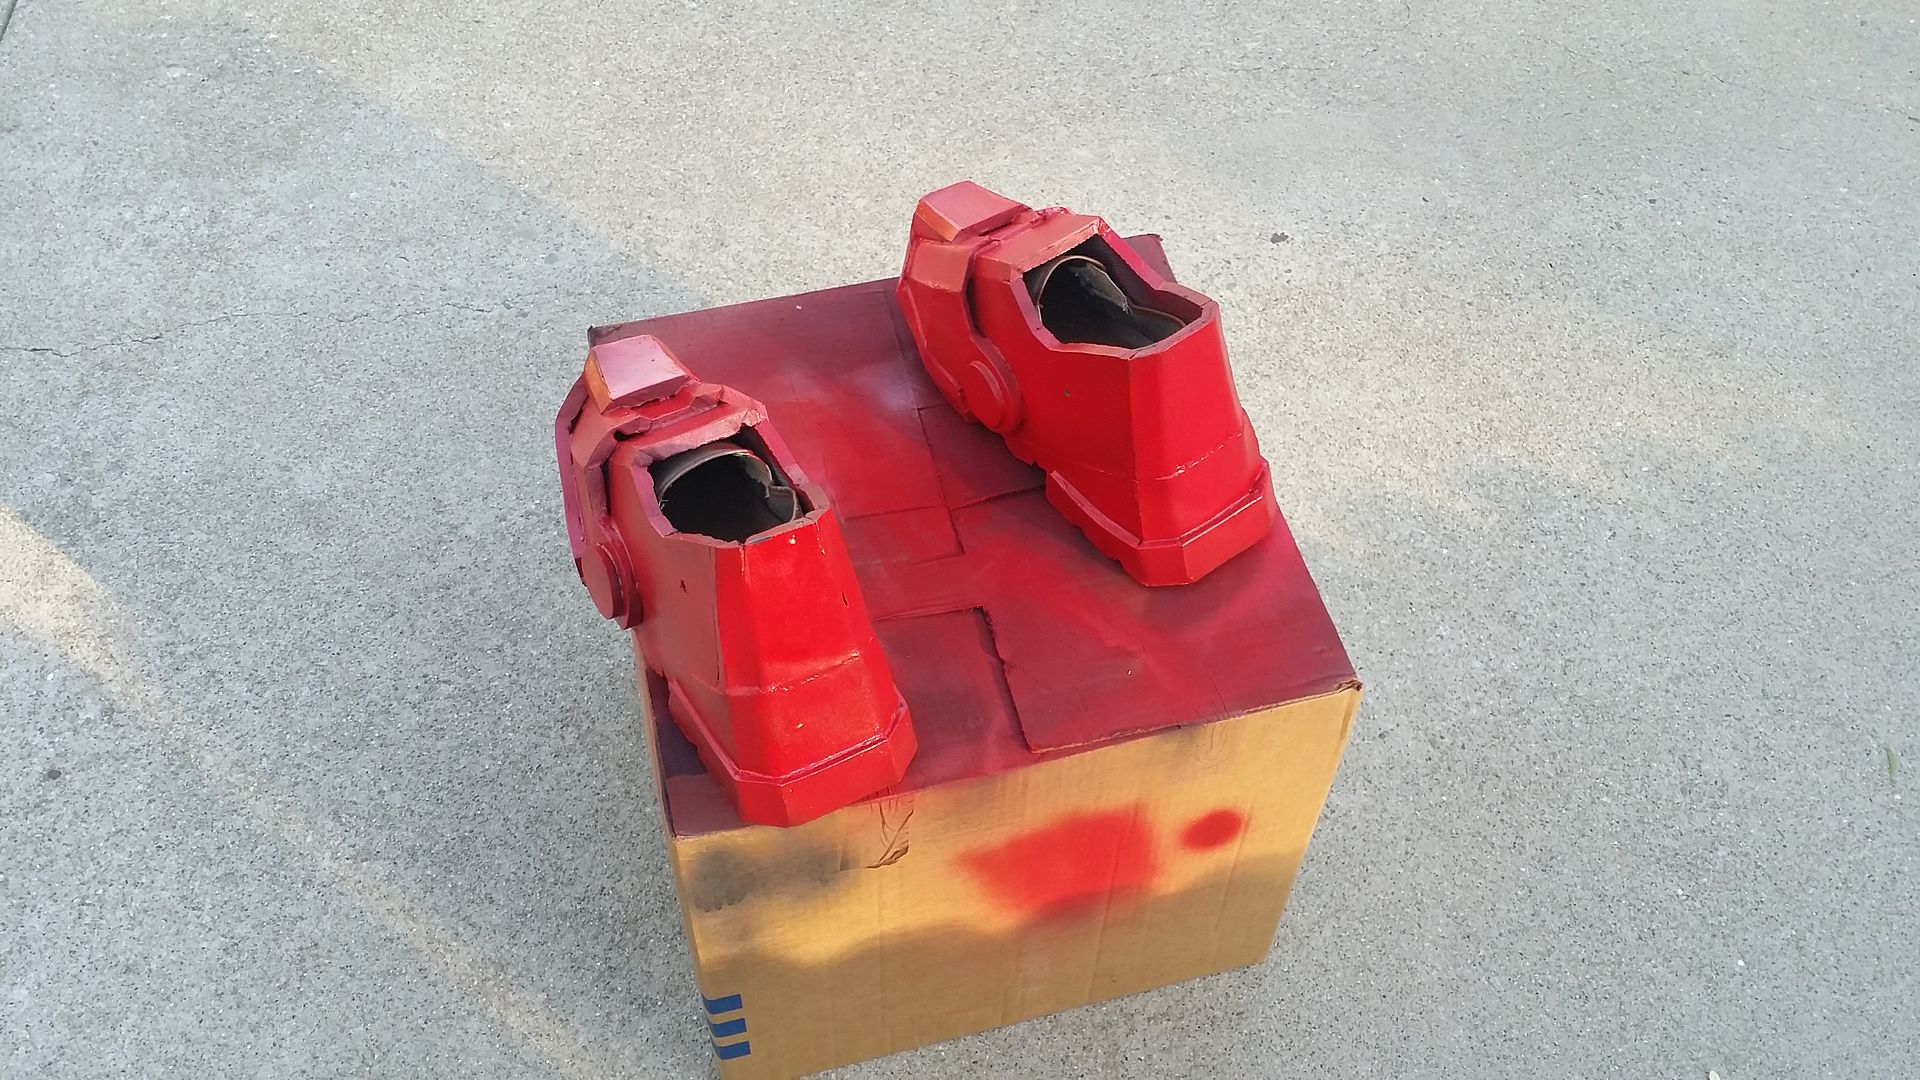
stay tuned!
No comments:
Post a Comment